

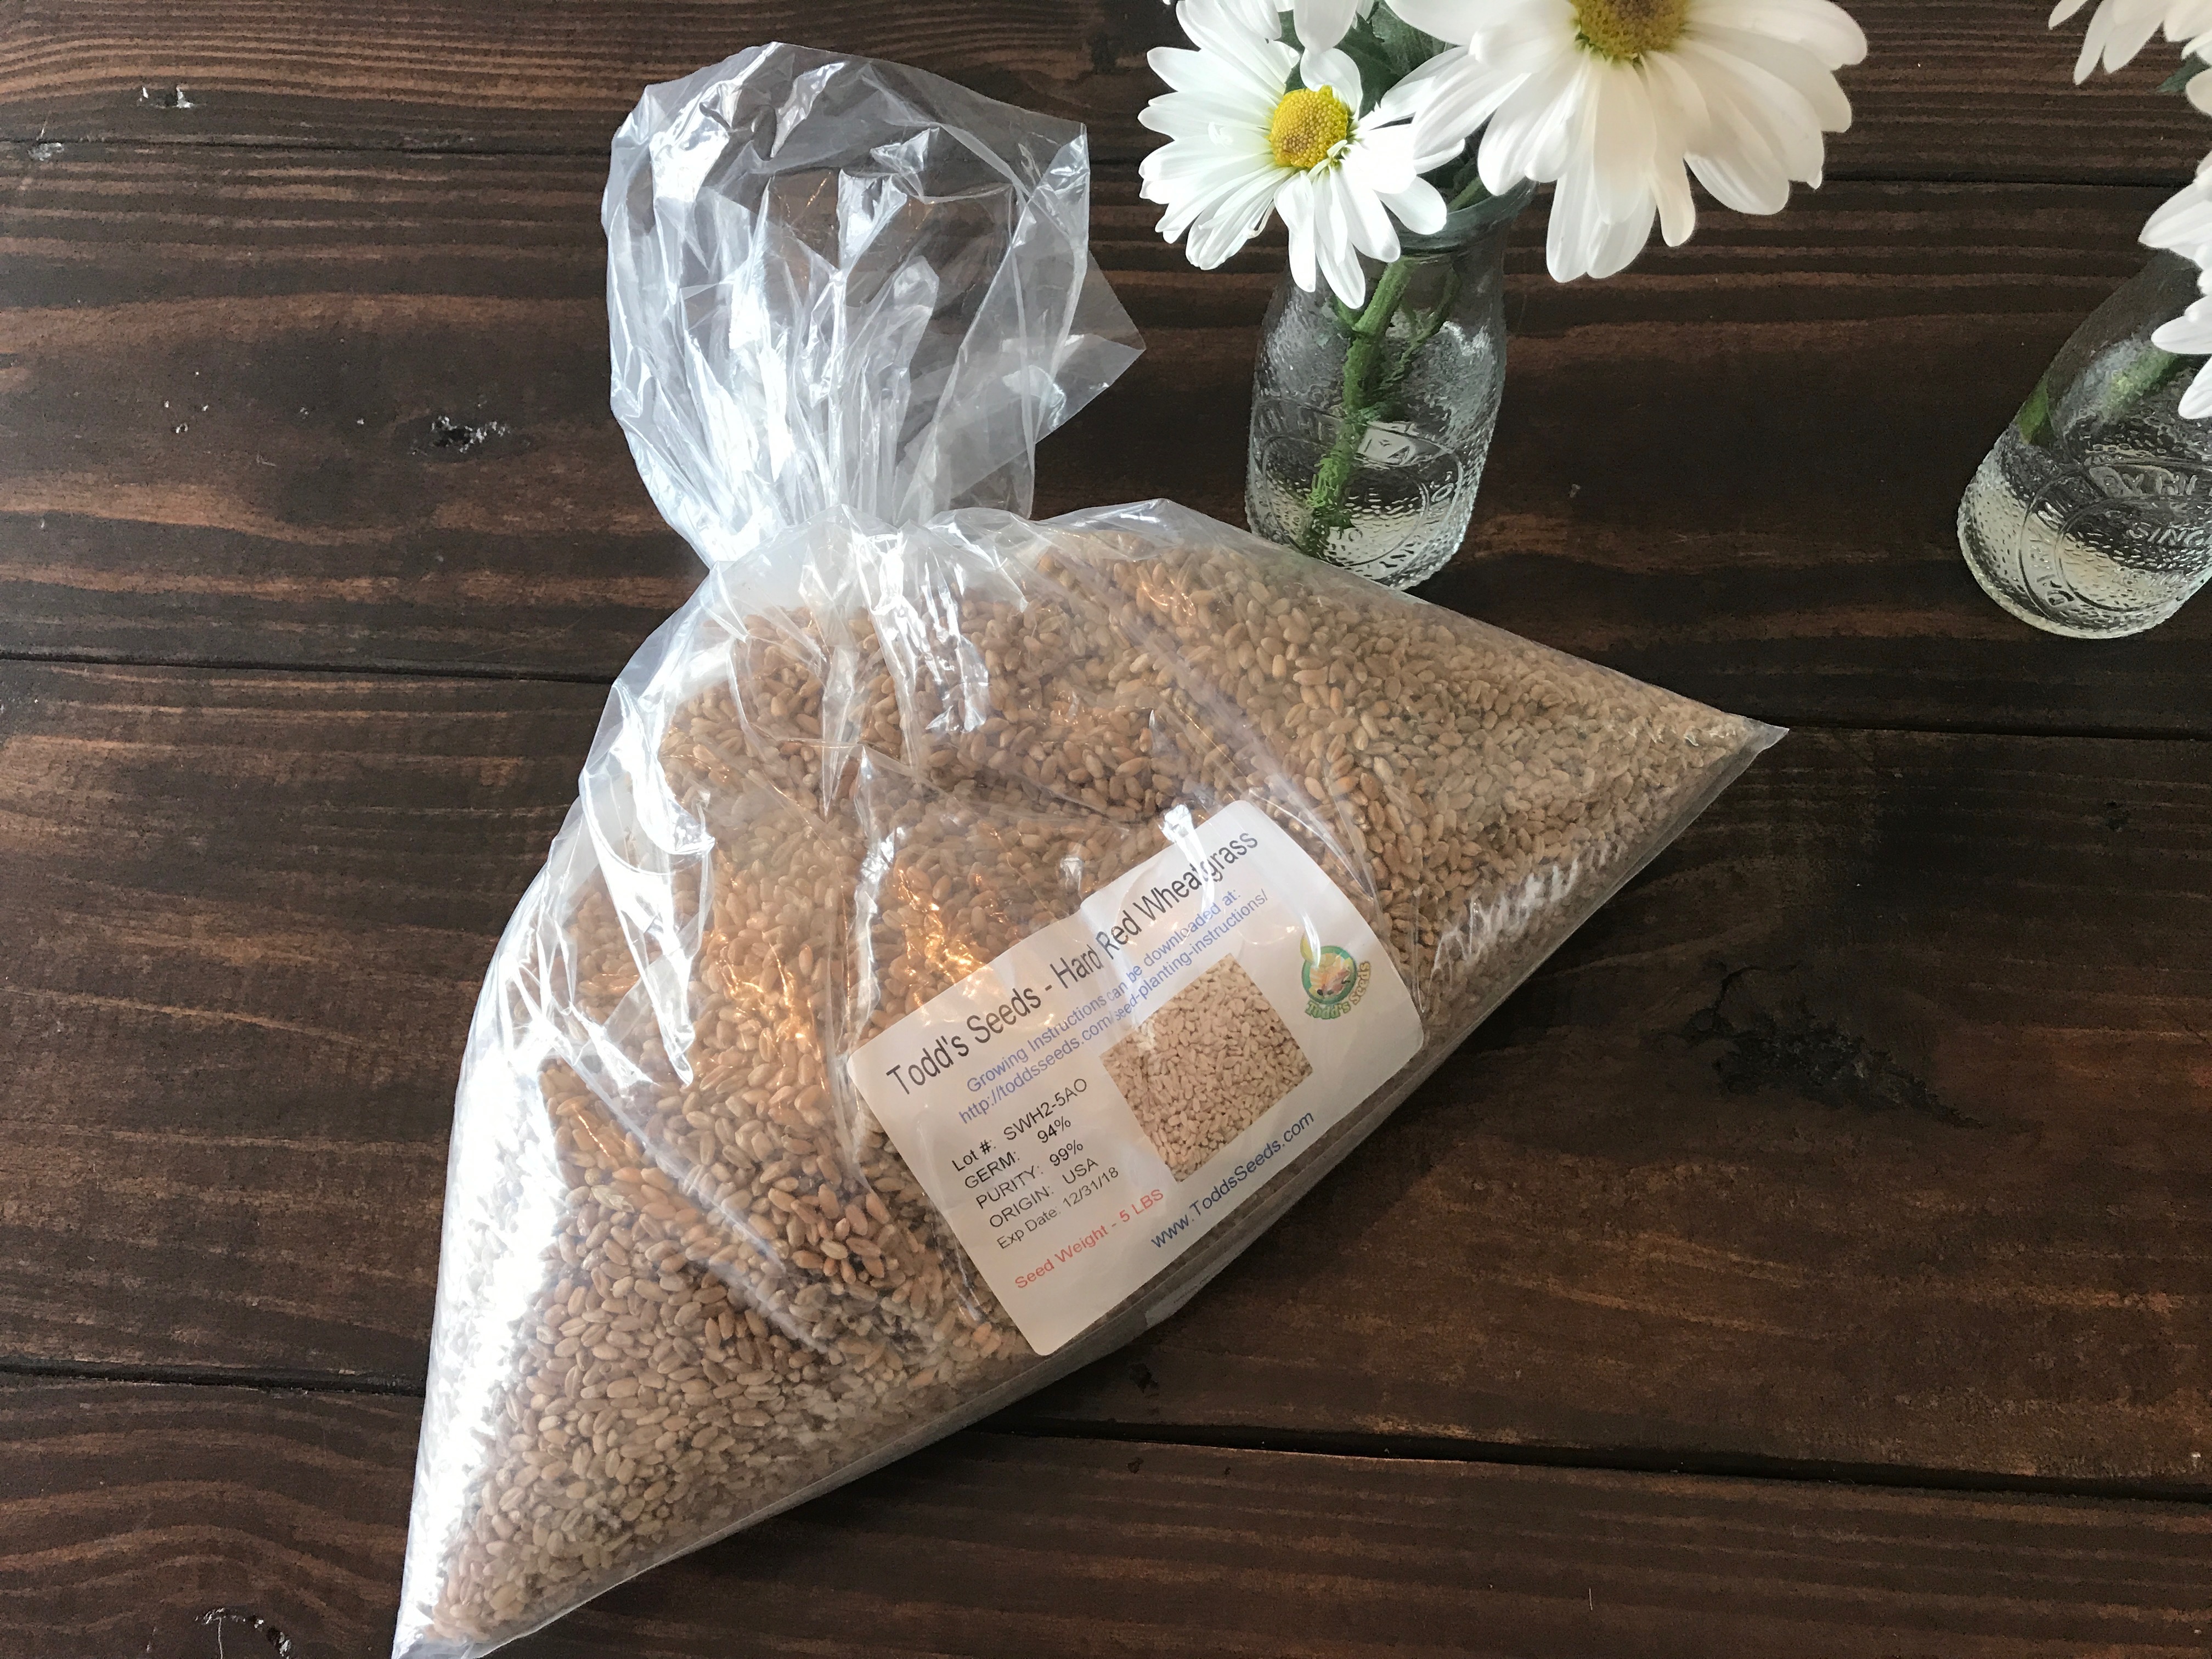
Wheatgrass makes a perfect centerpiece. It’s also extremely easy to grow indoors! It’s perfect for spring and summer entertaining, weddings, parties, anything really. Maybe it’s the dead of winter and you need some cheerful green grass growing indoors to beat the winter blues! I bought this big bag of wheatgrass seeds for a little over $12. This will definitely last me a while.
I also used this metal rectangle container from Amazon. You can use any container that’s 3-4 inches deep. Get creative, try bowls, cups, or small buckets. Having a container with drainage holes is easiest but not essential. My container did not have drainage holes so I will need to be careful with watering.
Prep
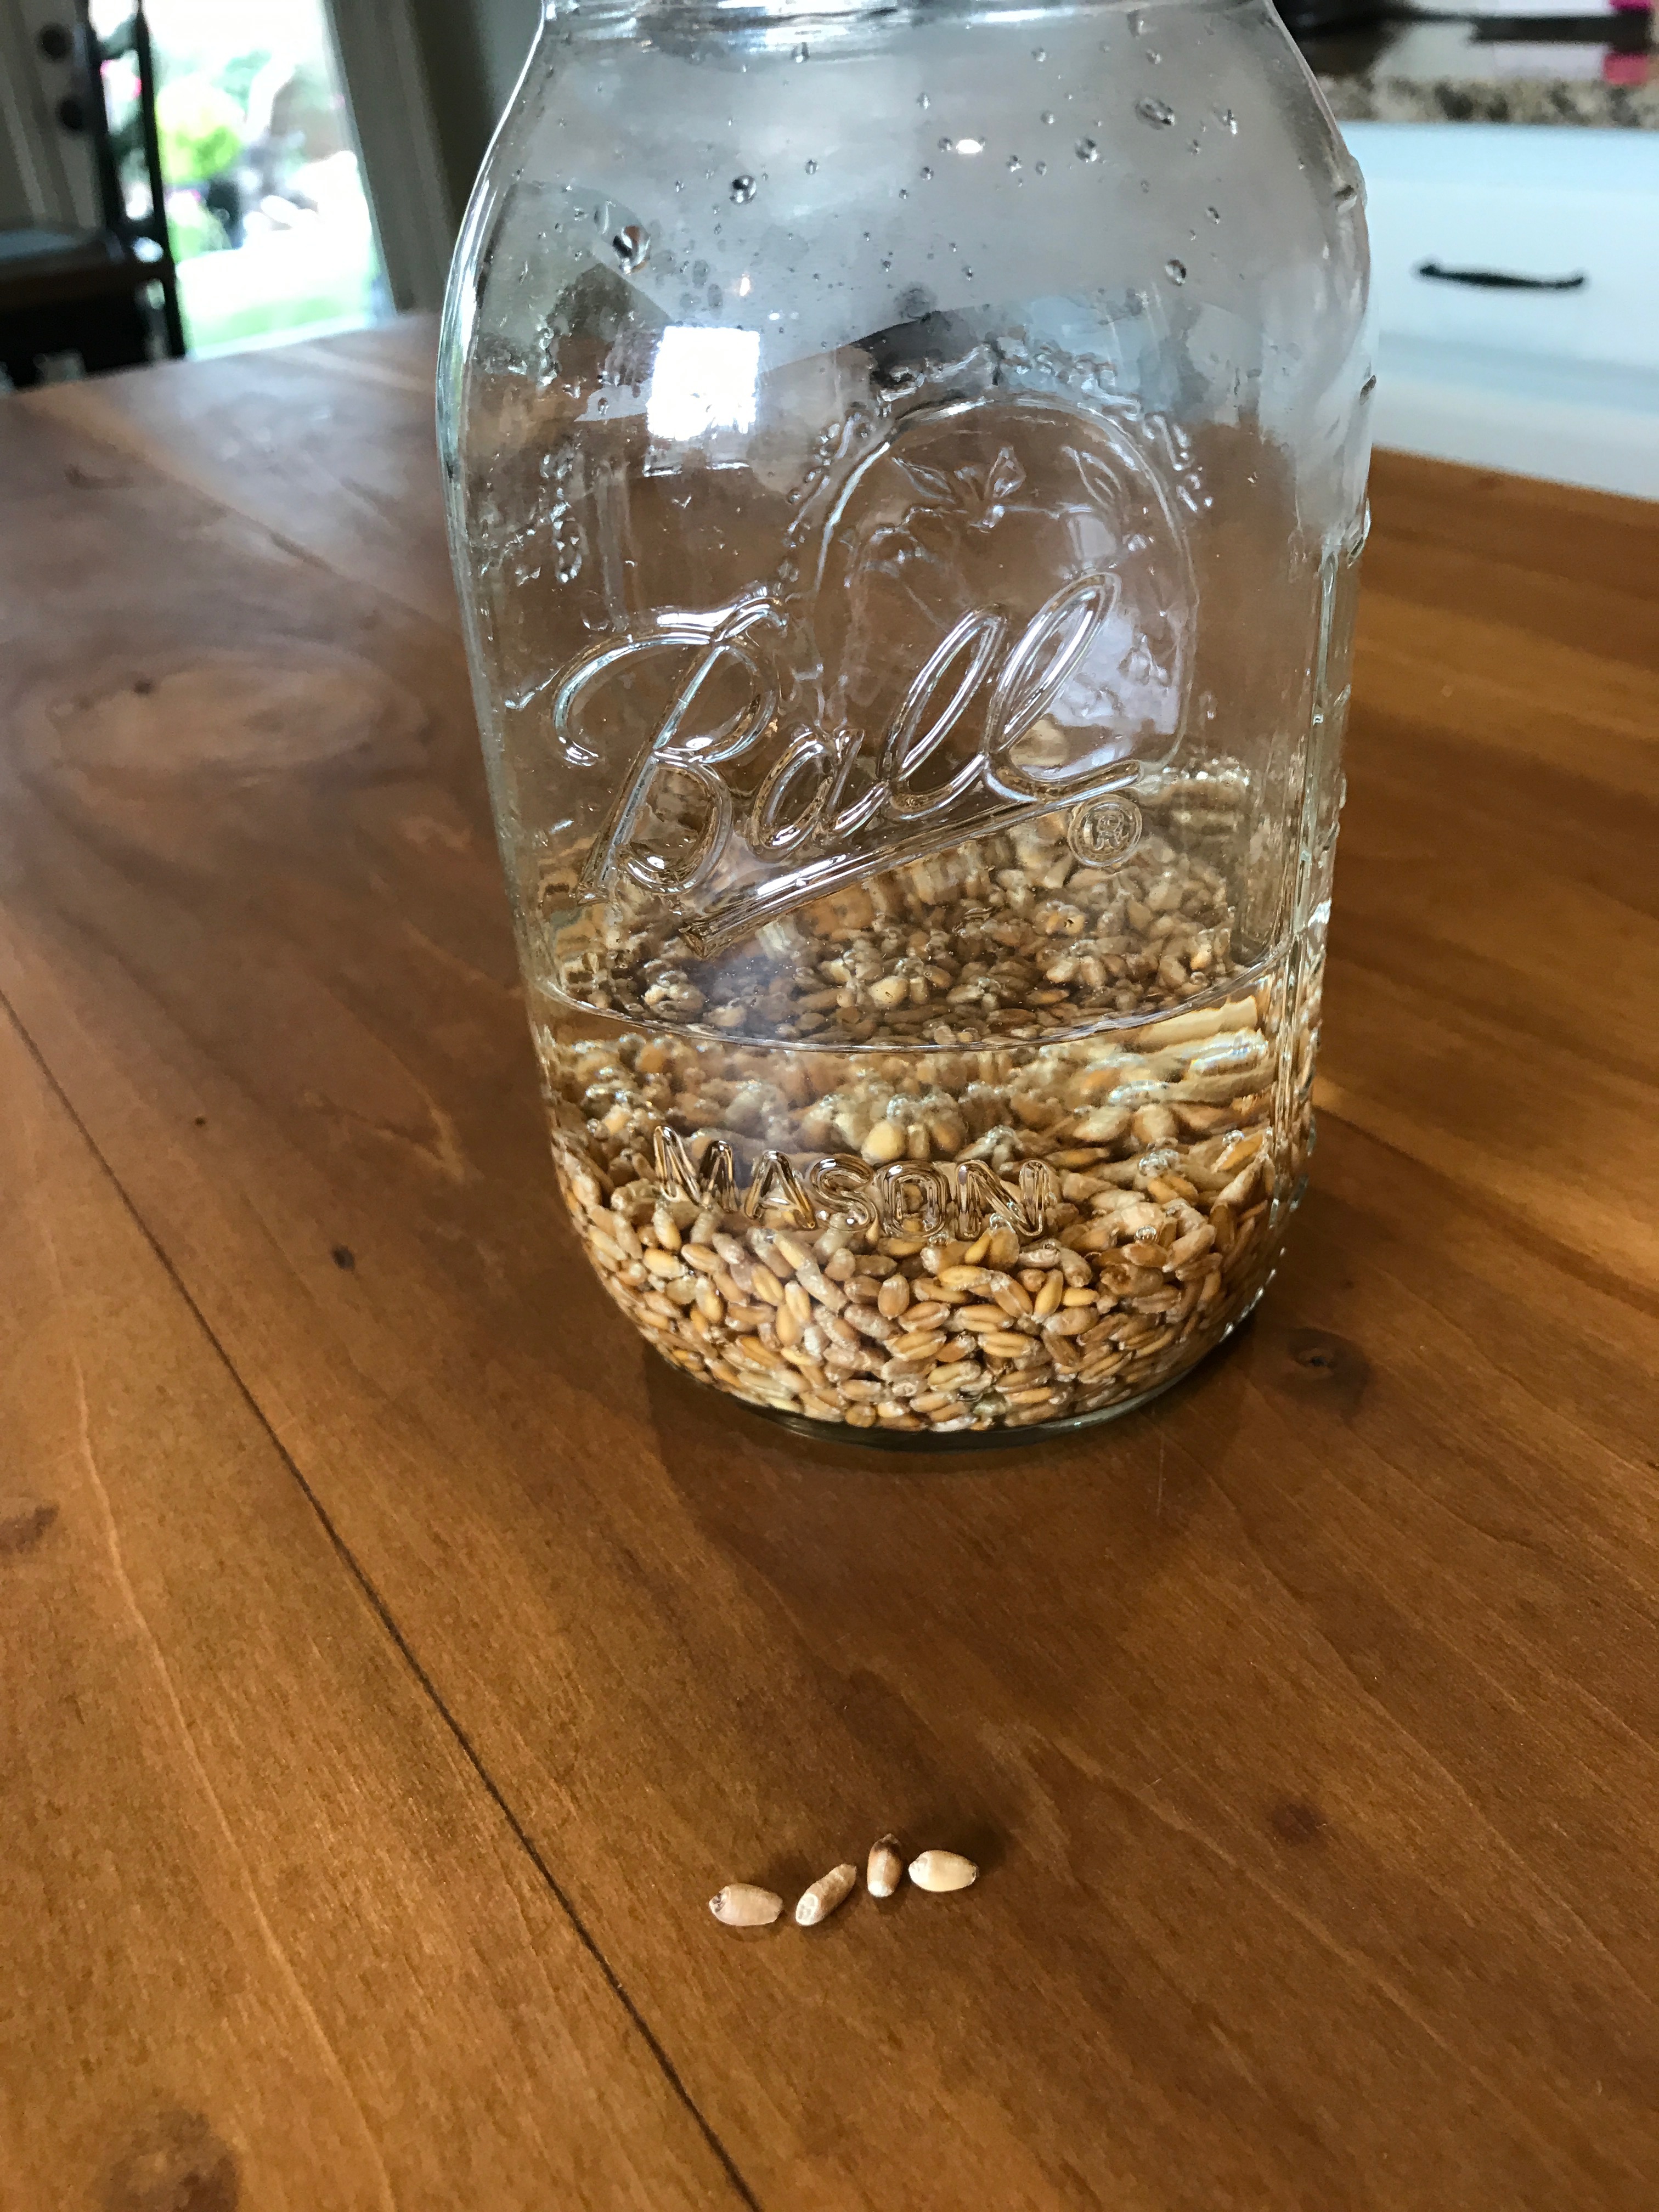
Soak the seeds in warm water 12-24 hours. I tried one group of seeds soaked 12 hours and another 24 hours. The 24 hour soaked seeds sprouted a little quicker, both ended up growing just fine. Determining how much seed you will need is tricky, I poured a single layer in my container and it was 3/4 cup. You want enough seed to make a solid single layer. You can measure like I did or eyeball it.

Now, soak away!
Day 1
Add a layer of gravel for drainage. I used leftover pebbles from my daughters fish aquarium and some river rock I found in the garage. The rocks should help with drainage. You can try growing your wheatgrass without adding rocks, however you could get mold. Next, fill your container with soil, stopping 1 inch from the top of your container. I just used basic potting soil.

Drain and rinse the seeds in a colander.

Sprinkle your seeds over the soil, trying not to leave any bare spots and keeping a single layer.

Cover loosely with saran wrap to create a greenhouse effect and place in an area out of direct sunlight. For me this was on my dining room table. Now we just wait!

Day 2
Check your seeds every day and water if necessary. If your using a container without drainage holes be careful not to over water. You can always pour out extra water. Replace the plastic wrap loosely each time you water. You want to keep your soil nice and moist. Seeds will sprout in 2-3 days. I see some some sprouts already!

Day 3
Continue to water daily and on the 3rd day or once the seeds have started to sprout you can remove the saran wrap. I see a few blades of grass starting to grow!

Day 4
Once your seeds have grown an inch or so move them to a sunny location. I checked my grass early in the morning, and at the end of the day I could see even more growth. Your wheatgrass starts growing very quickly from this point.

Day 5
You’ll be amazed how much your seeds grow each day. I can’t stop rubbing my hand over the top of the grass blades, it’s fun to play with. It’s really a fun process, kids will enjoy watching the grass grow.

Day 6
By day 6 I was really pleased with the growth. I loved it so much I couldn’t decide what room to place it in.

Day 7
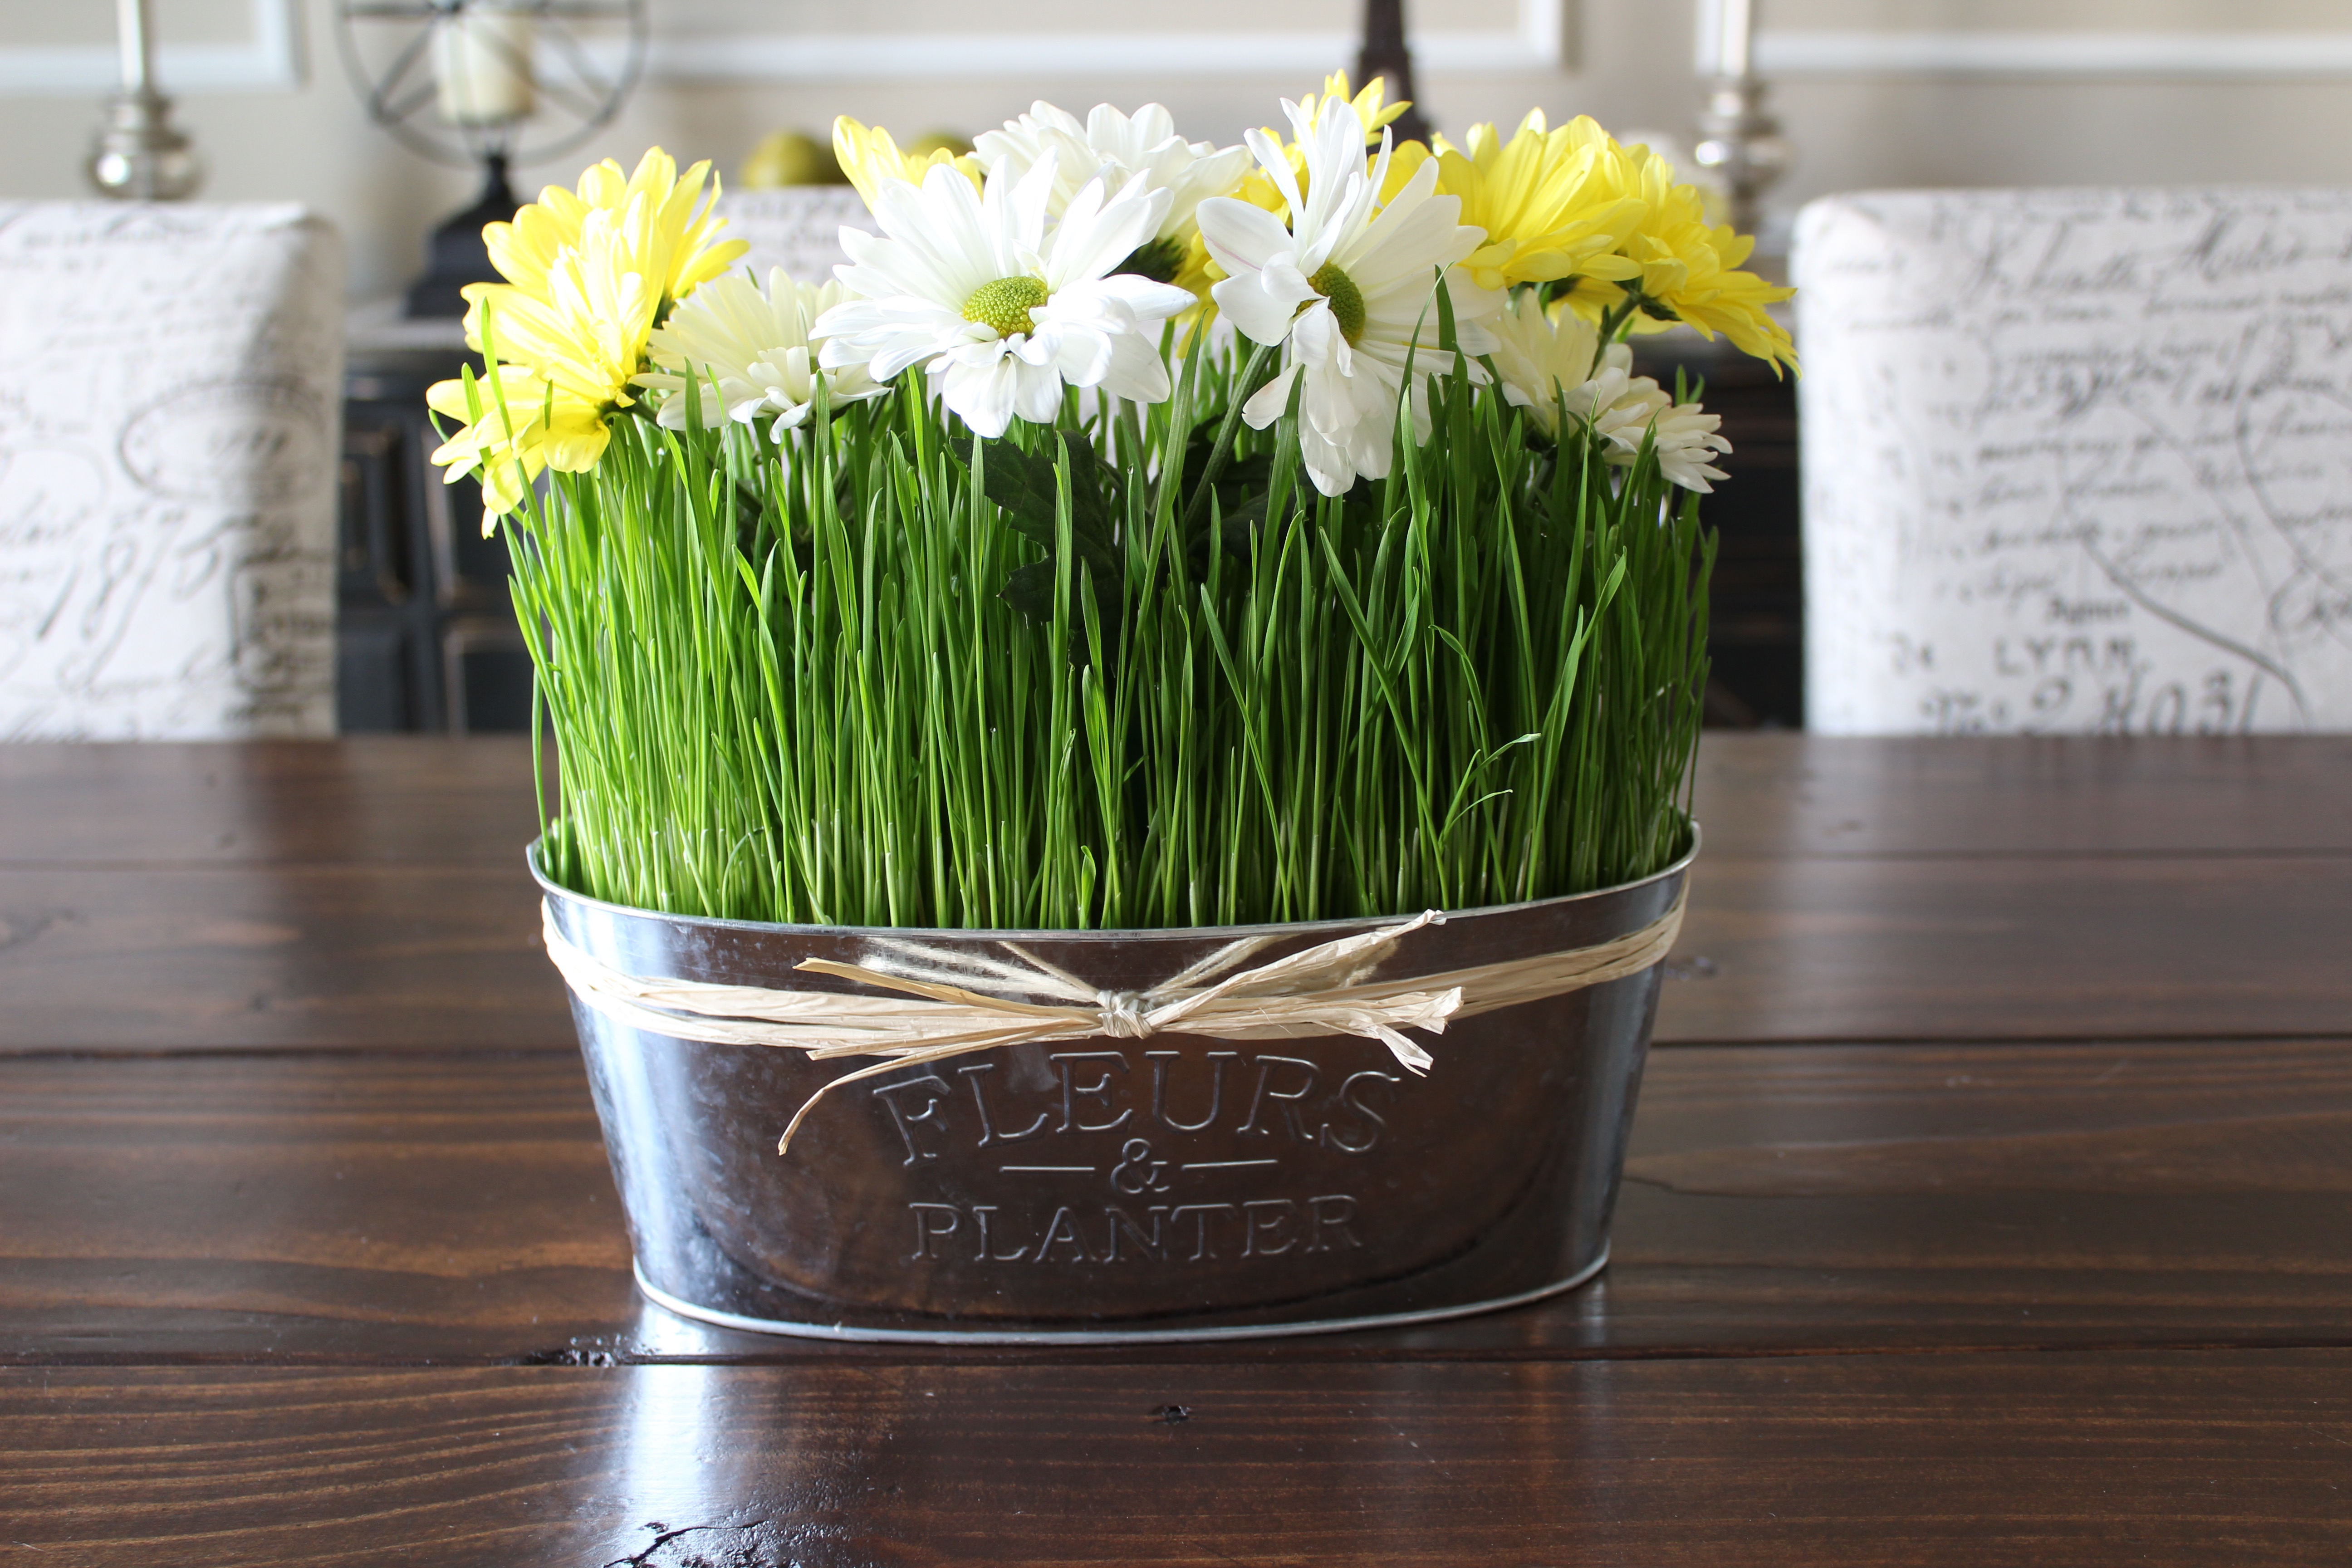
Between day 7-10 you should have the perfect wheatgrass centerpiece. You can leave your wheatgrass shaggy or give it a hair cut.

If you have a cat you can let them nibble on the wheatgrass, its good for digestion.

How cute is this? Nothing makes me happy like a bright splash of green! It’s fun to experiment with different containers. Below I added cut flowers using floral water tubes.
Continue to water as needed, keeping your soil moist, but not overly wet. I have my centerpiece currently on my kitchen table with indirect light during the morning and direct sun in the late afternoon. It seems to be happy. With proper care your centerpiece should last a few weeks, maybe even months depending on circumstances. I normally keep cut flowers on the table but this will be a fun change!
