
I love spray paint. I especially love how quickly it can transform something. I’ve spray painted so many furniture items successfully that it’s definitely my favorite painting method. Spray painting furniture is easy, but proper steps must be taken if you want your piece to come out successfully.
SUPPLIES NEEDED
Face mask
Spray primer
Spray paint of choice
Painters tape if needed
Sand paper
Spray paint trigger handle
Drop cloth
Tack cloth or old damp cloth
Vacuum (optional)
STEP 1: Prepping Your Piece
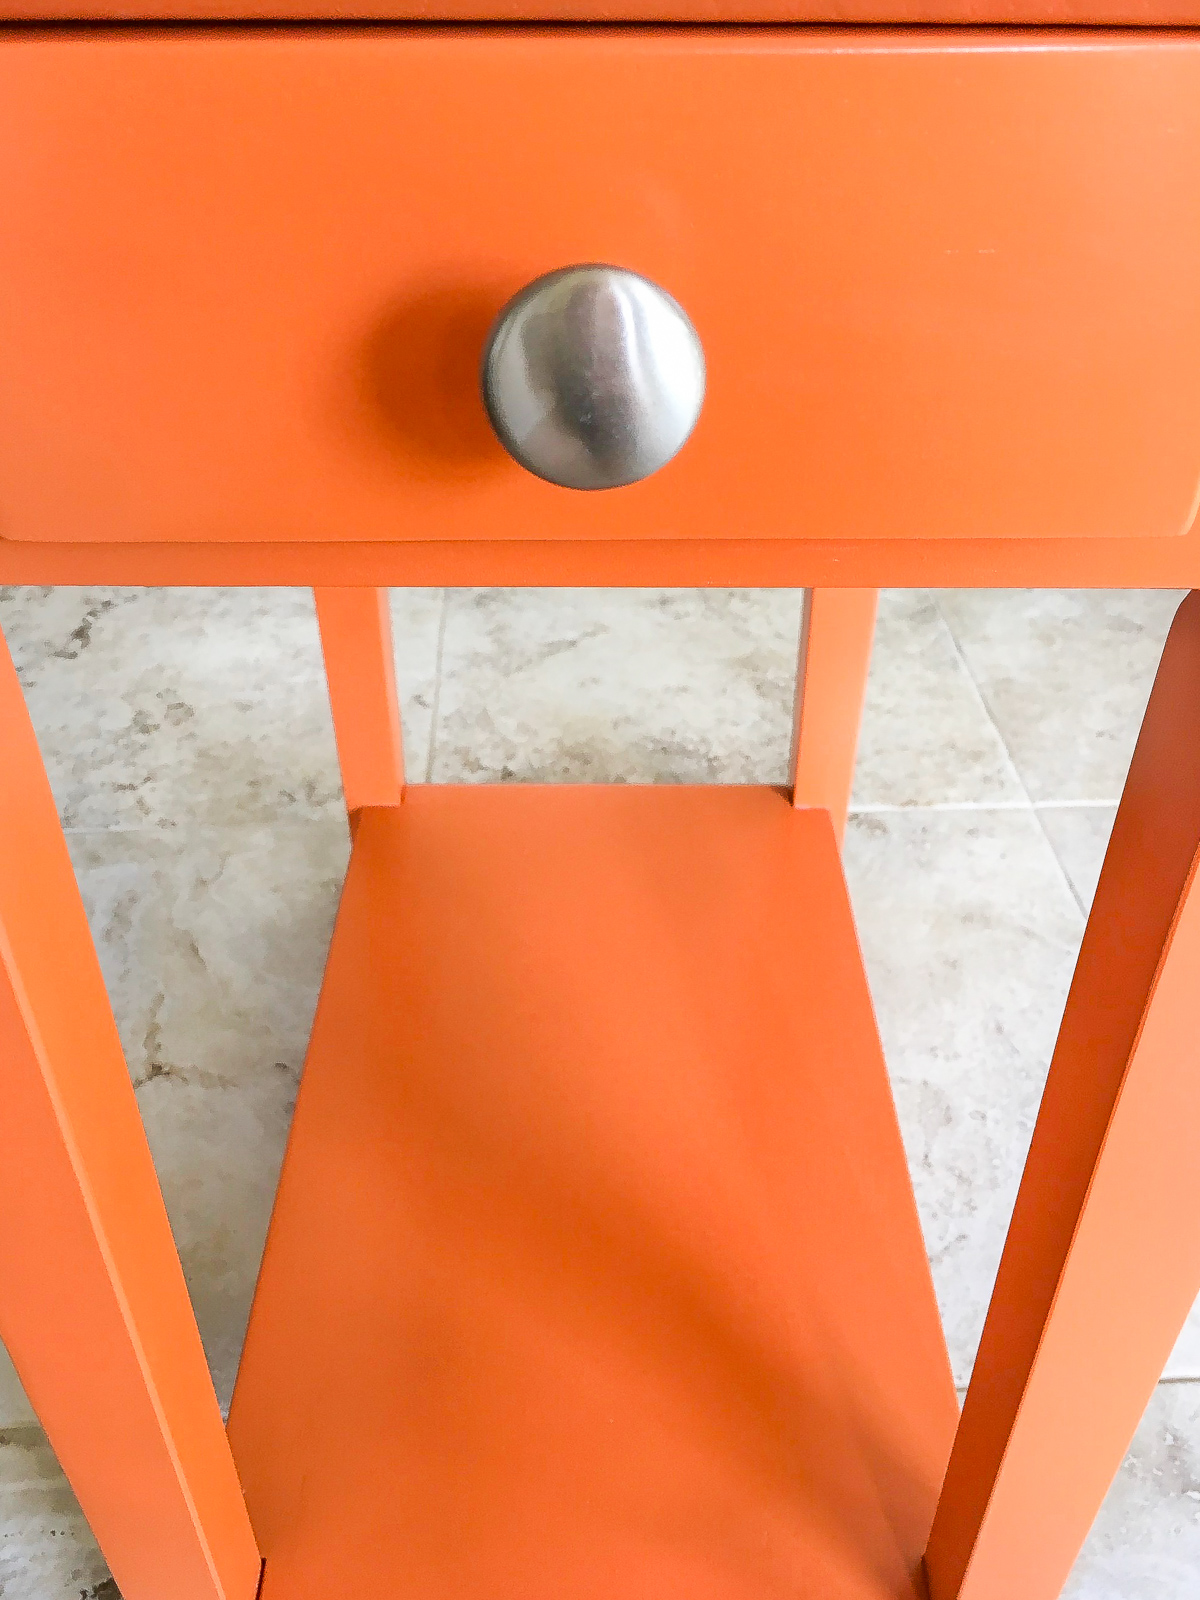
Prepare unfinished wood by lightly sanding in the direction of the wood with 320-grit sand paper. Furniture items with old layers of paint need to be sanded a bit more. You don’t need to sand down to the bare wood, but you do need to sand the surface smooth and eliminate any shine from the old paint. You want to start with a smooth matte feeling surface. You also want to remove any necessary hardware and remove drawers, or tape them off.
STEP 2: Prime Your Piece
If you want to stay the spray paint route, you can use Kilz Original spray primer like I did; however, if you have a can of primer laying around and want to brush it on that’s also an option. I like to spray paint in my garage with my canvas drop cloth that I love. It was a great investment that I use over and over. I just throw it in the washing machine when my paint drips dry.
A word of caution though, with Kilz spray primer you need to shake the can a long time…a long, long time or it will spray out gritty. If your Kilz primer sprays out gritty, STOP and shake the can longer.
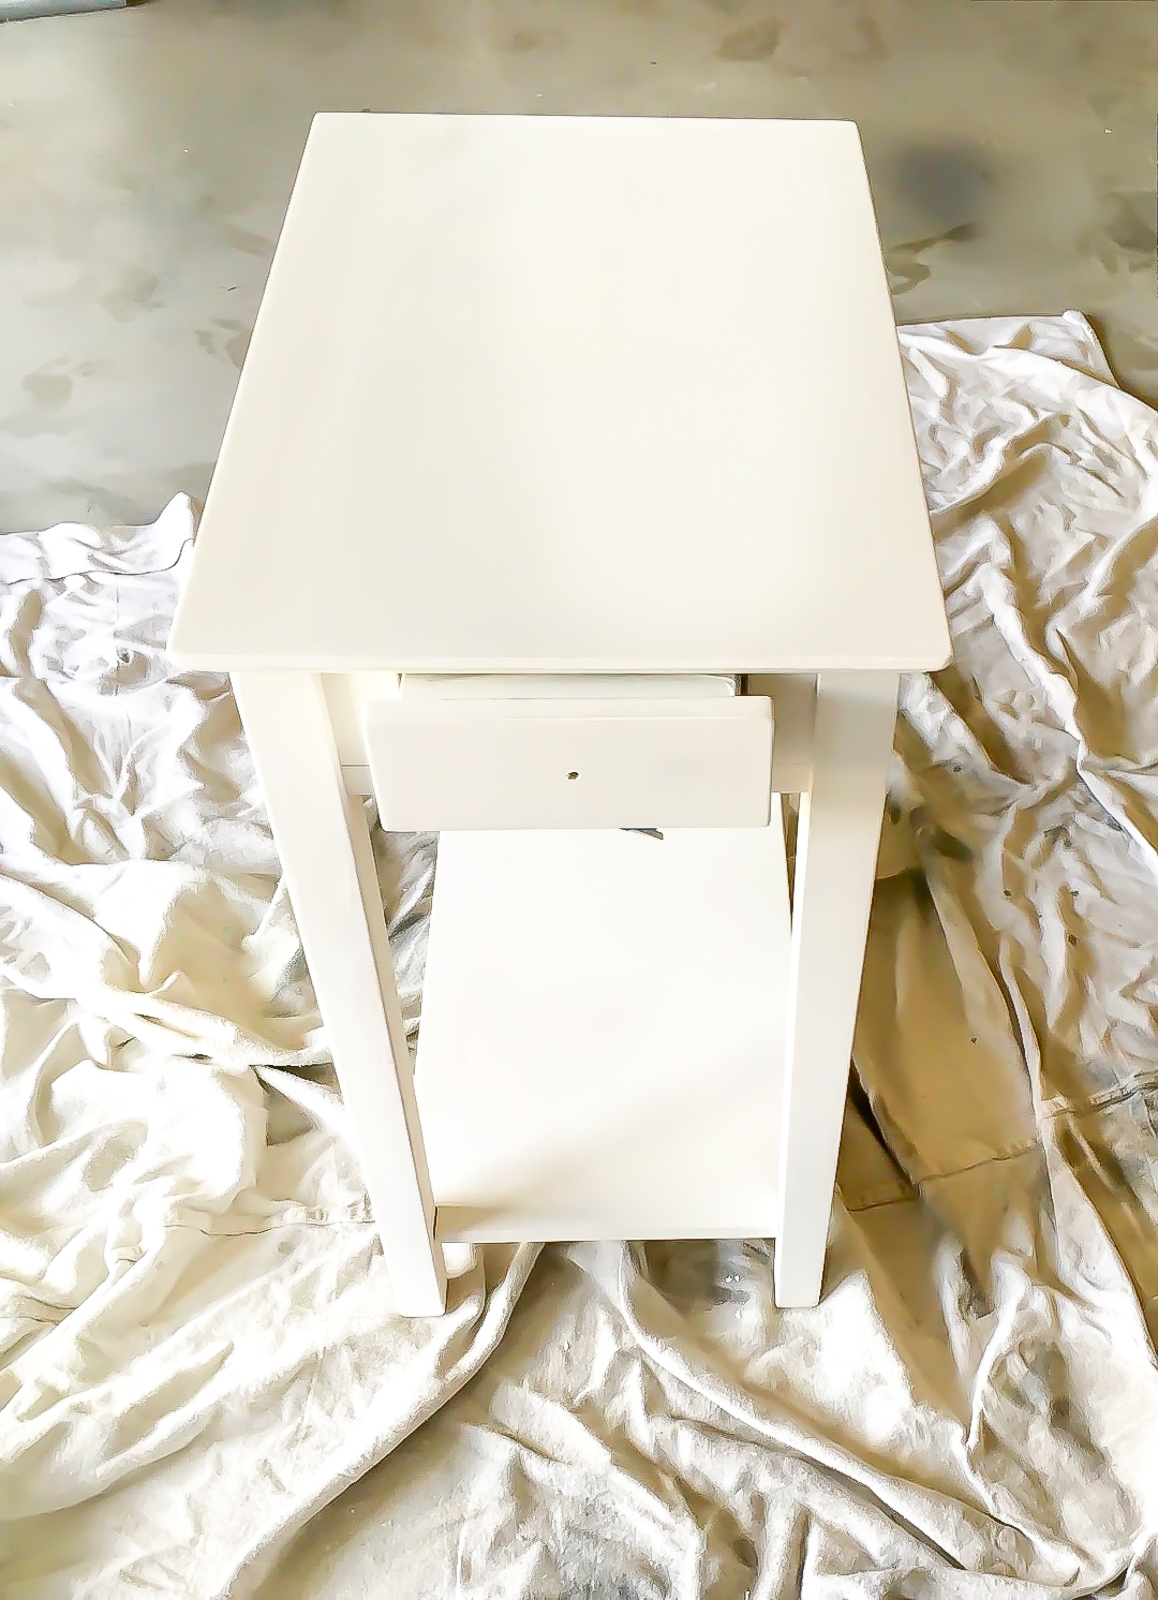
My drawer sides are taped off to protect from overspray. Holding the can 10 inches from the table, lightly spray a coat of primer, let it fully dry, lightly sand, vacuum the dust off, wipe smooth with a barely damp rag (a tact cloth is also ideal) and repeat. All total, I ended up doing 2 coats of primer and sanded by hand with 320 sandpaper. If you have any grittiness from the Kilz primer, it can be sanded off very gently by hand.
Once your item is primed and sanded smooth you’re ready to go to the next step.
STEP 3: Time To Paint
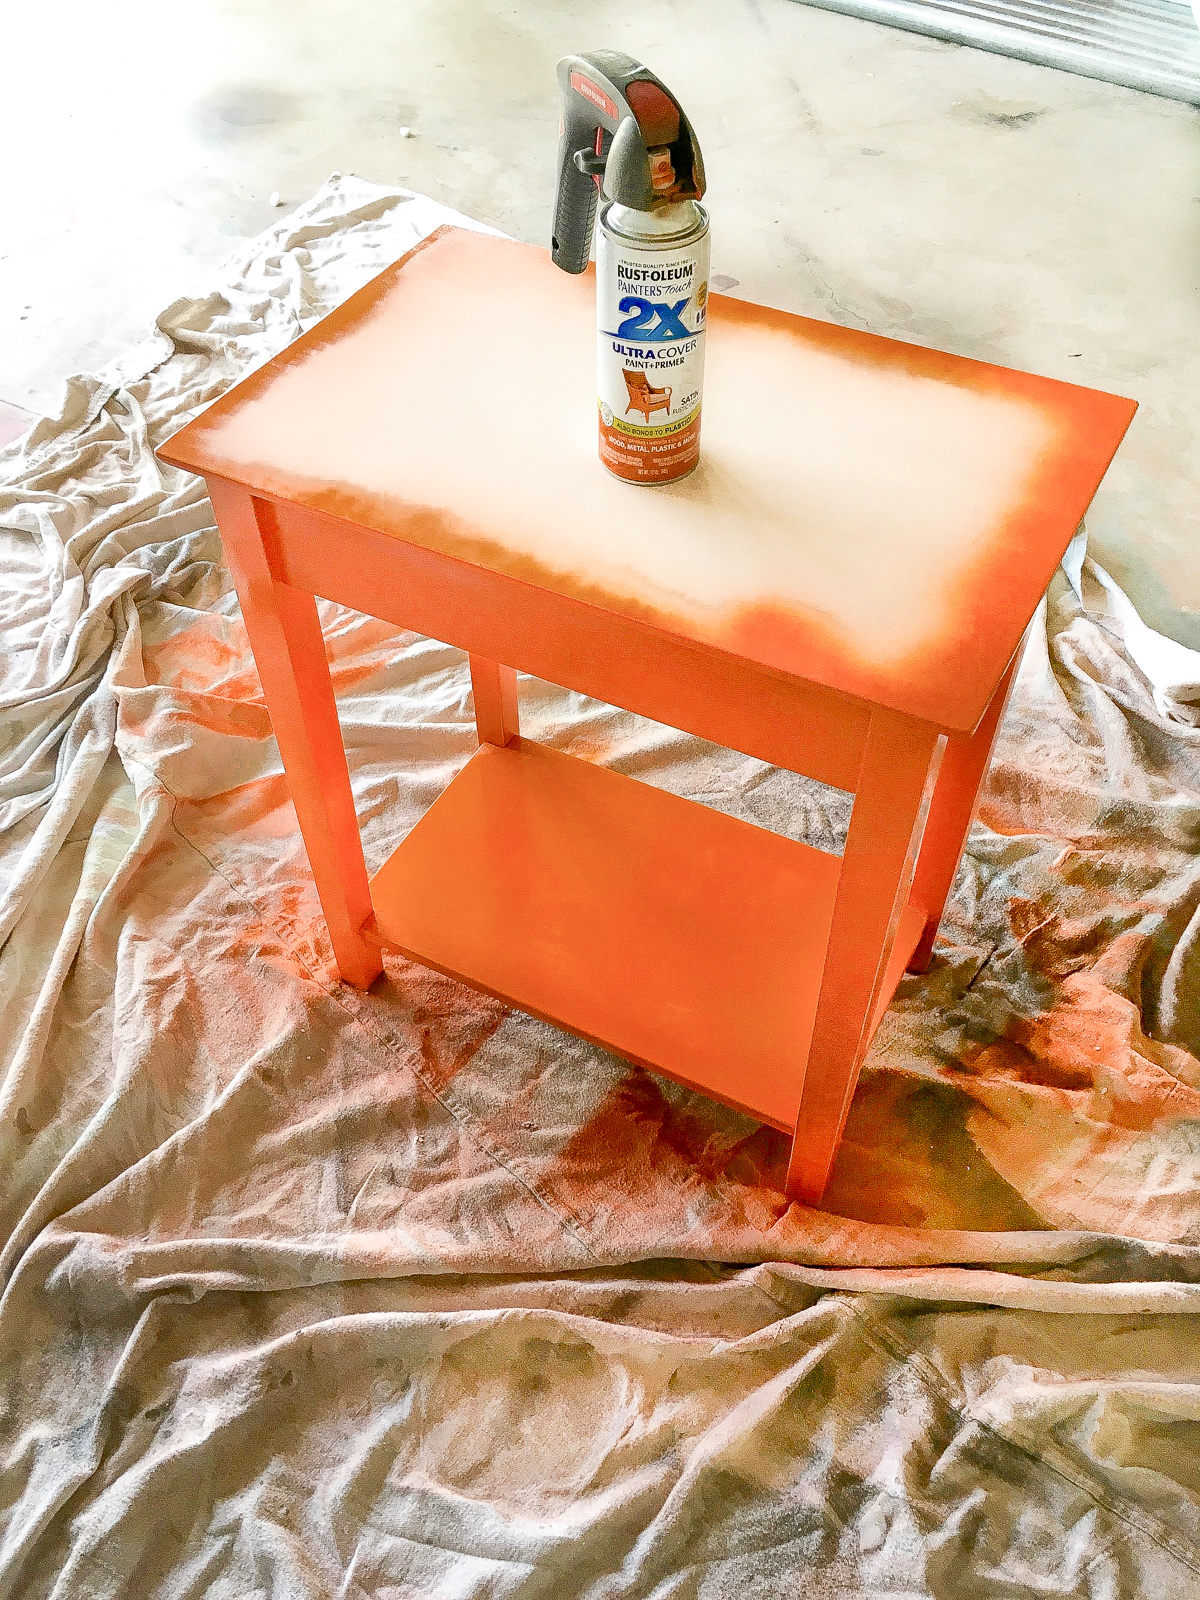
My favorite spray paint (seriously I’ve tried them all) is Rust-oleum. I find it performs the best in terms of dry time, how smooth it sprays, and I love the color choices. Again before you start you want to shake the can several minutes .
I’ve used a TON of Rust-oleum spray paint with zero problems except for 1 bad can I used back in the spring. I could not get the grittiness to shake out, even after 10 minutes of shaking. It happens, but it’s rare. If you get a bad can just put it aside and try another. Don’t risk ruining your piece.

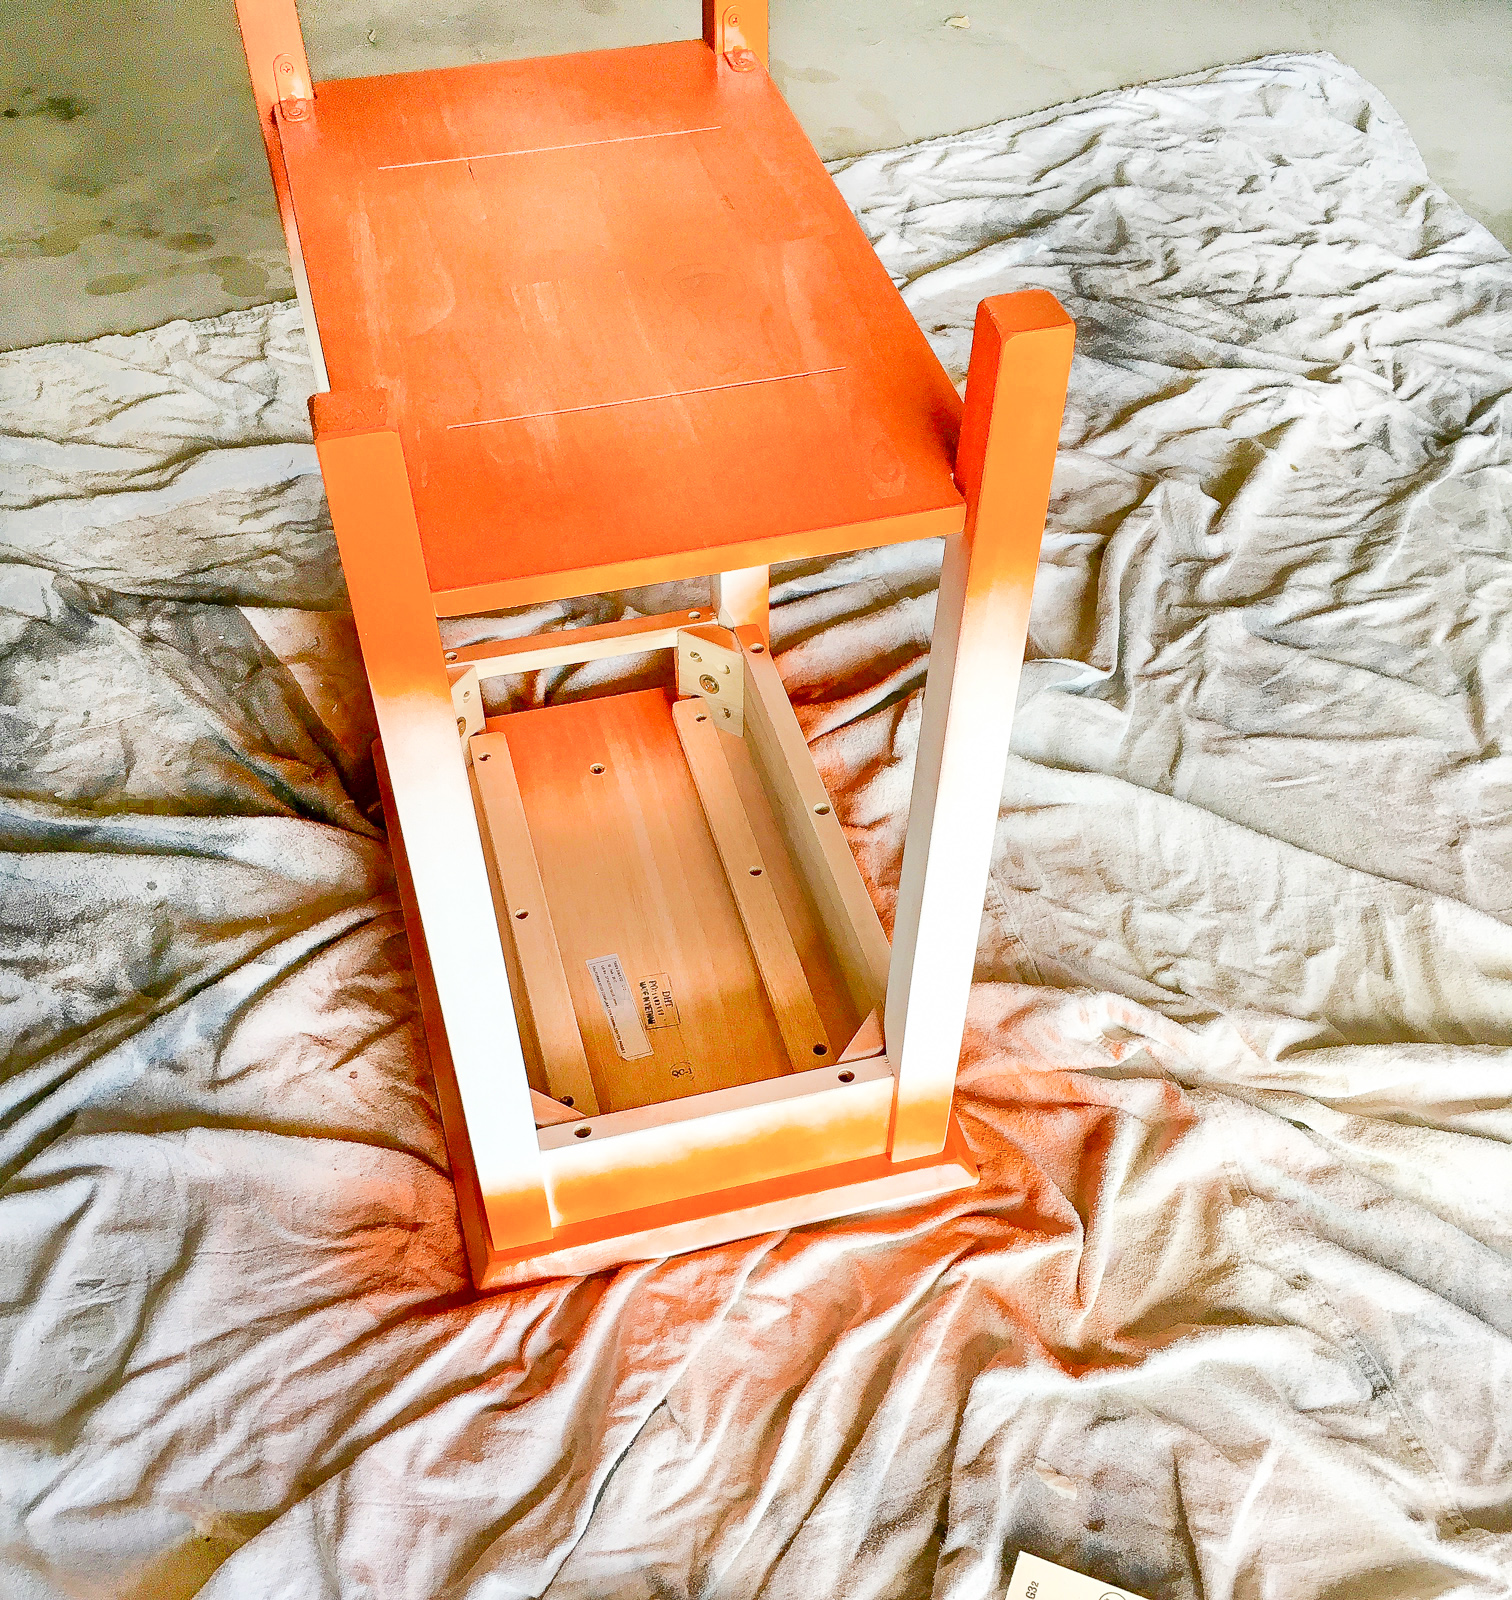
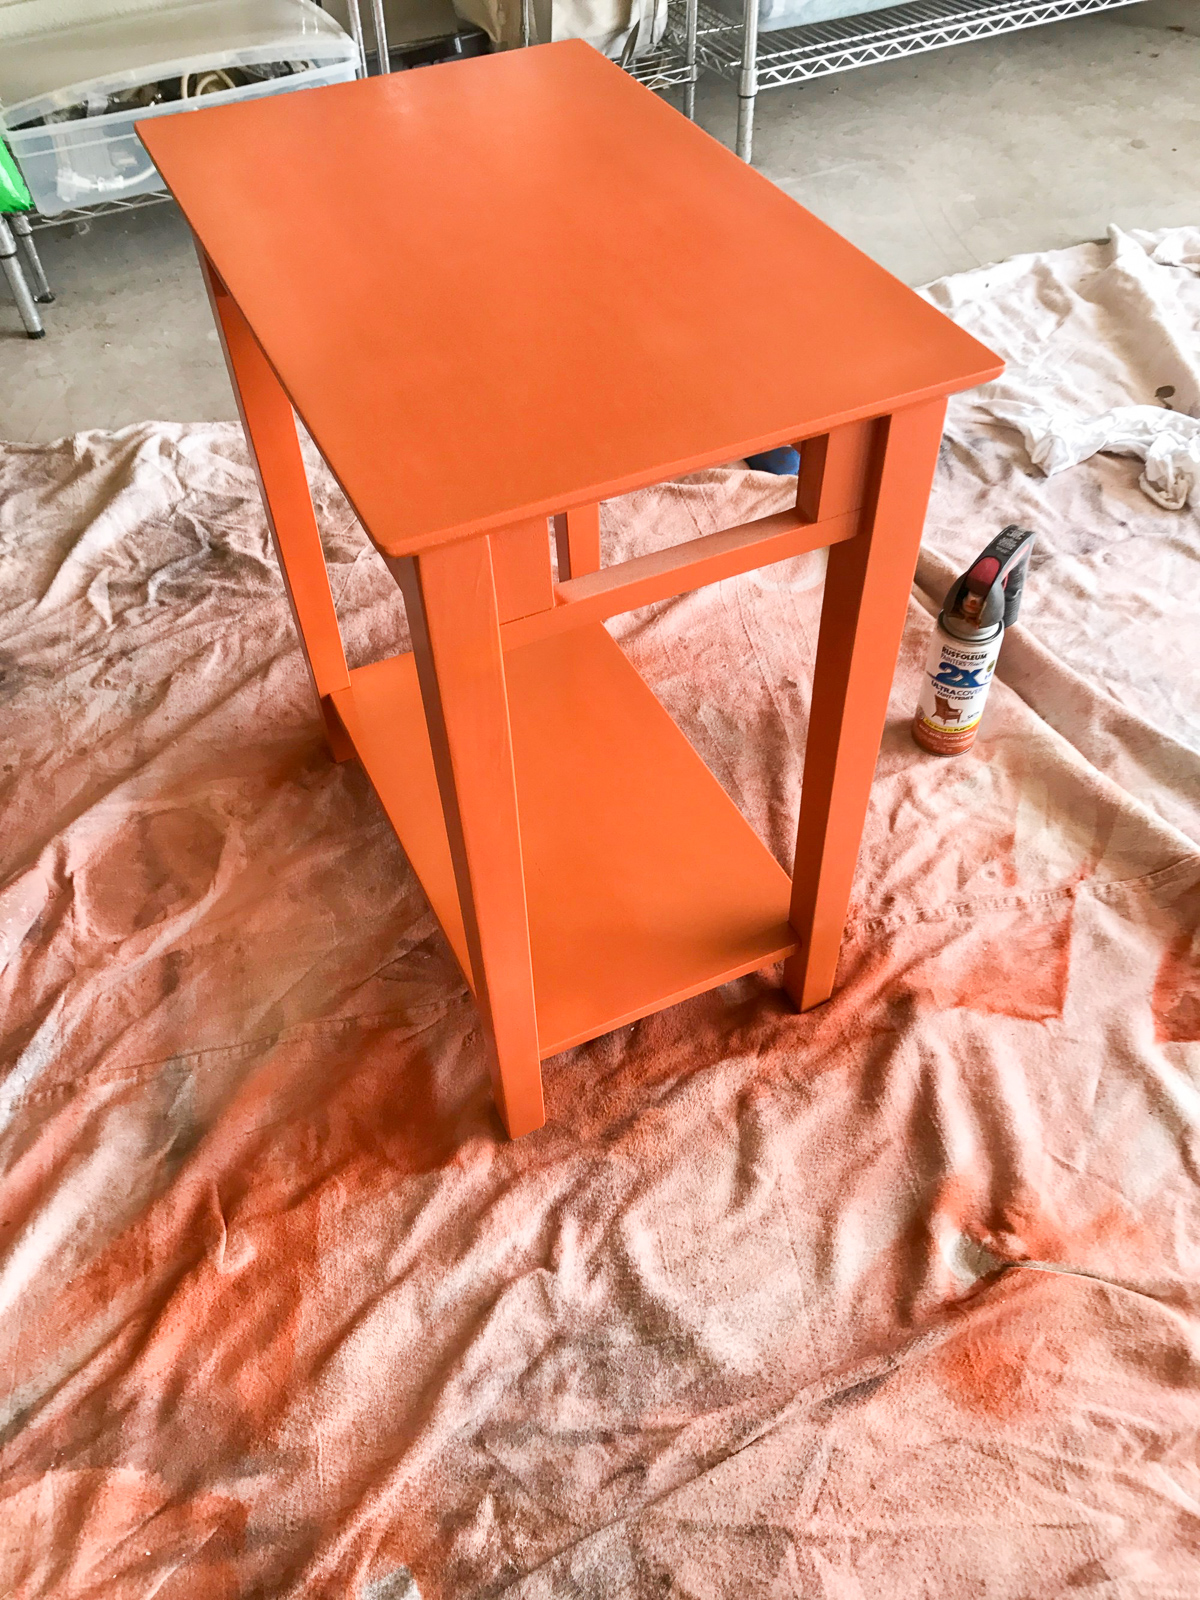
My side table is fully prepped and I’m starting by spray painting the bottom legs and underside first.
I like to use a spray paint gun for 2 reasons. It’s much less tiring on my fingers, and it keeps spray paint off my nails. If you don’t use a spray paint gun wear gloves because no matter how careful you are at first it will end up trashing your nails!
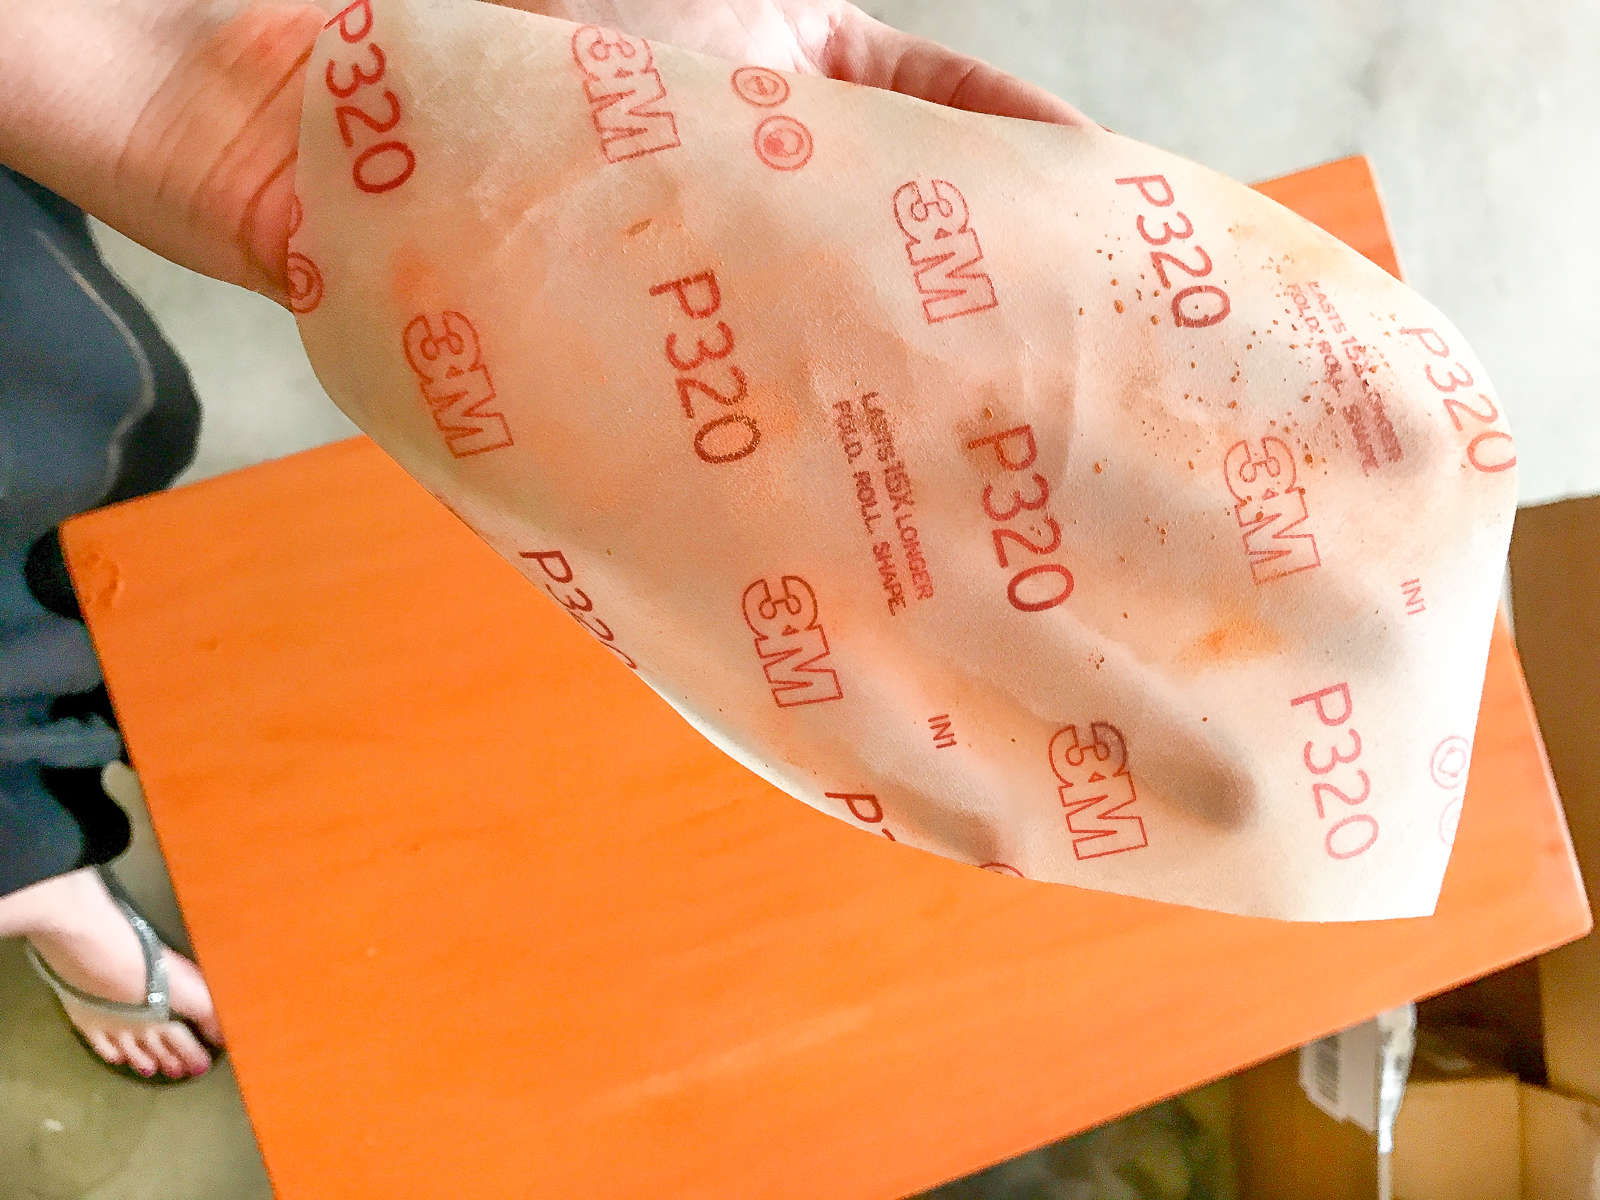
Make sure to get the sides and legs with a single coat of spray paint, then move to the top. Spray paint takes longer to dry than the primer, so be patient. Once the first layer of paint is completely dry (not a hint of stickiness) lightly sand smooth with 320-grit sandpaper.
I asked Brian to pick me up some sand paper from the hardware and he came home with this flexible sandpaper by 3M. I thought it was really odd at first, but once I got used to it I loved it! It really bends and folds easy to sand all the little nooks and crannies.
Each time I lightly sanded my piece smooth I used my hand-held vacuum to remove dust. Then I used a barely damp cloth to remove fine dust before continuing on to my next layer. Instead of a damp cloth you can use a tact cloth. A tact cloth is like a sticky cheese cloth that gets every scrap of dust off your furniture piece. It’s pretty cool, I just forgot to tell Brian to pick one up, so damp cloth it is.
FYI: A vacuum makes the dust clean up easier, but if you do not have one available just dust over and over by hand until your item is clean and dust free.
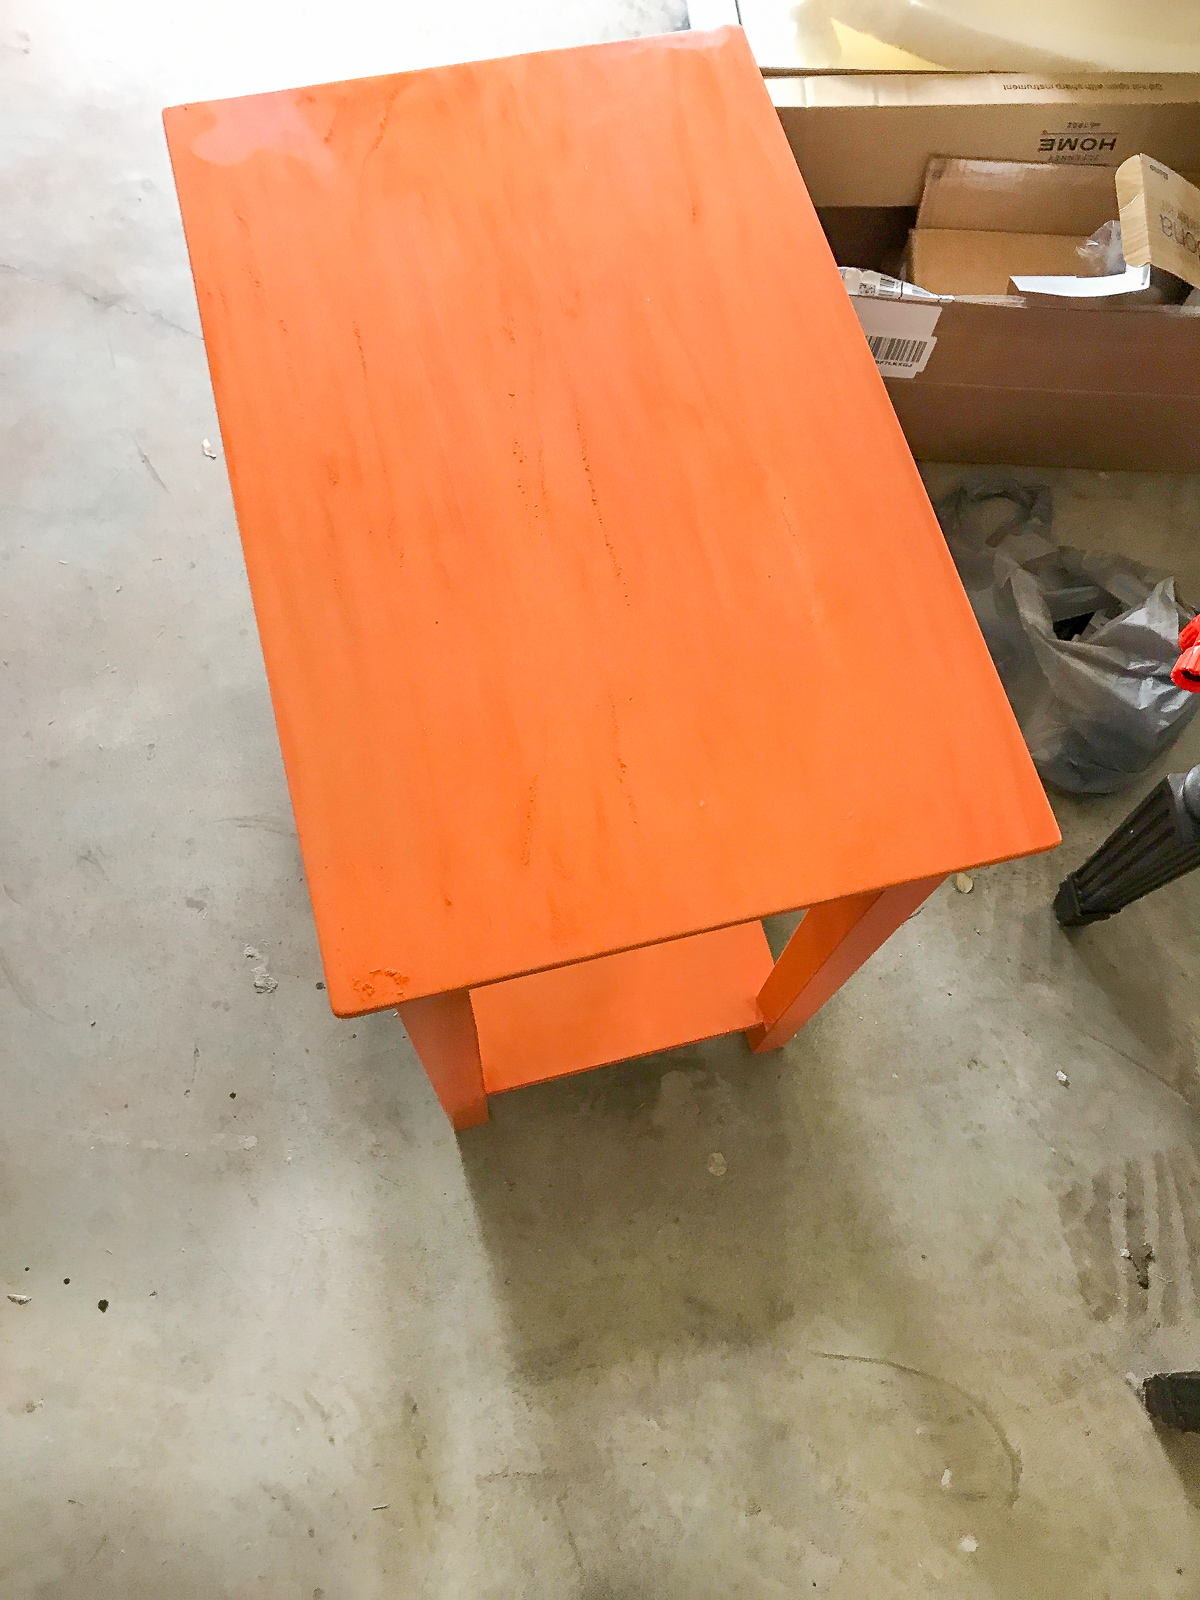
I did a total of 4-5 light coats. The paint will look uneven and blotchy with coats 1-3, that’s normal. It’s better to have more light coats of spray paint, than just a few heavy coats! When in doubt spray light and take your time!
STEP 4: Repeat The Steps
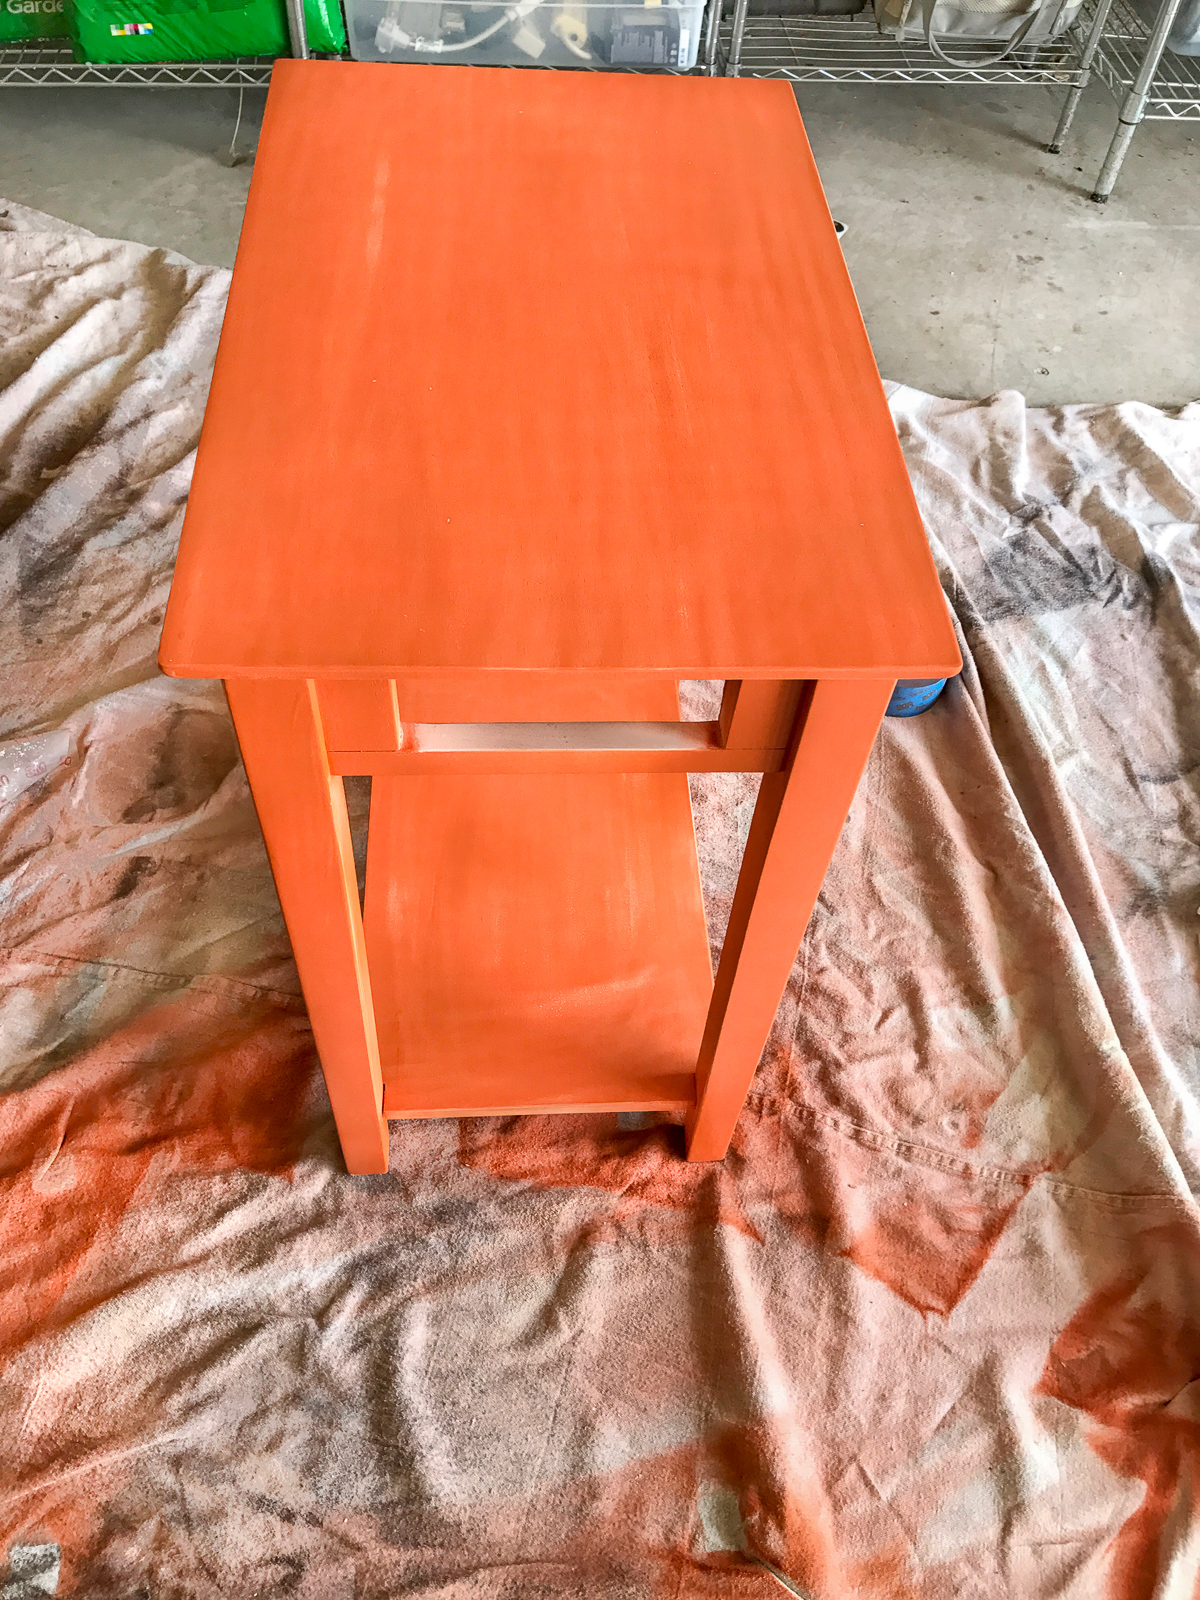
Repeat the steps of lightly spray painting, letting dry, lightly sanding smooth by hand, vacuum dust, and wipe clean with a cloth until your item looks perfectly painted.
Spray painting on rainy or high humidity days is not ideal at all. Your dry time will be much, much longer. The weather started off pretty ideal this day, but the late afternoon humidity dramatically increased and my side table felt sticky longer than it should have. So I very carefully carried it inside to help dry. It’s risky because sticky finger prints could have ruined my paint job. I carried it in lifting from the underside. You can also just let your furniture dry overnight in its humid environment. I was just in a hurry to finish it up.
STEP 5: Seal For Best Protection
Once your furniture piece is perfectly painted it’s time for a sealer. Give your item a good inspection in bright light to see if you missed any spots first!
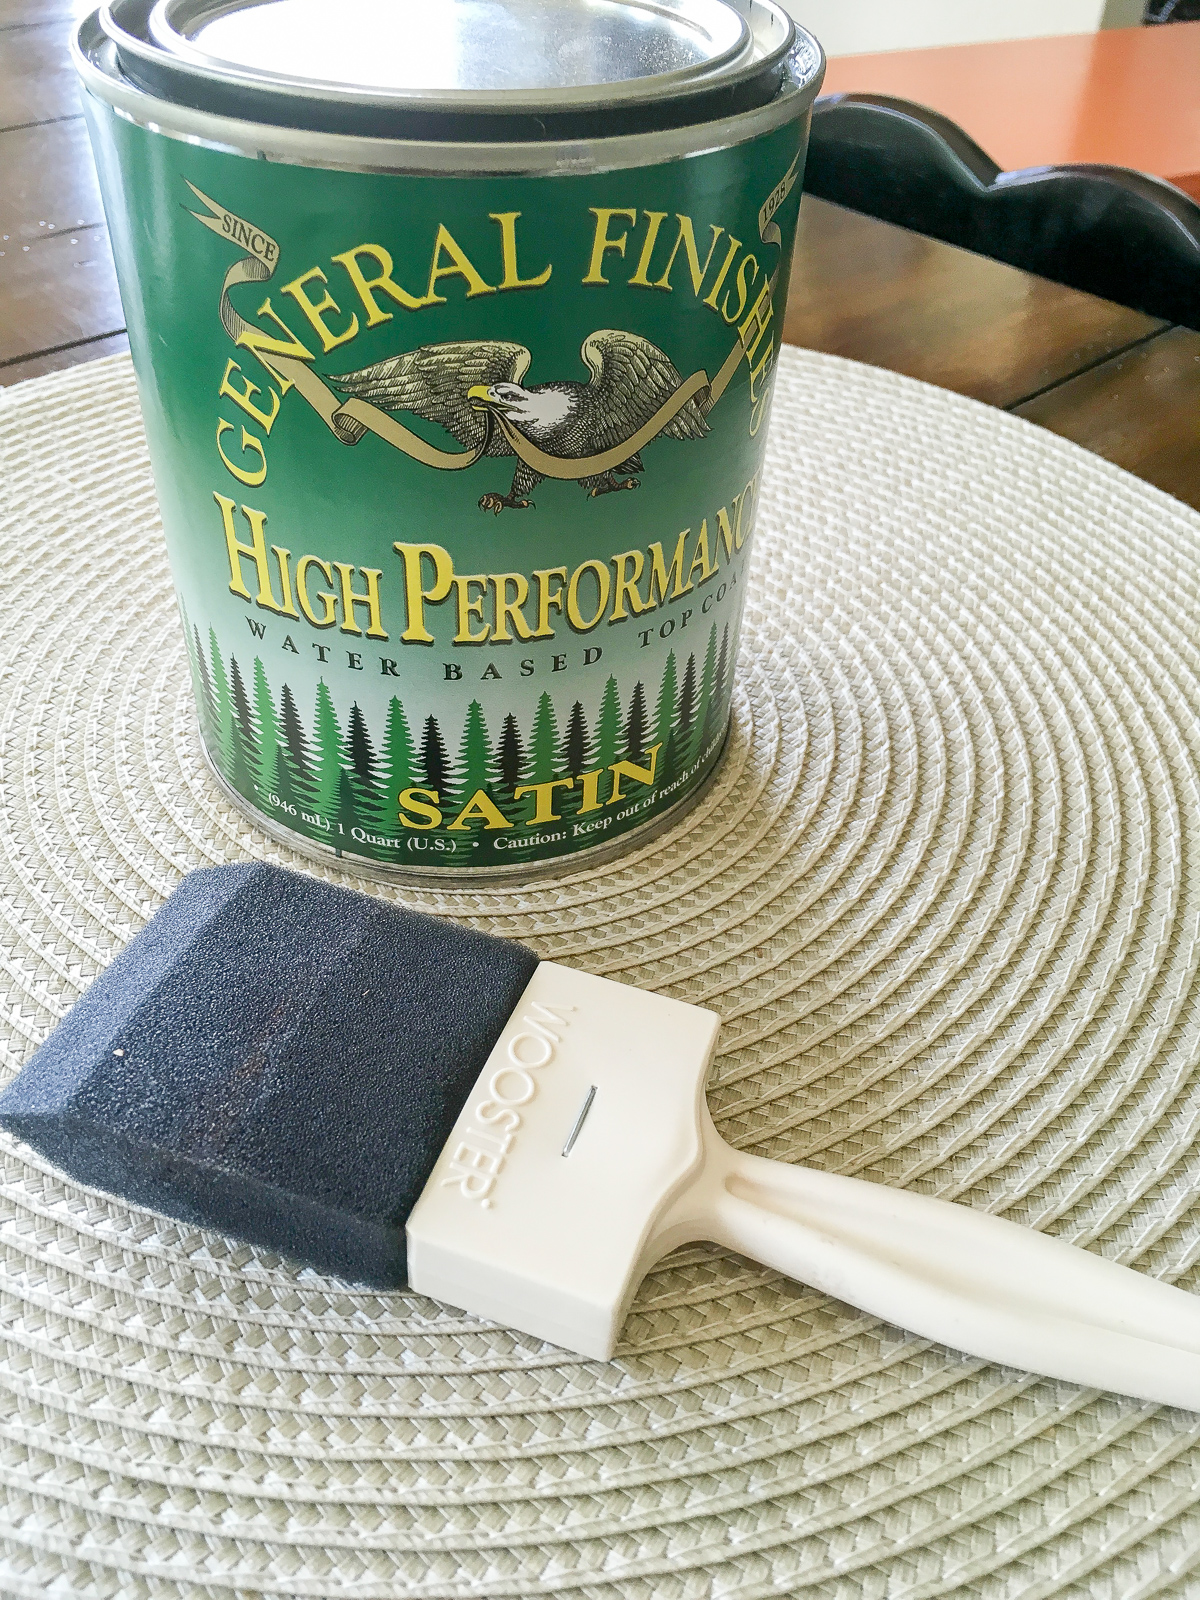
General Finishes makes incredibly high quality user friendly products! I can only find their products on Amazon. General Finishes top coats are the only ones I recommend. The General Finishes High Performance Water Based Top Coat is the hardest, most durable consumer polyurethane top coat on the market today in my opinion. I chose satin, but your desired finish is up to you.
I’ve ruined projects with other brands of sealers and had to start over. I prefer to brush on sealer because I’ve had bad results from spray sealers. I feel very confident recommending this sealer. It also has no odor. Not every project needs to be sealed necessarily but I like to do so anyway for a few reasons.
First, sealing your piece will protect heavy traffic pieces and keep them looking nice longer, and second, sealing your piece will hide any uneven sheen from your spray paint job.
I ended up using 3 coats of sealer here. Letting each coat completely dry (it dries fast), I lightly buffed with sandpaper in areas that were not completely smooth. I did not sand heavy enough to take off any color, though. If your seal looks smooth and you’re happy with the finished look you can skip this step. It’s up to you.
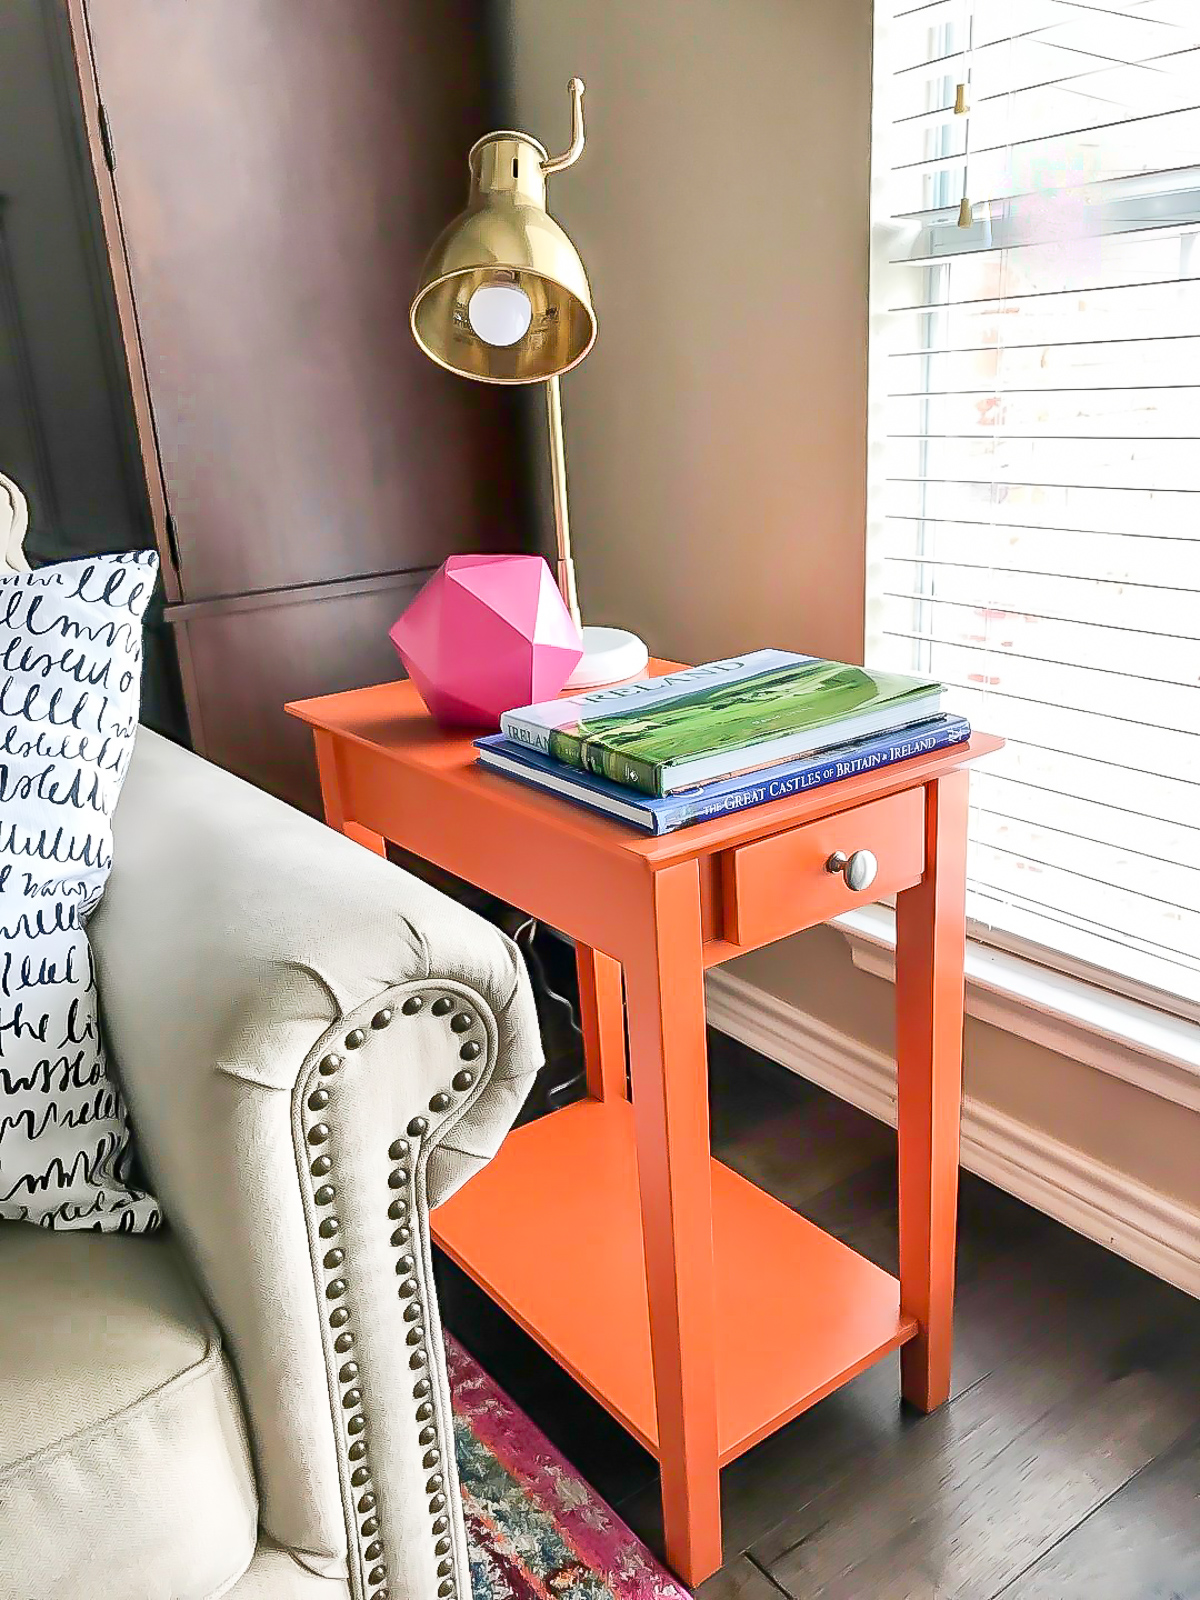
I’m very happy with end end result! If your wondering how long spray painting a piece of furniture will take, it varies. Smaller pieces can be completed in a day as long as the weather isn’t humid. If your item is large or the weather isn’t cooperating with you it may take you 2 or 3 days. When in doubt don’t rush and do not sand or re-coat until all the stickiness is gone!
SPRAY PAINT TIPS
Read the directions on the can.
Shake the can well…and I mean well!
Wear a mask.
Spray in a well ventilated area that’s out of the wind.
Use a spray paint gun or wear gloves to keep your nails nice. (Most Important)
Hold the can 10-12 inches away from your project.
Avoid rainy or high humidity days.
Use a good quality spray paint, I like Rust-oleum. You may find another favorite brand.
I avoid semi-gloss spray paint on furniture. I find its streakier. My favorite is satin. Flat or matte is also easy to work with but you will definitely need a sealer on furniture. I always use a sealer on my spray paint furniture pieces anyway.
Always buy more spray paint than you think you will need! Stopping a project to buy more paint is a major drag. Keep the receipt and you can return unused cans to the store (or save for future projects).
POTENTIAL PROBLEMS
Gritty finish– This is usually a result of not shaking the can long enough. If this happens, stop, shake the can longer, and proceed. The grittiness can be sanded out by hand once dry.
Drips– Sometimes when we start spray painting stuff it just looks so good we get carried away, the paint builds and it drips. If this happens I try to instantly wipe the drip away, it’s the easiest way to fix and then re-coat it later. If a drip goes unnoticed, wait until it dries, sand smooth by hand, and cary on.
Not wearing a mask– Nobody needs to be sniffing paint fumes even in a ventilated area, plus you’ll be blowing orange or whatever color you choose gunk out of your nose for days!
Humid or Rainy weather– Ok so you forgot to check the weather and it’s raining or extremely humid. Don’t panic just realize your item will take much longer to dry. Avoid touching anything that feels tacky or you will get the dreaded finger dents. If you’re able to bring the item inside with out any visible finger dents then go for it, just be careful.
Spray painting outdoors– This is another mistake that’s easy to make at first. Although you could get lucky and have everything work out just fine, most likely you will waste a lot of spray paint when it blows off in the wind. Or you will have dried gnats and particles blowing around stick to your finish. I prefer my garage with the doors open, or another option is creating a spray paint tent out of drop clothes on your balcony or backyard.
Streaky finish– This is why I avoid semi-gloss or gloss for furniture items. For this reason I prefer flat, matte, or satin finish in spray paint. Remember to use nice even strokes while painting. Sometimes streaks in the sheen (not the color) will happen. This is easily fixable with a nice top coat. Even if your paint sheen is perfect a top coat will just add more protection!
So there you have it! Go off and spray paint my darlings! Make your world beautiful and colorful! If you have any questions leave them in the comment section and I’ll try to answer them the best I can. If I don’t know the answer I’ll make something up…I’m kidding!

