
Who’s ready for a Christmas craft? I am! How about one that’s on trend and super affordable as well? Last year I admitted that I’m an early decorator when it comes to Christmas, but add in crafting projects and you’ve got to start even earlier to be ready. Today I’m sharing my budget miniature trees that I’m using from the Dollar Tree. We have a location really close to the house and I’m always stopping by for great finds… especially around the holidays.
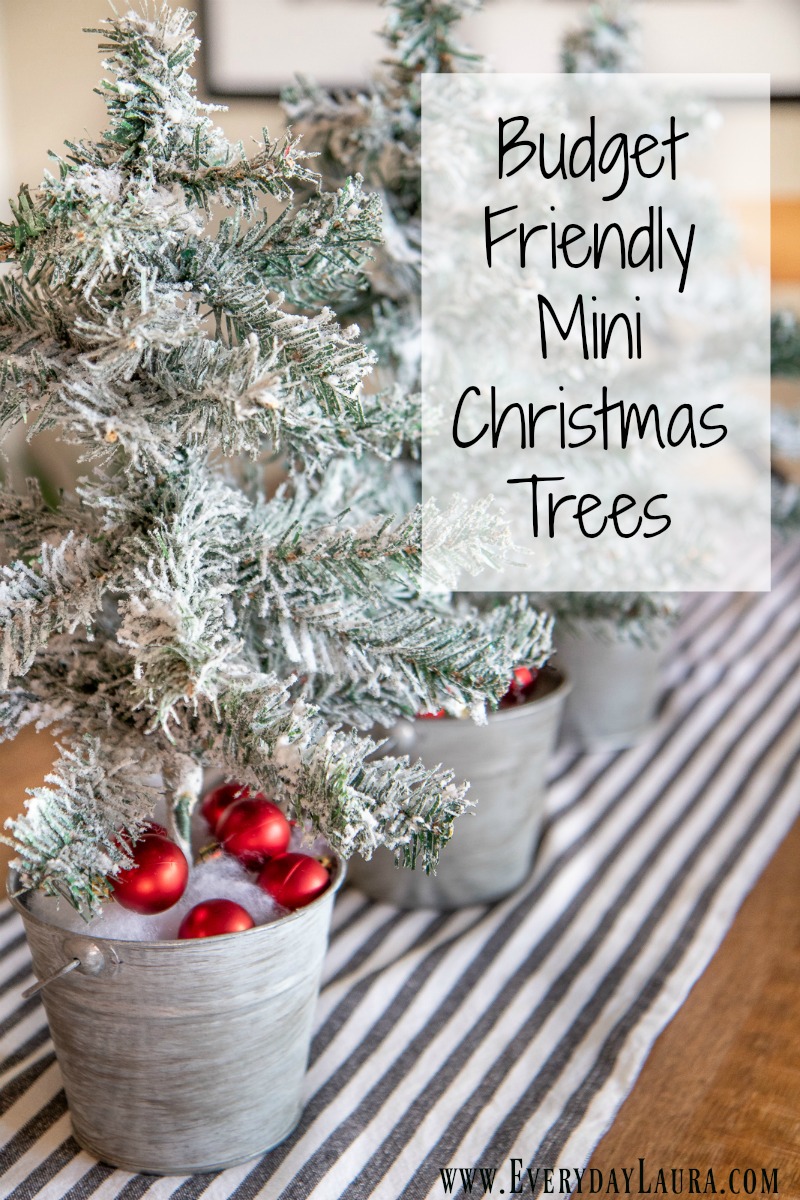
I was absolutely thrilled to find these 18 inch trees for just $1! I started texting people, hurry and go buy these, haha!! I get really excited about great finds and these have so much potential. You can jazz up these adorable trees to give them a high dollar look for around $5 each – and maybe even less than that depending on what supplies you have on hand. You can create a grouping, or give them away as gifts – endless possibilities.
Most of the supplies I had on hand, or they came from the Dollar Tree… seriously I love that store this time of year! The trees are naturally green, I do think they look cute unflocked, but I’ve been a flocking maniac these last few days… A good size bag of flock can be around $20, but my bag has lasted me forever and I recommend every crafter have some on hand during the holidays. SnoFlock is a natural product and makes projects incredibly easy.
All you do is mist with water and sprinkle it on. You can use a mesh sifter or your hand for a heavier look. Large projects should be done outside, small ones you can do in your kitchen sink and rinse the mess down. I think all crafty gals need some SnoFlock on hand, it will last a long time, my bags been going strong since last year. This year I’ve flocked pinecones and so many other exciting things I’ll share soon.

If you don’t live near a Dollar Tree you might be able to find something near the same price at a dime store, you could also use a branch from an old fake Christmas tree. If your Dollar Tree is sold out then that means I’ve hit your town and bought them all. Just kidding… here’s a link to the trees on their website.
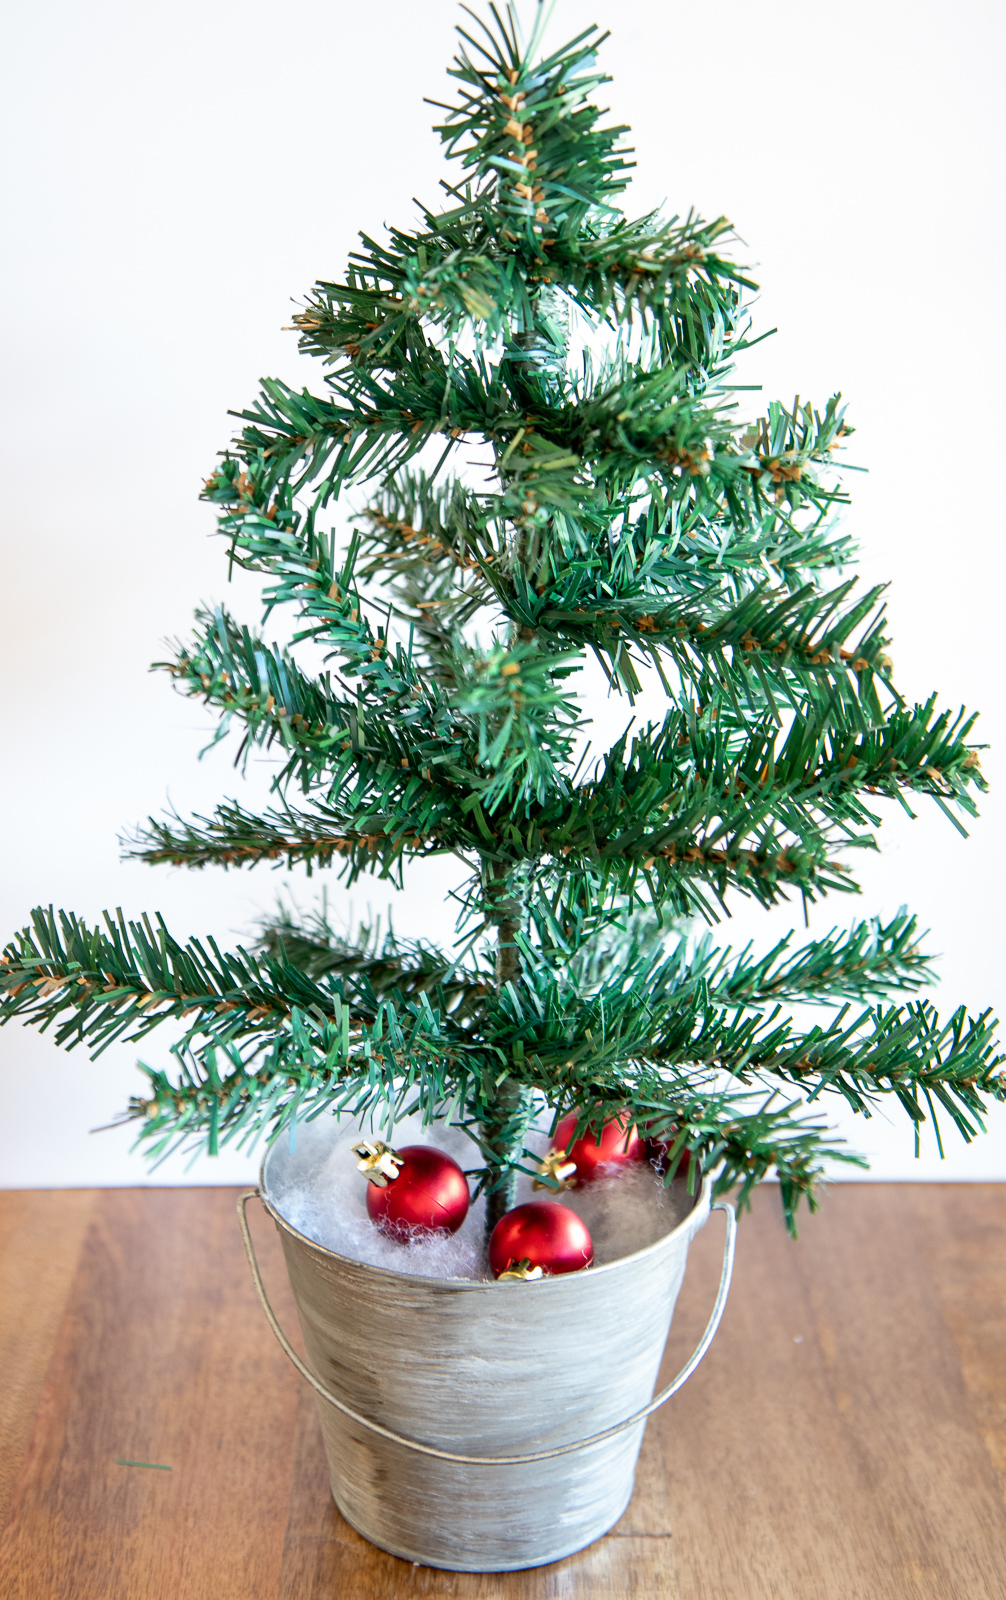
These trees have a bare look which I gives them that trendy farmhouse look. I actually love the bare minimal style of the tree. If you do want to thicken the trees up you can wrap a roll of evergreen garland around the trees, also from the Dollar Tree.
ALL THE SUPPLIES I USED TO MAKE BOTH TREES
Dollar Tree Christmas Trees
Dollar Tree bag of stones
Hot glue
Dollar Tree red mini ornaments
White fluffing from an old pillow or stuffed animal
Scrap burlap
Metal bucket or container (an old metal can could work)
A small glass cup or jar
Twine or string
SnoFlock (optional)
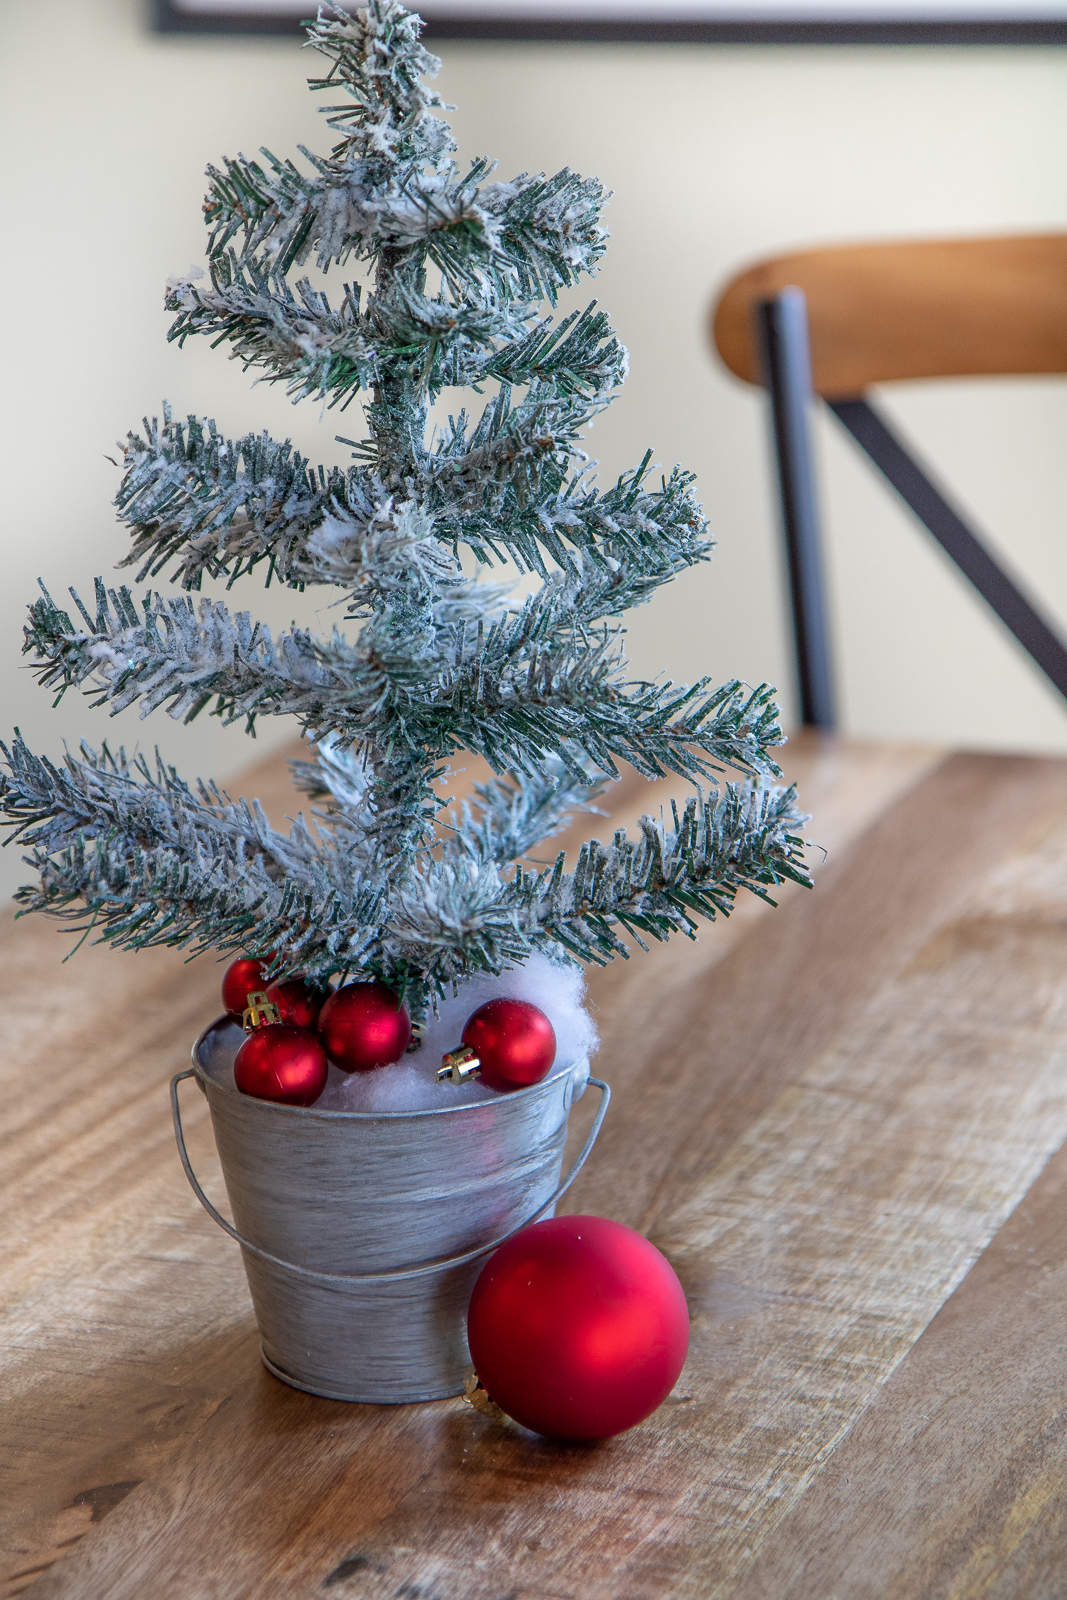
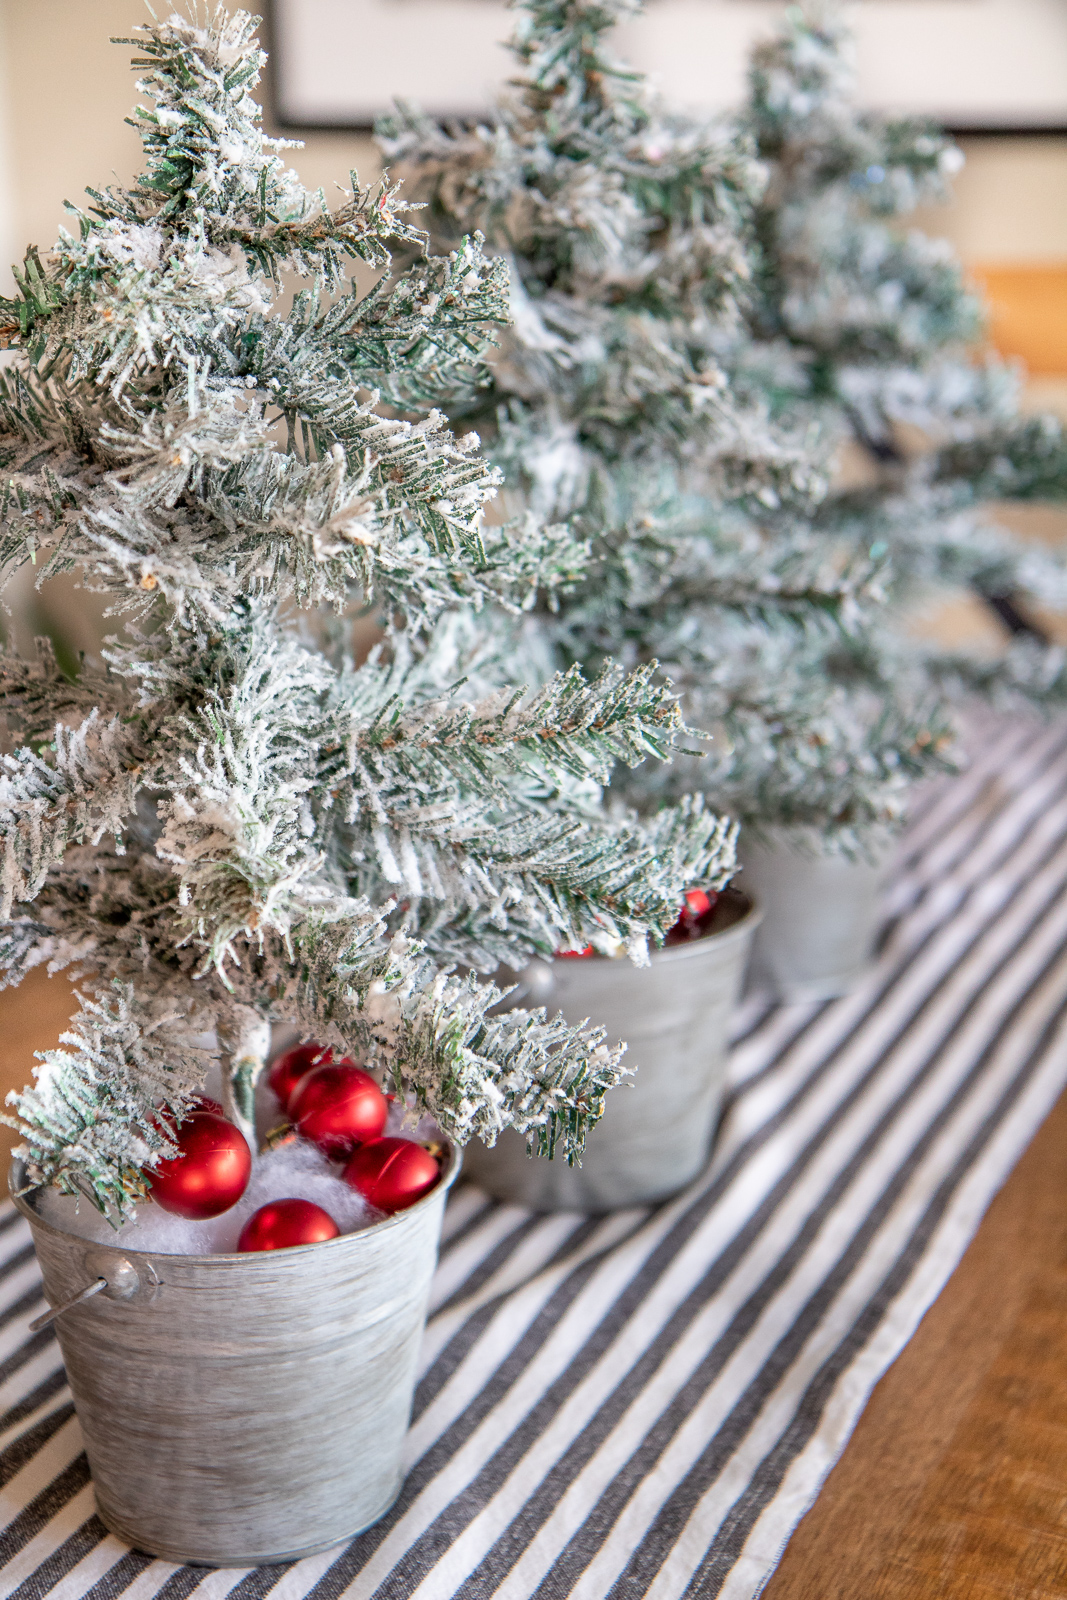
I bought these metal buckets on sale at Hobby Lobby for under $2 each, but any container should work. A flower pot, mini basket… whatever. They were shiny metal so I just barely dabbed some old white paint with a dry paint brush and brushed it onto each bucket. You don’t need anything fancy, I actually used old Kilz primer. It dried fast and looks matte, perfect for a distressed finished.
Hey… now I’m thinking you could do this with an old metal can? Now this project just got even cheaper!
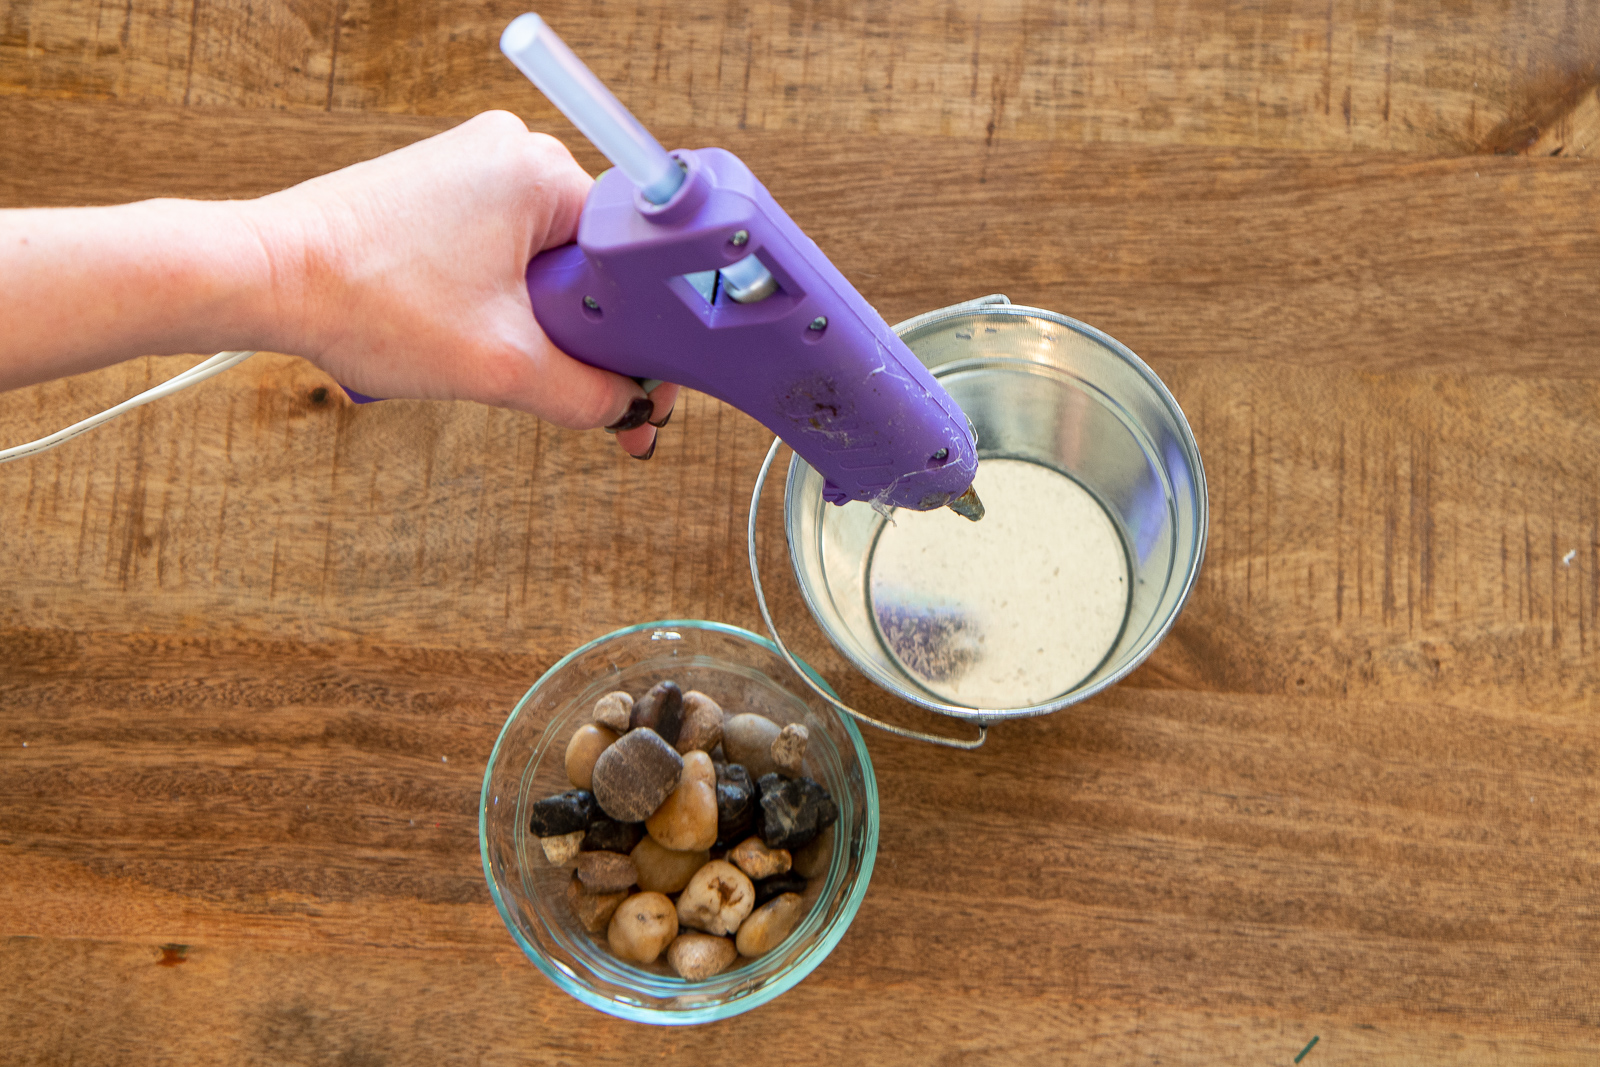
I love getting bags of stones from the Dollar Tree. I was in the store with Brian the other day and he asked what do you use these for. The reply was what don’t I use them for? Serisouly you will find a million ways to use them. I use them to weigh things down a lot too.
To begin with, I had already flocked my trees and let them dry several hours. I left off the Christmas tree legs and simply added a large dab of hot glue to secure the tree to the container. You can just do that, or if you’re using a container you don’t want to glue, simply use the stones to secure the tree base. If you want your trees very sturdy then do both methods like I did for this tree.

Now I added old pillow fluff, which I always have on hand. The stuffing for an unwanted stuffed animal would work or you can buy snow fluff in the holiday aisle this time of year. I topped it off with a few mini red ornament balls from the Dollar Tree. Have I mentioned I love the Dollar Tree??
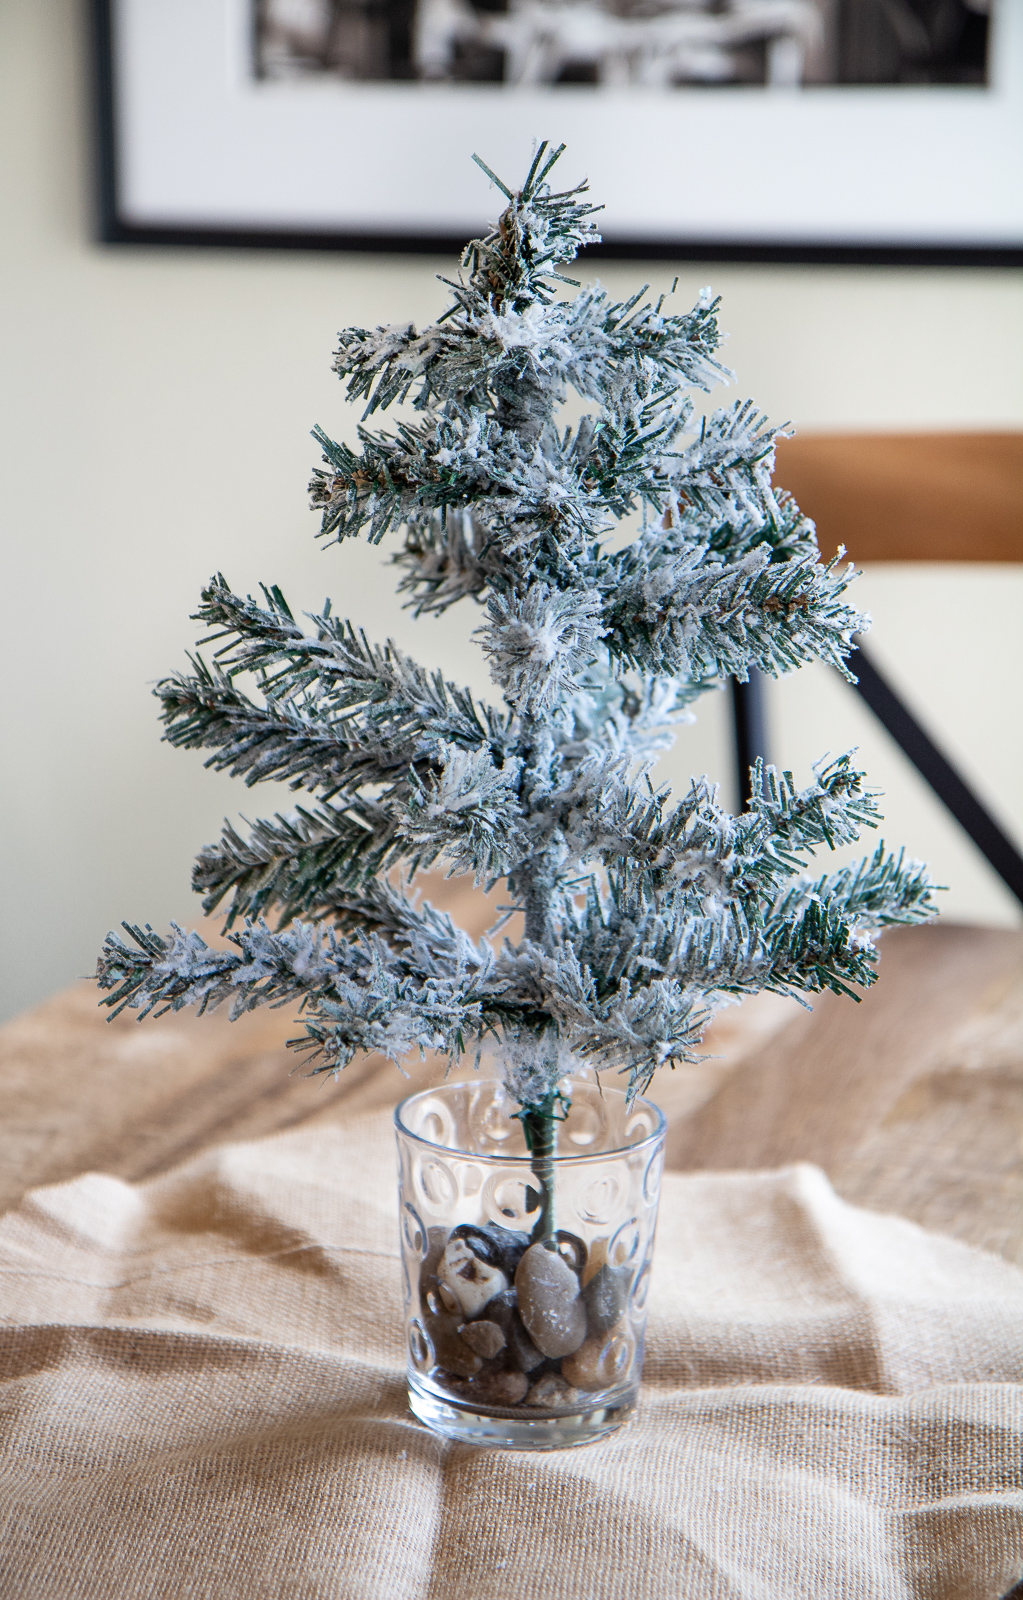
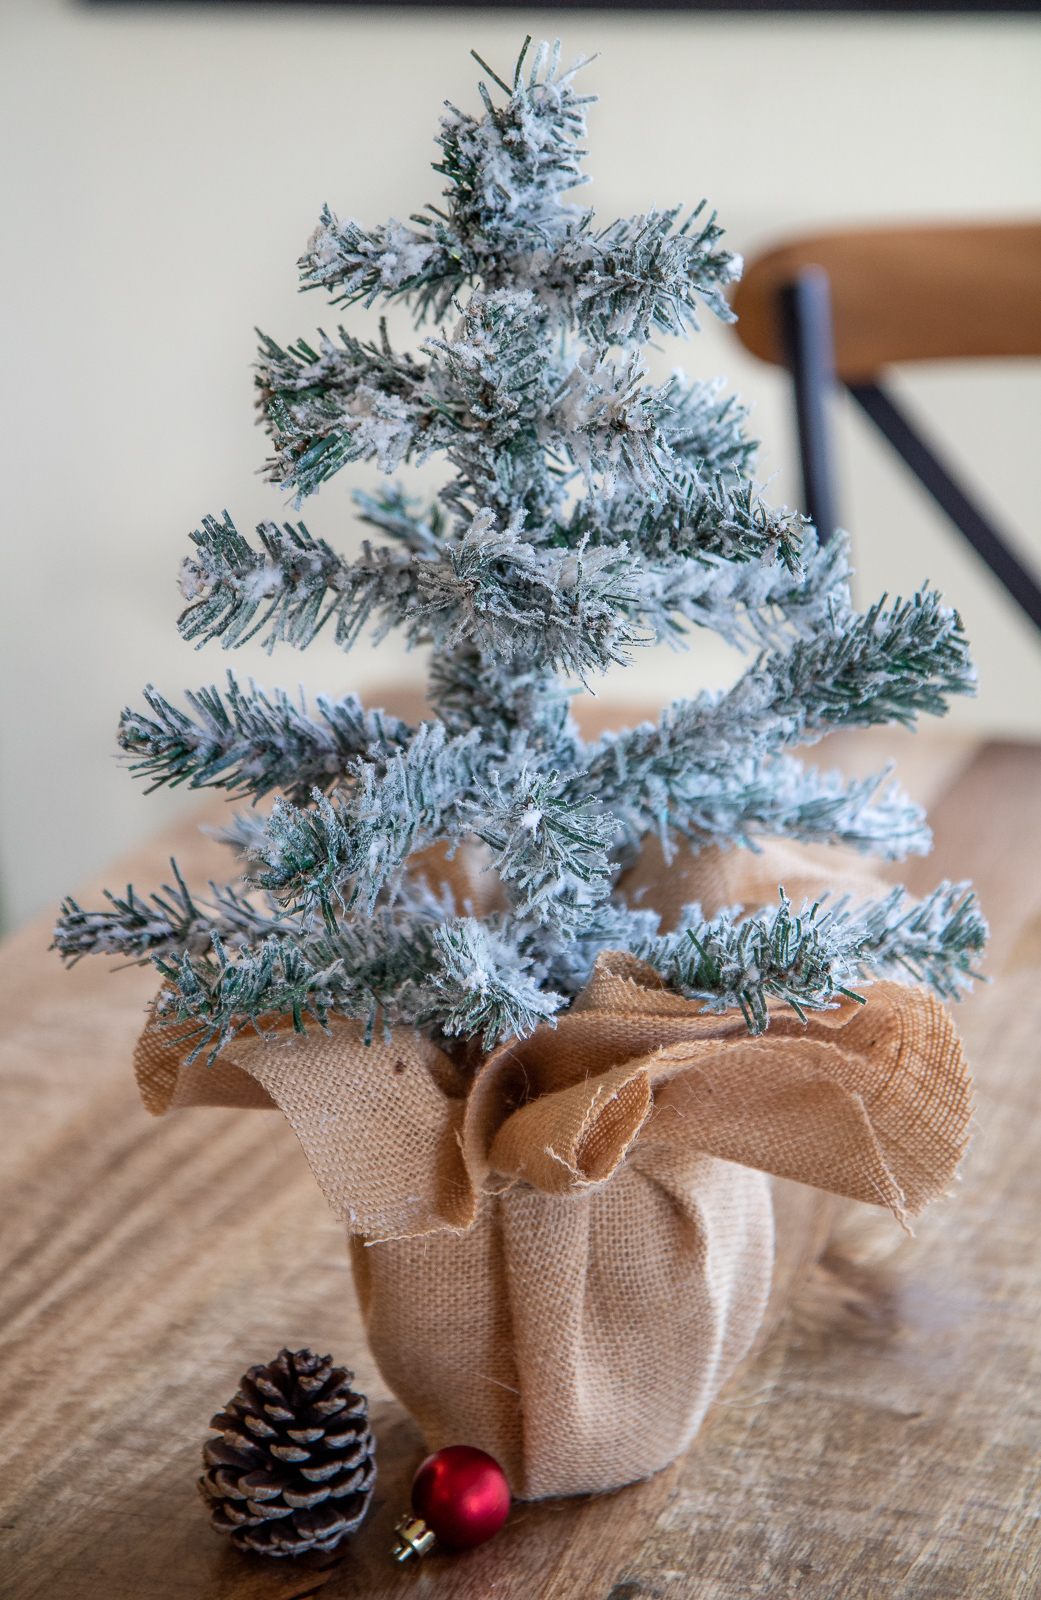
For the second tree look I didn’t use hot glue. I simply used stones to secure the tree in a regular juice glass. Any container will work as long as it’s sturdy and won’t tip over. Then I took some old burlap cut into a circle, wrapped it, and tied it with jute twine. It’s super easy but helps to have a third hand around while doing this.
If you don’t have old burlap in your craft closet you can buy burlap squares at Hobby Lobby or usually another craft store for .99 cents near where the bandanas are sold.
I hope you can get your hands on these little mini trees and create your own amazing versions!
I have a TON of budget friendly Christmas ideas I want to share and I will soon I promise. Sometimes I totally blow my budget… l fully admit but it’s also fun to save. The best of both worlds I say!

2 thoughts on “DIY BUDGET MINI CHRISTMAS TREES”