
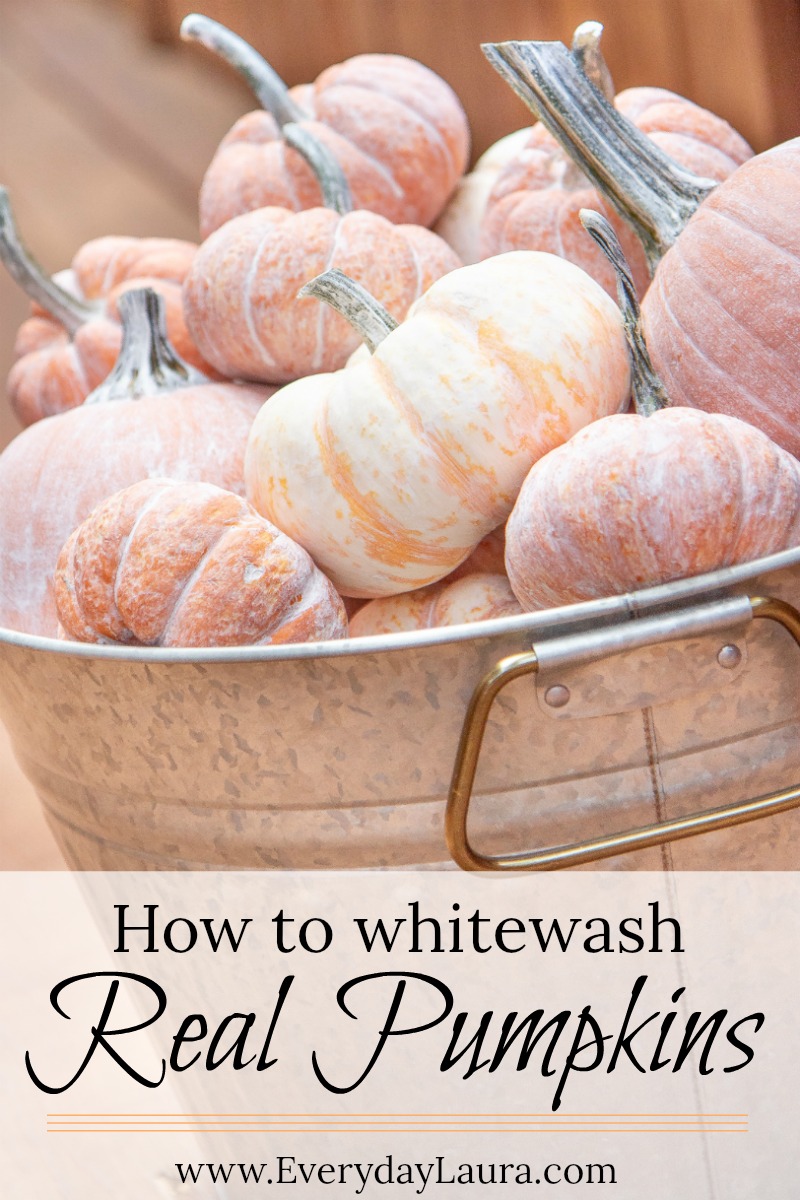
Hello friends, if you haven’t already done so it’s time to break out the pumpkins! I love decorating the house this time of year, and one of my favorite ways to do so is with whitewashed pumpkins. If you’re unfamiliar with whitewashing pumpkins have no fear… it’s quick, cheap, and so easy to do! I think we can all agree how adorable orange pumpkins are, but I love the effect whitewashing does to a pumpkin. It slightly tones down the orange, enhances the natural character, and gives them a high end look.
When I decorate with pumpkins I prefer real over faux. Not only do I prefer a more realistic look, but storage space is a major issue in our house. I love the fact that I can simply toss my pumpkins after Thanksgiving and be done. When whitewashing pumpkins, nearly any kind of paint will do. I’ve used craft paint, wall paint (of all sheens), and even chalk paint… don’t worry it’s all good! I seriously just use whatever, I recently used up all my Benjamin Moore white paint so for this blog post we’re using basic $2 craft paint.
SUPPLIES NEEDED
Pumpkins
White paint (craft paint, chalk paint, wall paint, any kind will do)
Foam or bristle brush
Paper towels
Disposable cup or bowl
Drop cloth or newspaper to protect your surface
INSTRUCTIONS
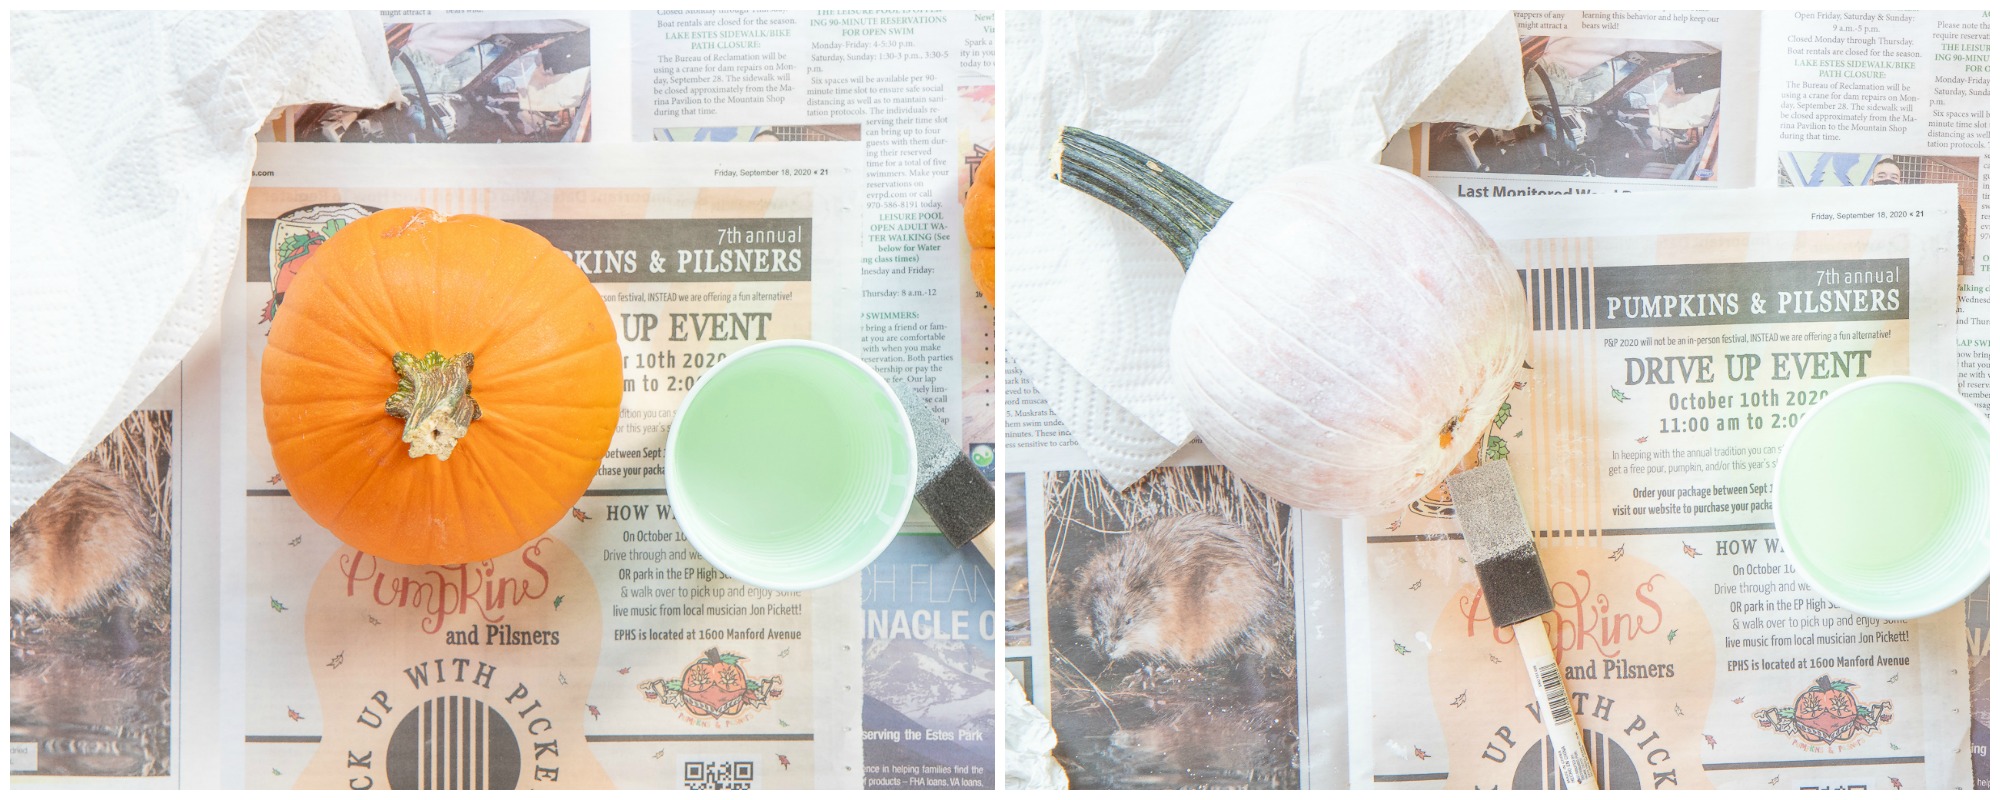
1. Lay newspaper or a drop cloth down to protect your surface. Water down the paint by mixing equal portions of paint and water in a disposable cup or bowl. I used 1/4 cup paint with 1/4 cup of water. You can increase or decrease this mixture depending on the size and number of pumpkins you have, just keep it in equal portions.
2. Brush the paint mixture evenly onto the pumpkin making sure the paint goes all the way into the grooves of the pumpkin. Avoid getting paint on the stem for this step.
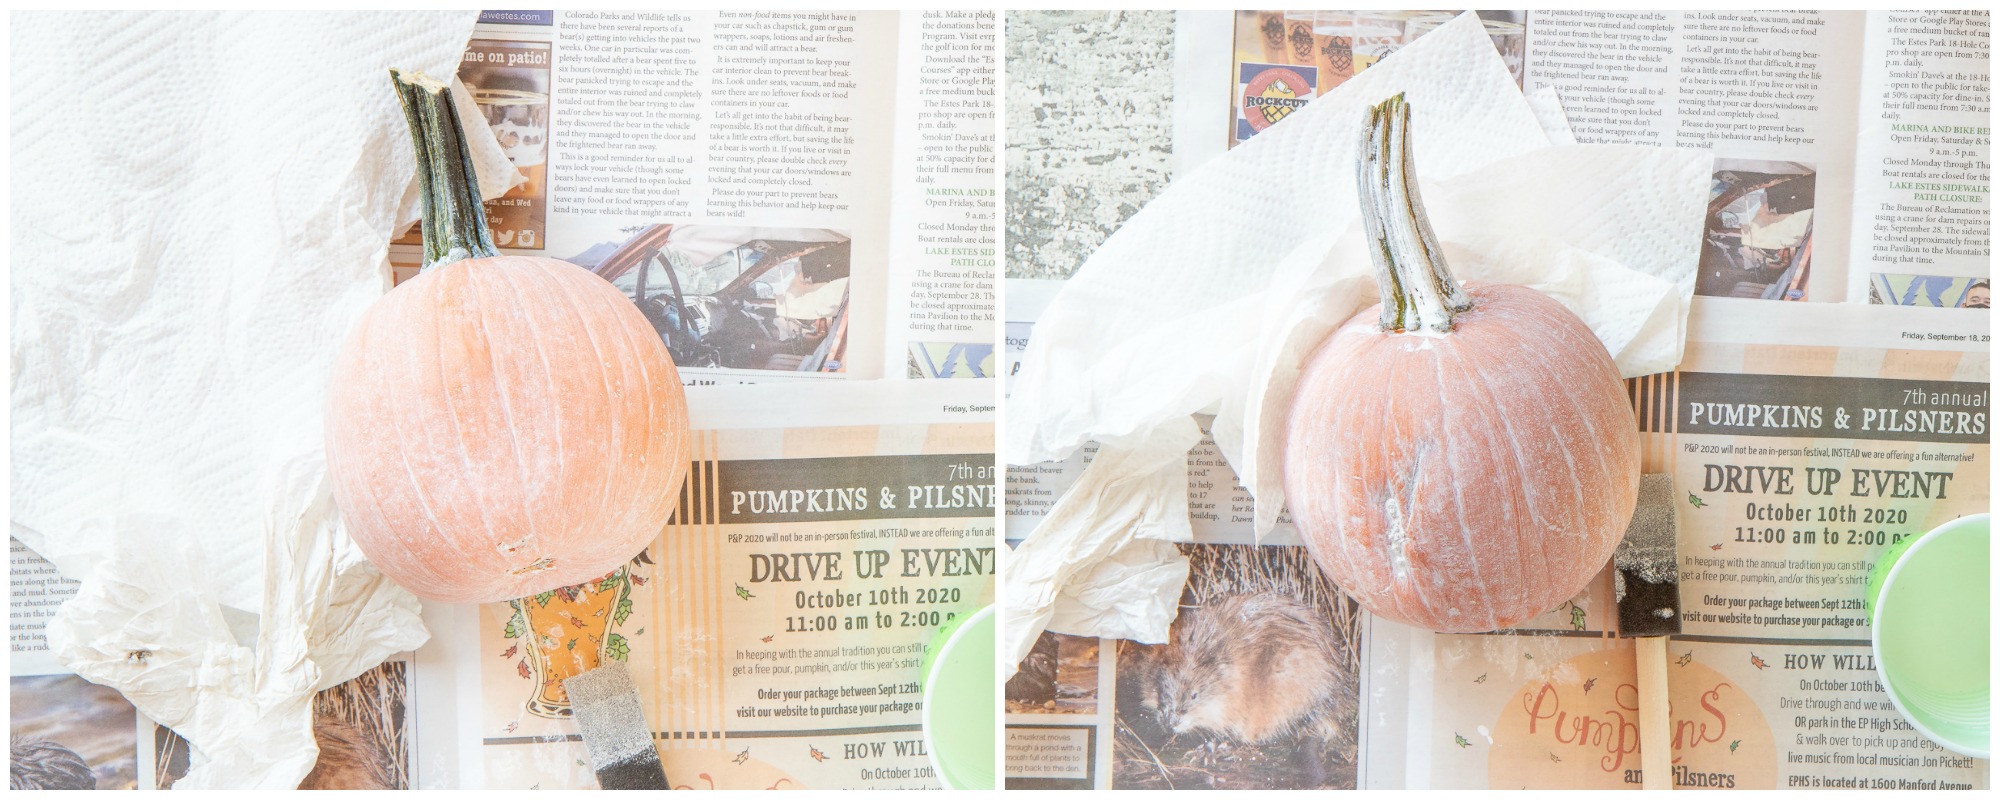
3. After the pumpkin is completely painted, wait about 30 seconds and wipe the paint off with a dry paper towel. Be sure to wipe the paint off from the top to bottom for the best effect. Let the pumpkin dry, it shouldn’t take very long about 10-15 minutes at most.
4. Last, apply paint lightly to the stem and immediately wipe it off as you go. The stems are very dry and porous so you want to use the paint sparingly here. Now let the stem dry and you’re good to go.
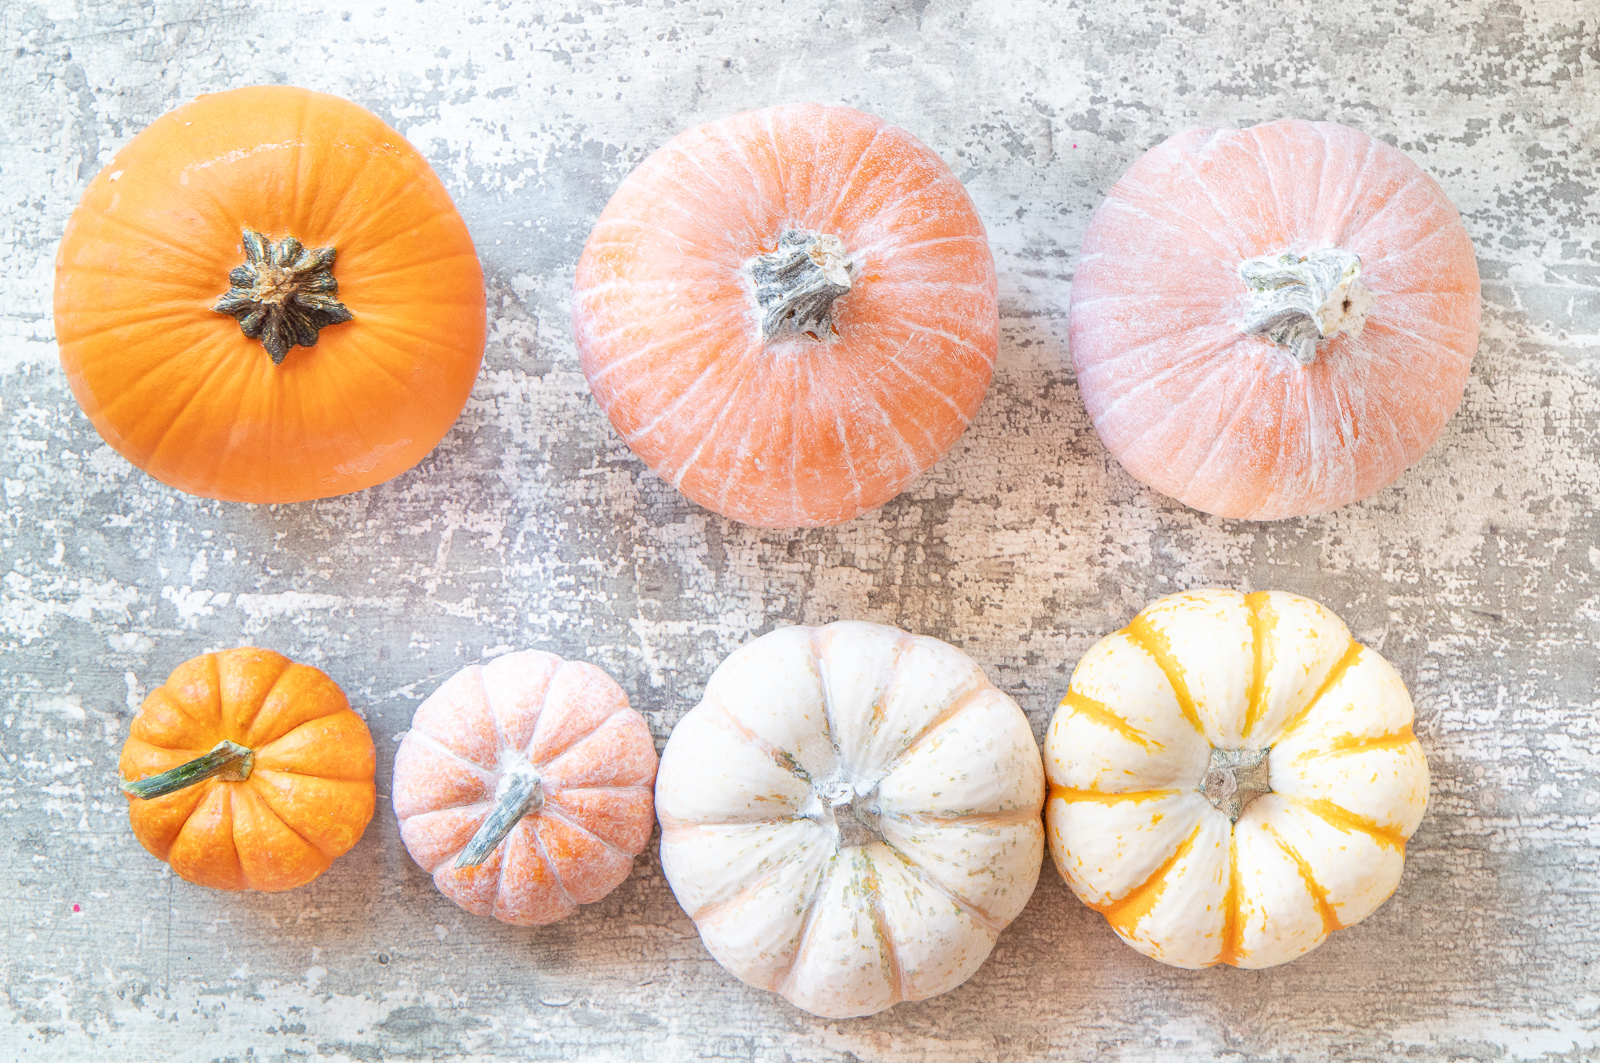
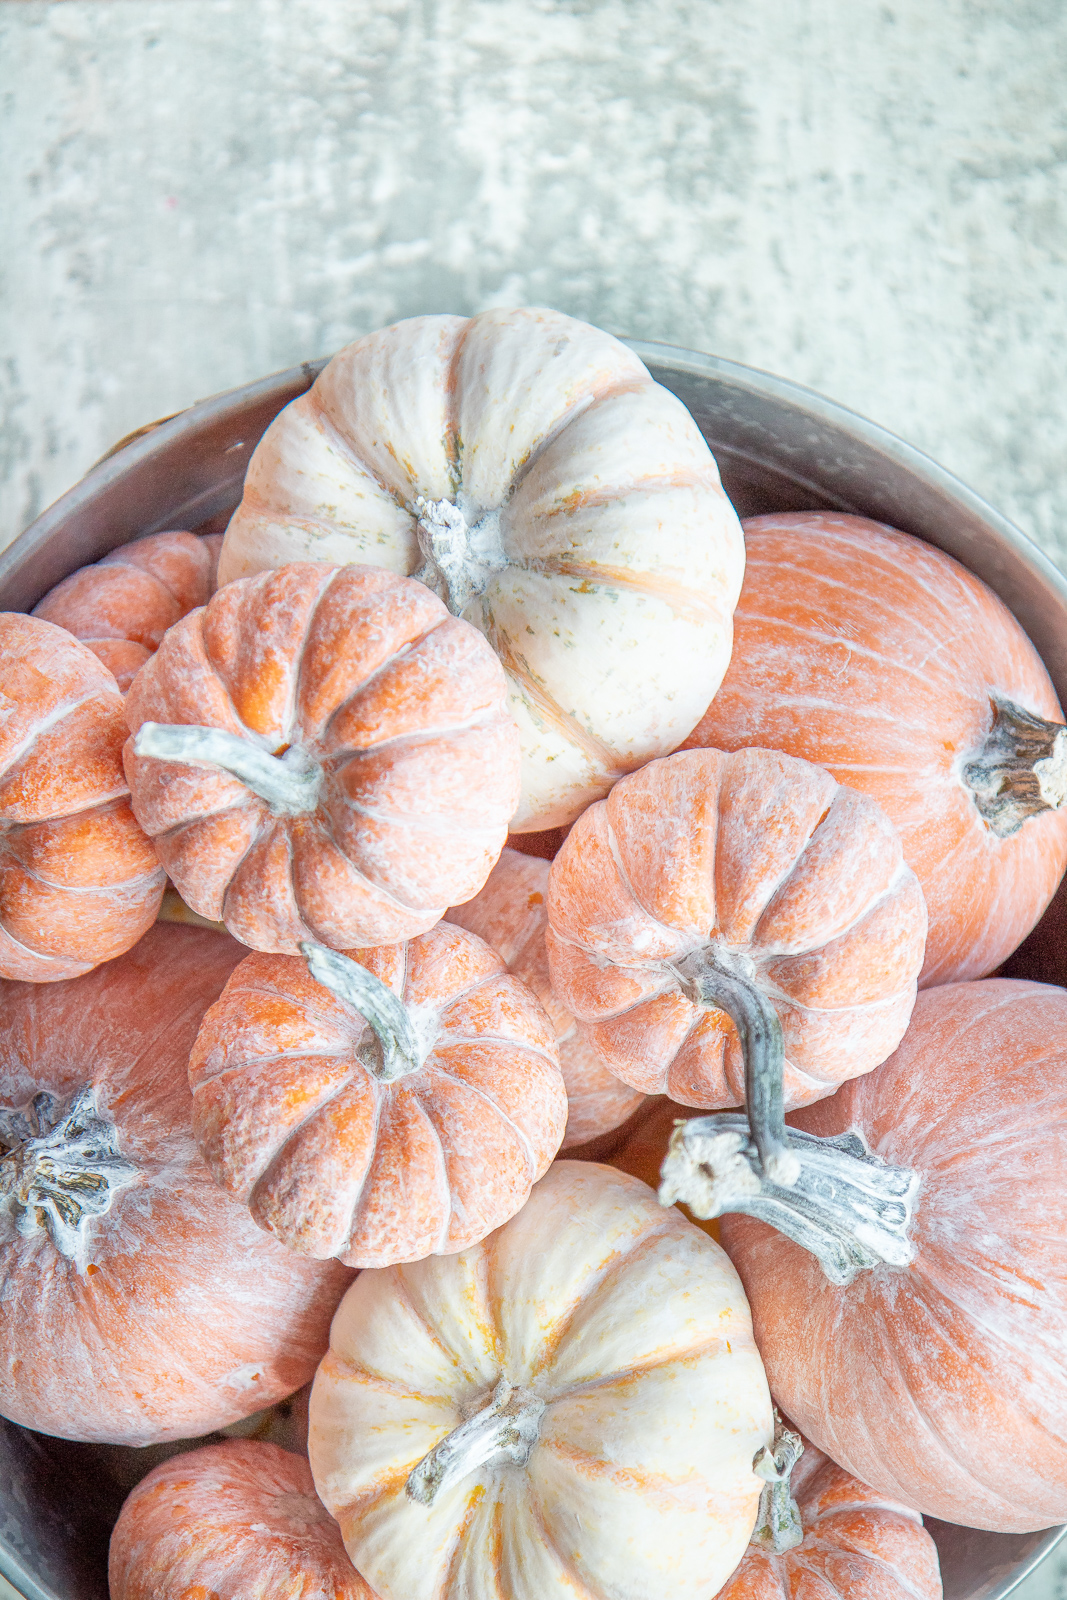
Once dry, feel free to repeat this process if you want a heavier whitewashed look. Above you can see a lighter and a heavier whitewashing result. I love them all, and it’s fun to experiment with different kinds of pumpkins.
You may be wondering if you can use this whitewashing technique on faux pumpkins, and the answer is yes. Of course, you might need to adjust the amount of time you wait before wiping the paint off (more or less dry time), but the rest of the instructions should be the same.
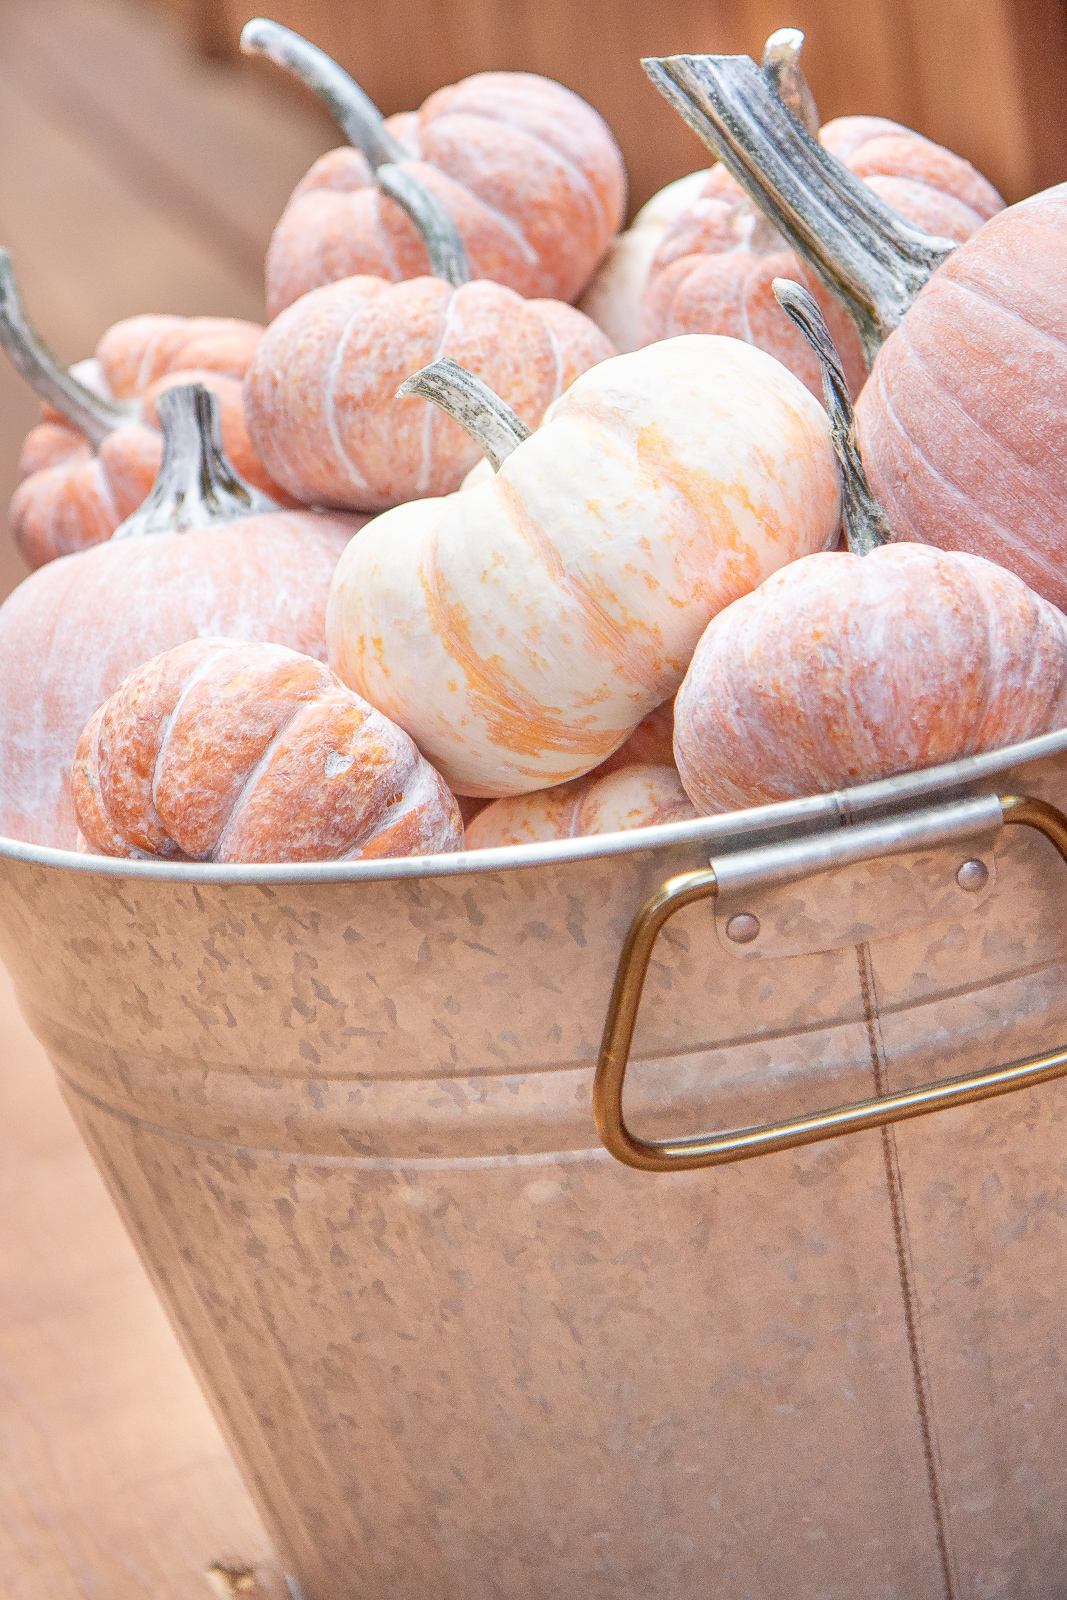
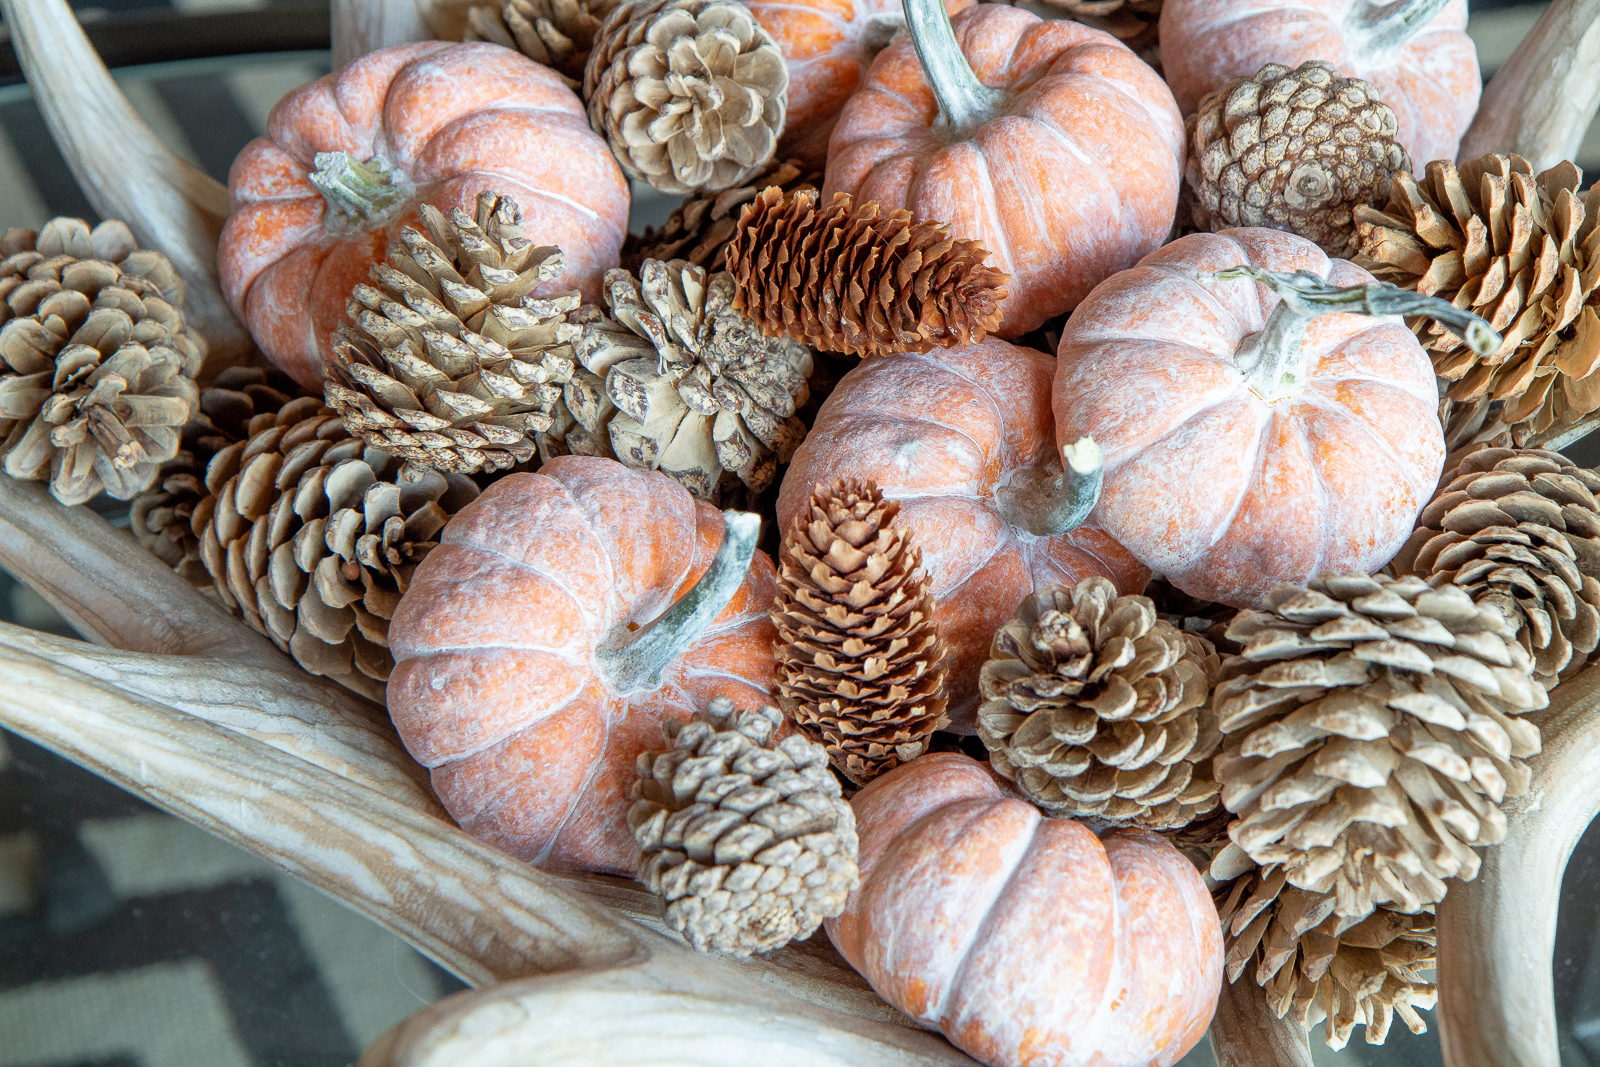
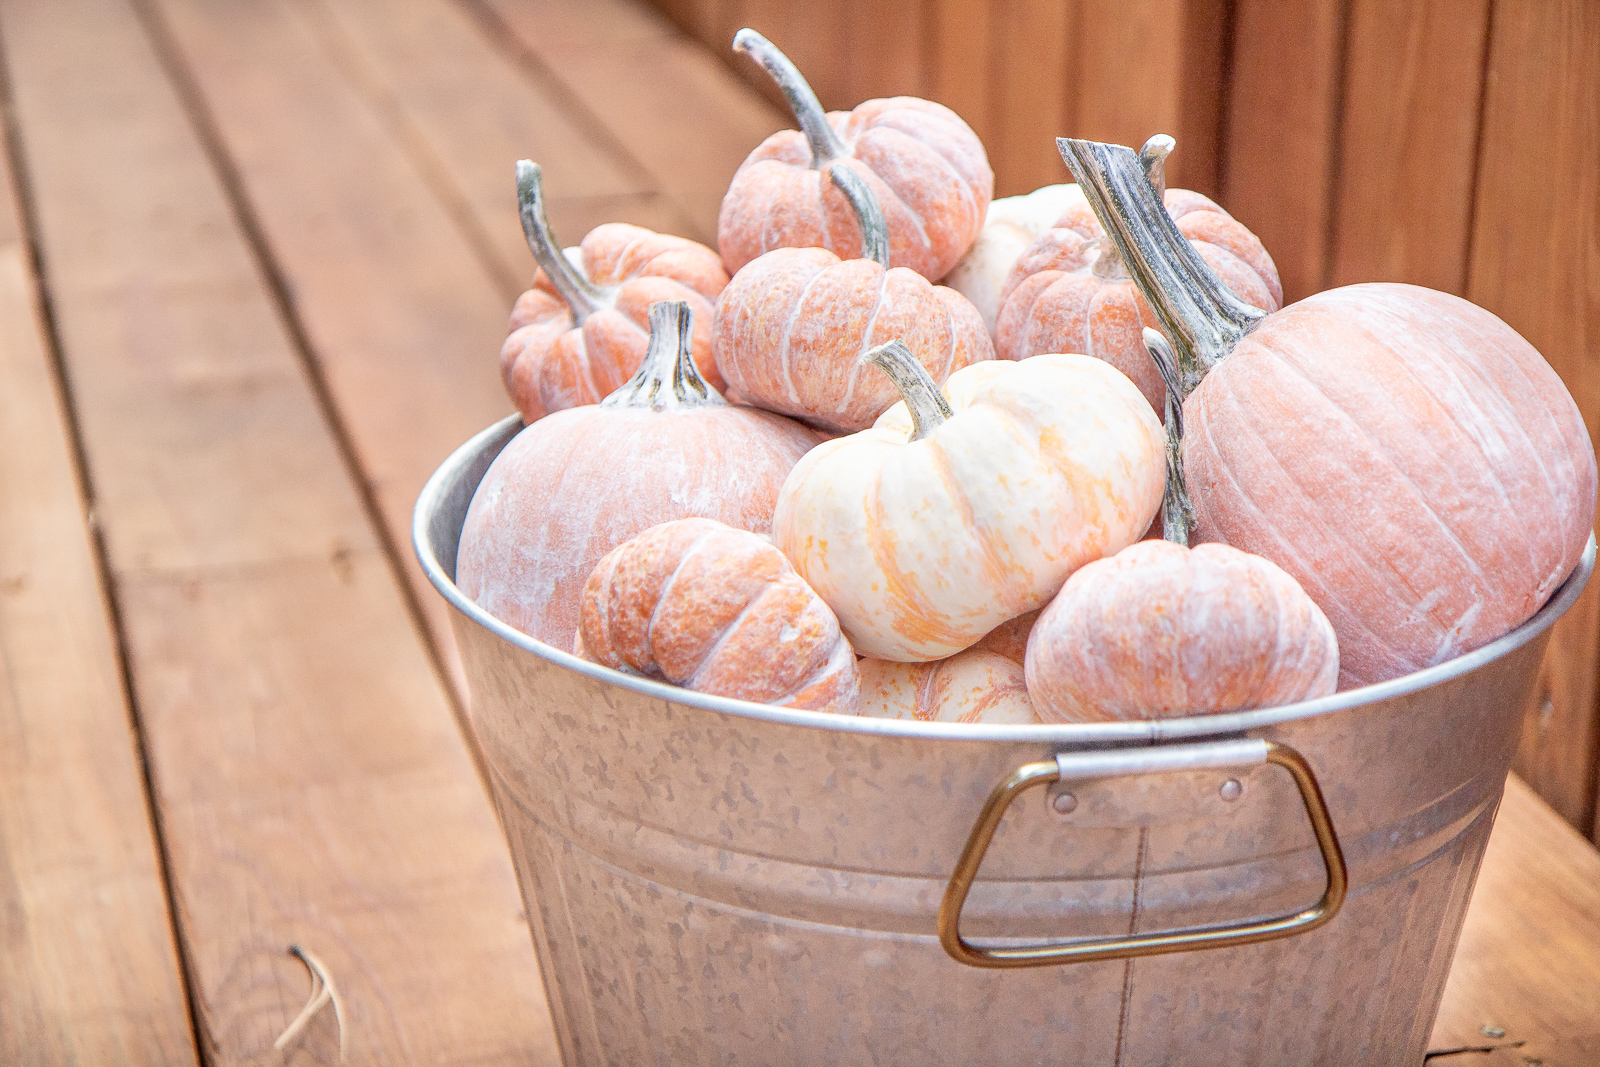
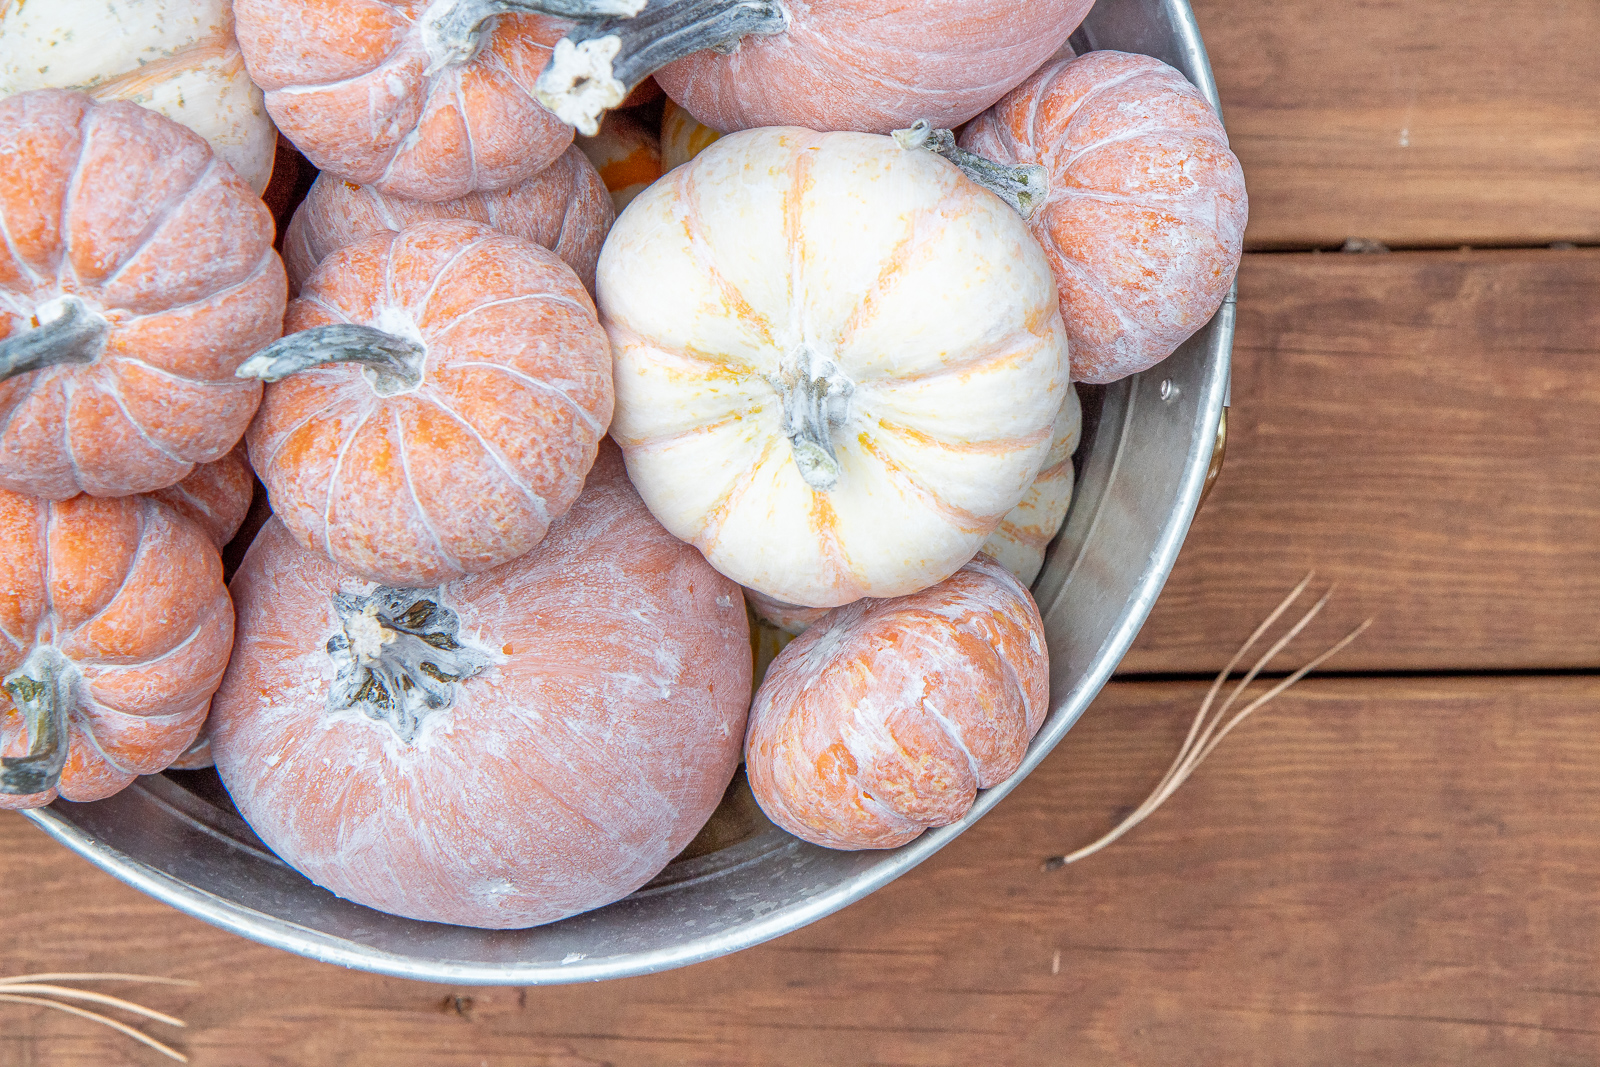
I just love the effect that whitewashing adds to pumpkins. It gives such a wow factor. For the ultimate fall bowl filler try small whitewashed pumpkins with these bleached pinecones, it’s one of my favorite fall decorations. Happy fall!
