

I know it’s not officially summer yet, my adorable husband likes to remind me that there is an official date, but temps have been really warm up here in New England (with some days just plain hot) so I’m just going with it! I made my own summer ice bucket, and I want to share how you can make one too.
It was super easy and fun to make, and it’s just so pretty look at! You can use it indoors or outdoors, and if you don’t let it completely melt you can save it in the freezer and use it again and again!
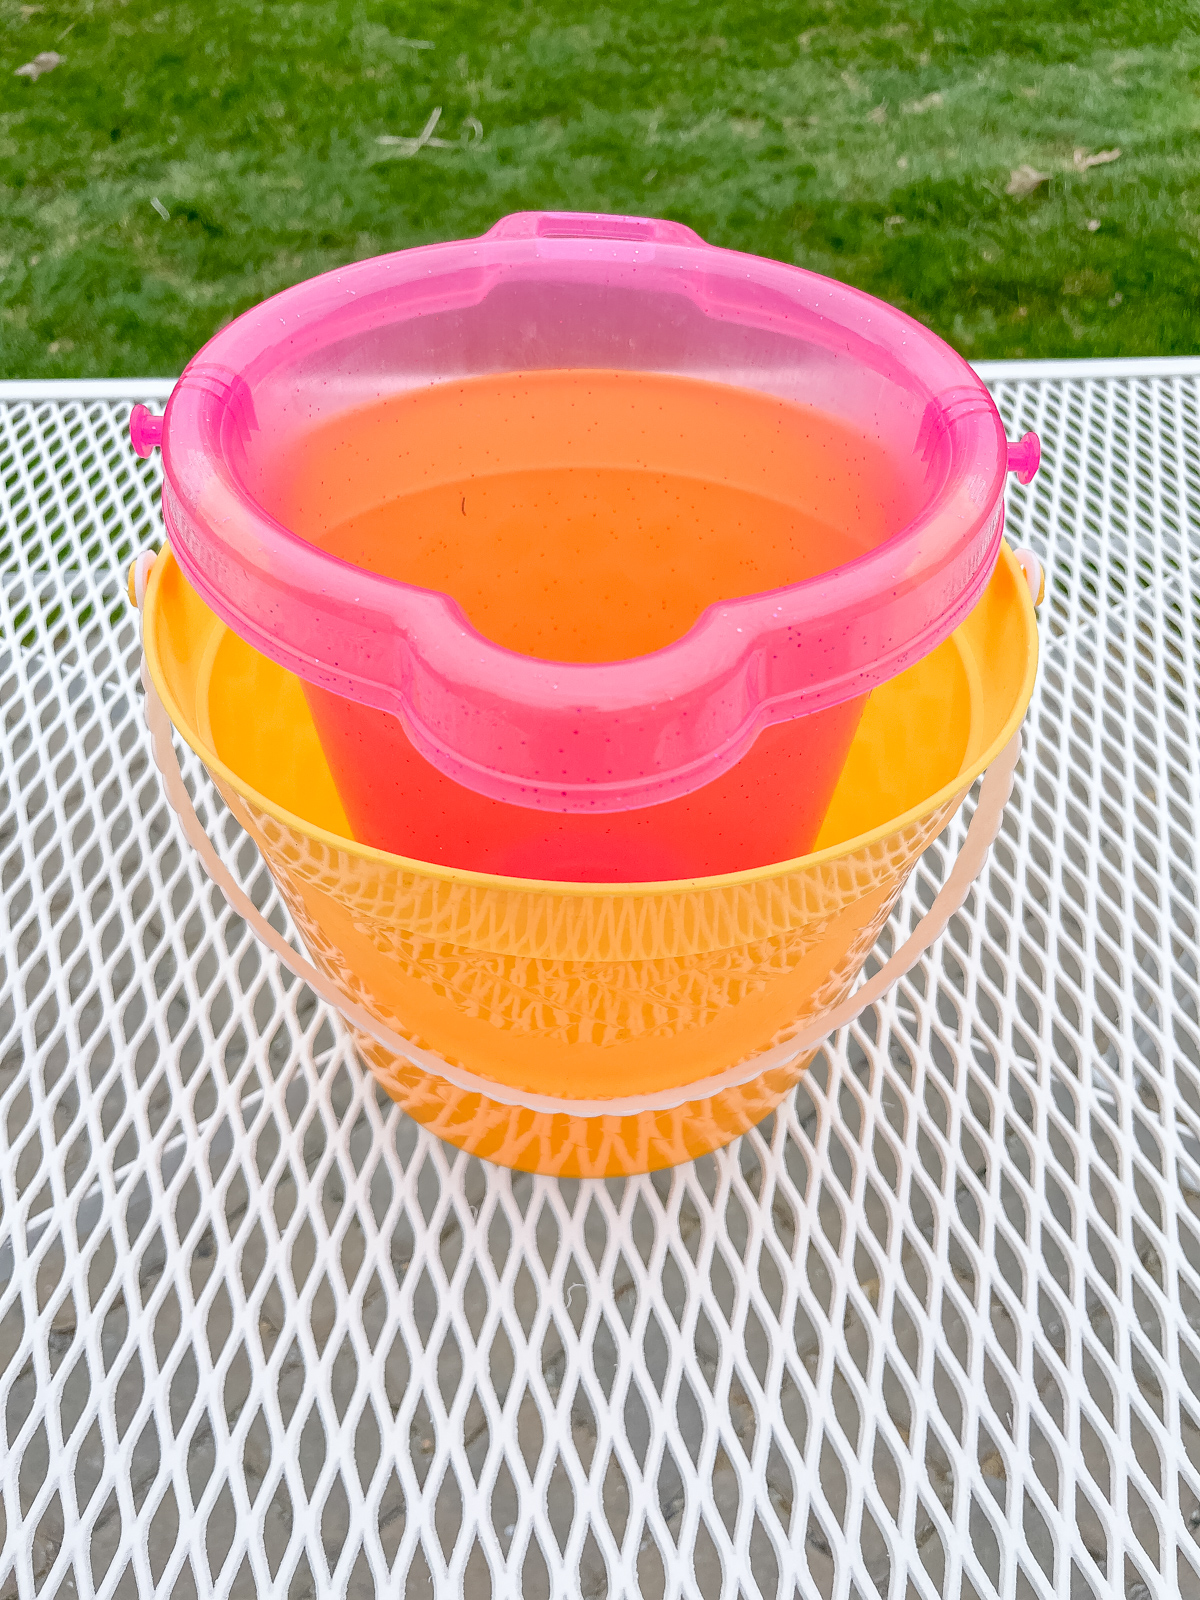
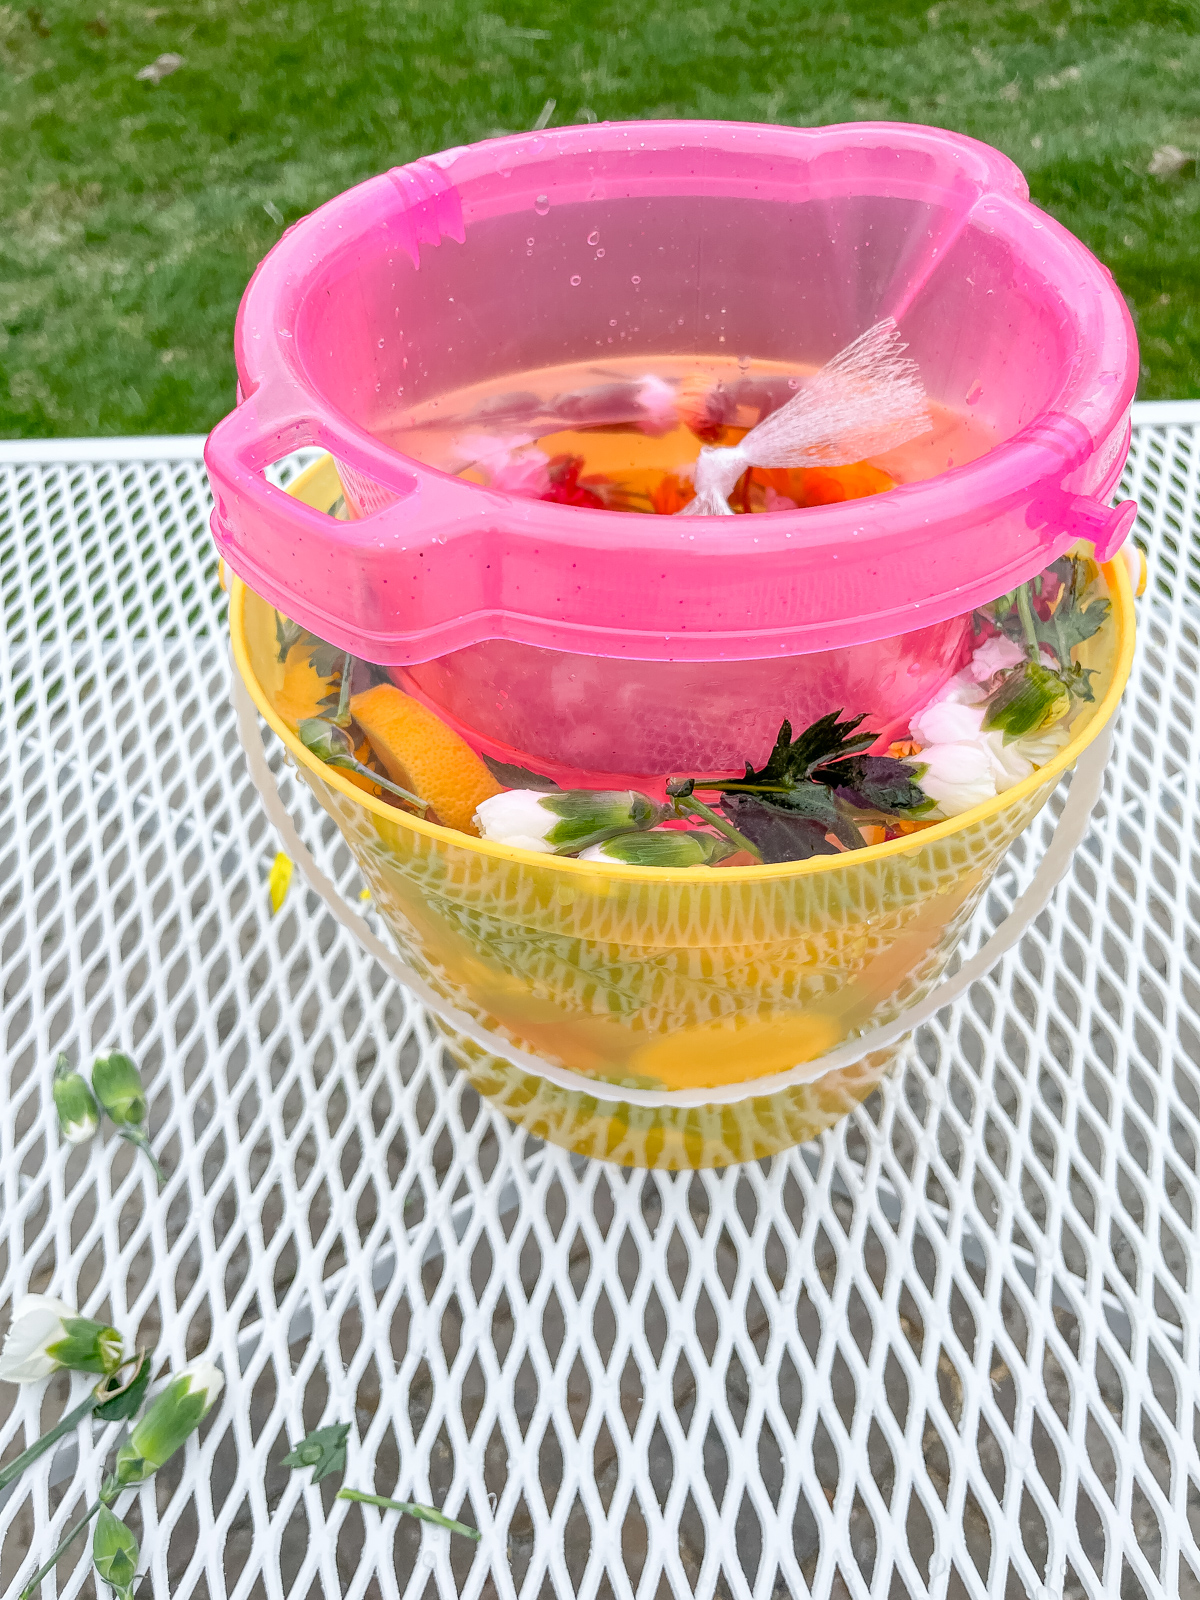
It’s super complicated so take notes… haha I’m kidding. Are you ready for it? Grab 2 buckets that fit inside each other leaving some side space, mine are from the Dollar Tree. Next you’ll need something to partially weigh the bucket down once it’s filled with water. Once again Dollar Tree hooked me up with a bag of small rocks. You can use anything really that’s freezer proof, perhaps even water to weigh it down, just make sure it’s heavy but not too heavy. There needs to be a good inch or two between the bottoms of the buckets.
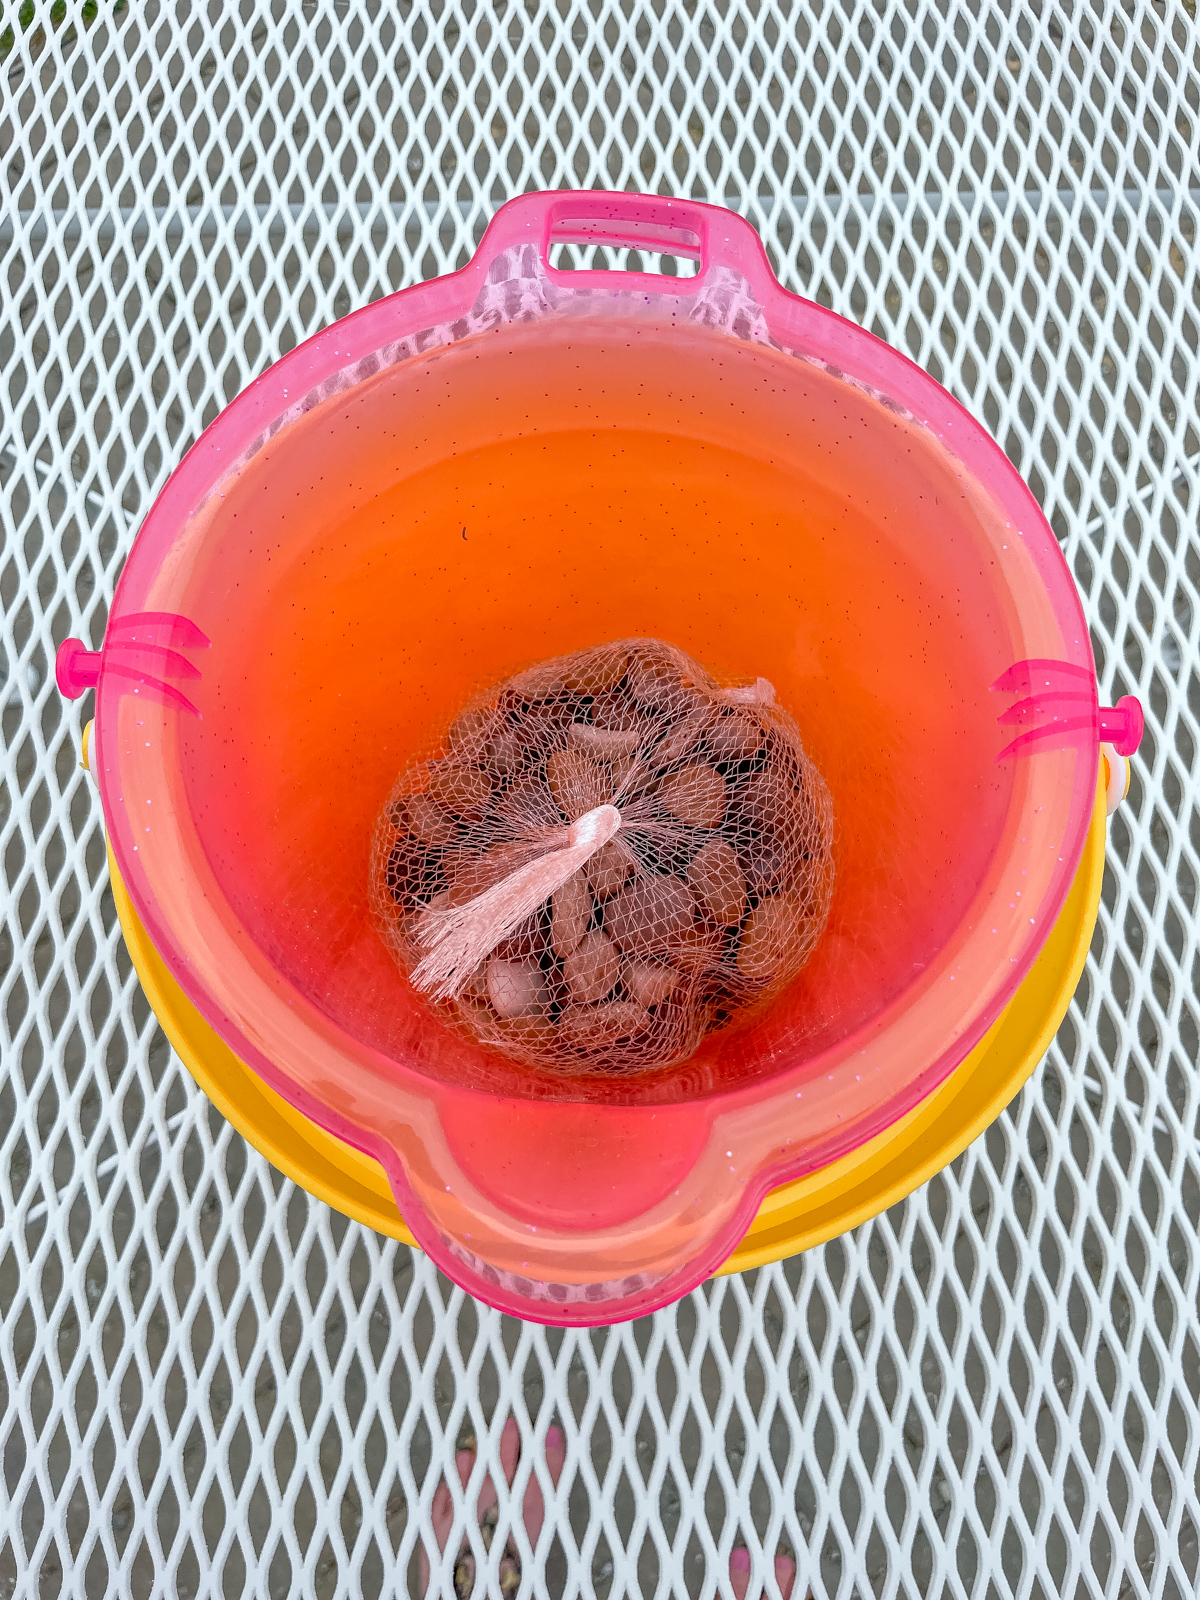
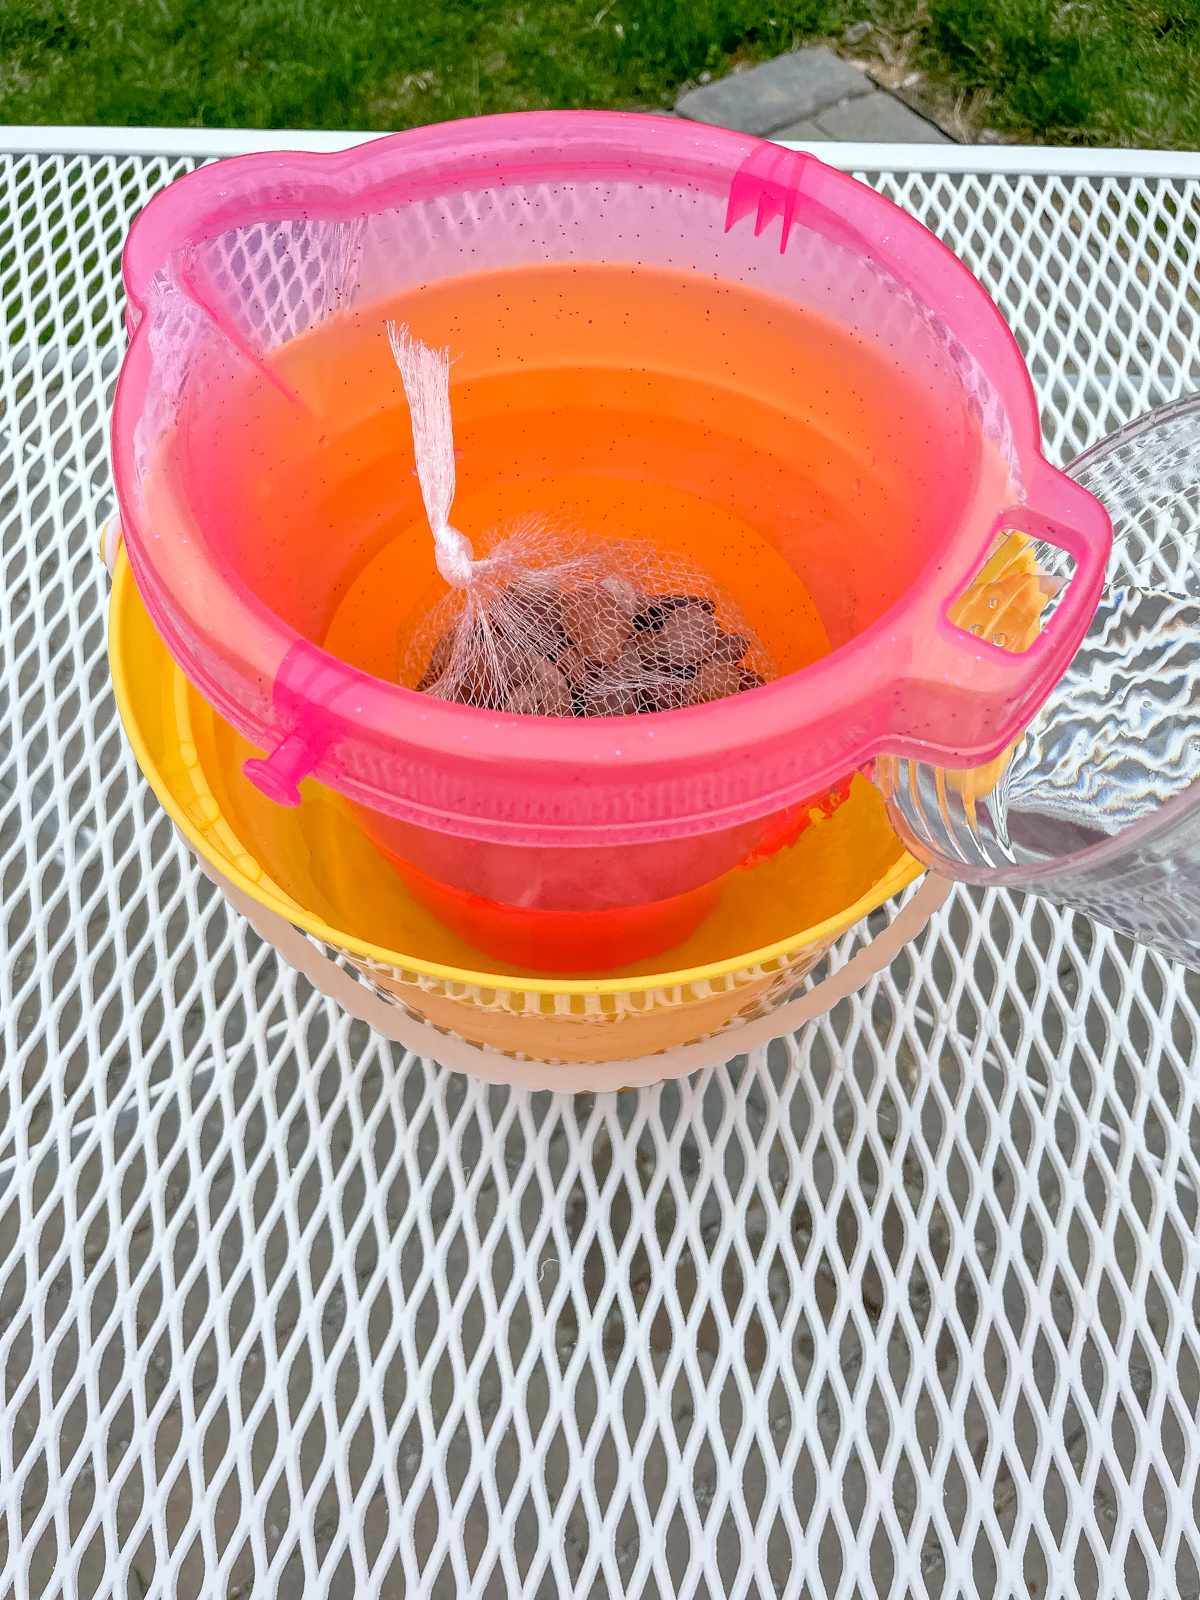
Once you’ve got your buckets ready to go and a weight, fill the large bucket with water about 75% full. The top bucket needs to float up a bit leaving room for the bottom to form ice along with the sides. If the small bucket doesn’t float up then you need to reduce the weight.
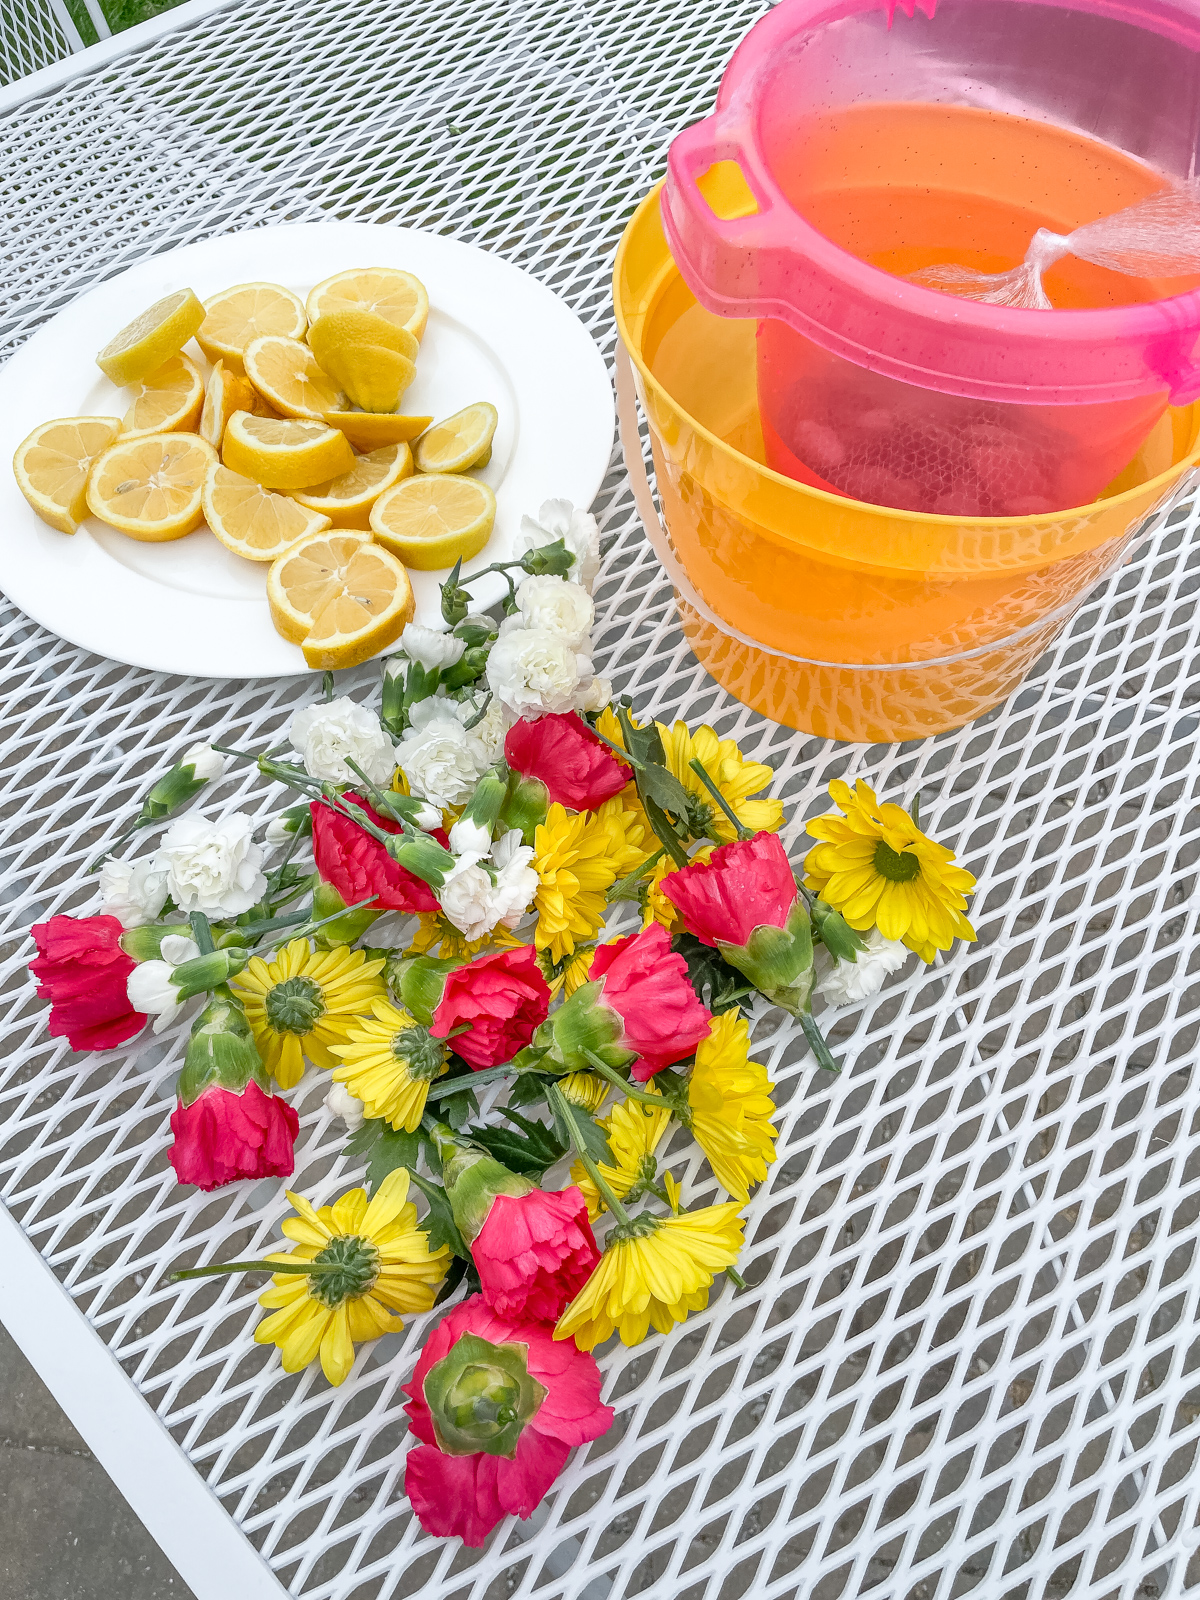
Now it’s time for the fun part! Unfortunately our summer flowers were not in bloom yet so I went with cut flowers, but you can really use anything floral from your yard. I went with a mix of flowers in different colors, shapes, and sizes from the grocery store, and just for fun I threw in some sliced lemons.
Before adding the flowers the pink bucket drifted around a bit, but once I filled the space it seemed stable. Just to be clear I added a lot of flowers, it wasn’t just a few buds floating around it was pretty solid packed in there so the bucket stayed in place. You may need to adjust and use your fingers to arrange everything nice and pretty. Now it’s time for the freezer!

You’ll want to freeze the buckets until solid, most likely overnight. I had some flowers sticking out above the waterline but as the water froze it rose and covered the flowers. Any remaining stems sticking out can be snipped off after it’s frozen. Honestly I had a photo of my frozen ice bucket in the freezer but it vanished. I think an evil elf deleted it… then deleted my deleted photos folder… I’m still looking into that.
Once frozen solid, to remove you can leave it on the counter until the buckets loosen or if you’re in a hurry like me just run a little warm water over the larger bucket until it loosens. If the top has any uneven edges that arent’ desirable just run cool water over it until it melts.
You can watch my summer ice bucket tutorial here on Instagram.

I absolutely love how it turned out! If you’re using your ice bucket indoors I recommend setting a dish underneath it to catch melting water such as a pie plate. We used ours outdoors in the shade for a good hour or so until we decided to save it for another day in our freezer. So yes, you can save it for hopefully several uses!
There are so many creative combinations of flowers, plants and fruits you can use! Have fun!
