
I’m back and so excited to share how we recently installed our new wide plank pine hardwood floor in our kitchen! In the history of all our DIY home projects hands down this has been our favorite, it was also surprisingly easy. Sometimes I find myself just staring at the floor, yes it’s that good.
Our house is a mix of narrow and wide plank hardwood floors, both are beautiful, but I have to say I’m drawn to our wide plank pine floors the most. Pine as you probably know is a soft wood so over time it does scratch and dent but it adds character, and in my opinion makes it even better!
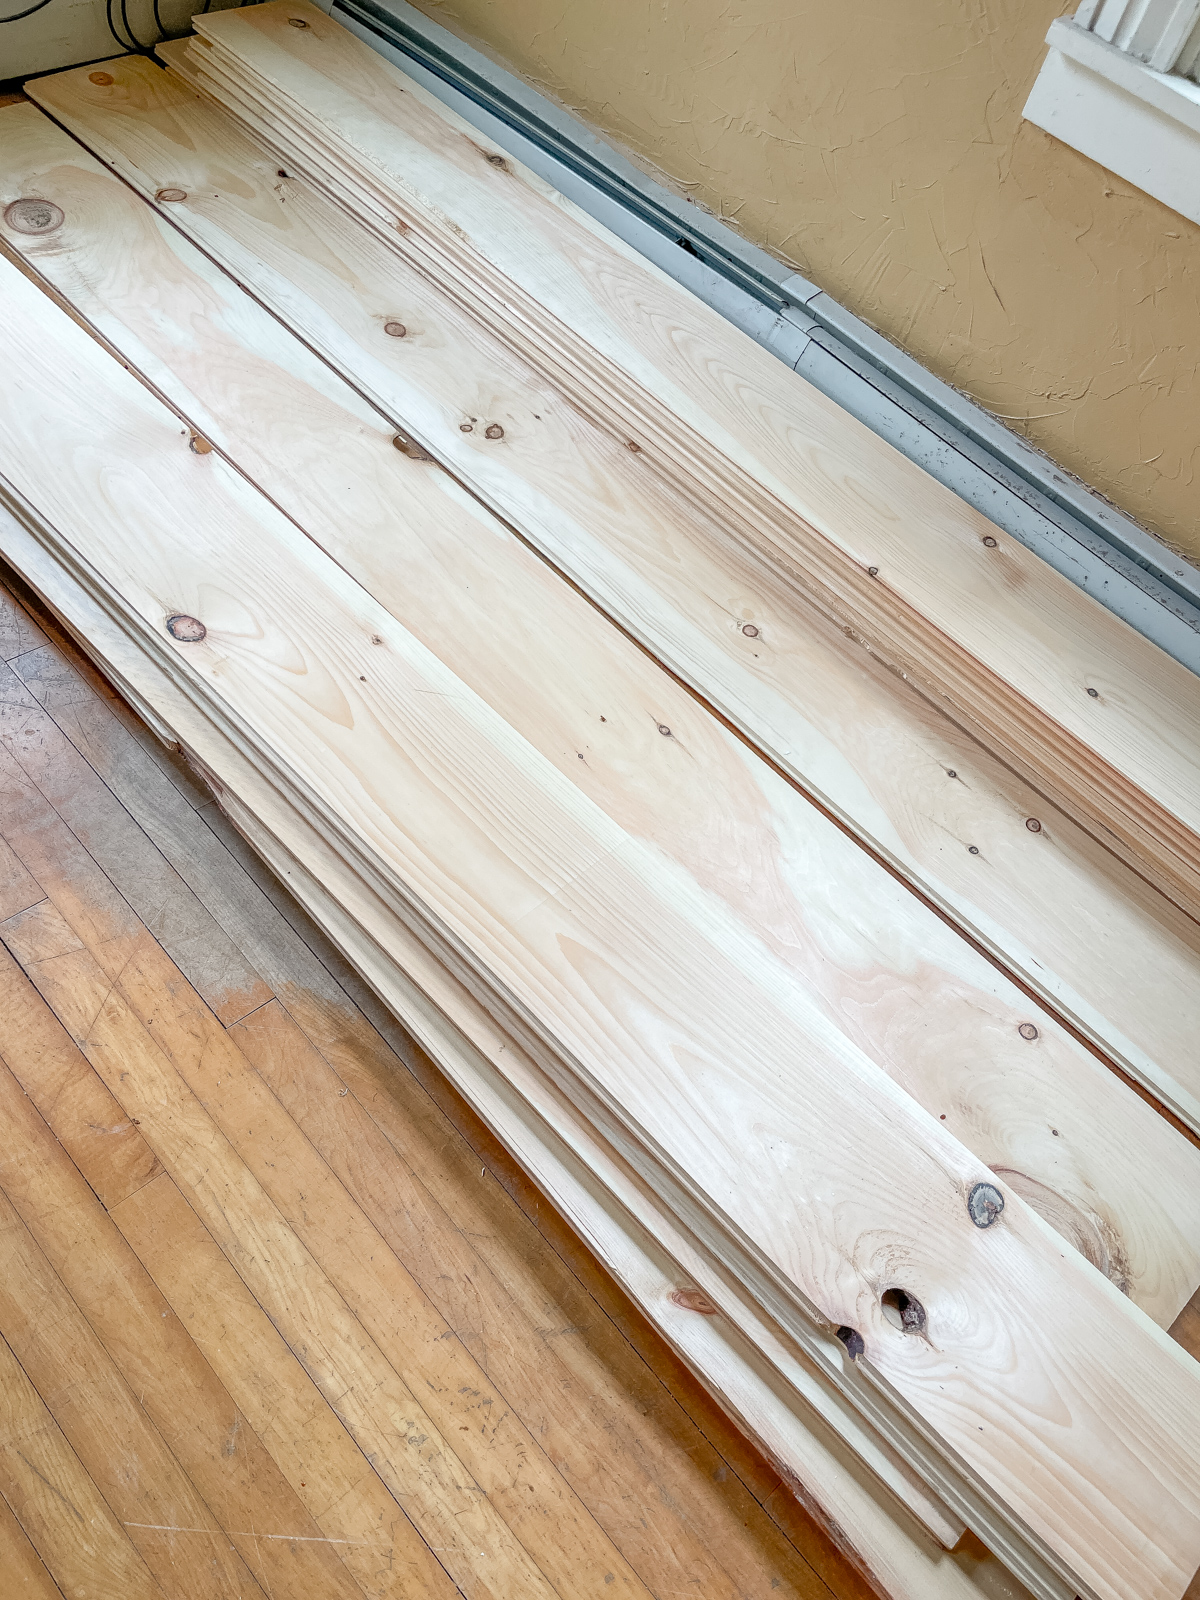
We ordered unfinished New England White Pine from Lumber Liquidators, and with all hardwood flooring you want to let the wood acclimate to your environment. Generally 2 weeks is all you need but life happens, and ours ended up acclimating for nearly 3 months because gutting the kitchen and the existing floors took way longer than we thought it would. We also last minute decided to shiplap the walls.
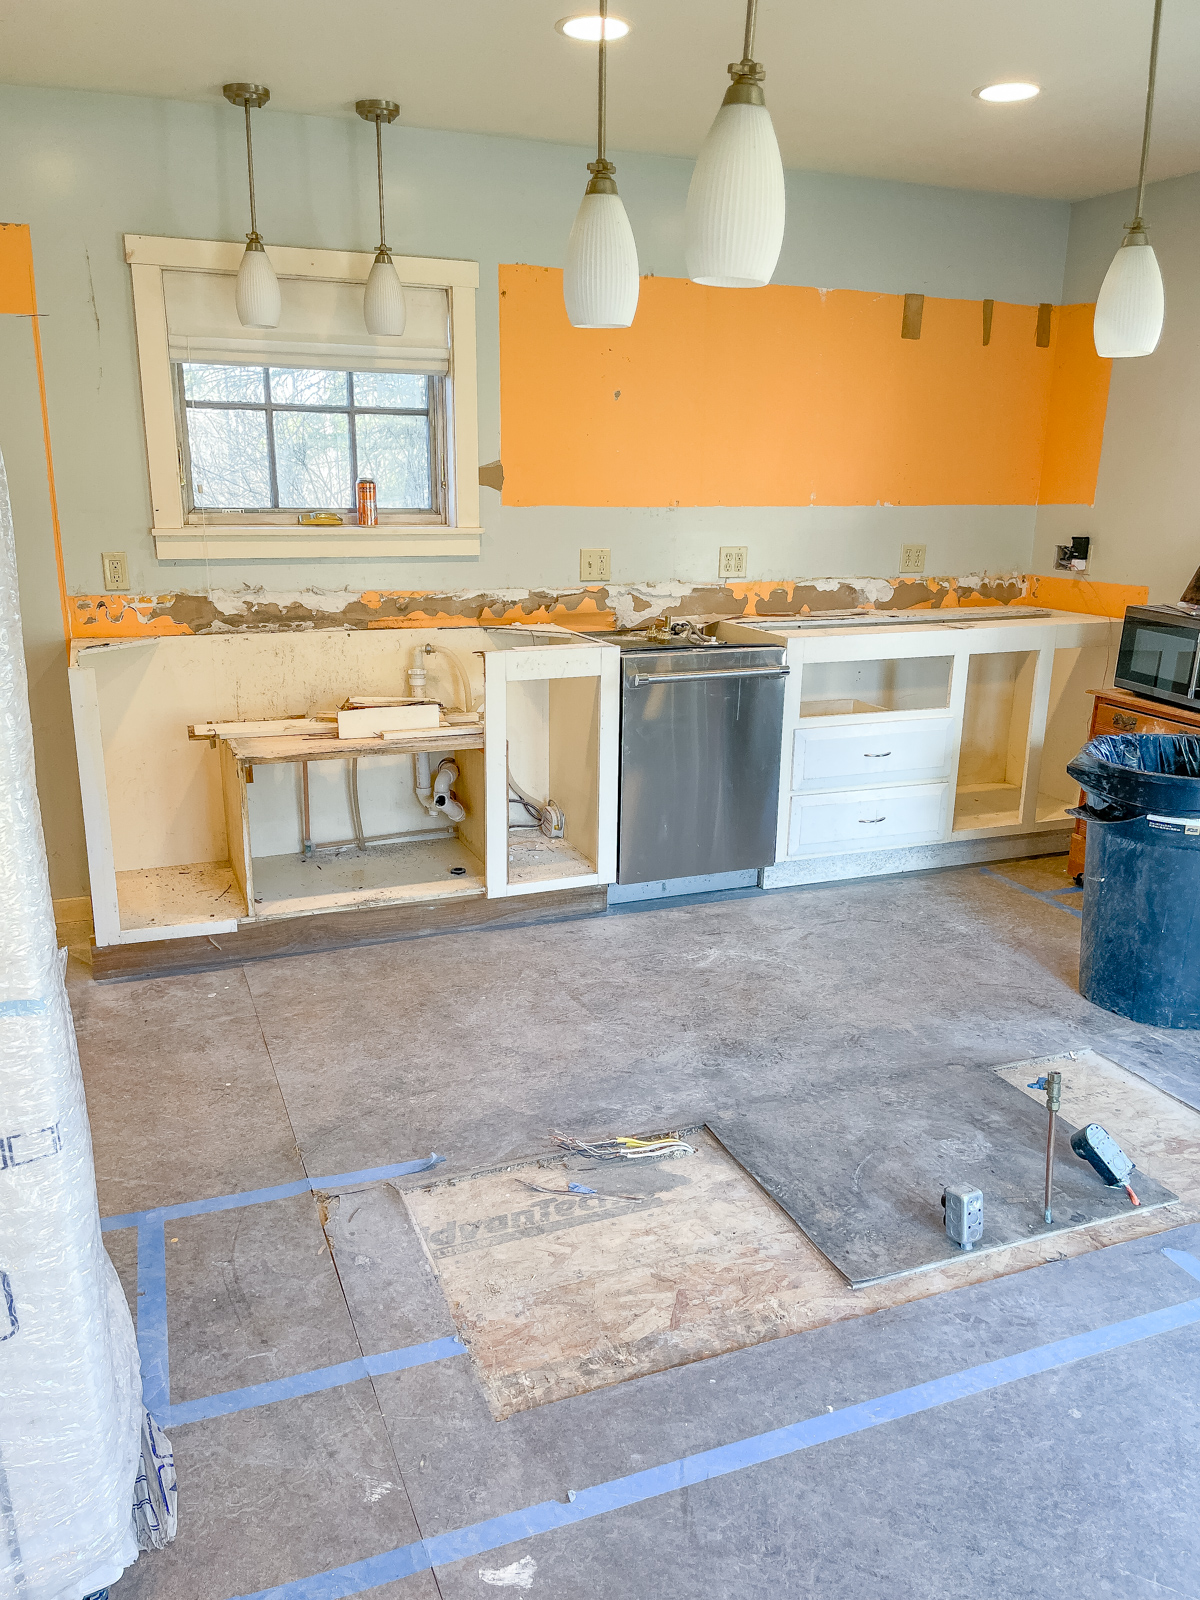
Before I go any further, how about a kitchen before photo? I love sharing ugly before photos! The linoleum floor was curling up and had a lovely smell similar to wet dog. Watching Brian rip it out gave me so much joy!
From start to finish our floors took us 3 days, including staining which I’ll get into in the next blog post. Once our floor space was clean and prepped we put down silicone vapor paper to protect against moisture. After that we sorted through our wood, not every piece was desirable so we saved flawed boards for areas that would be hidden or cut down to size. It’s recommended to always order 10% extra flooring, but we wished we had ordered 20% extra. Maybe we were too picky selecting boards but we barely had enough wood to finish.
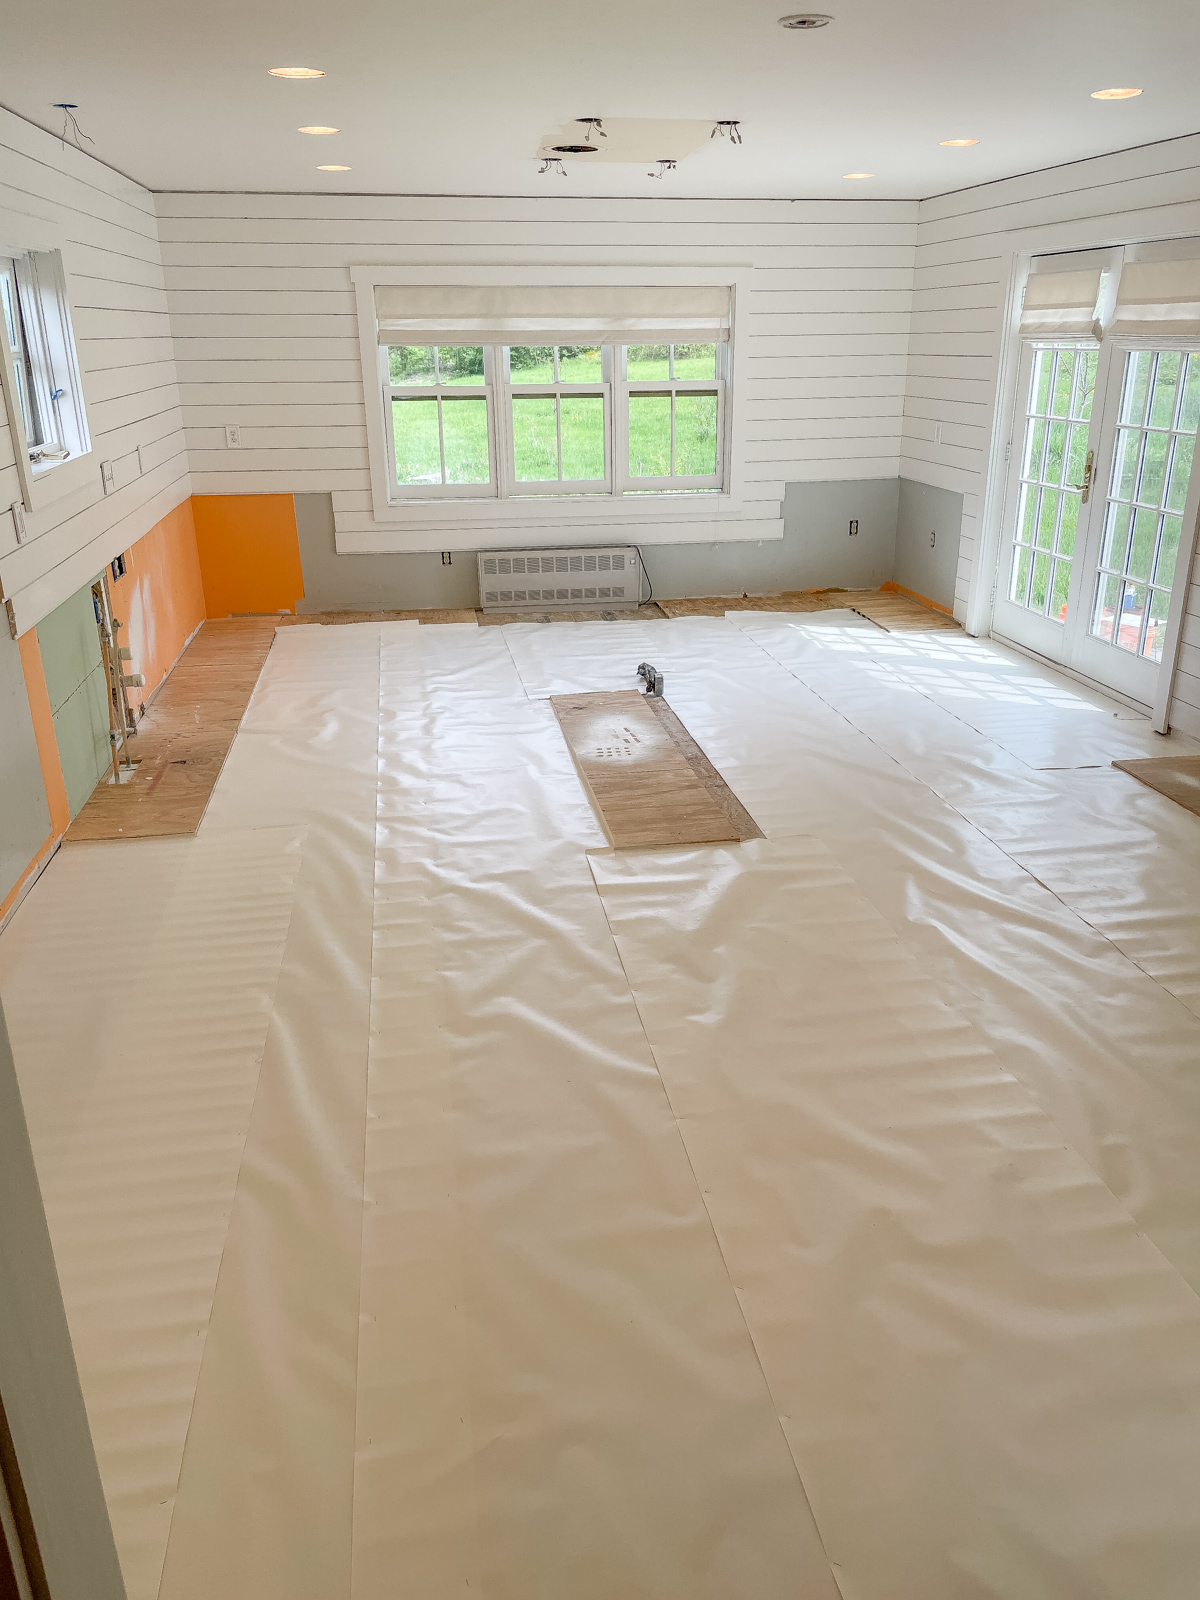
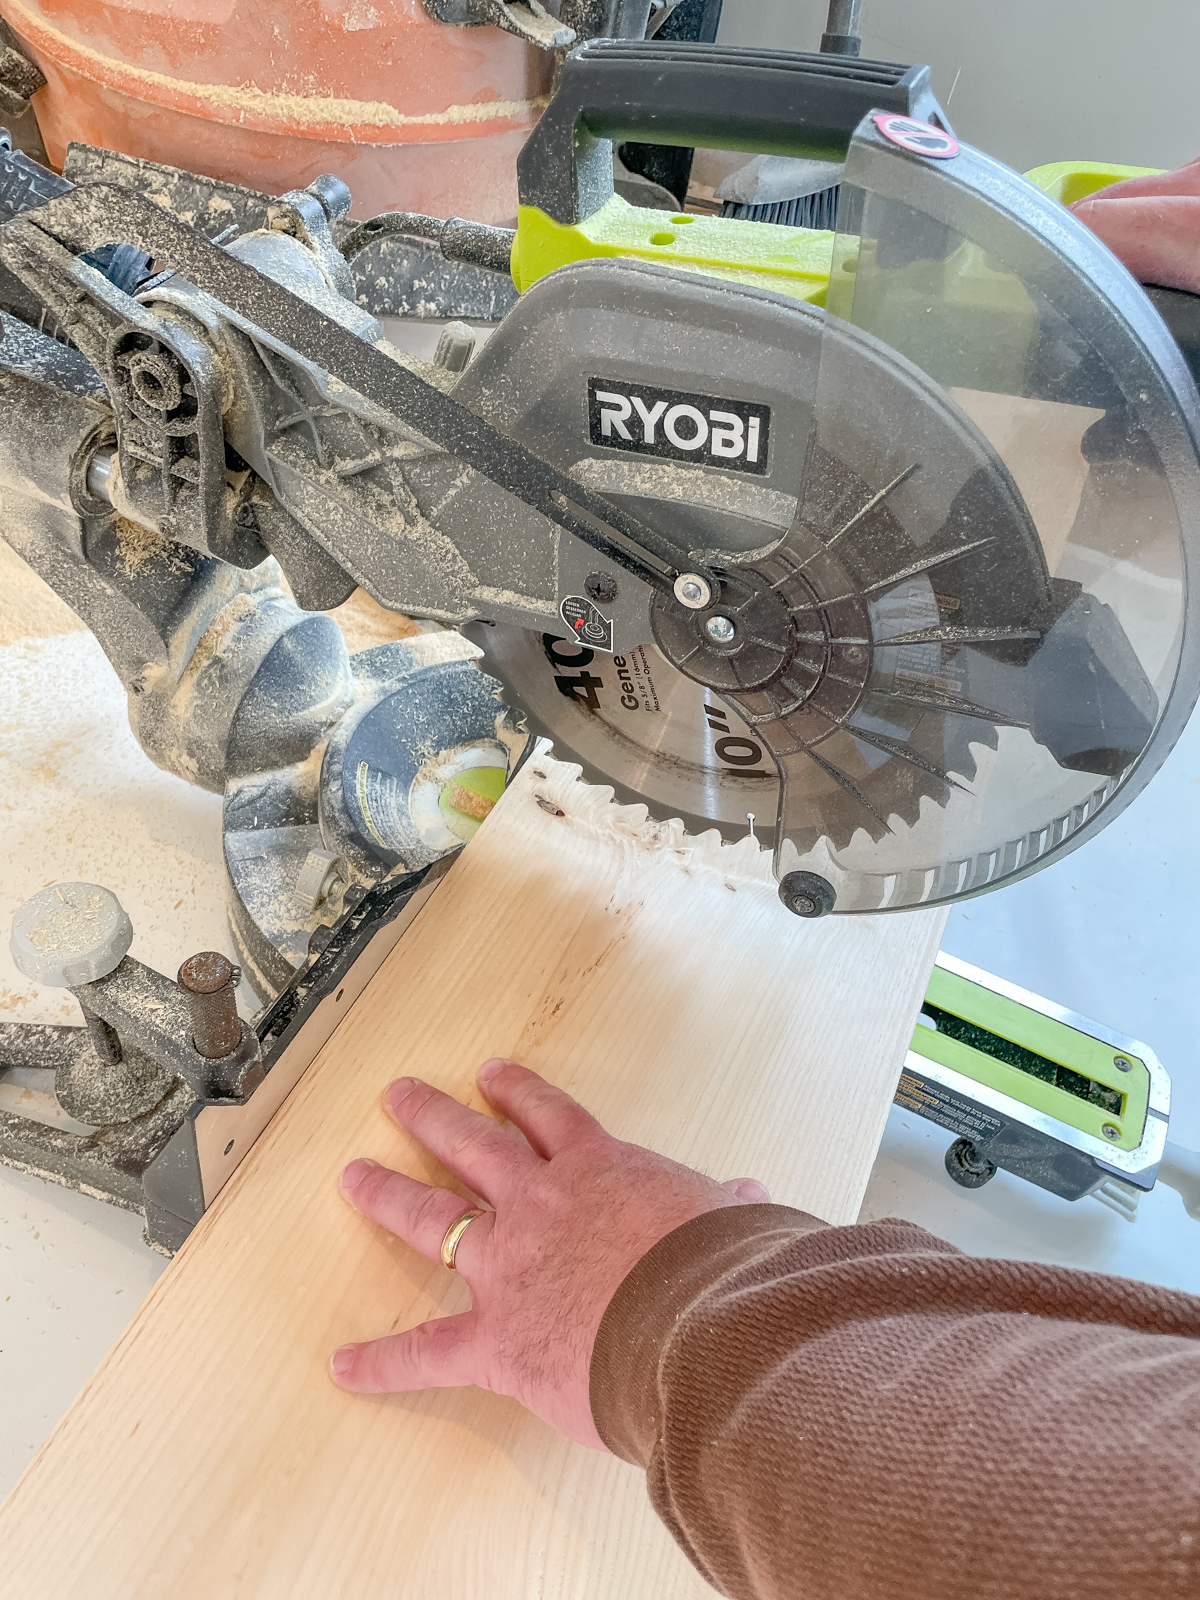
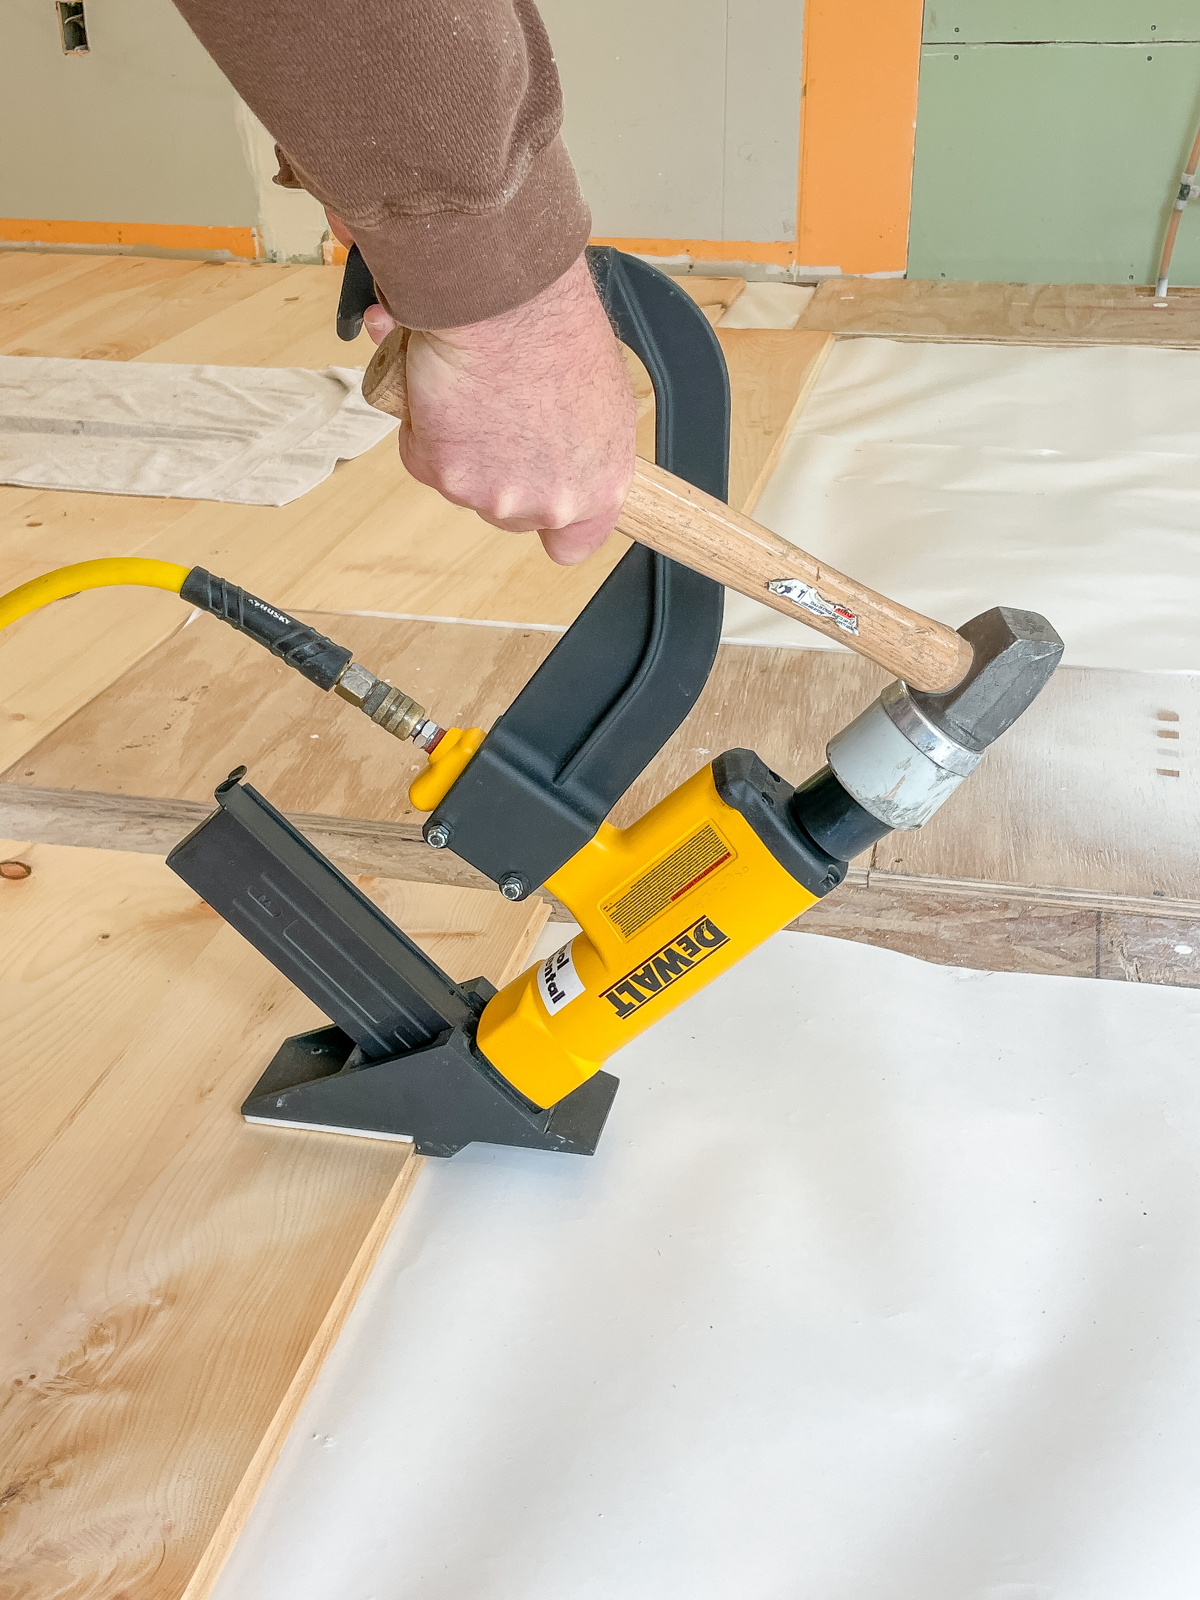
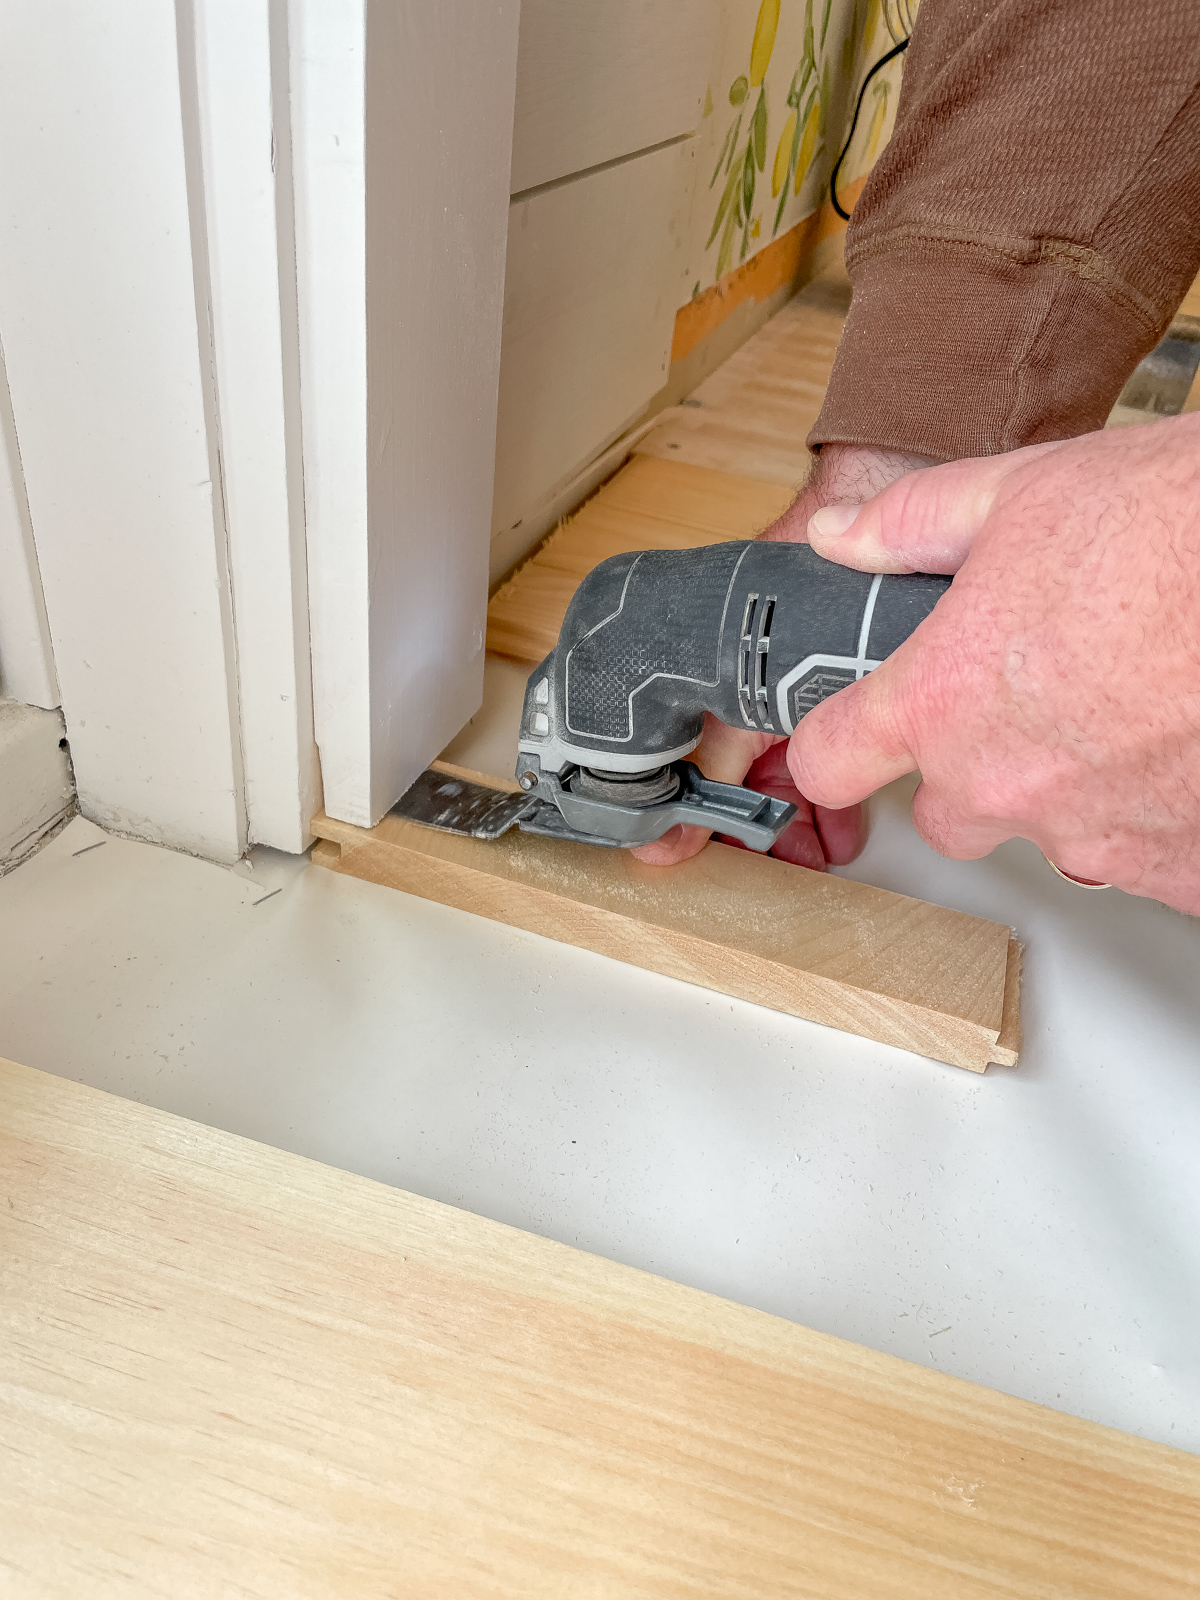
To cut the floor Brian used a miter saw, and he installed it with a hammer floor thingy that he called a pneumatic floor nailer. We didn’t use a specific pattern we just staggered the wood randomly to look the most natural. We used an oscillating tool to cut the bottom of the existing door trim so that the new floor boards would fit snugly underneath. It’s also important to leave a gap of 1/4″ to 1/2″ around the perimeter to account for slight expansion and contraction of the wood. Don’t worry, though, the gap will be covered with baseboards. Another tip I can share is that we installed plain plywood boards, under the areas that are going to be cabinets. There’s no need to use the expensive white pine under the cabinets where they will never be seen. We made sure to get plywood that was also 3/4″ which to match the thickness of the white pine.
Once the floor was installed I filled any major knot holes with with DAP Plastic Wood-X. This was the wood filler that was recommended to us that would accept stain the best. I did not add wood filler between the boards because we were able to get everything nice and flush.
Next we rented a floor sander from Home Depot. They have several types of sanders to pick from. We were warned to stay away from the professional drum sander, that it takes a lot of control, and if you’re inexperienced you can easily create waves in your floor. The circular floor sander we were told also had complaints leaving large circular marks. So we were sent home with this square one because it was the most user friendly. It is an orbital sander so it takes a large rectangular sheet of sandpaper and vibrates it. This has benefits and drawbacks. It’s always recommended to sand with the grain of the wood, but you don’t always have to with this machine. The major drawback, though is that if you don’t sand with the grain and you get debris as small as a grain of sand then you could end up with noticeable spiral trails, also known as pig tails, cris-crossing your nice new floor. I’ll go more into that later. All in all we ended up with an extremely smooth floor that we were happy with.
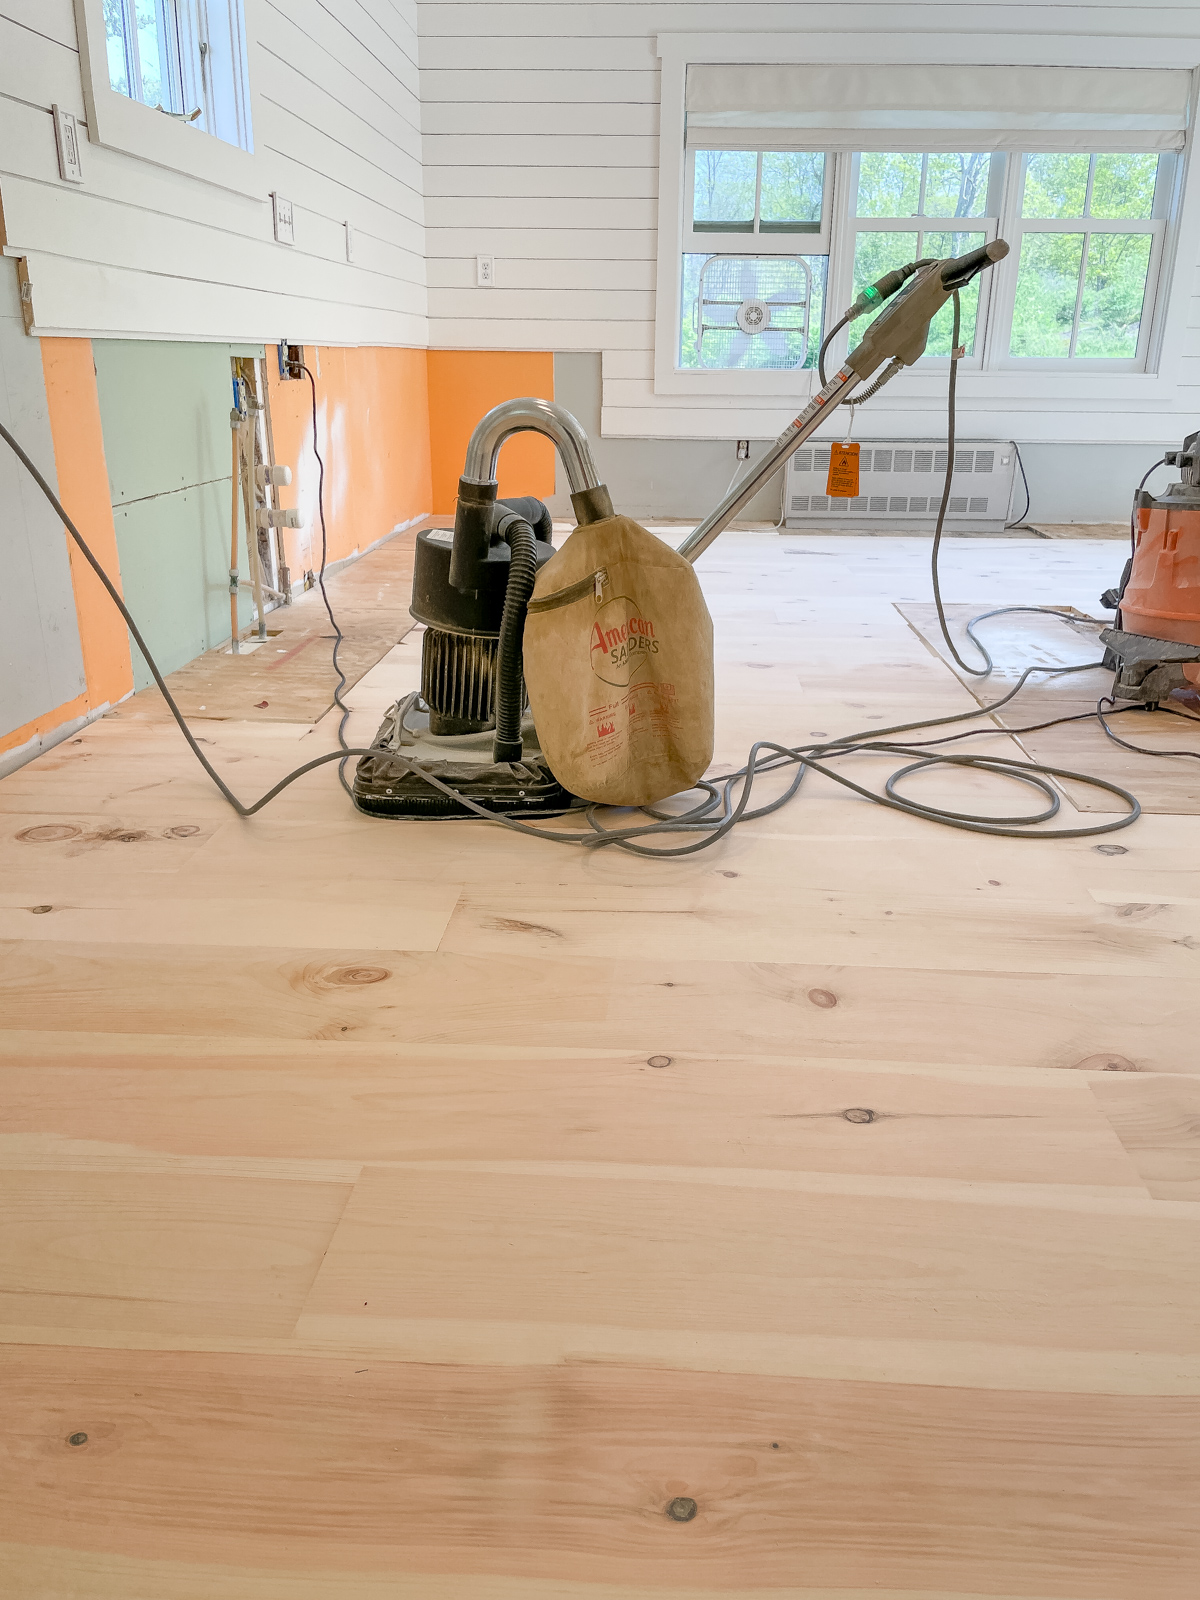
Here’s another tip…when sanding it is very important that you don’t skip grits. We sanded the floors using 80, 120, 180, and 240 grit. The sanding grit was a little confusing, one Home Depot location said to stop at 180, and when we visited a different location to get more sand paper they told us to go higher.
HOW TO AVOID SANDING MARKS AKA PIGTAILS
Of course problems can arise with first time projects so I’m here to tell you what not to do! I can’t stress enough how important it is to sand your floors slowly and in the same direction as the grain if possible, otherwise you’ll end up with these tiny squiggly pigtails. The next crucial step is to not skip more than one number up on the sand paper grit scale! We watched several YouTube videos that explained the importance.
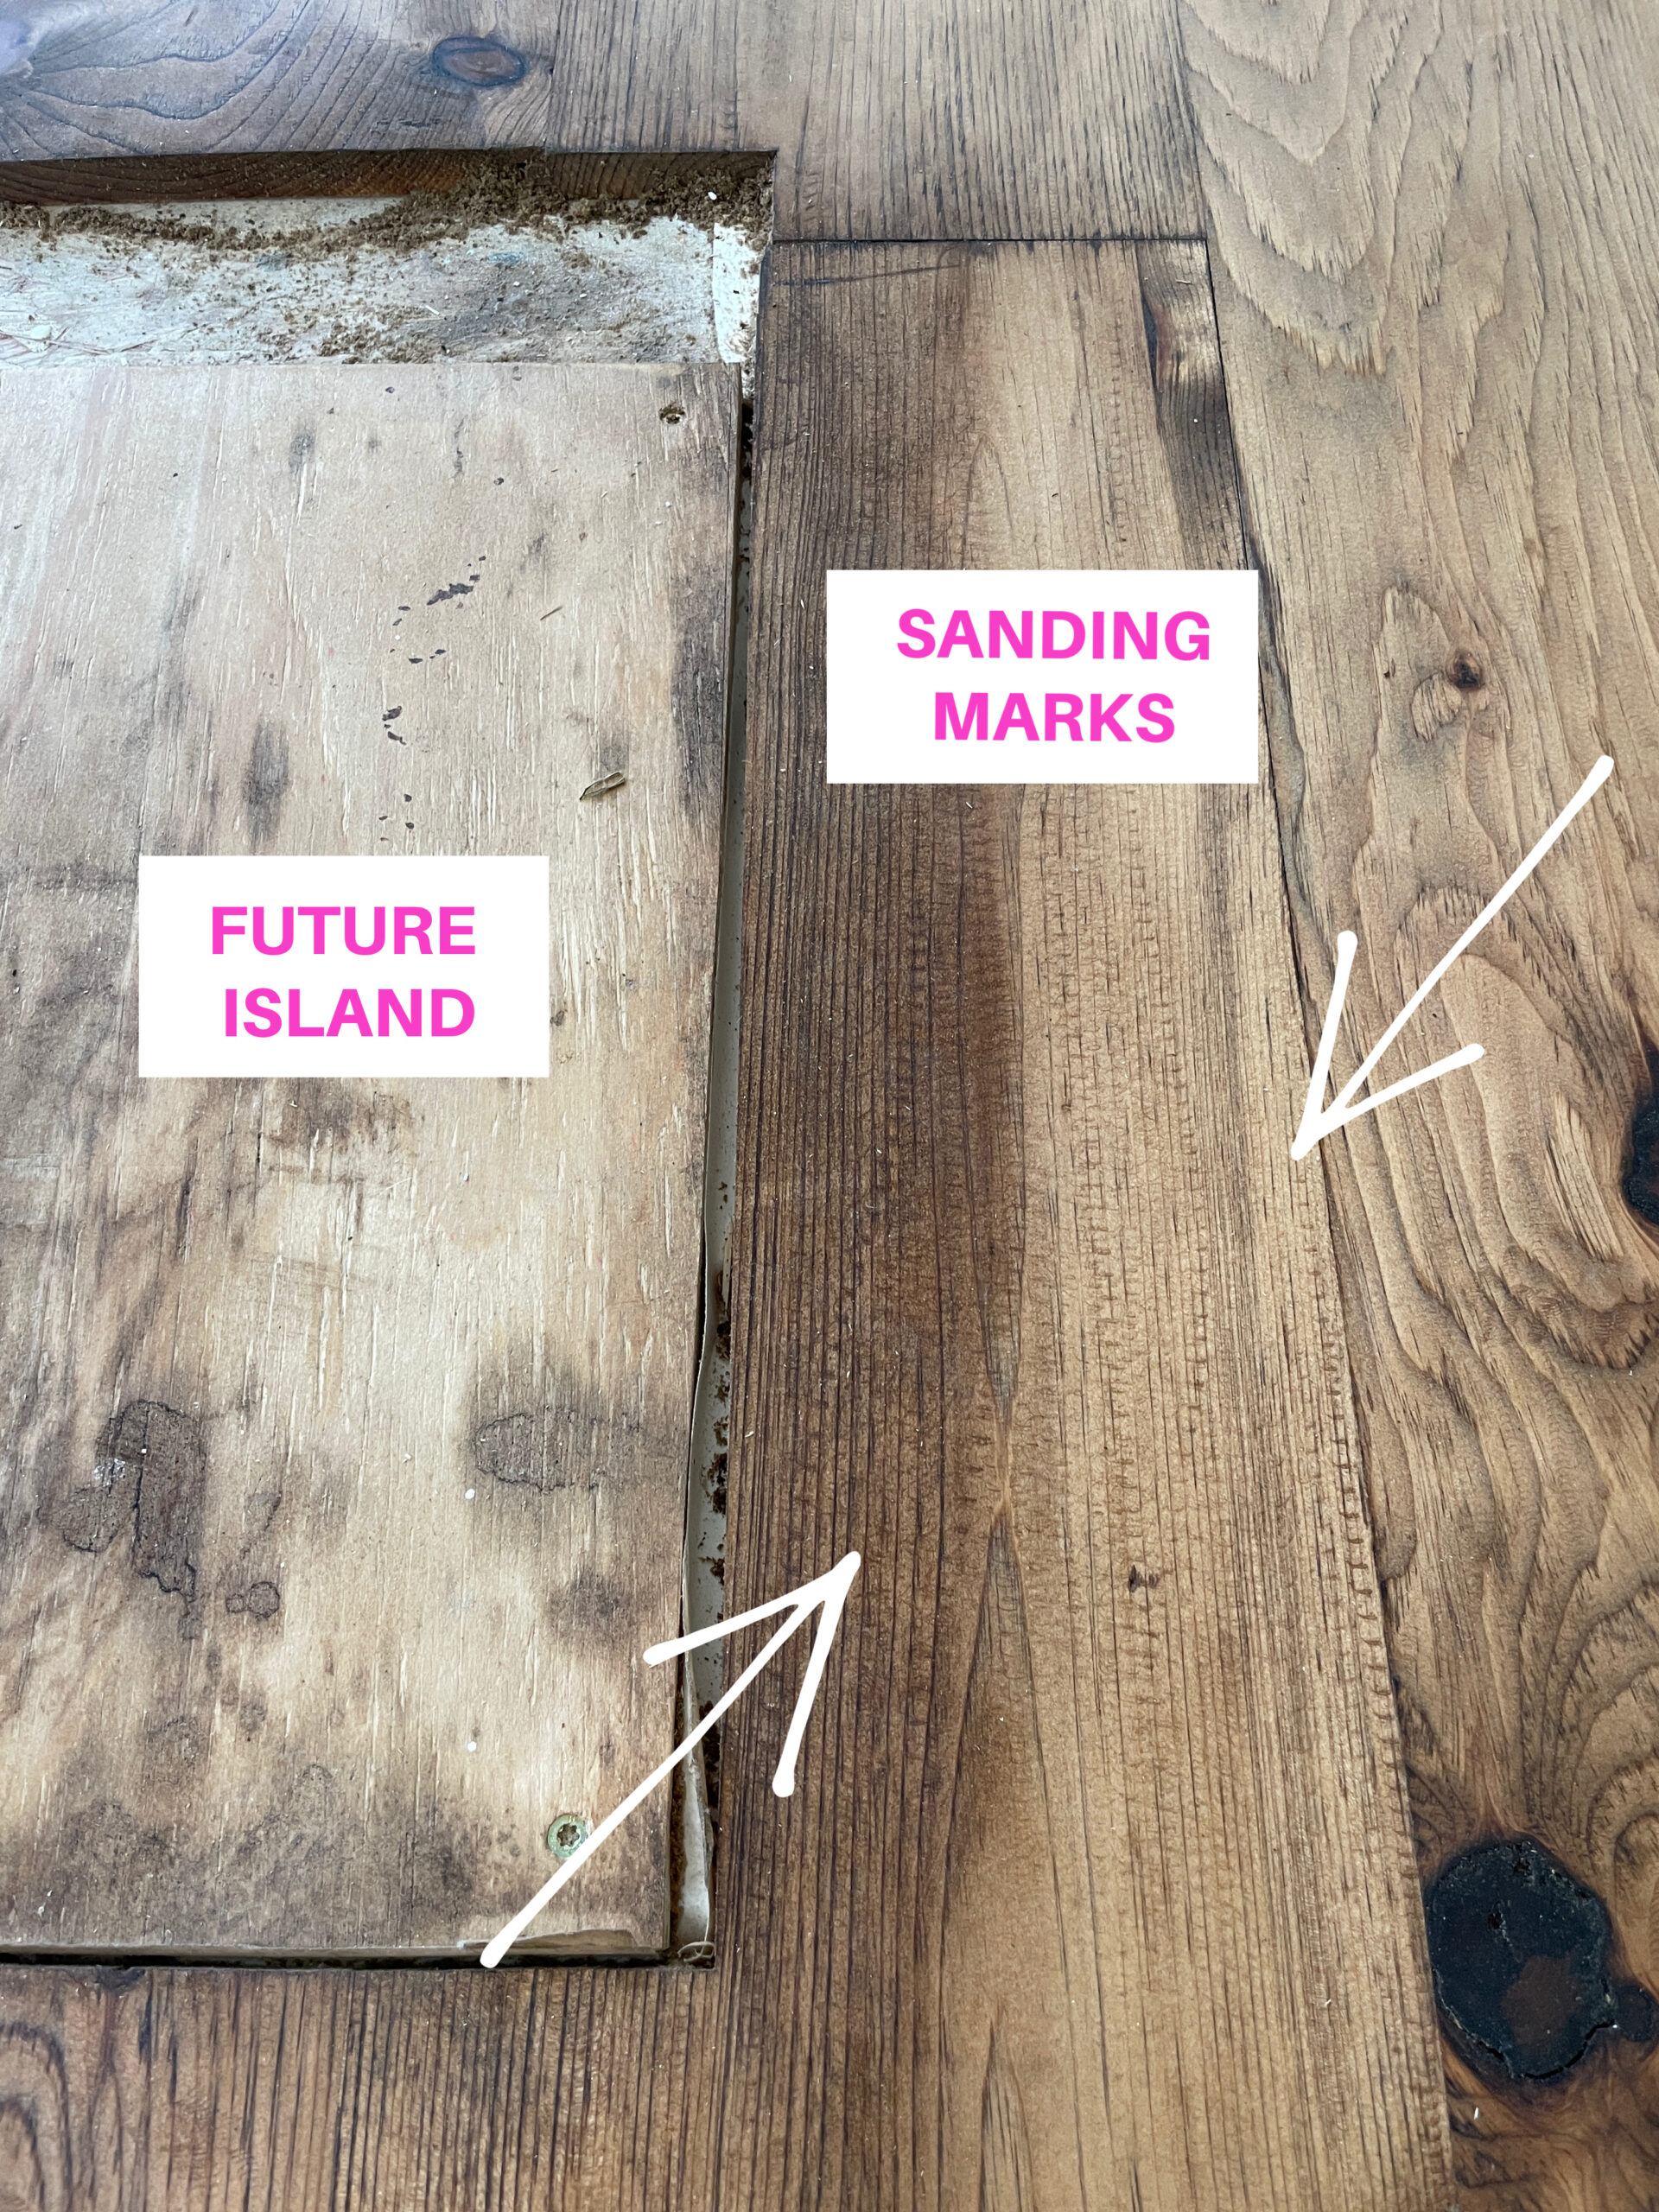
The thing about pigtails is that they don’t show up until after you’ve started staining and it’s so frustrating! We did end up with a few but luckily they’re in hidden areas of the floor such as under the refrigerator or where the island will extend out over these boards and it won’t be seen.
If you end up with pigtails you’ve got a few options.
- Learn to live with it.
- Sand the floors again, correcting your mistakes by going slower without skipping high grit numbers.
- Wait it out. If you used a pine wood, the floor will naturally destress and a majority of those marks will probably be hidden.

Even with the few sanding mistakes we made we are still extremely happy with our new pine floors! In my next blog post I’ll talk about using dark tung oil to stain our floors, along with the pros and cons so you can decide if this staining method is right for you.

How are the floors holding up now? I just ordered these same floors
Great article. How are your floors holding up? I just bought this same flooring!!
They’re holding up great and we just ordered the same floor for our office. I did drop a heavy can and it left a dent but it’s pine so that’s to be expected.