Things have been so hectic lately, I just now had a chance to stop and catch my breath and update the blog. Our house looks so different right now, very little furniture and a lot of boxes. It’s a little bit fun, like camping… but the novelty is starting to wear off.
I’m sad to be leaving our home, but at the same time we’re getting excited to start a new life. It’s time to make memories at our new home! Because we’ve done so many home improvement projects and I’ve redecorated so many times I thought it would be fun to put together a before and after of our Texas home.
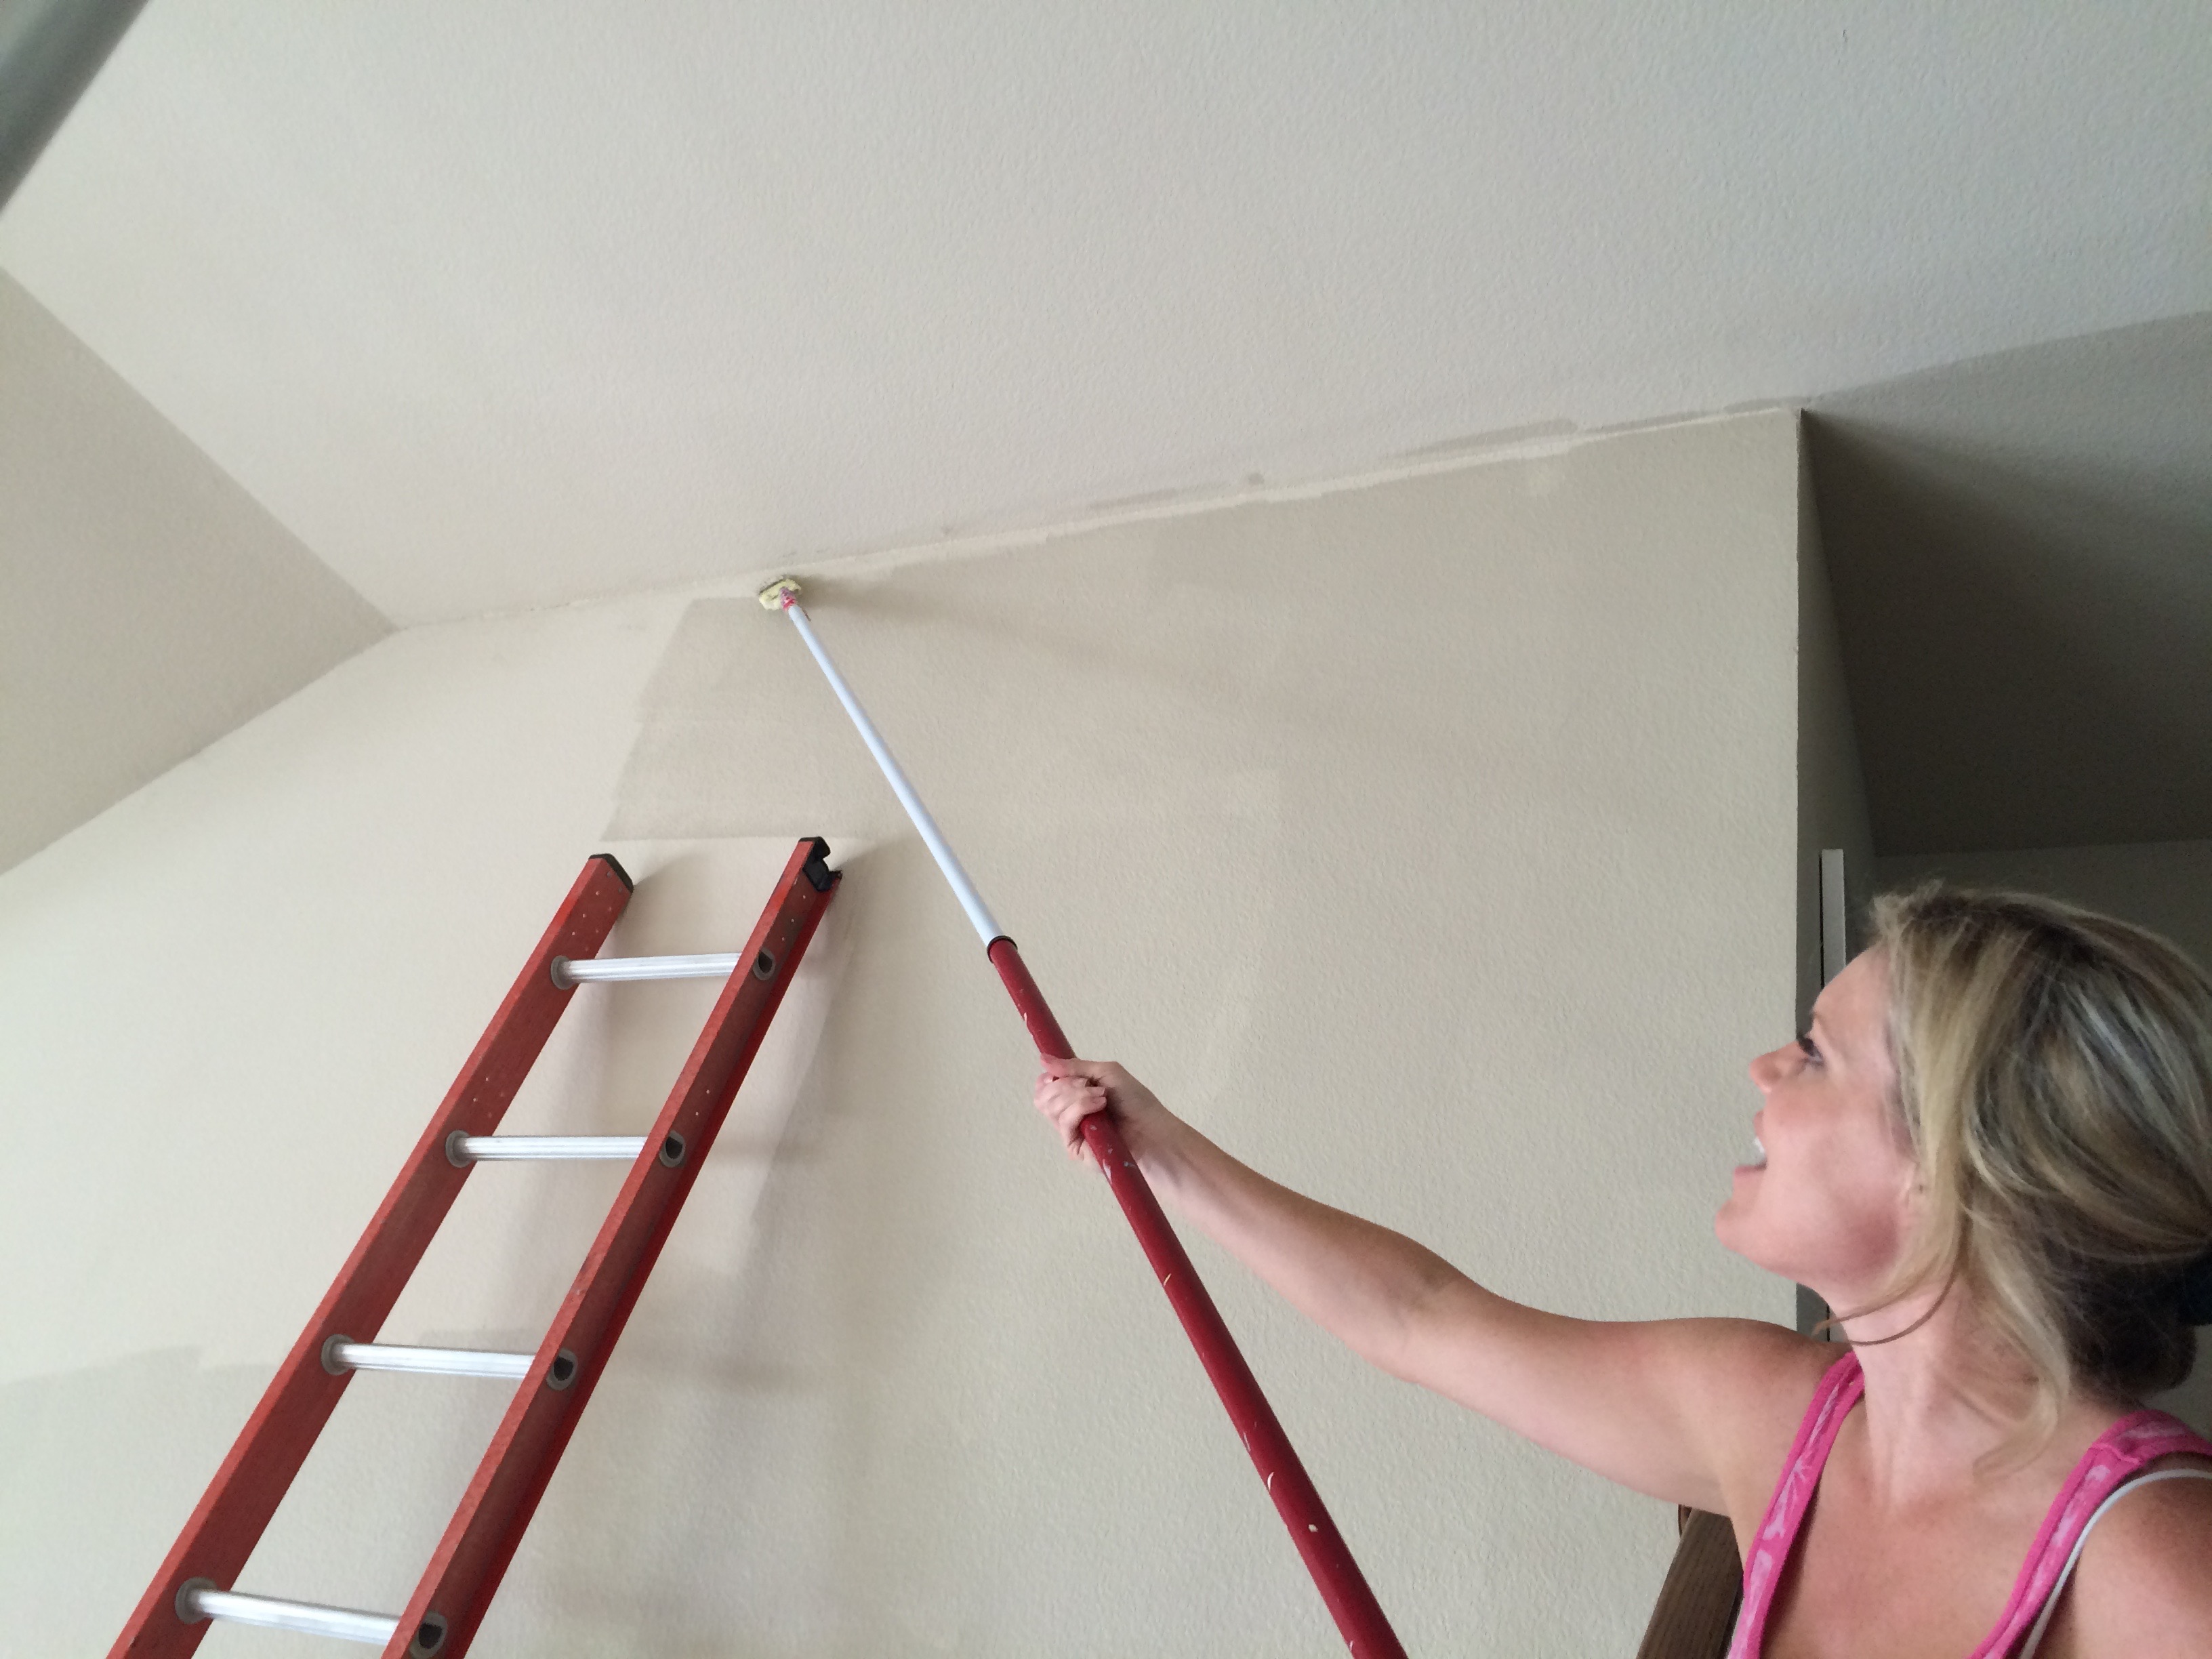

We put so much love into this home, painting our tall walls and ceiling was a crazy challenge. That was my paint brush invention… I used UK flag duct tape to attach it to the end of a long pole… we called it the Royal Brush.
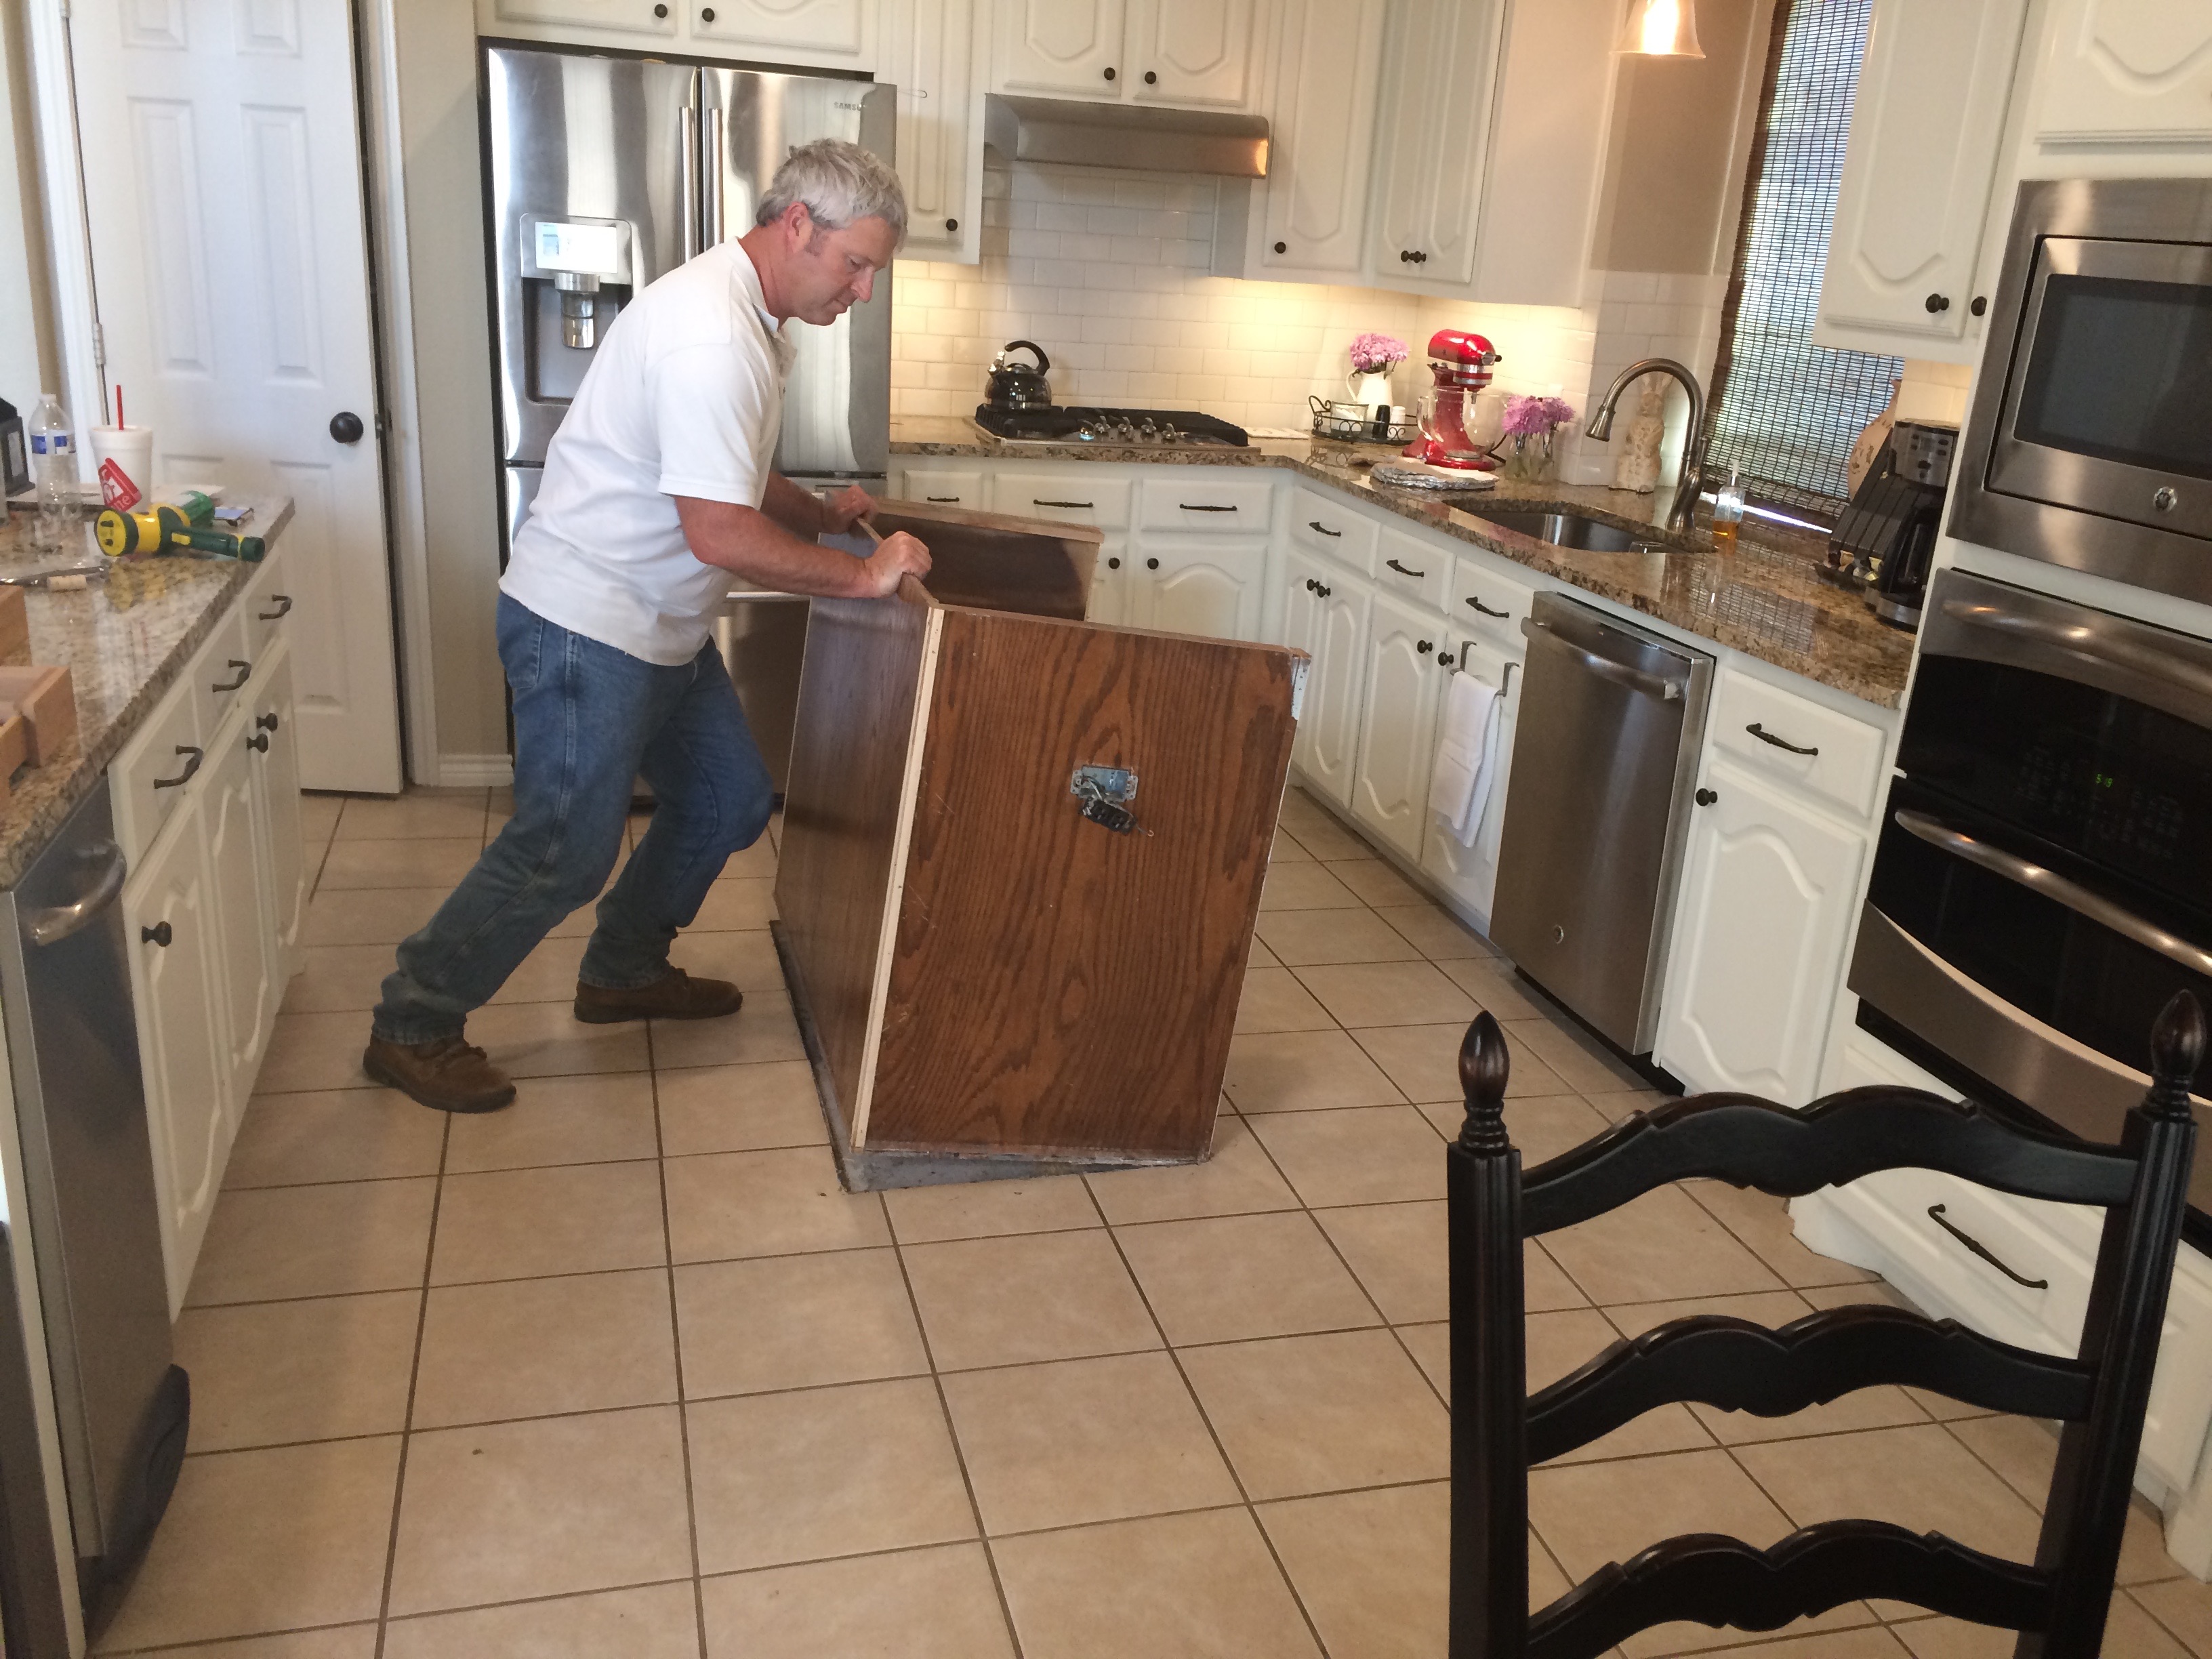
Then we had our funny moments, ya know where we added beadboard and a new granite top and then I painted the kitchen island 2 separate times… only to tell Brian to rip it out weeks later. Oopsie…
I know I say this a lot, I forgot how bad our photography was. I mean dude it was bad! A lot of these before photos I took with my caveman iPhone 3 before I even knew I would start a blog. Then once I started the blog we started the long journey of learning photography. It’s not as easy as it looks! Wow, some of these blog images I thought looked really good at the time, and they don’t now. They’re dark and grainy!! We shoot in RAW now and have learned so much not just about photography but the photo editing process as well. Our photos aren’t perfect but they’re much better now… blah blah… ready to see some ugly before photos??
HOUSE BEFORE
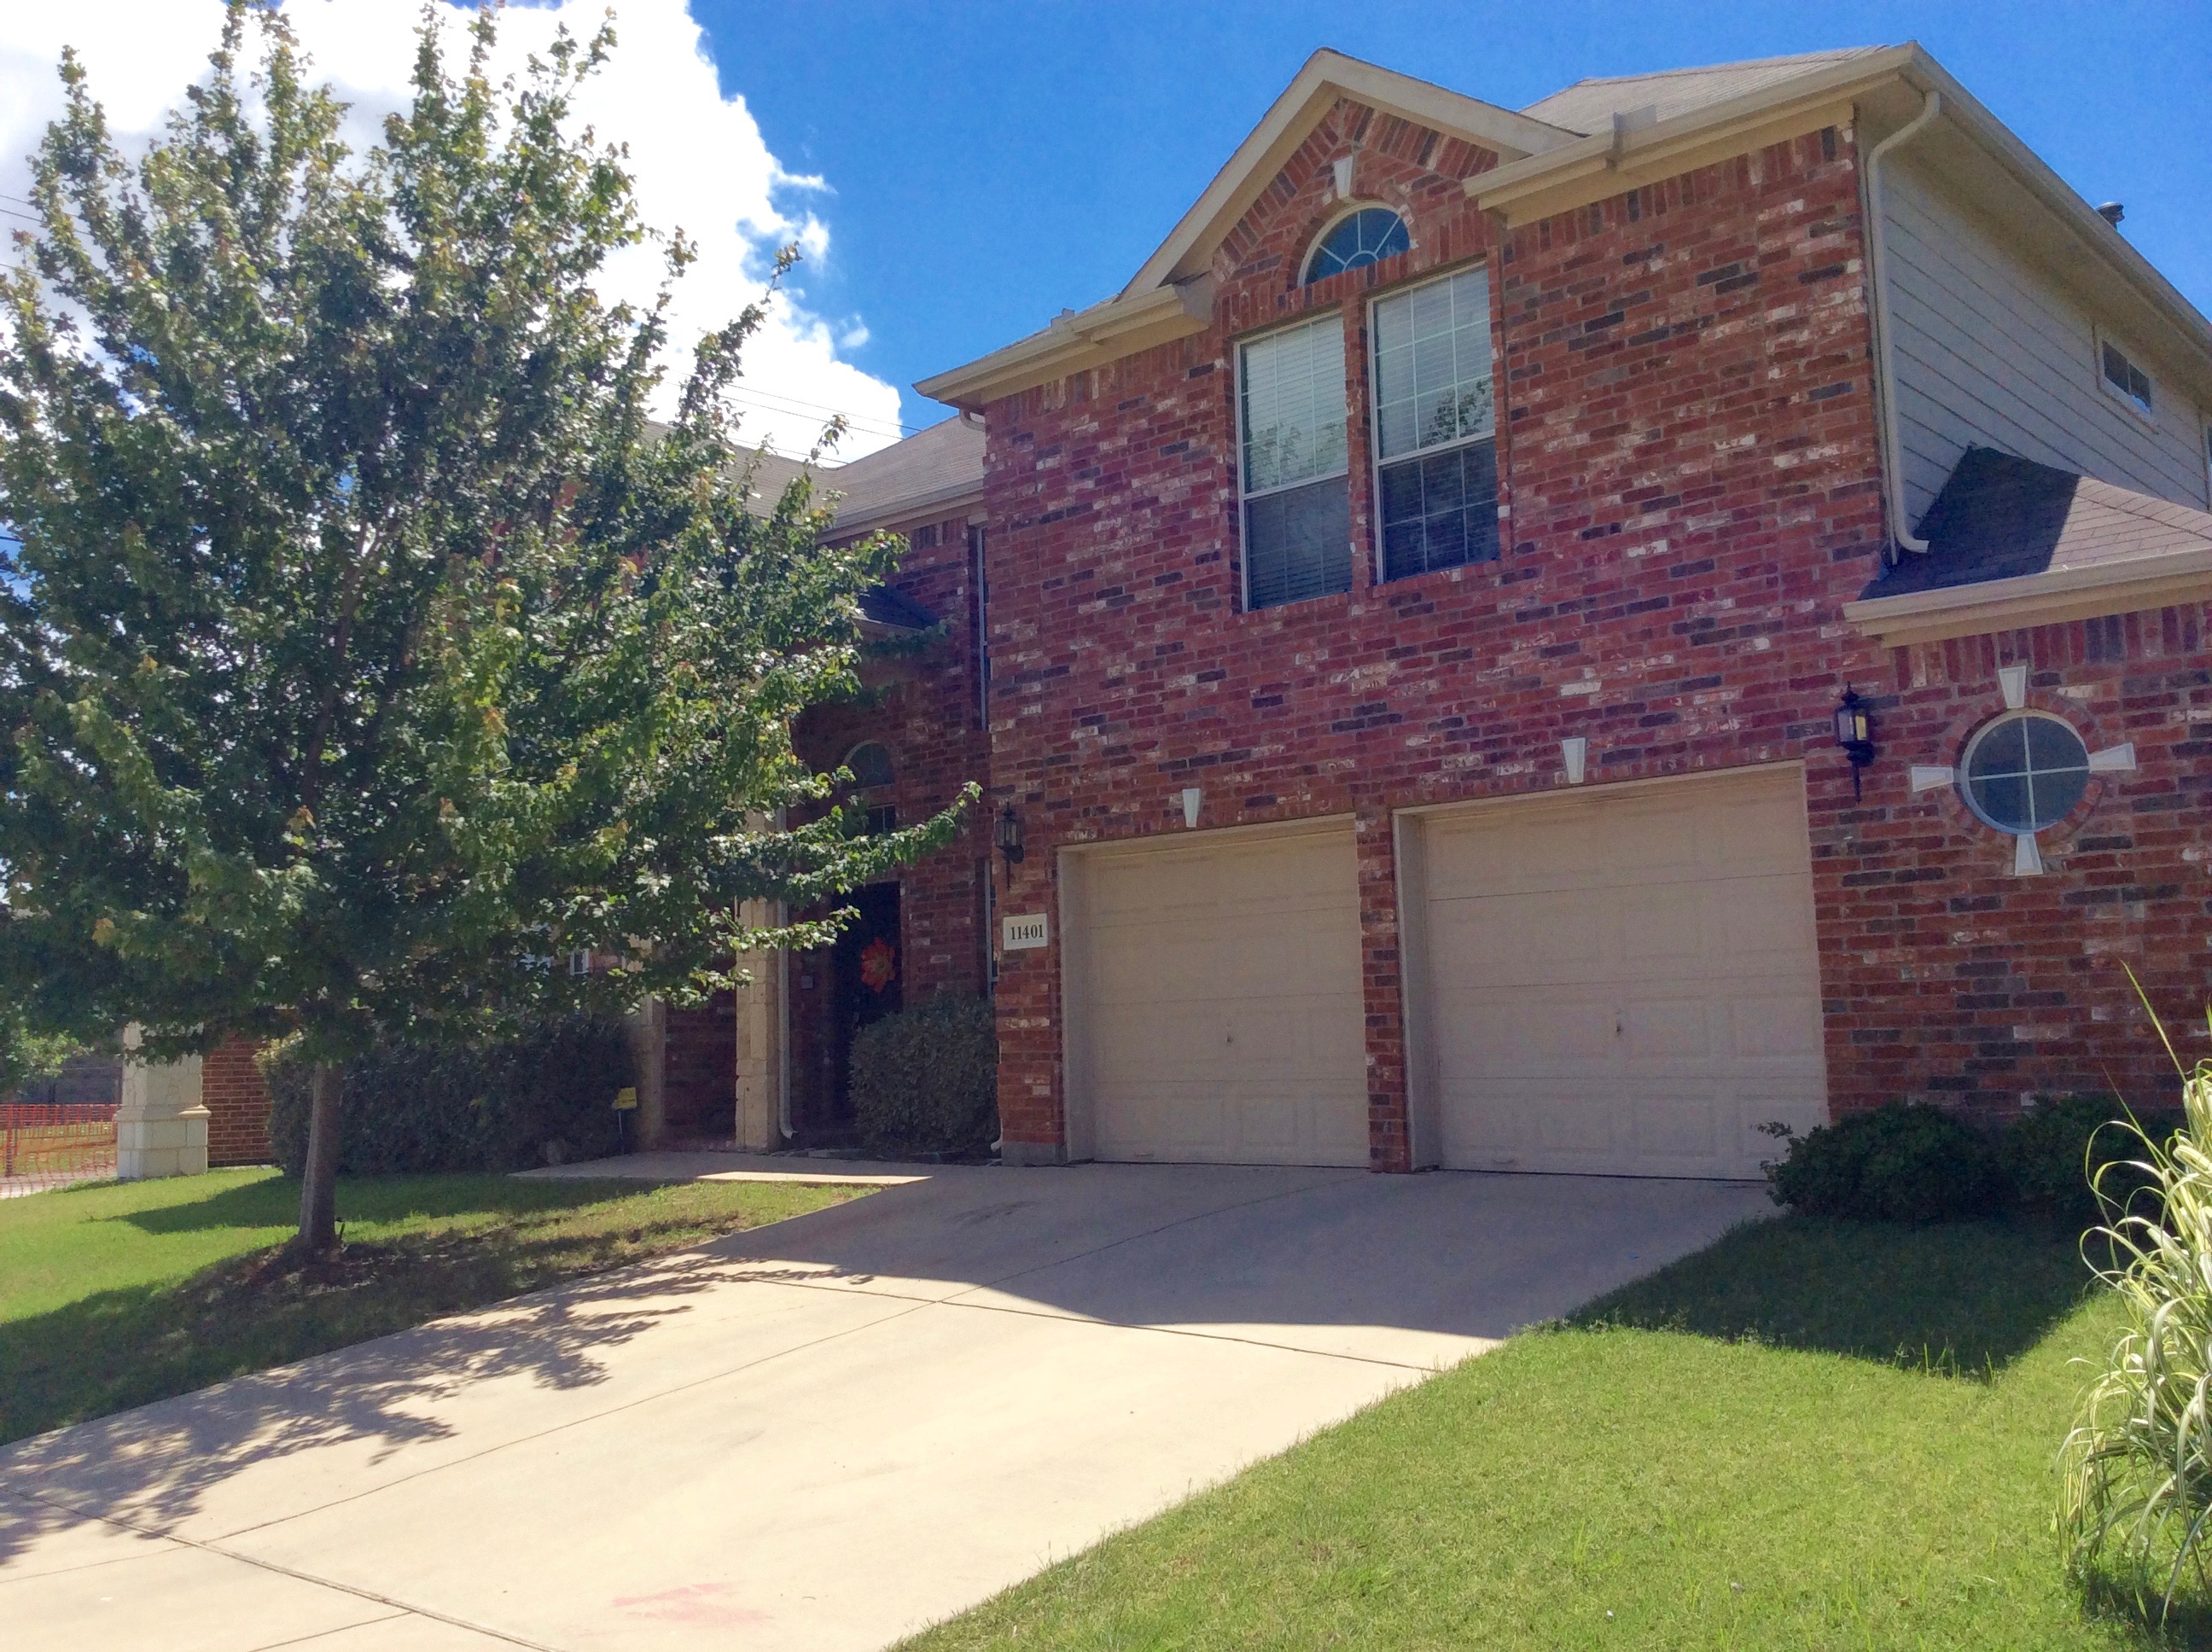

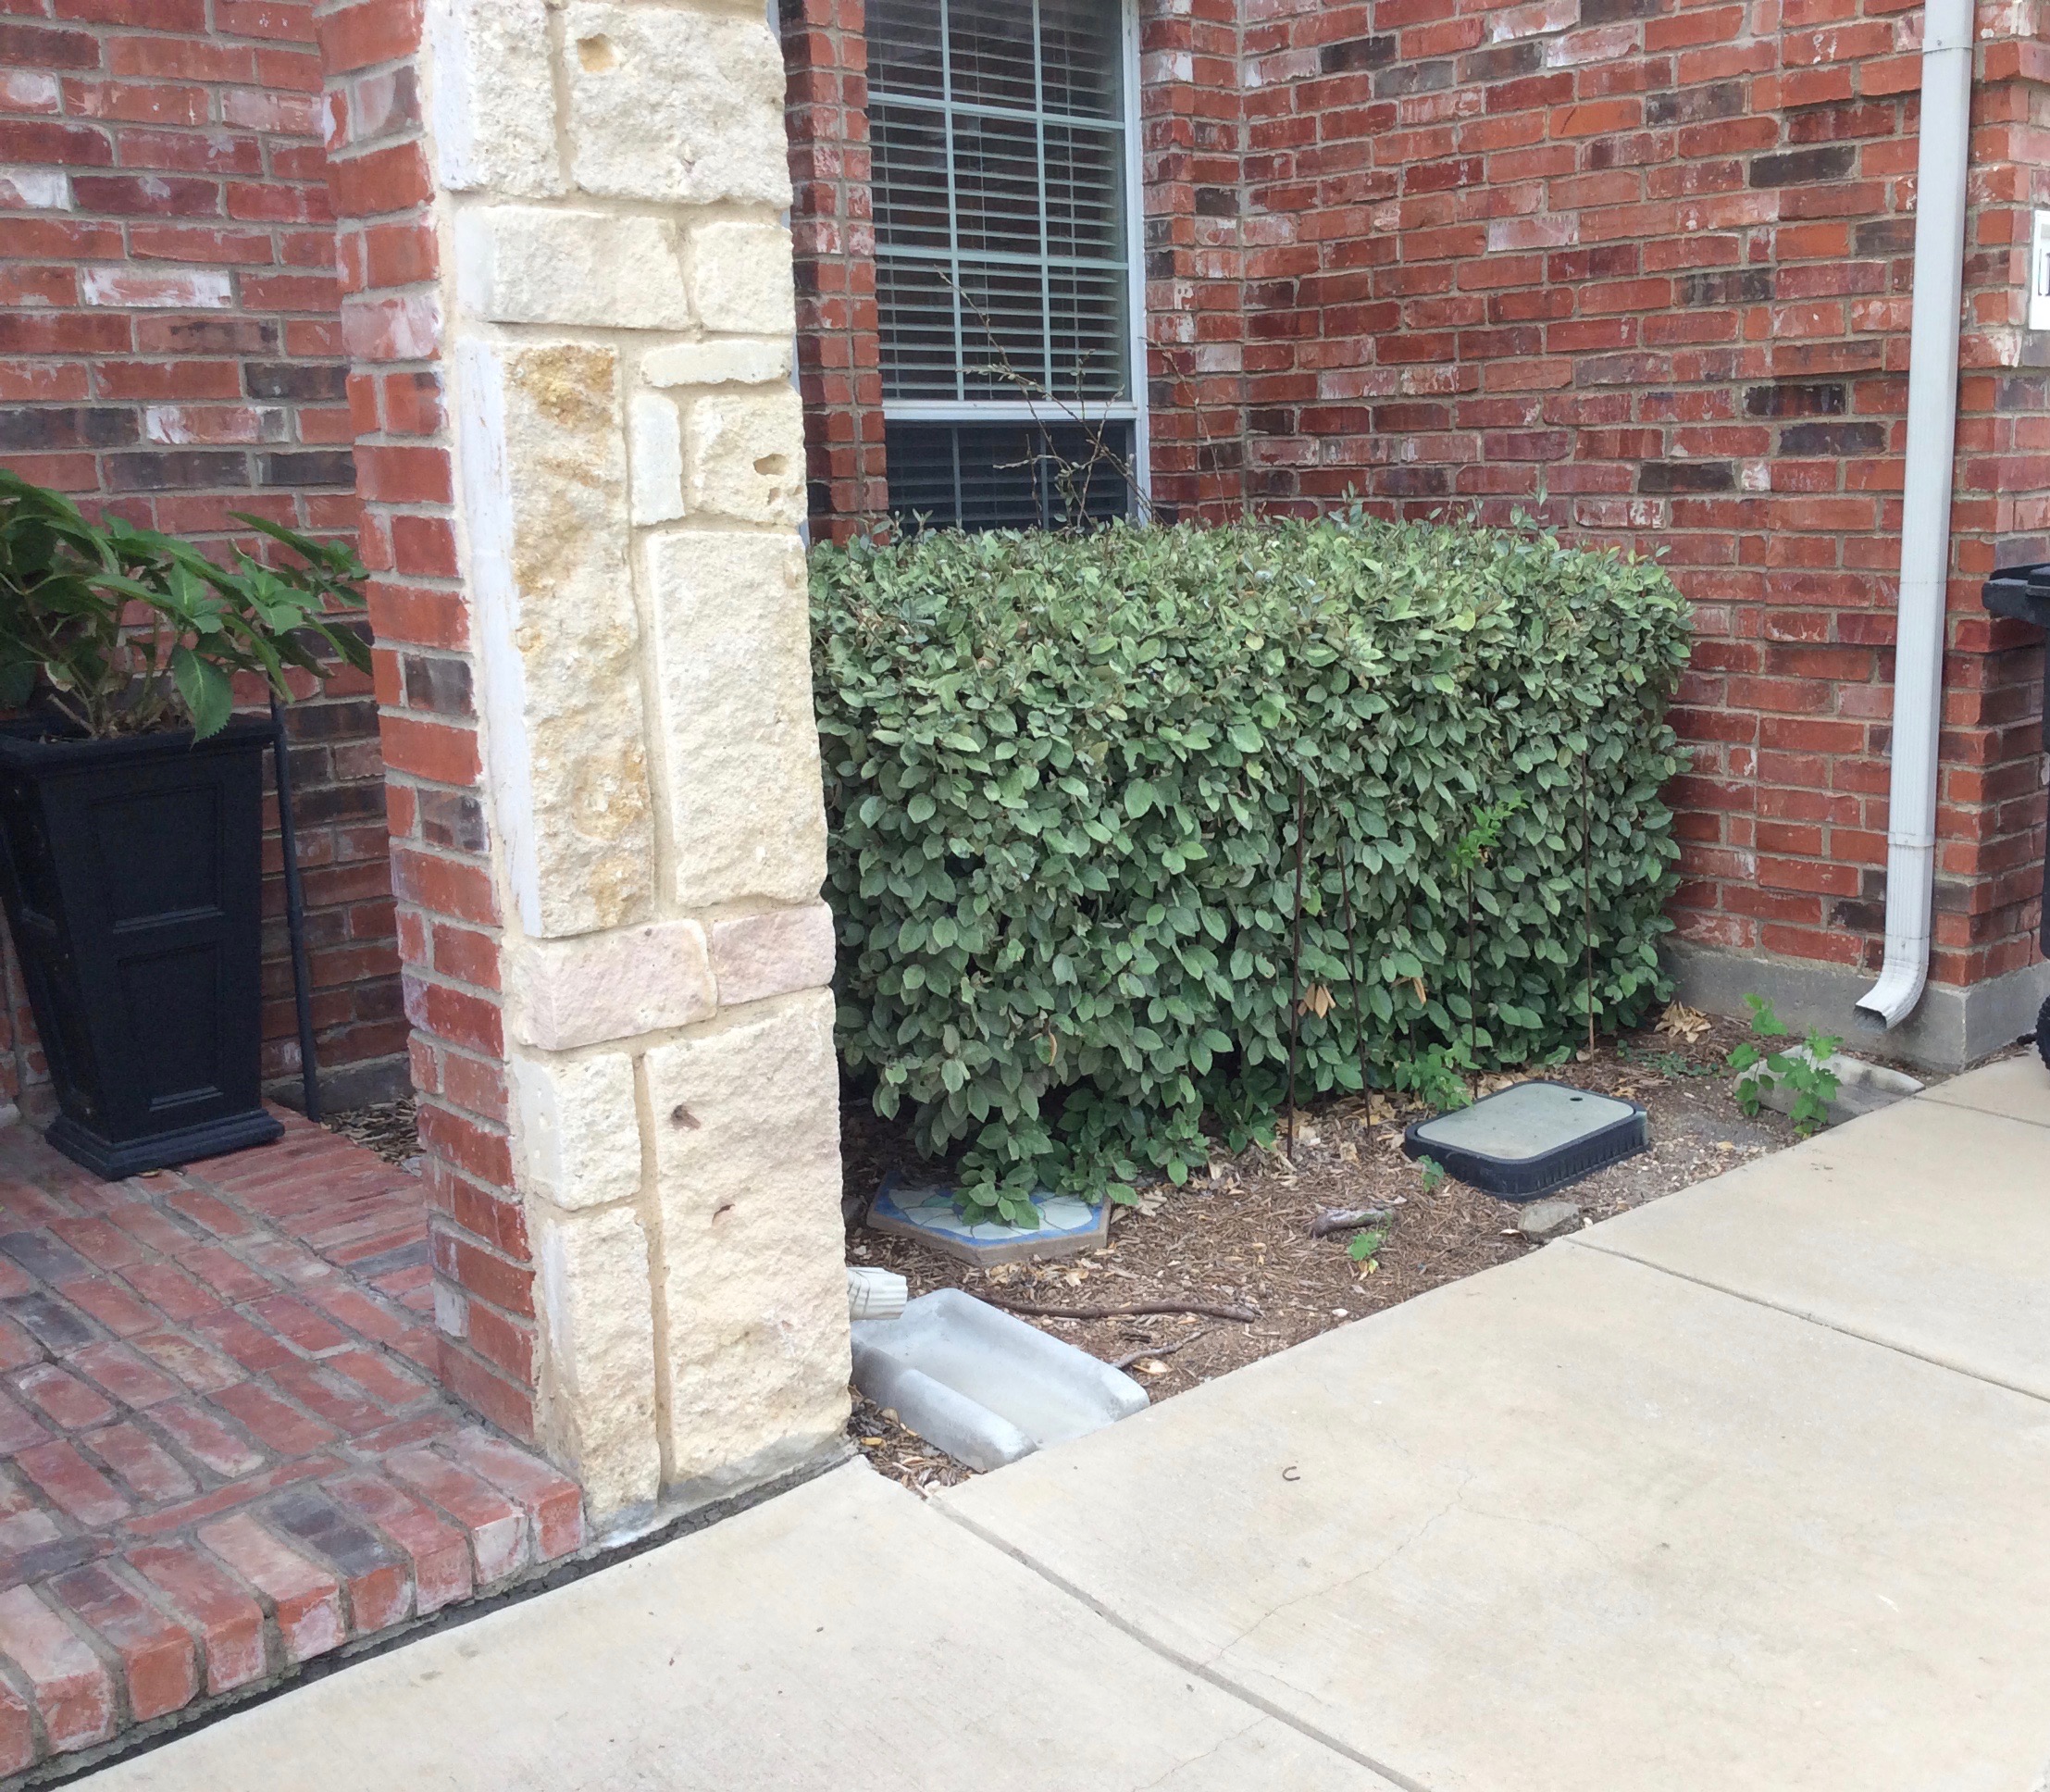
The front of the house needed some major curb appeal and the landscaping was boxy and dated.


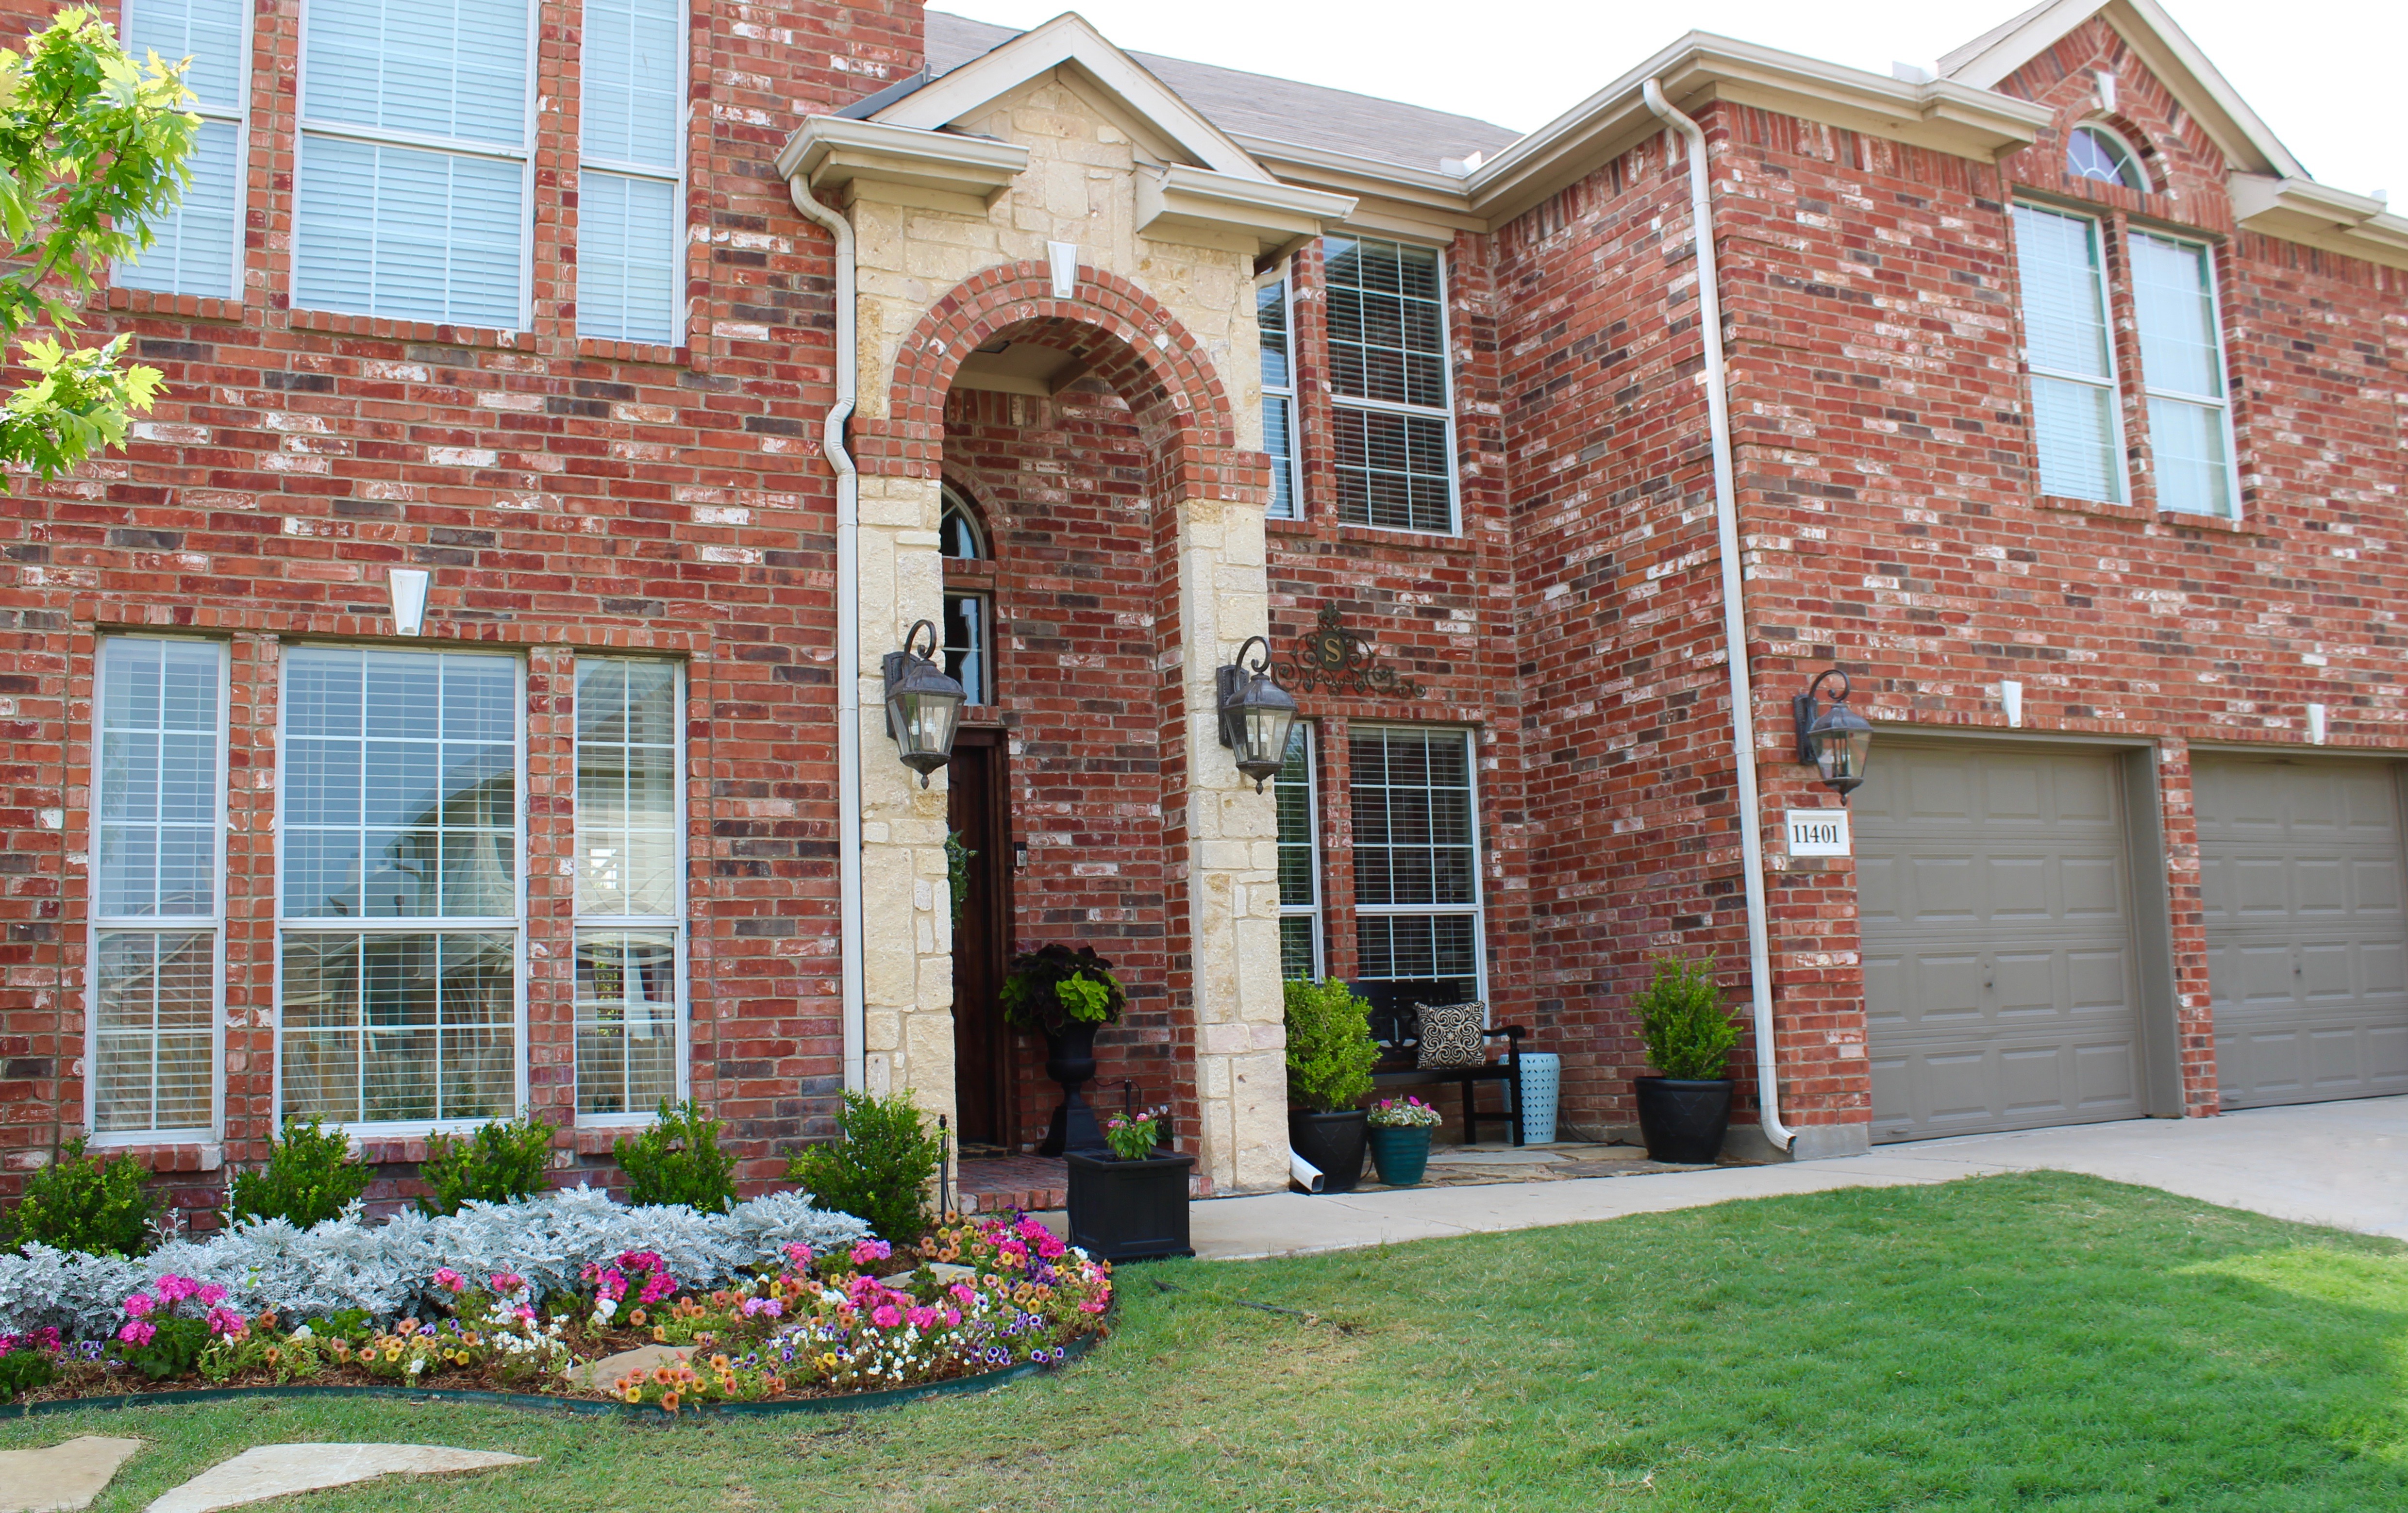
HOUSE AFTER
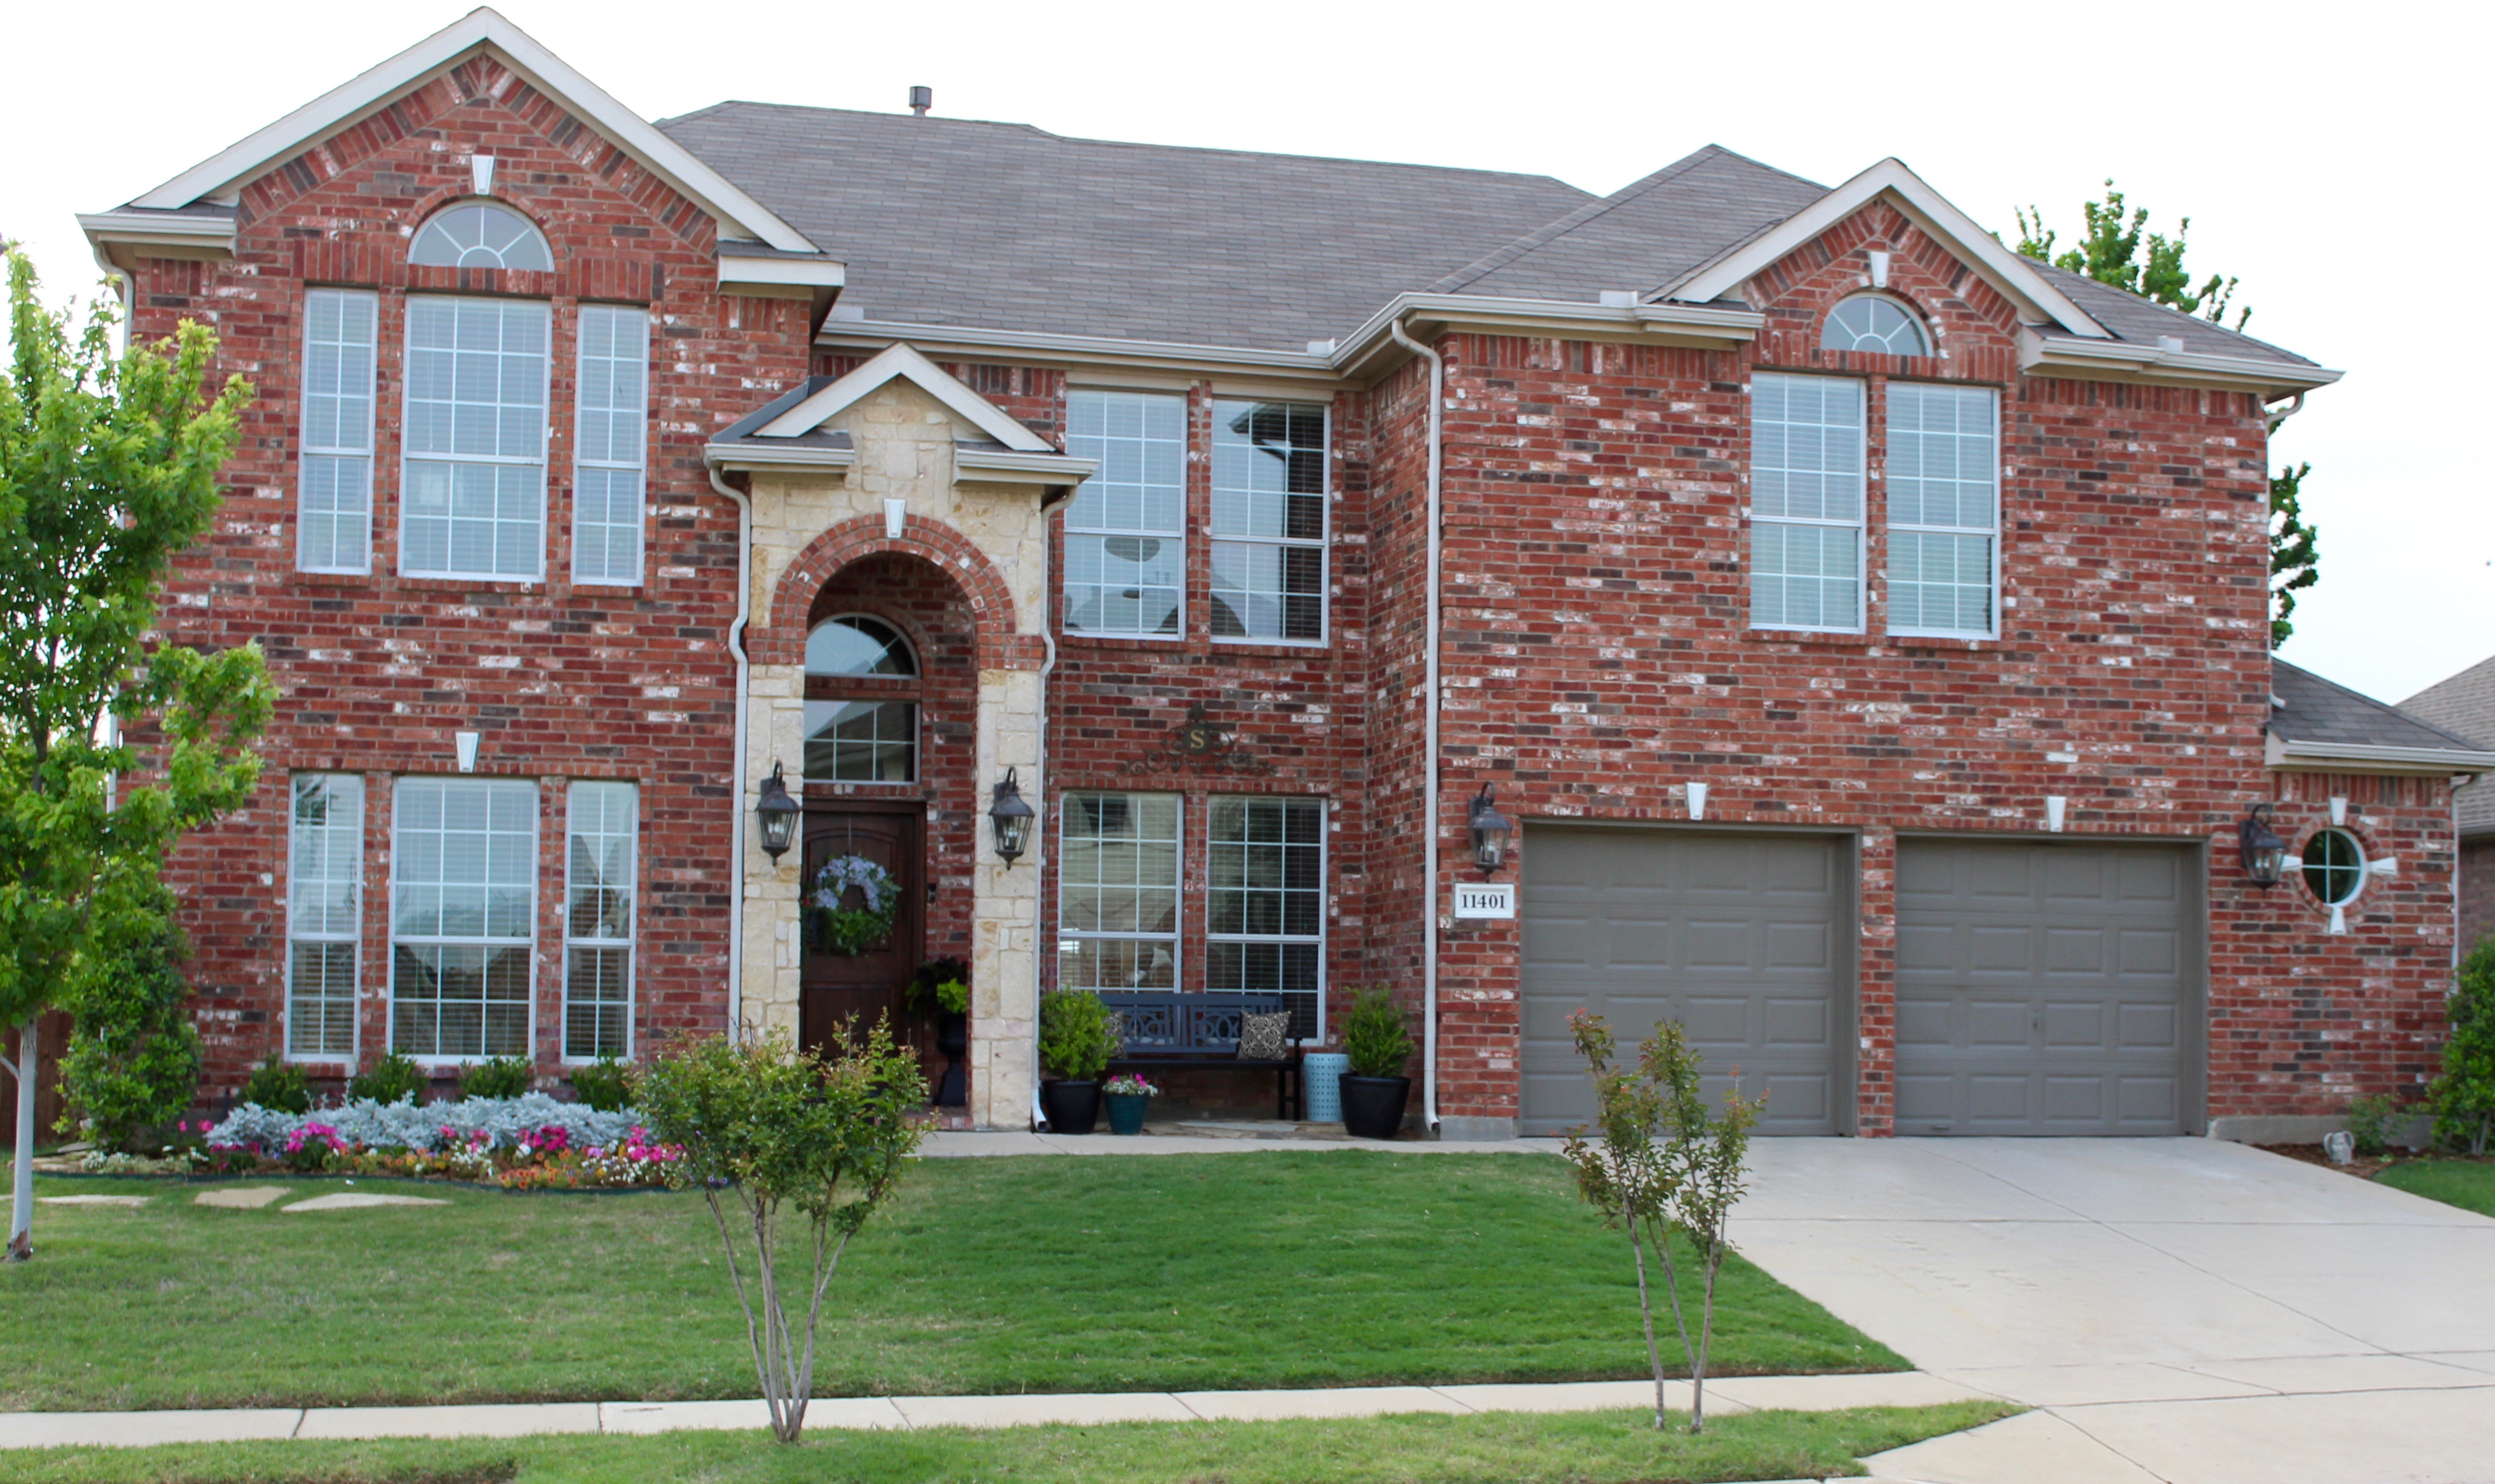

I was sad to cut down the tree in the front yard but it was blocking the house and cracking up the driveway. I had always wanted a larger front porch so we ripped out the overgrown shrubs and added stone and decomposed granite for more porch space. We painted the garage doors Texas Leather by Benjamin Moore to add some contrast.


THE ENTRY WAY BEFORE
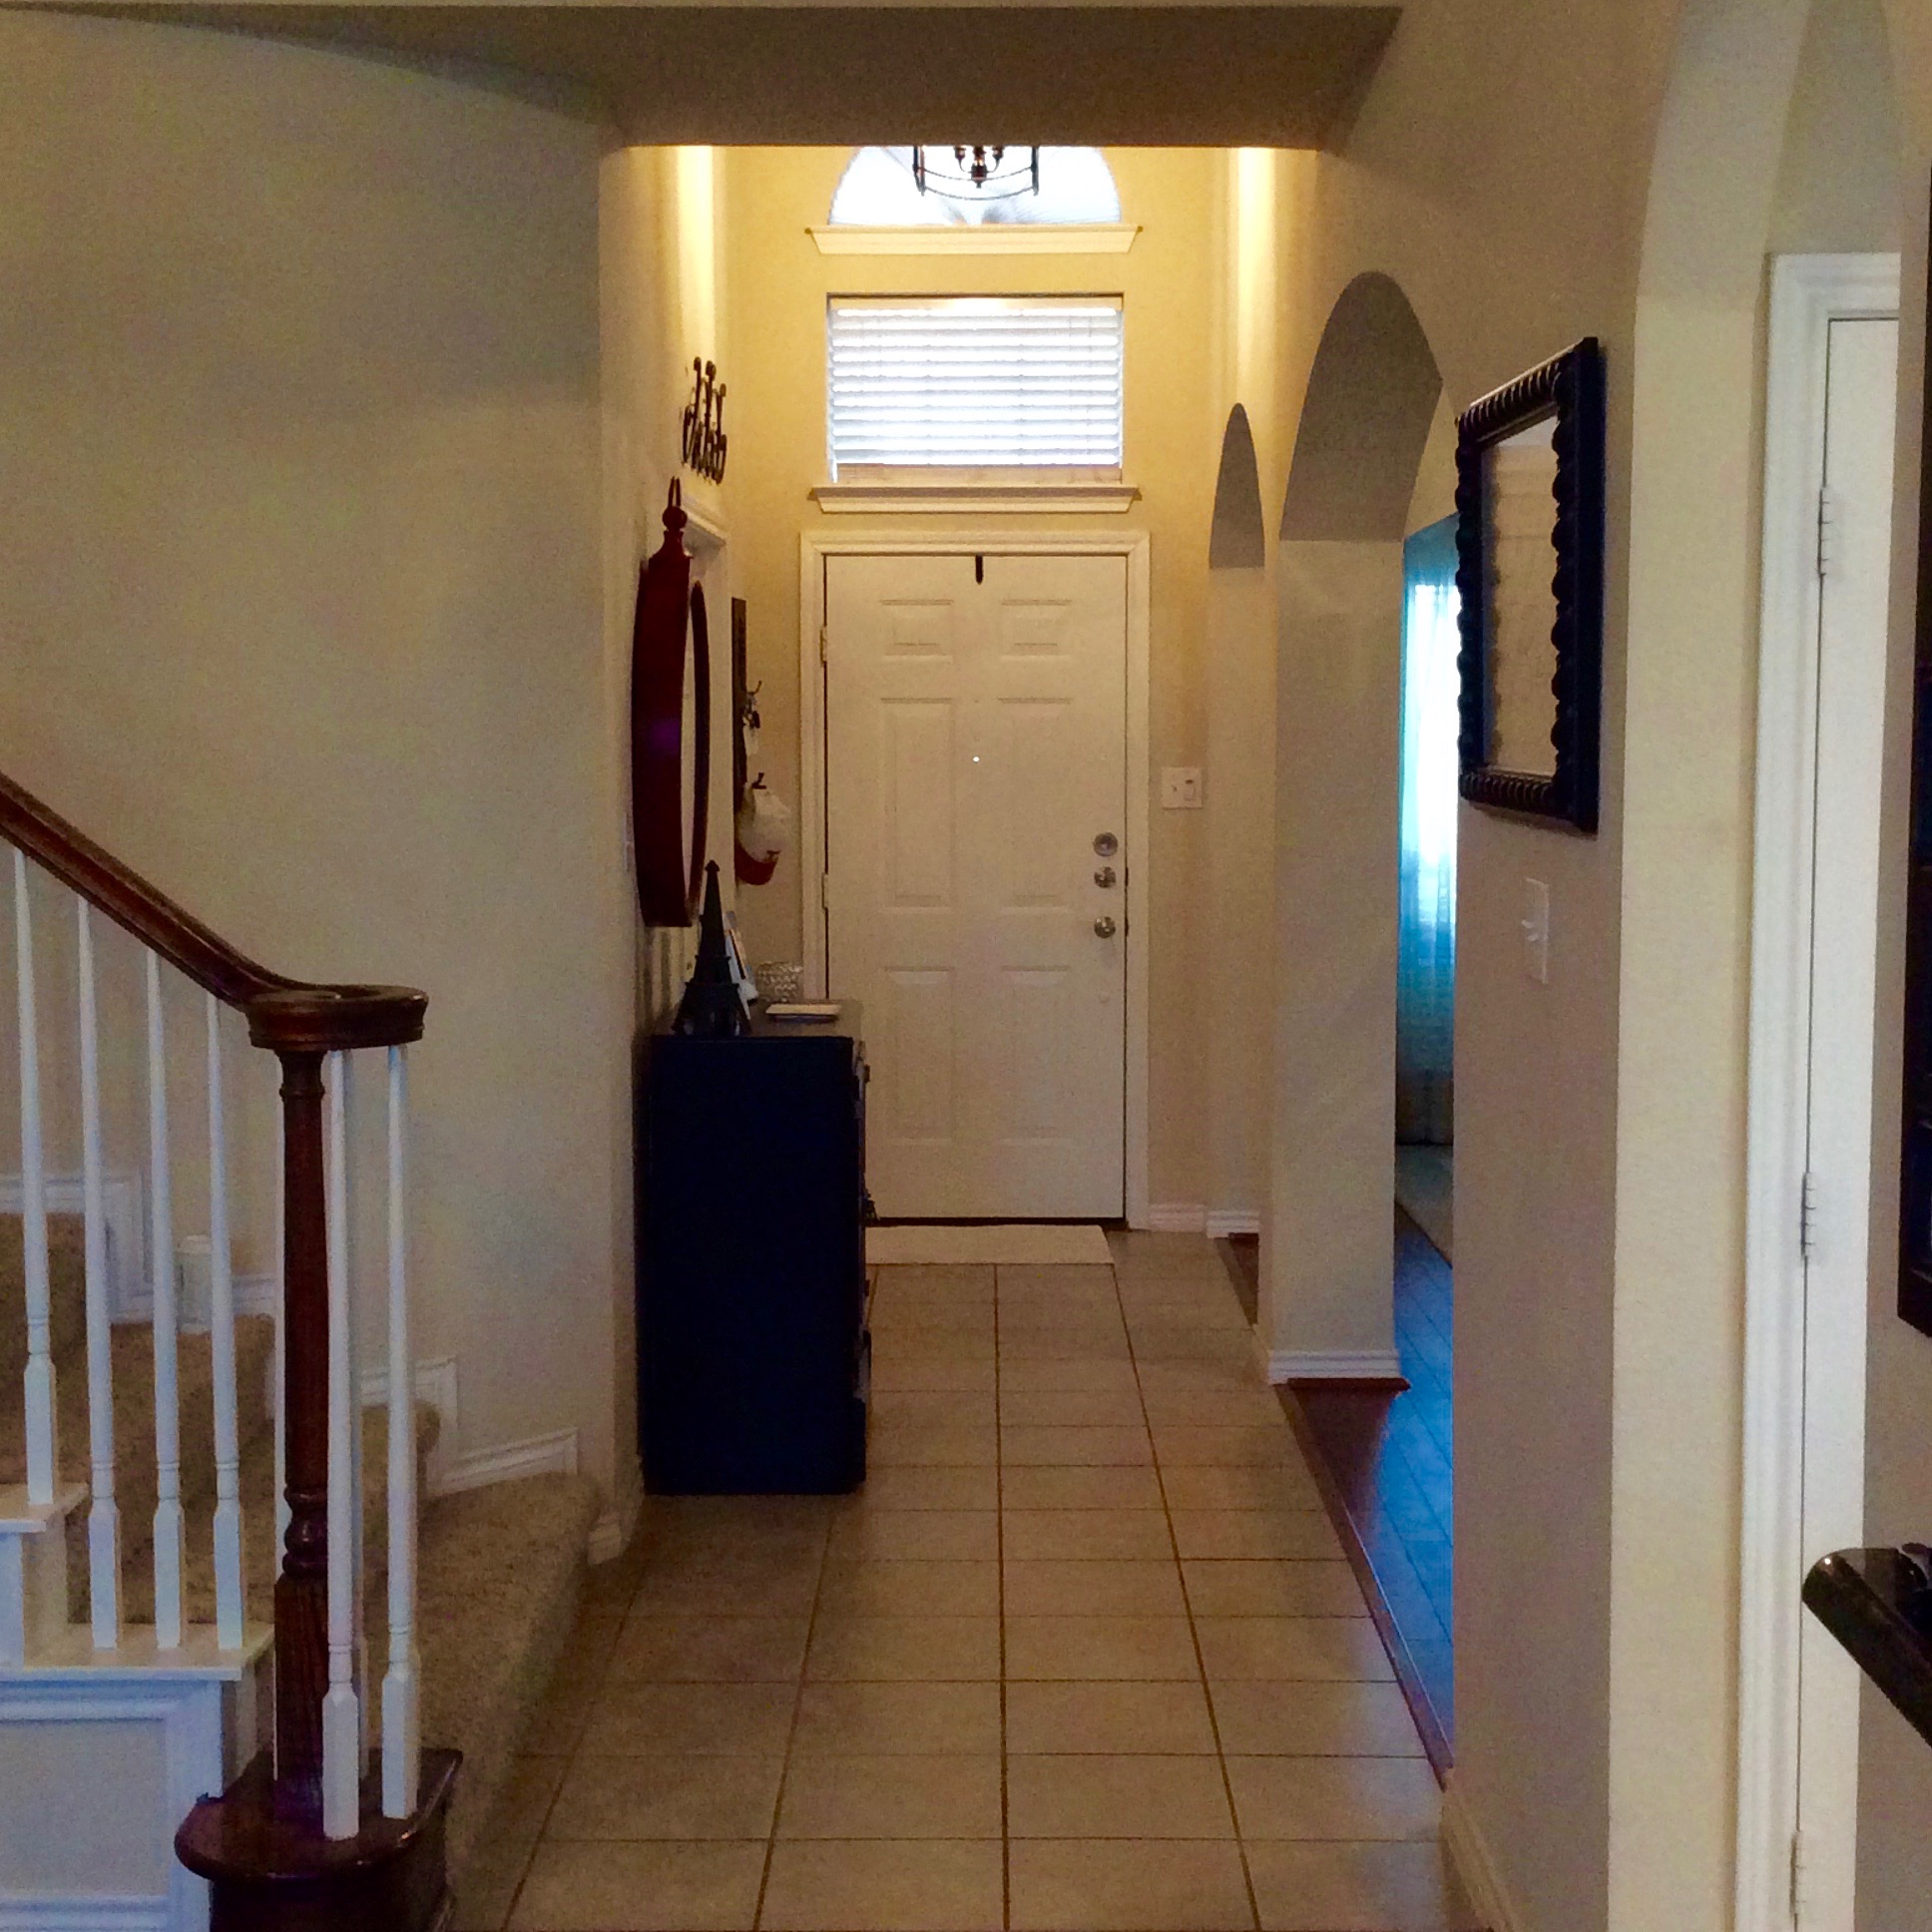

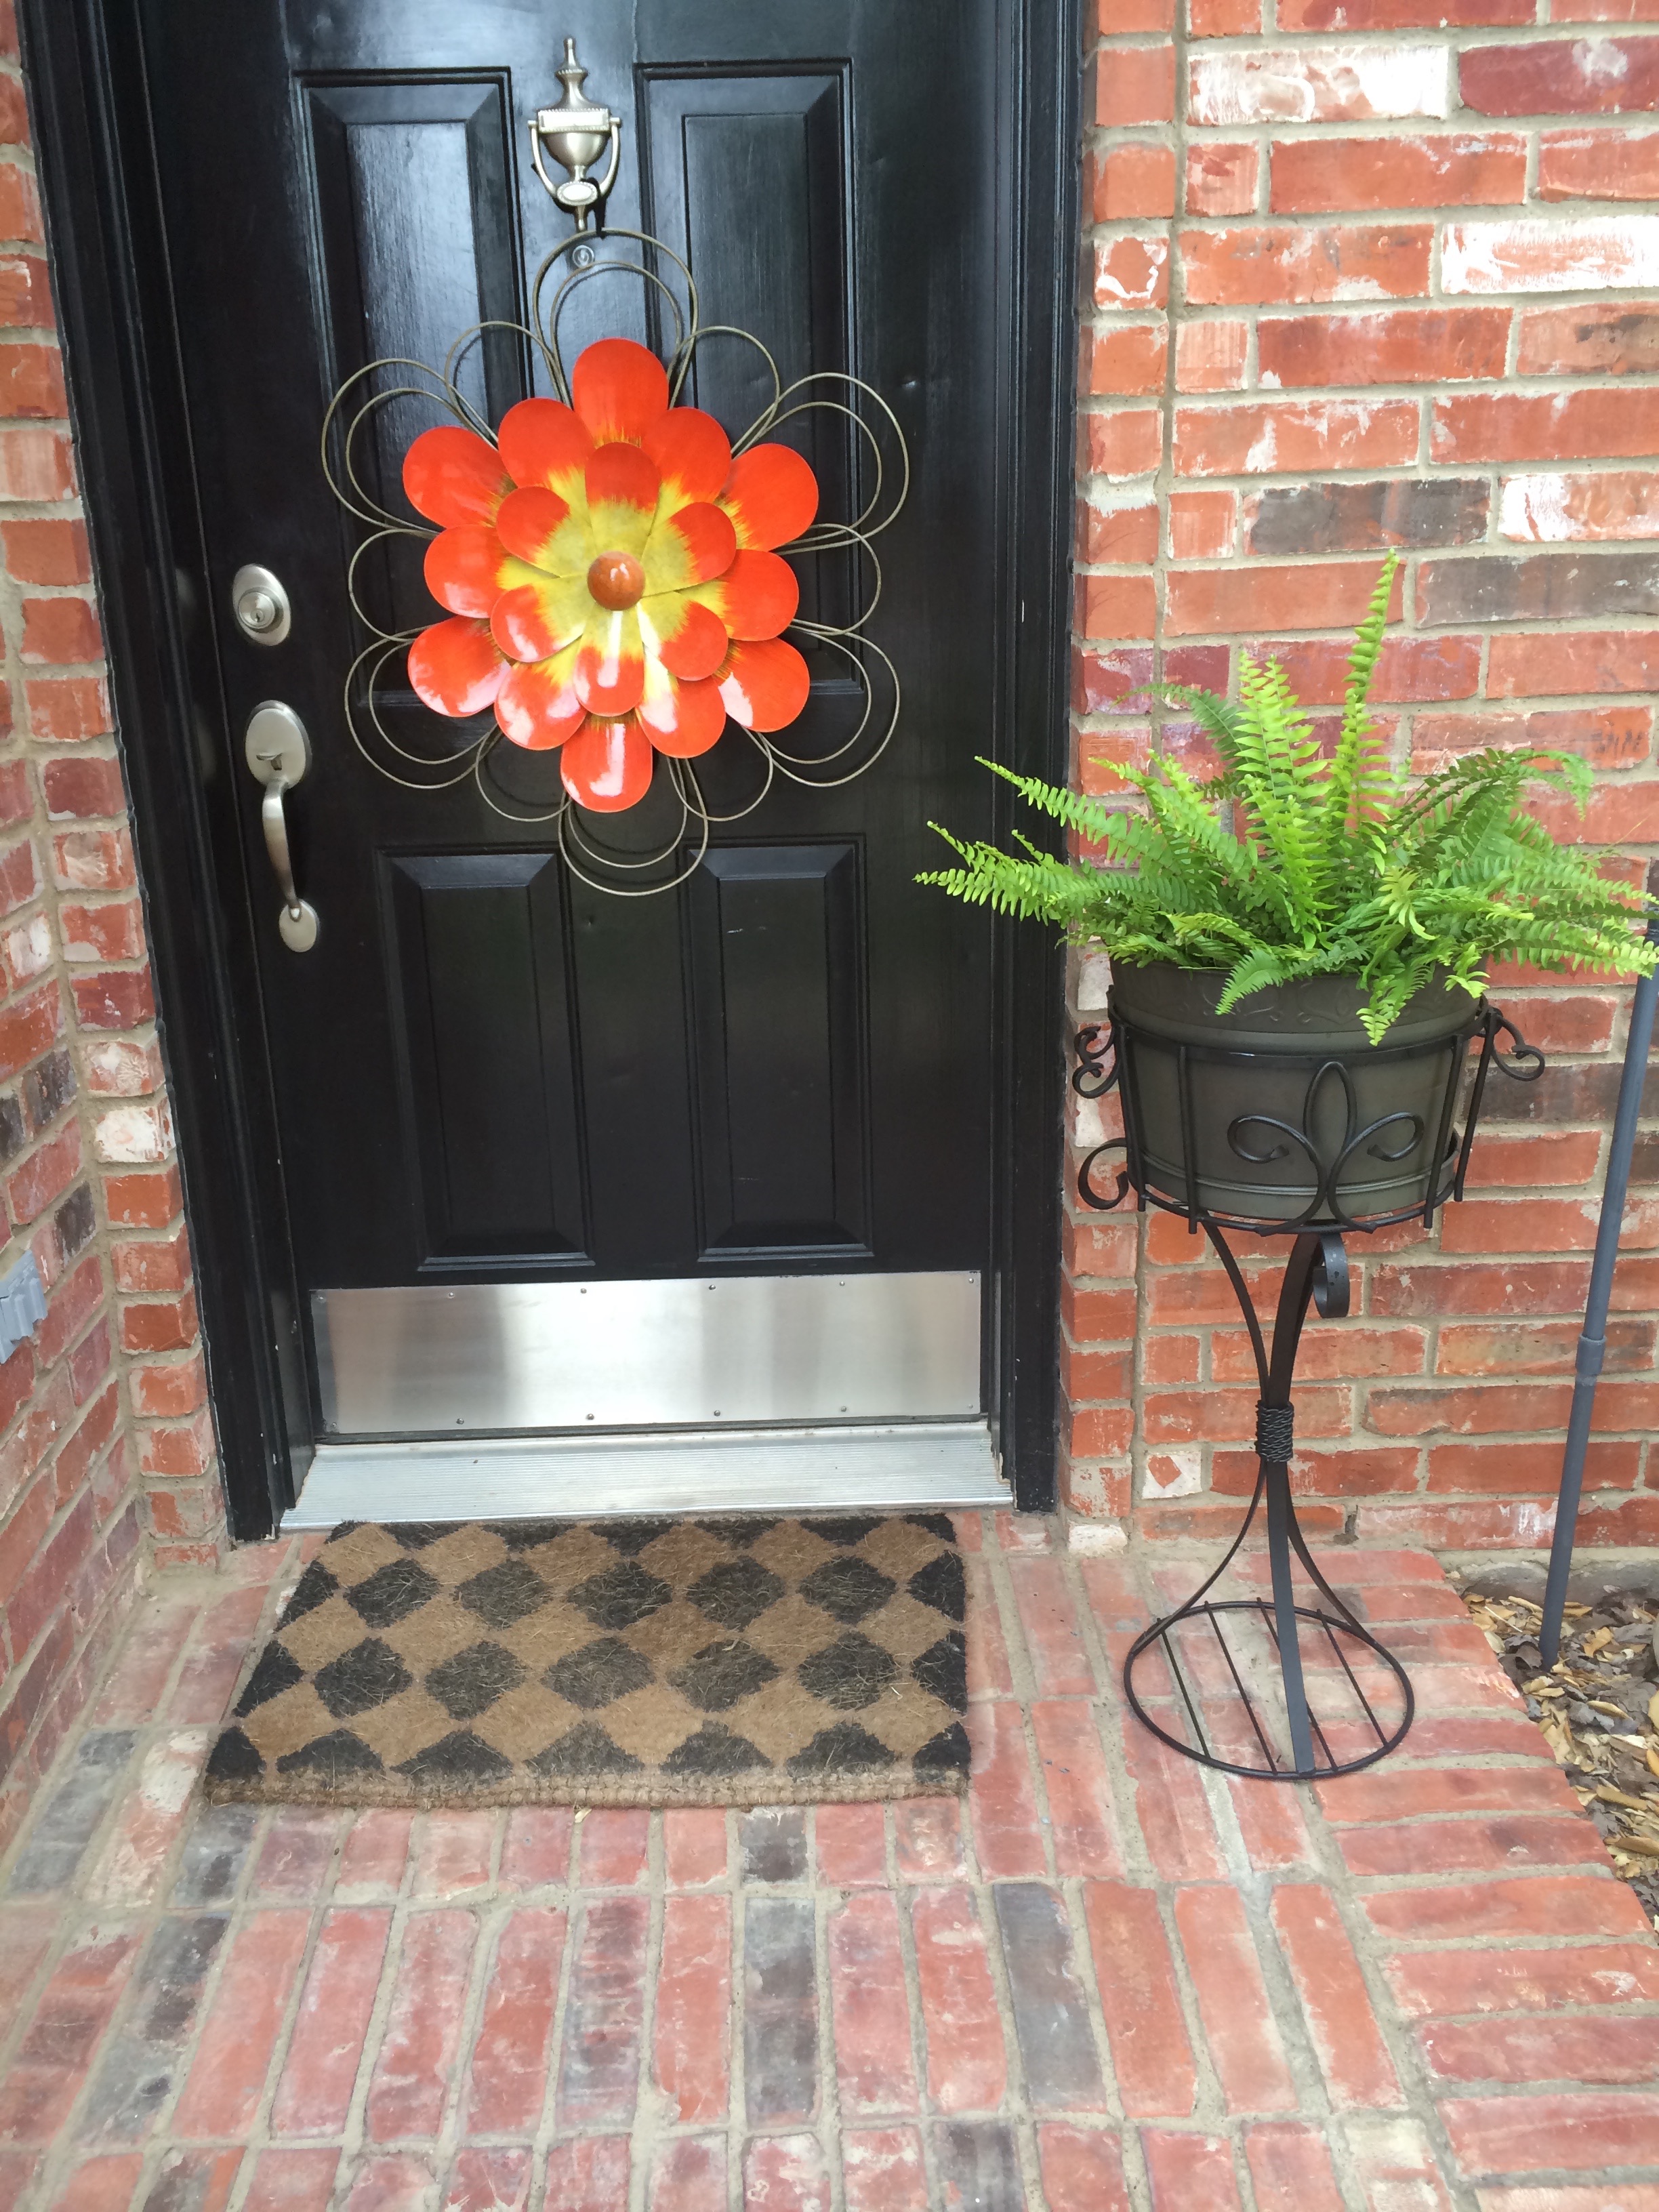
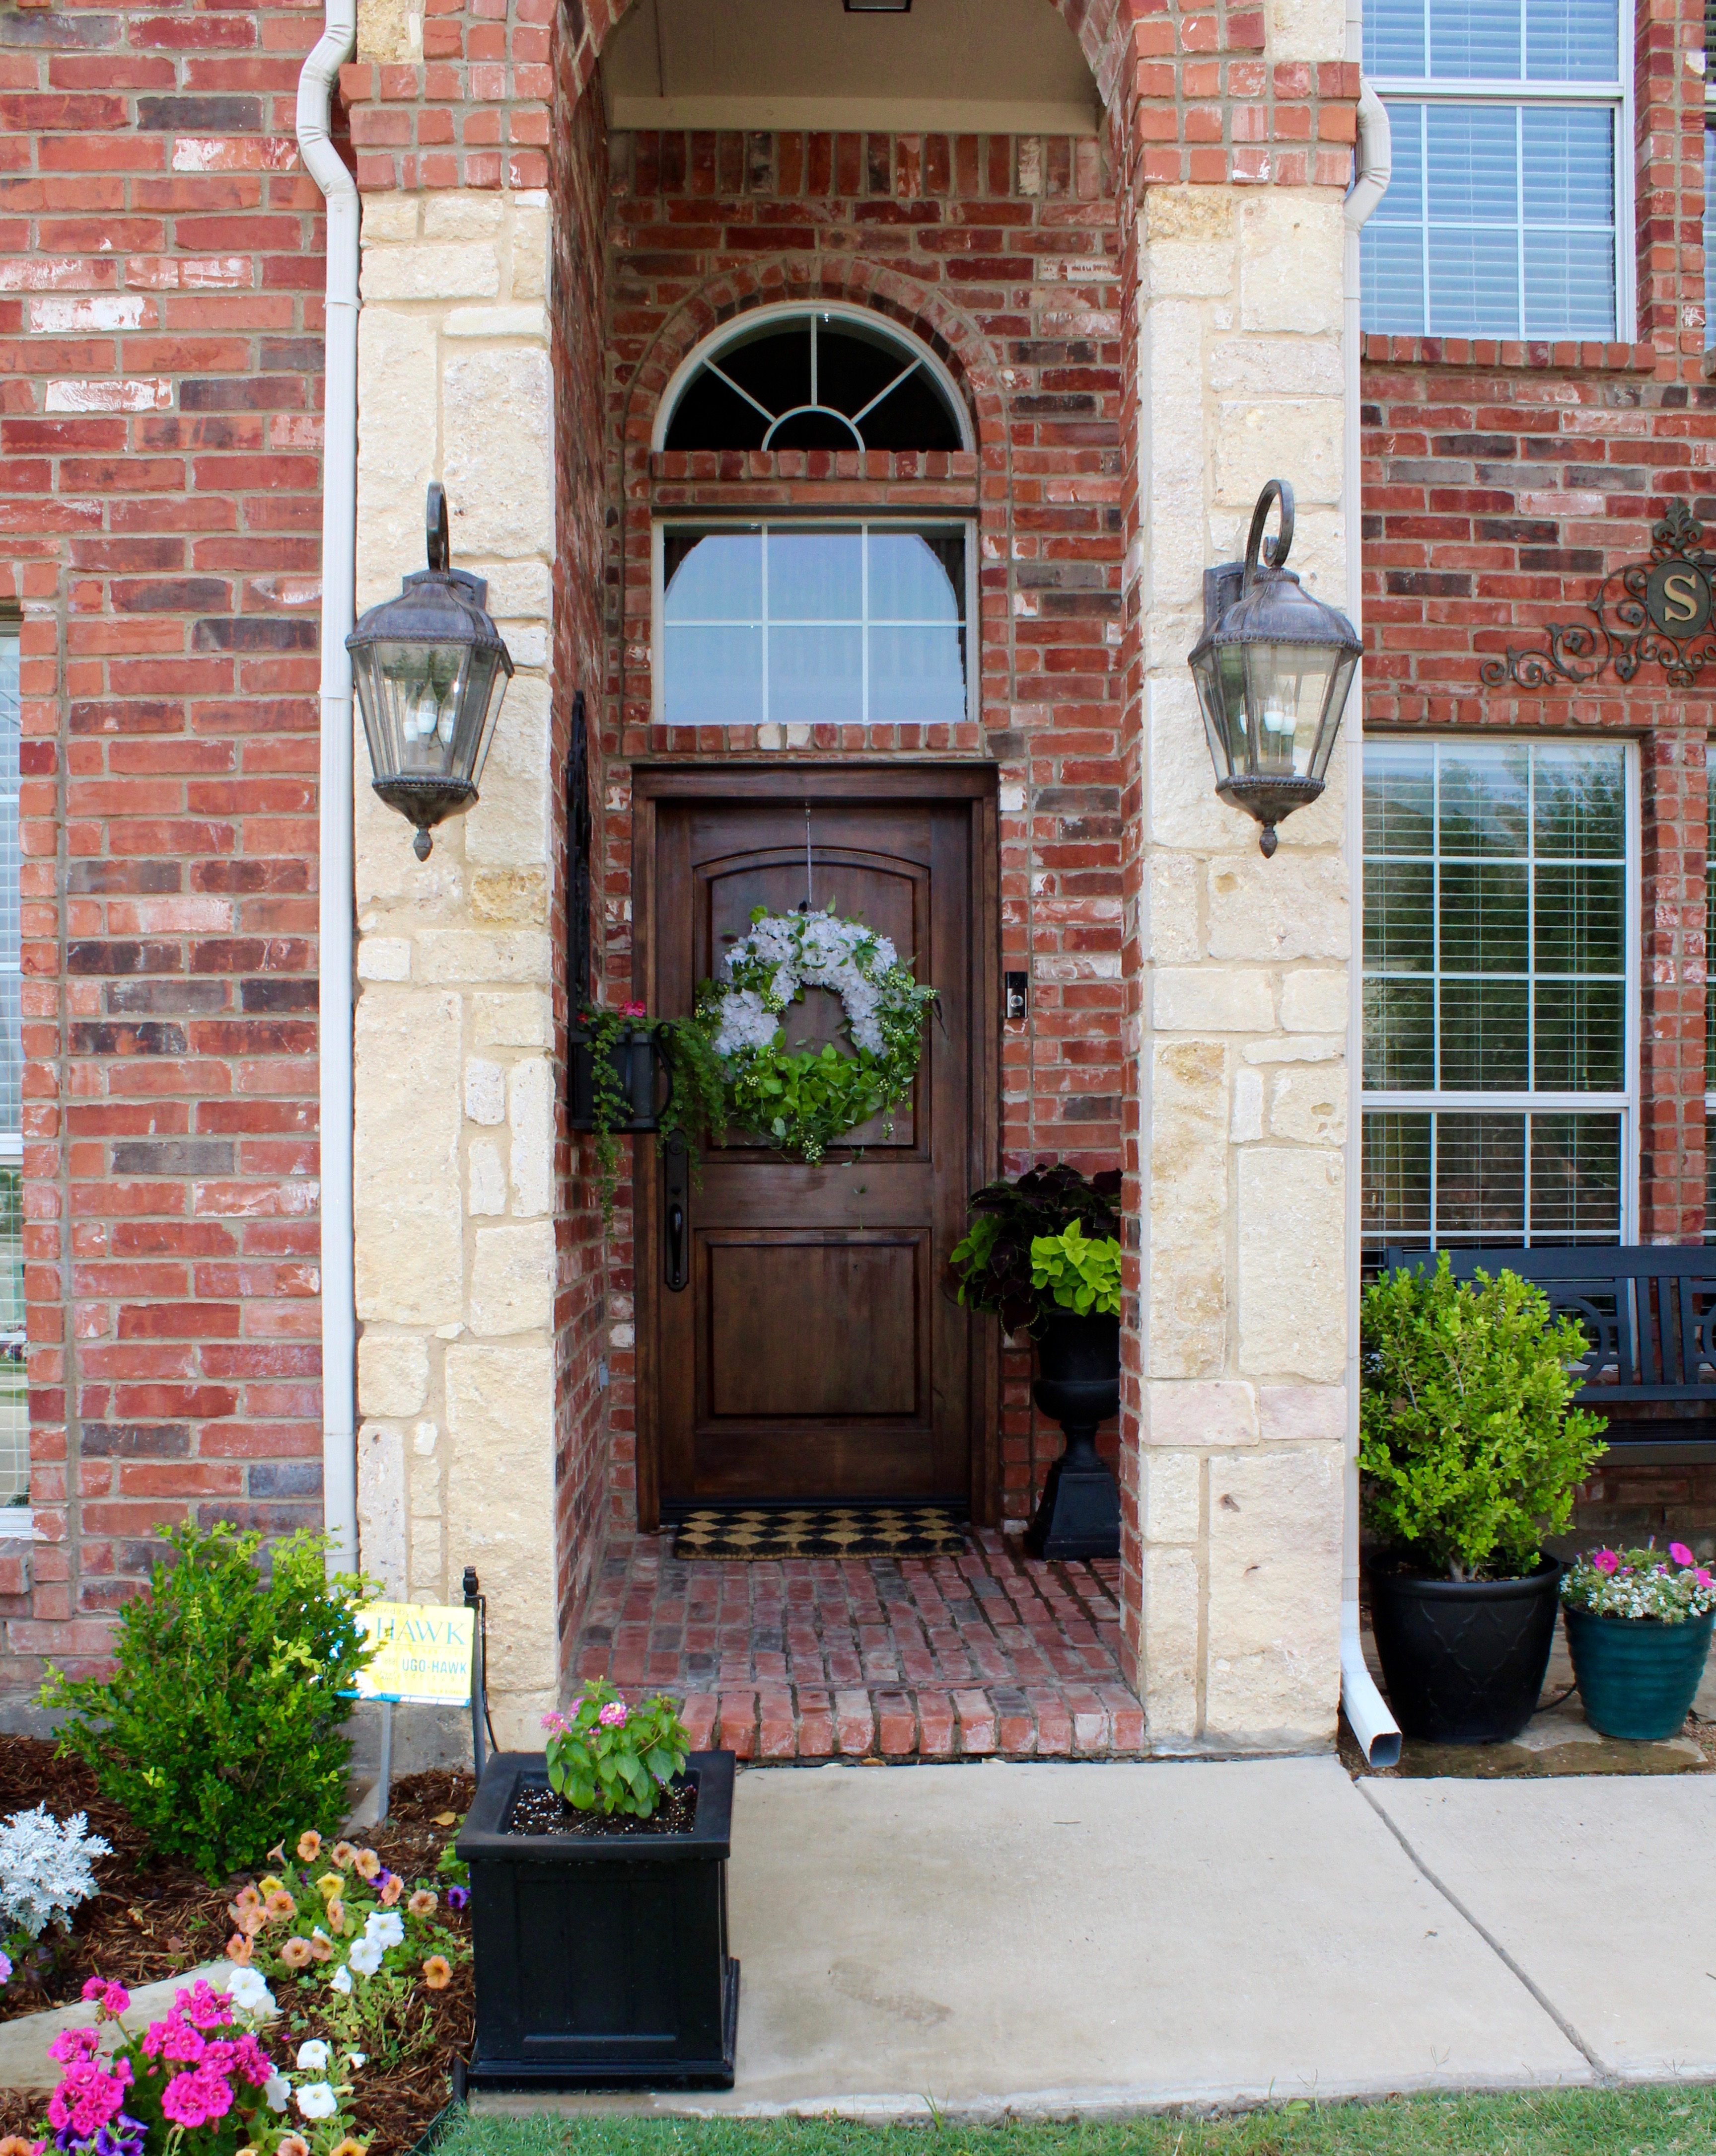
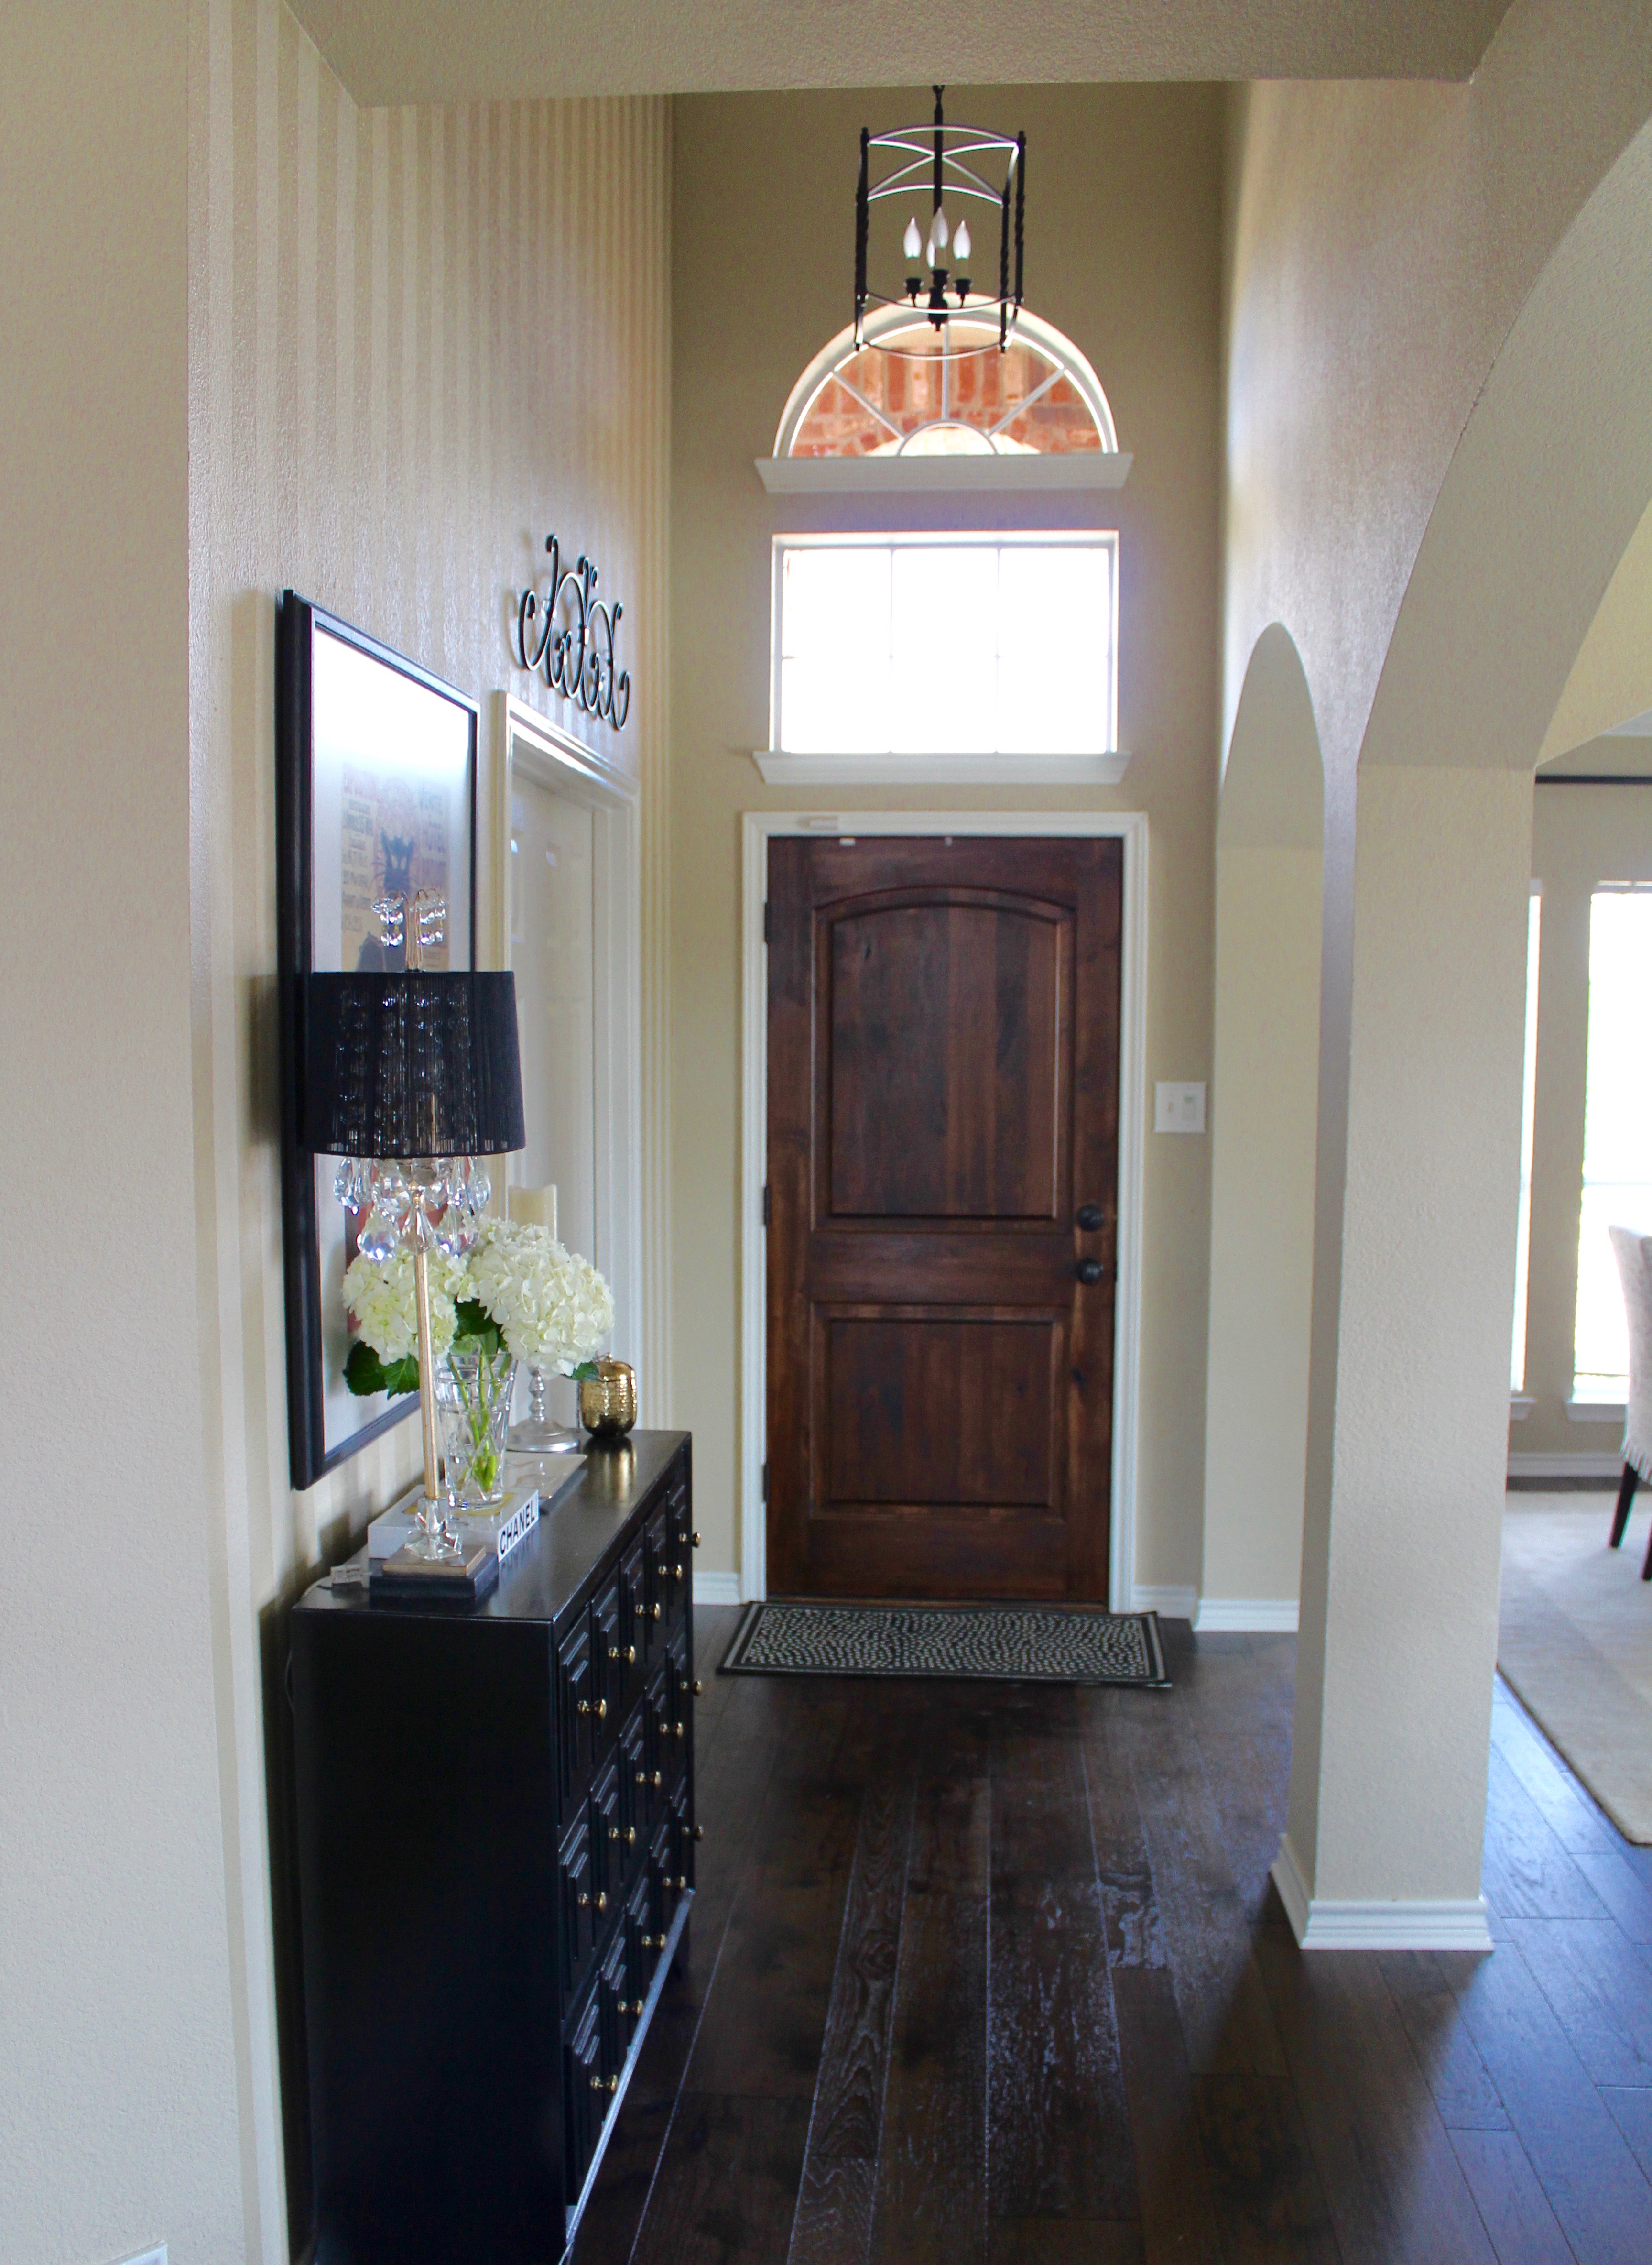
THE ENTRYWAY AFTER
For as long as I could remember I wanted a wood-stained front door, and it’s been one of our favorite home upgrades. It really added curb appeal and also enhanced the entry way.

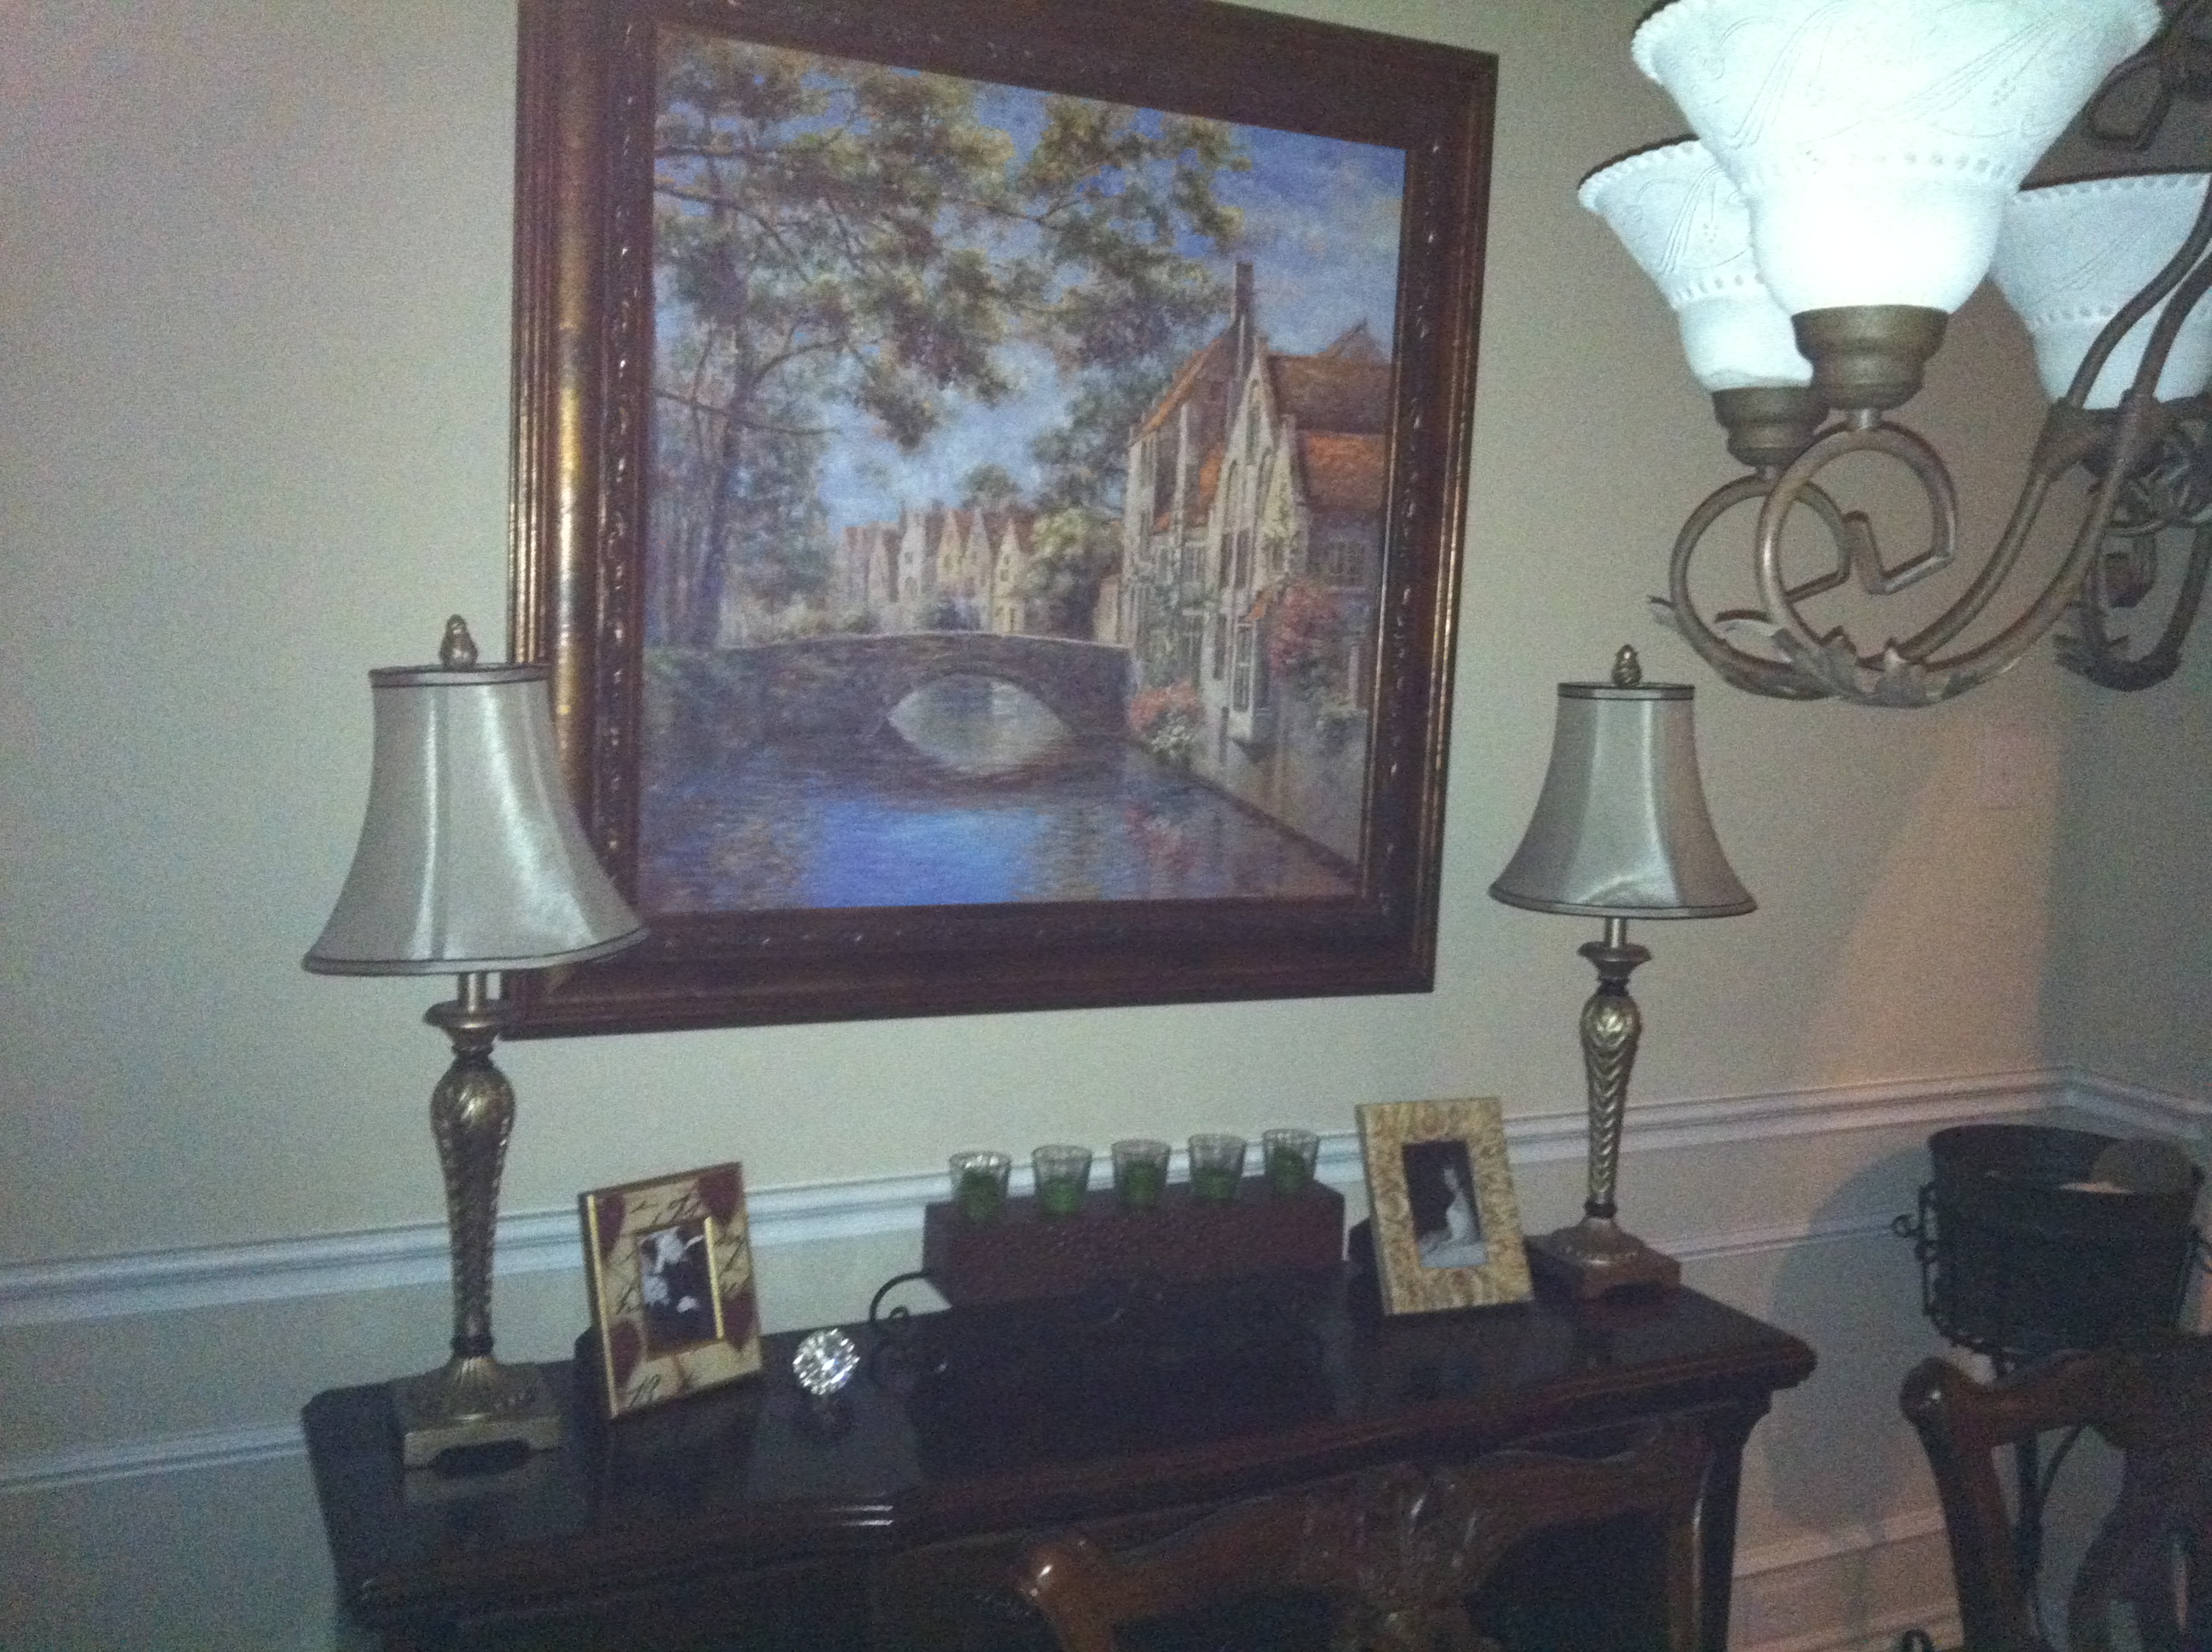
THE “FORMAL LIVING ROOM TURNED DINING ROOM” BEFORE
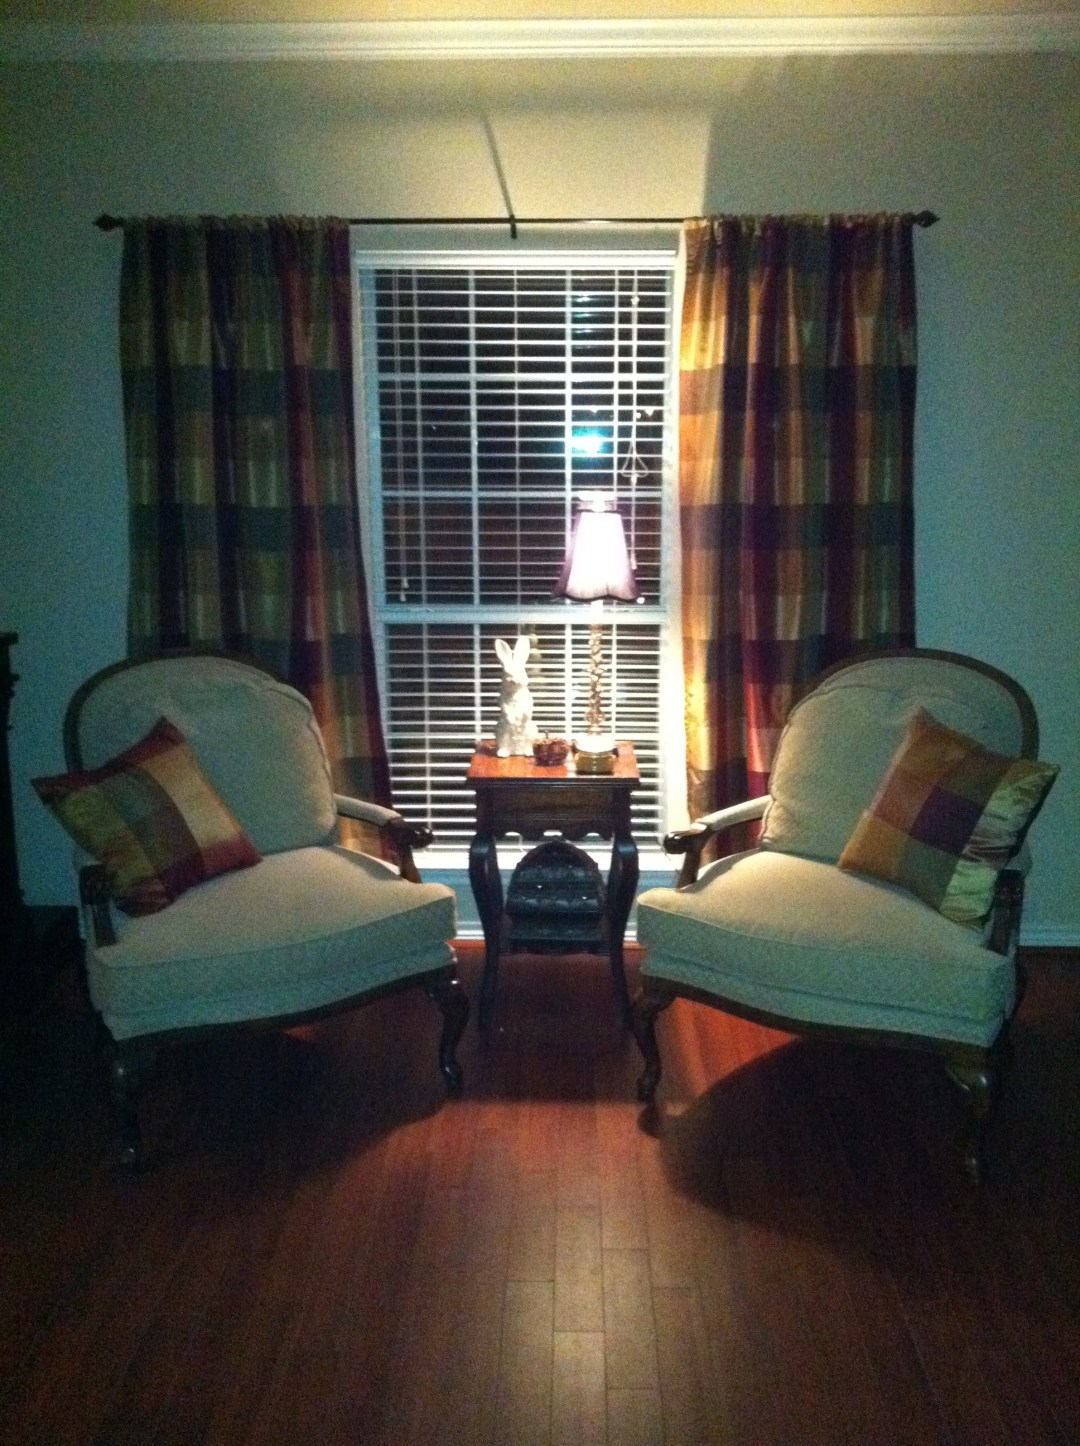

Years ago I switched our formal living and dining to better suit out lifestyle- sorry ancient iPhone pics!
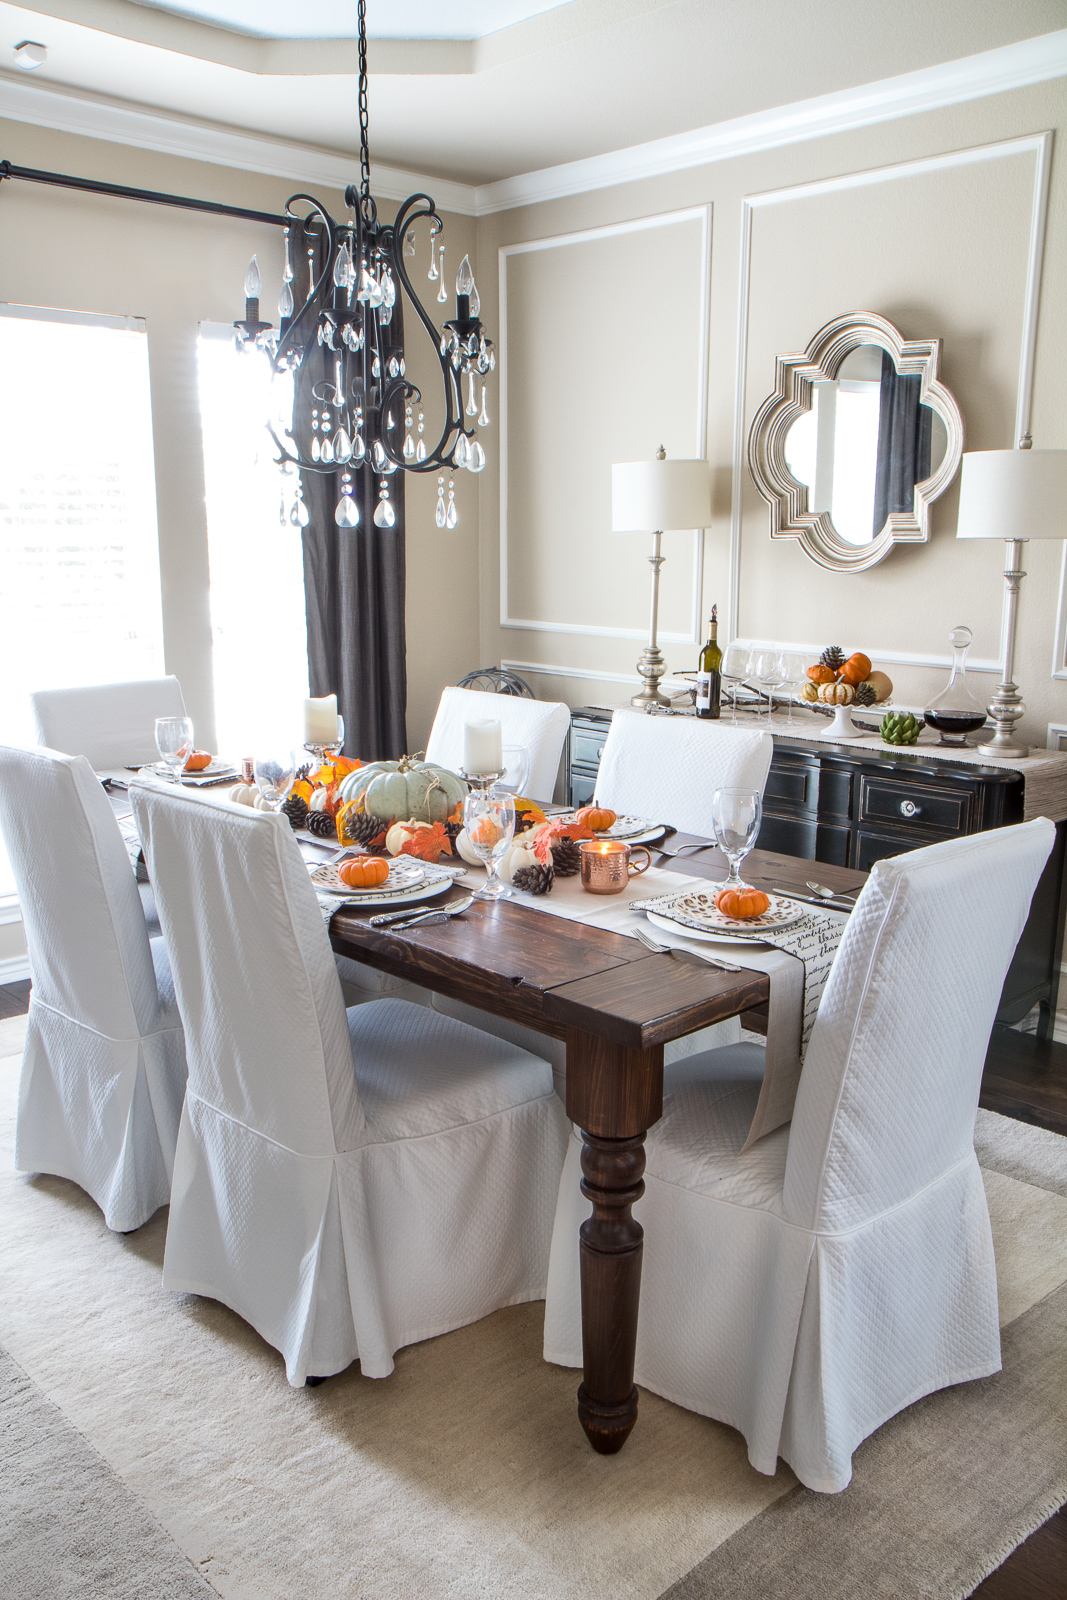
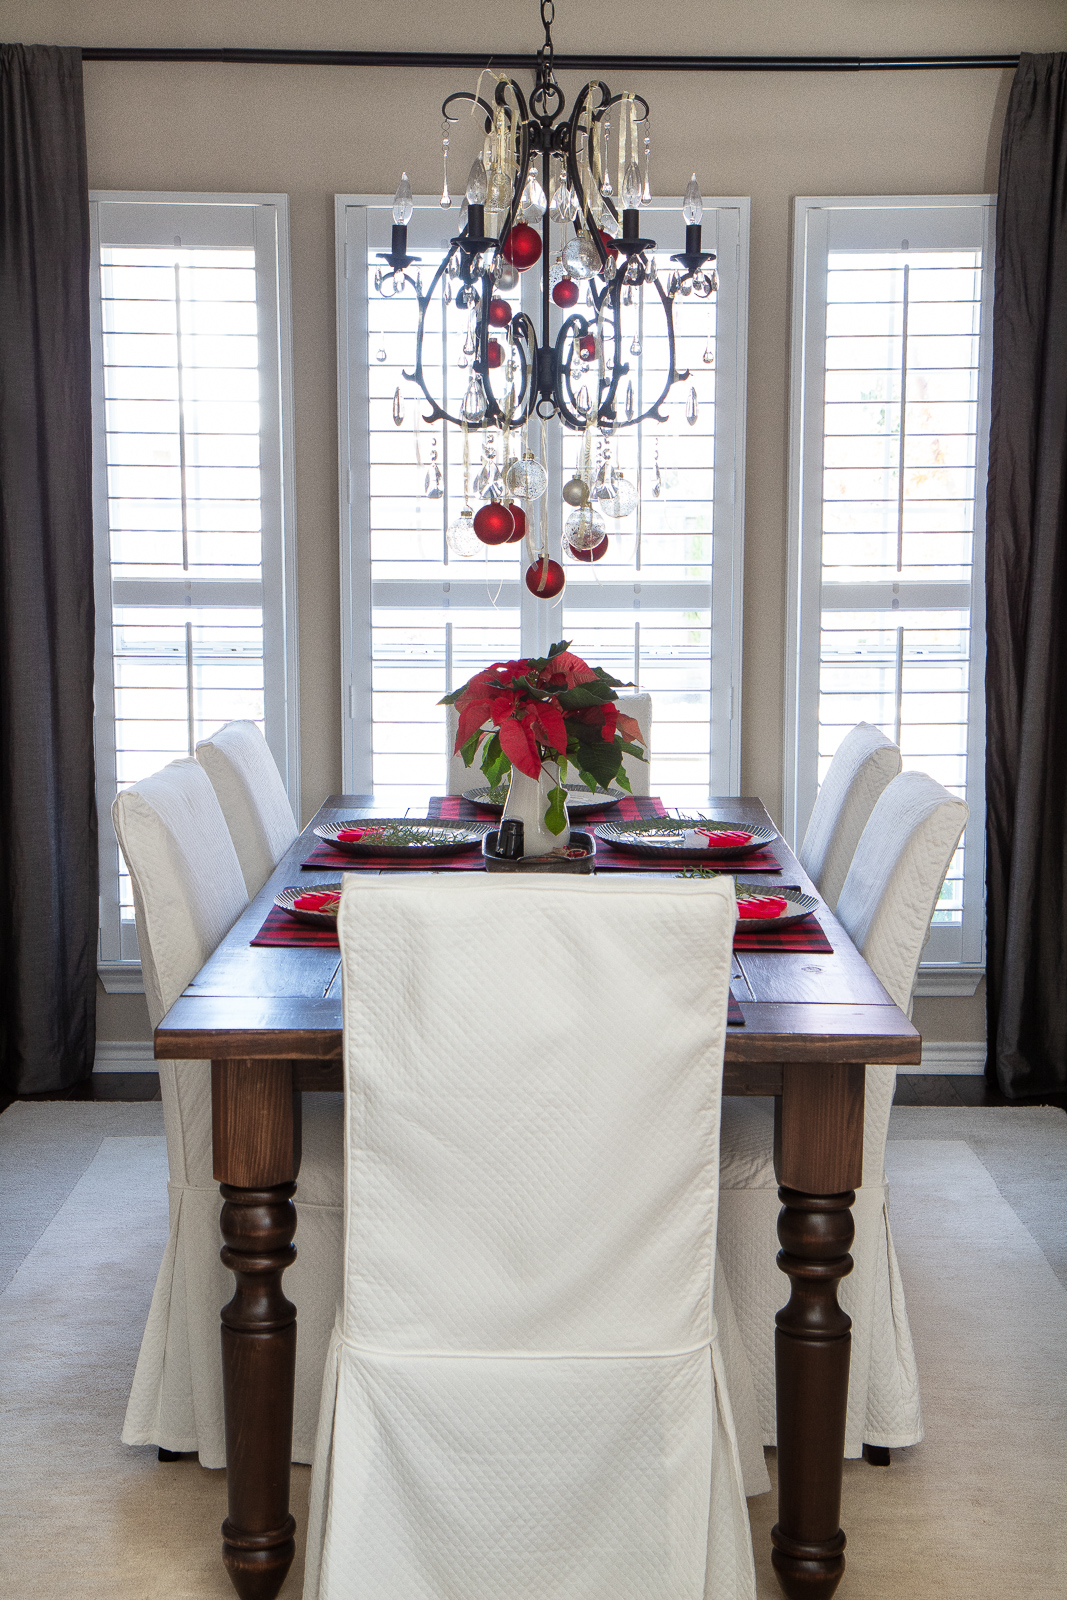
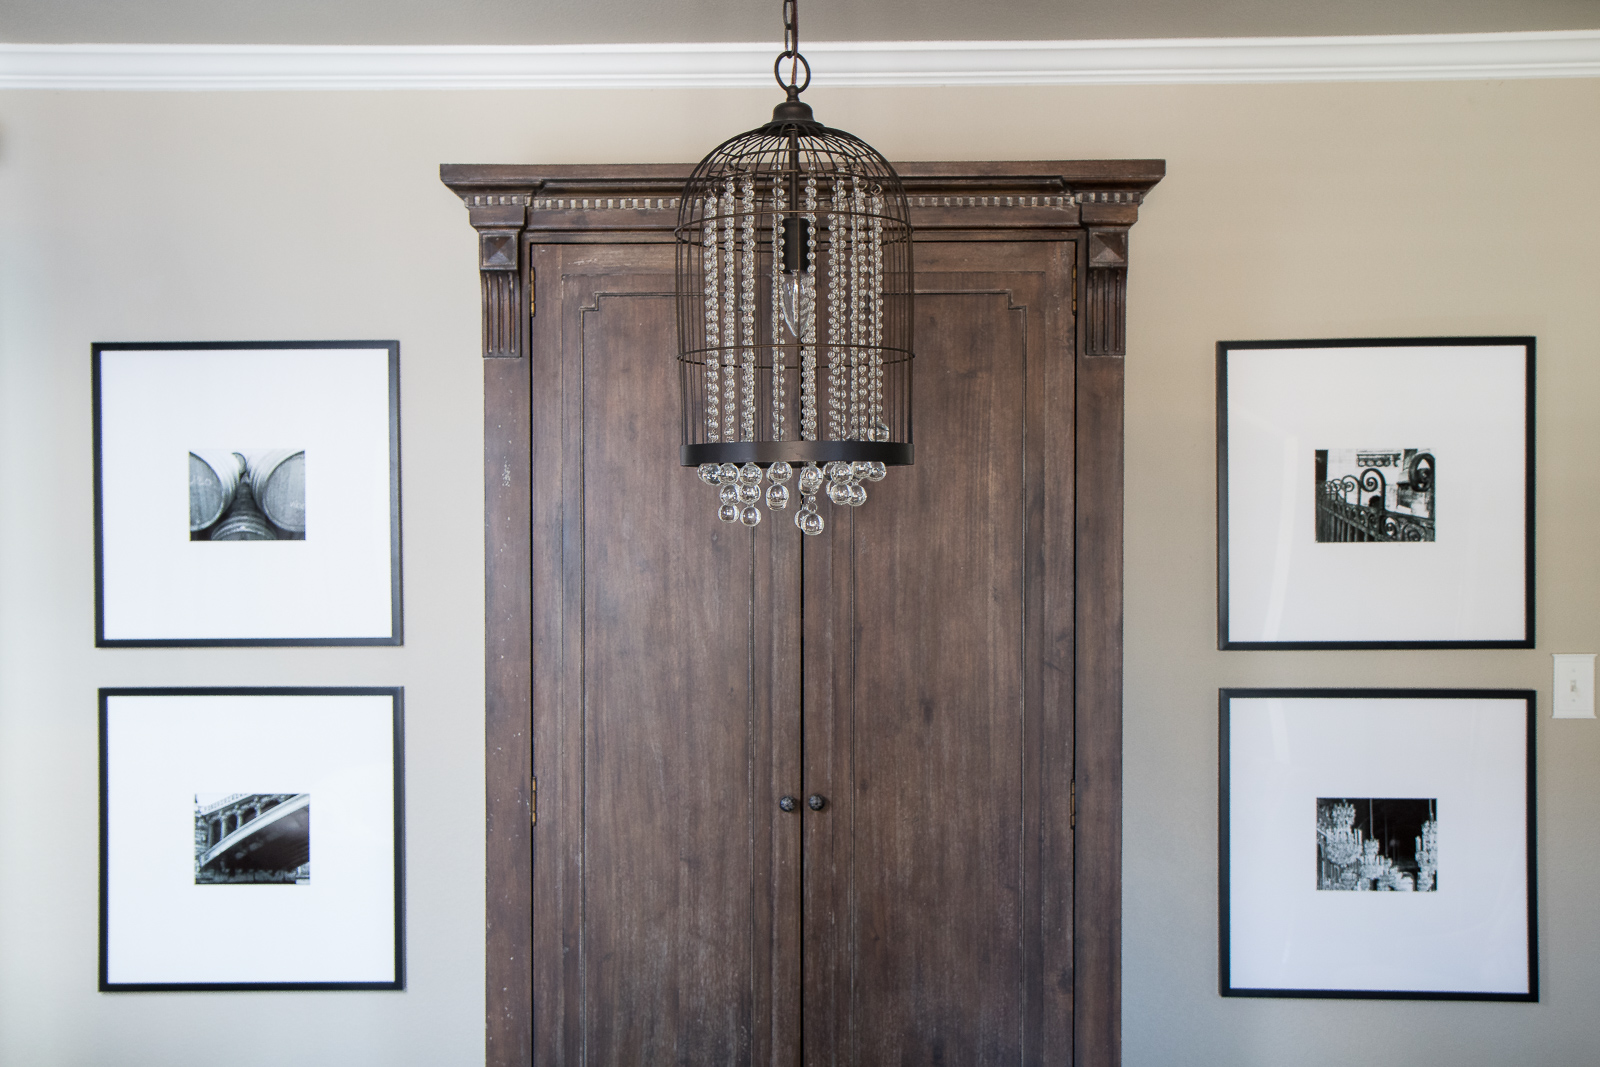
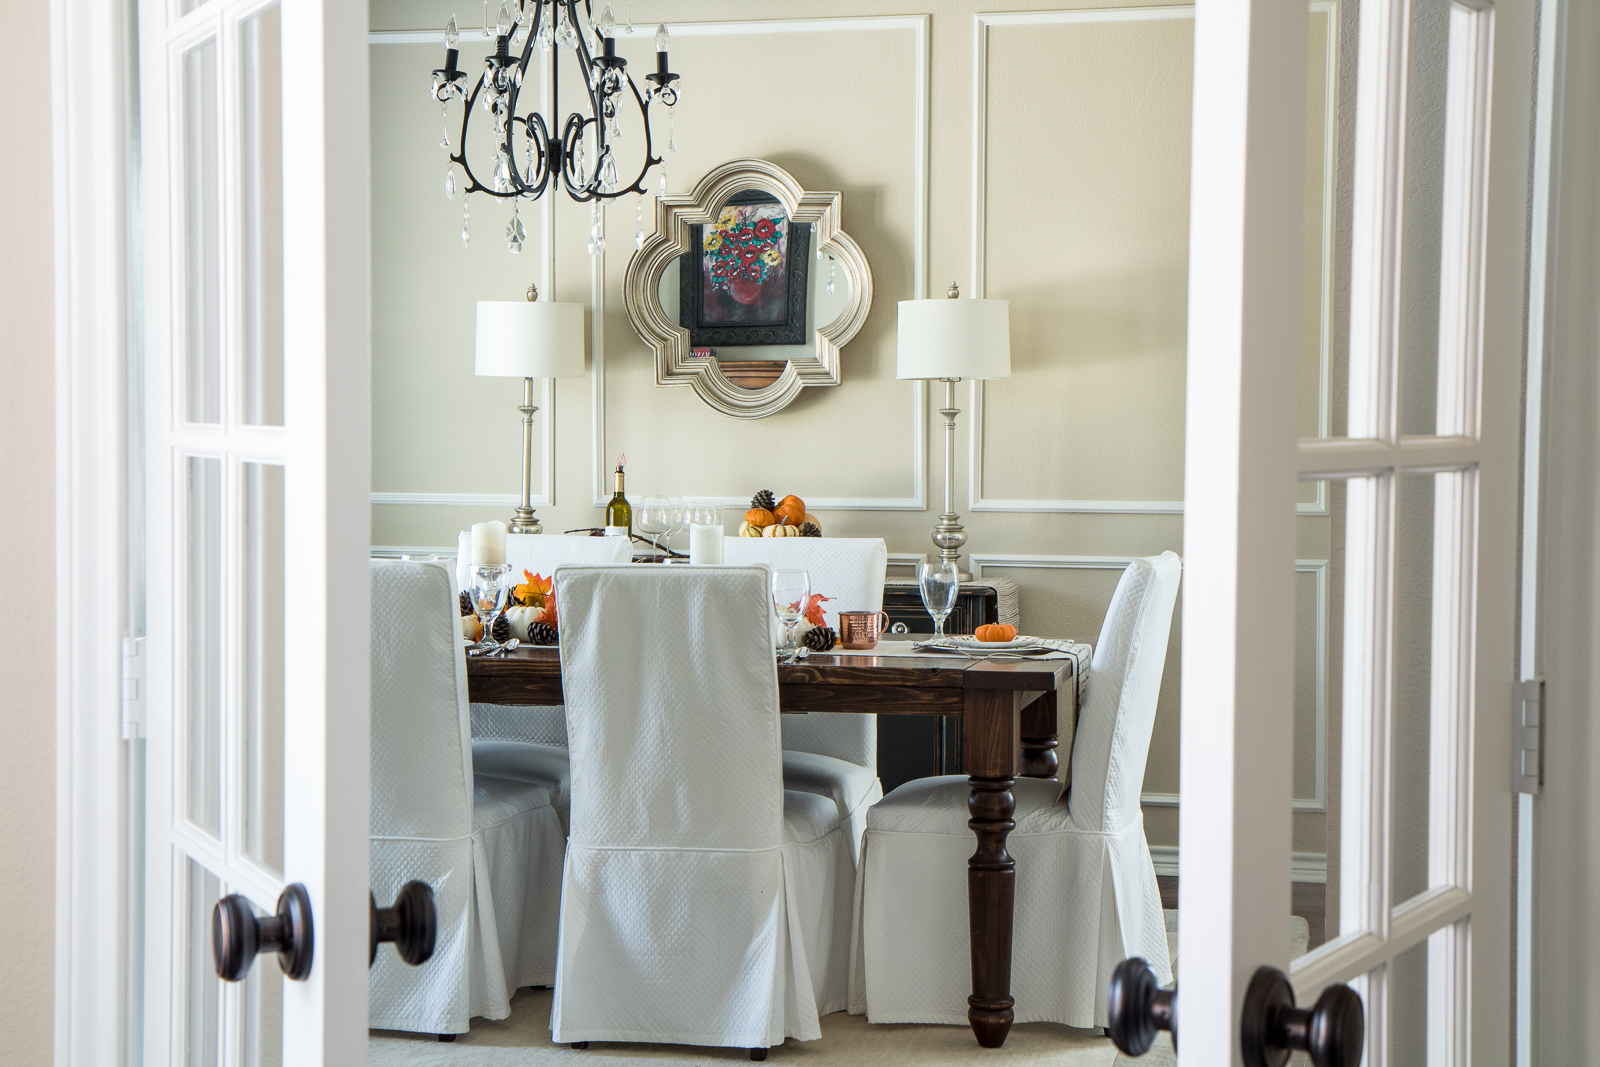
THE NEW DINING ROOM AFTER

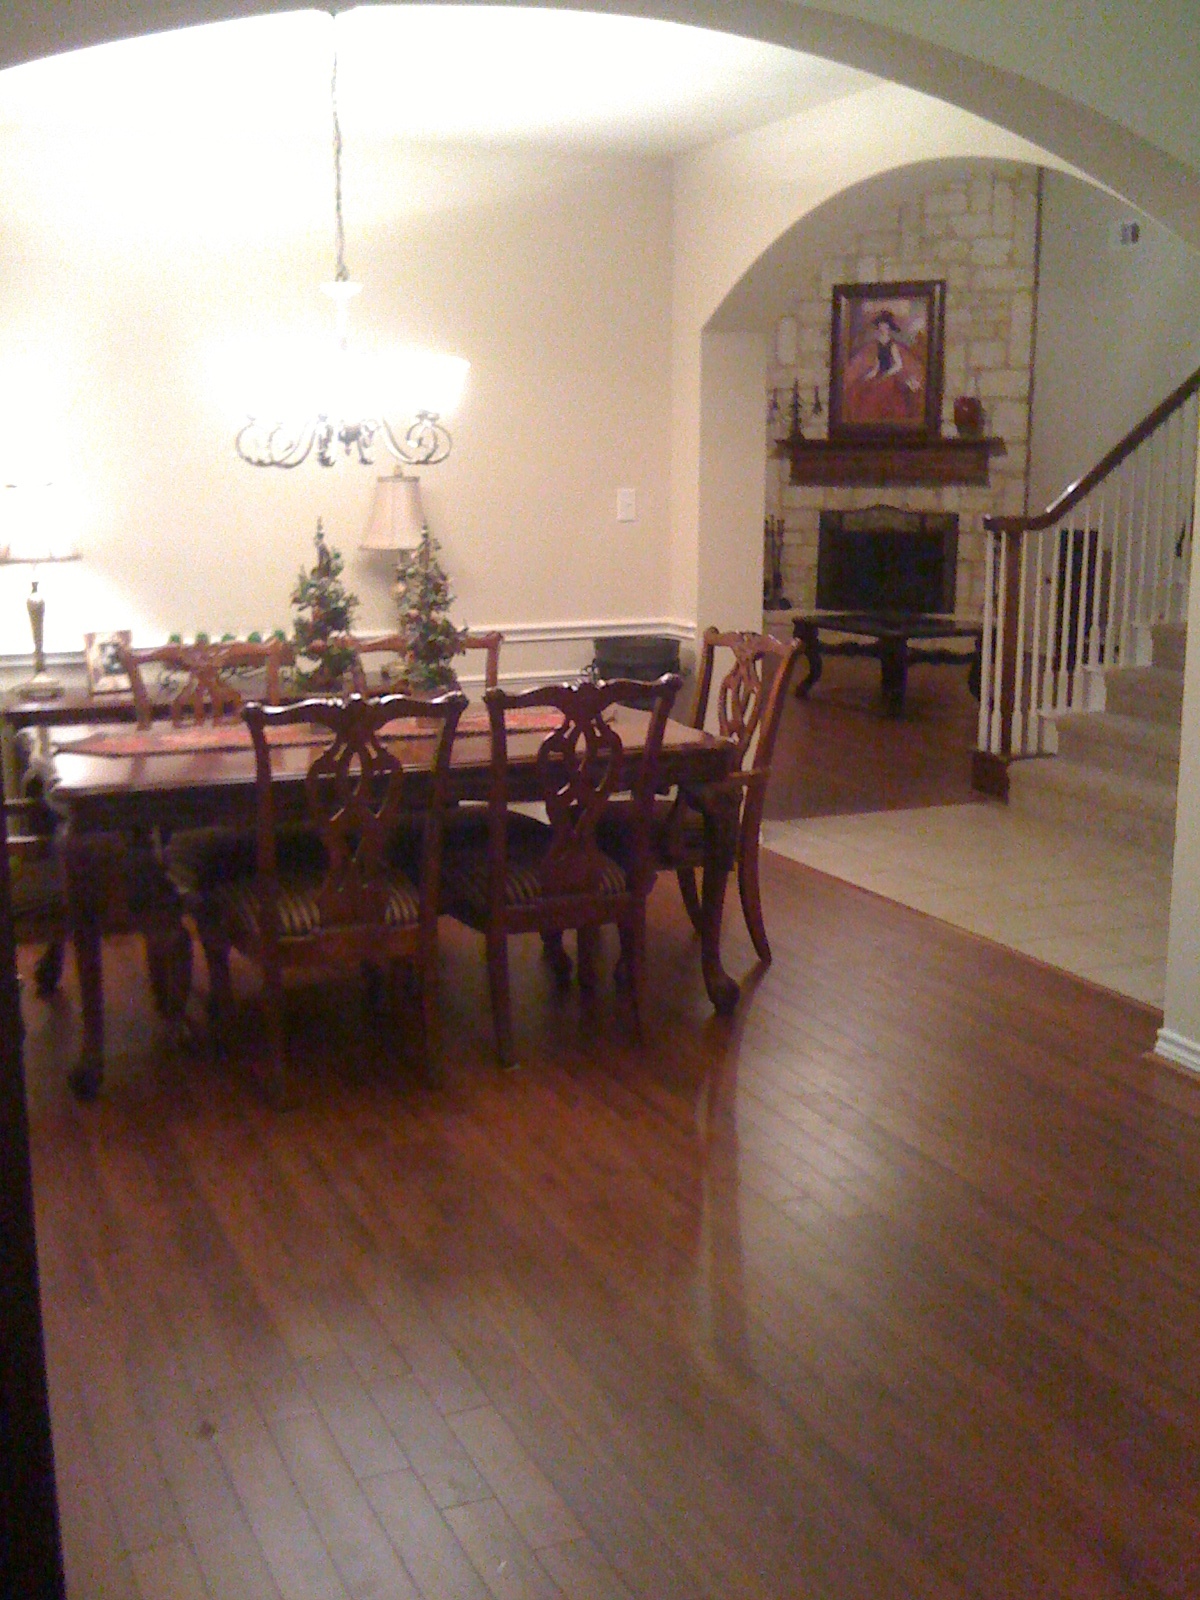
THE “DINING ROOM TURNED FORMAL LIVING ROOM” BEFORE

THE NEW LIVING ROOM AFTER

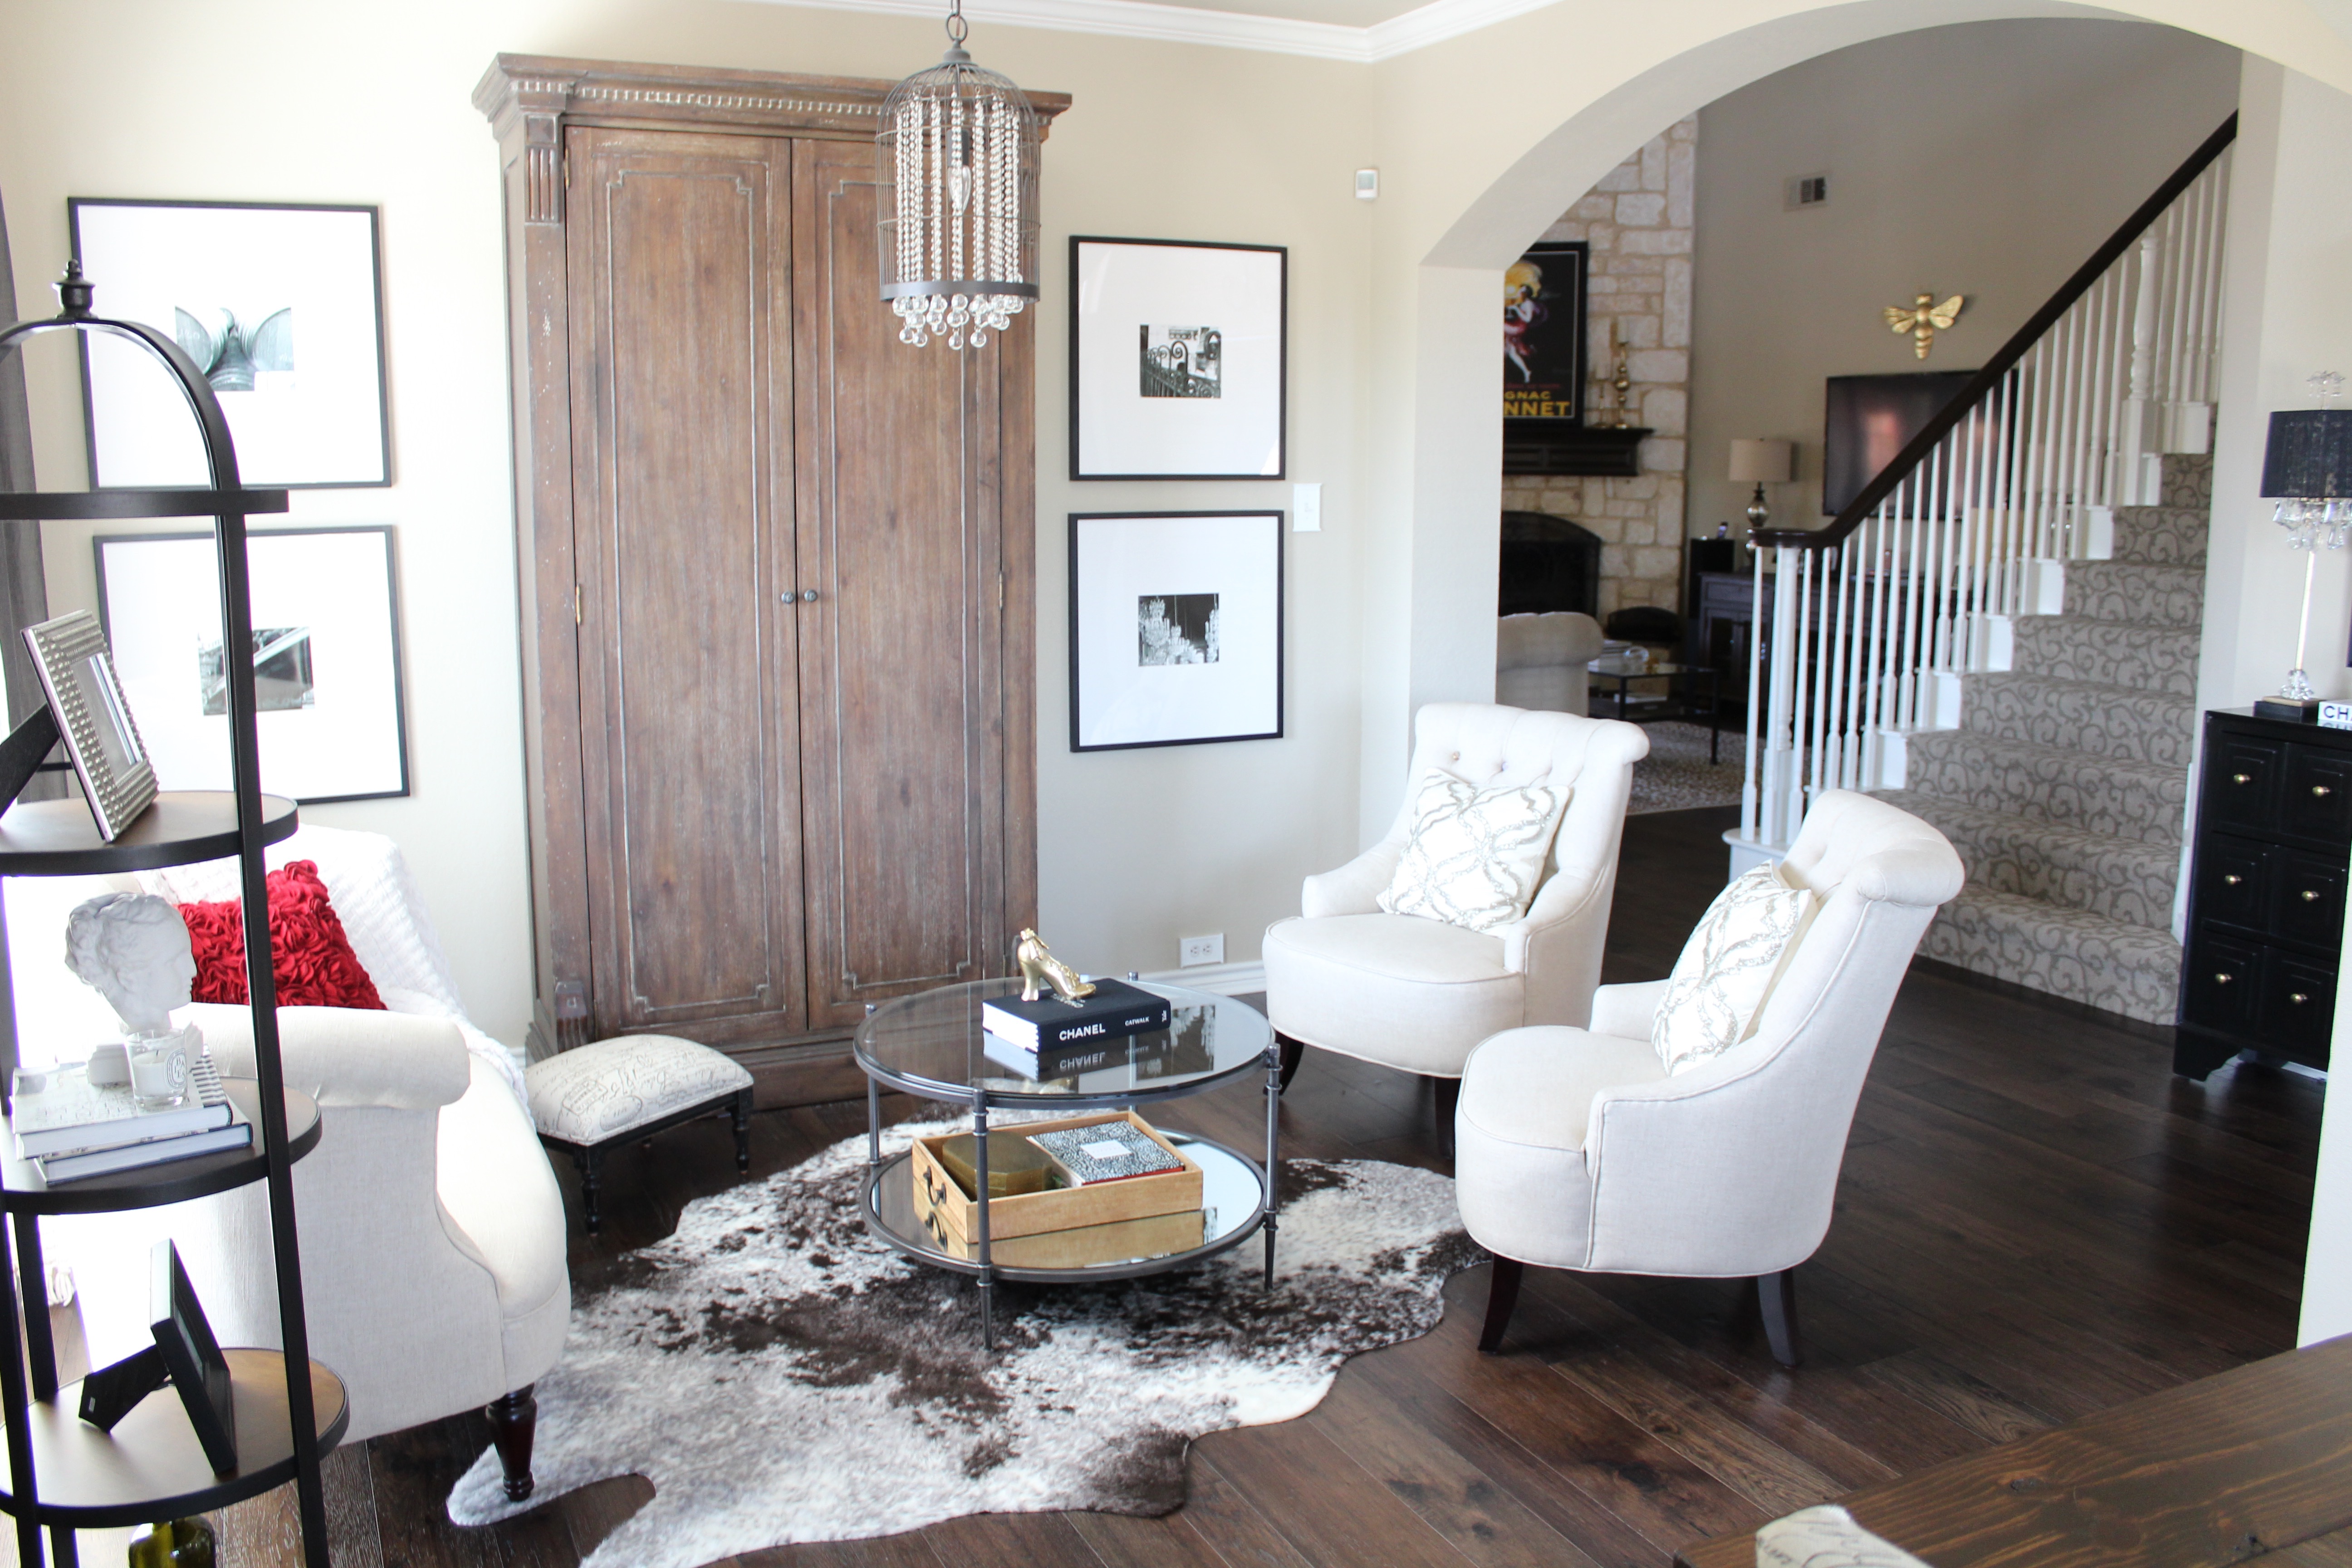

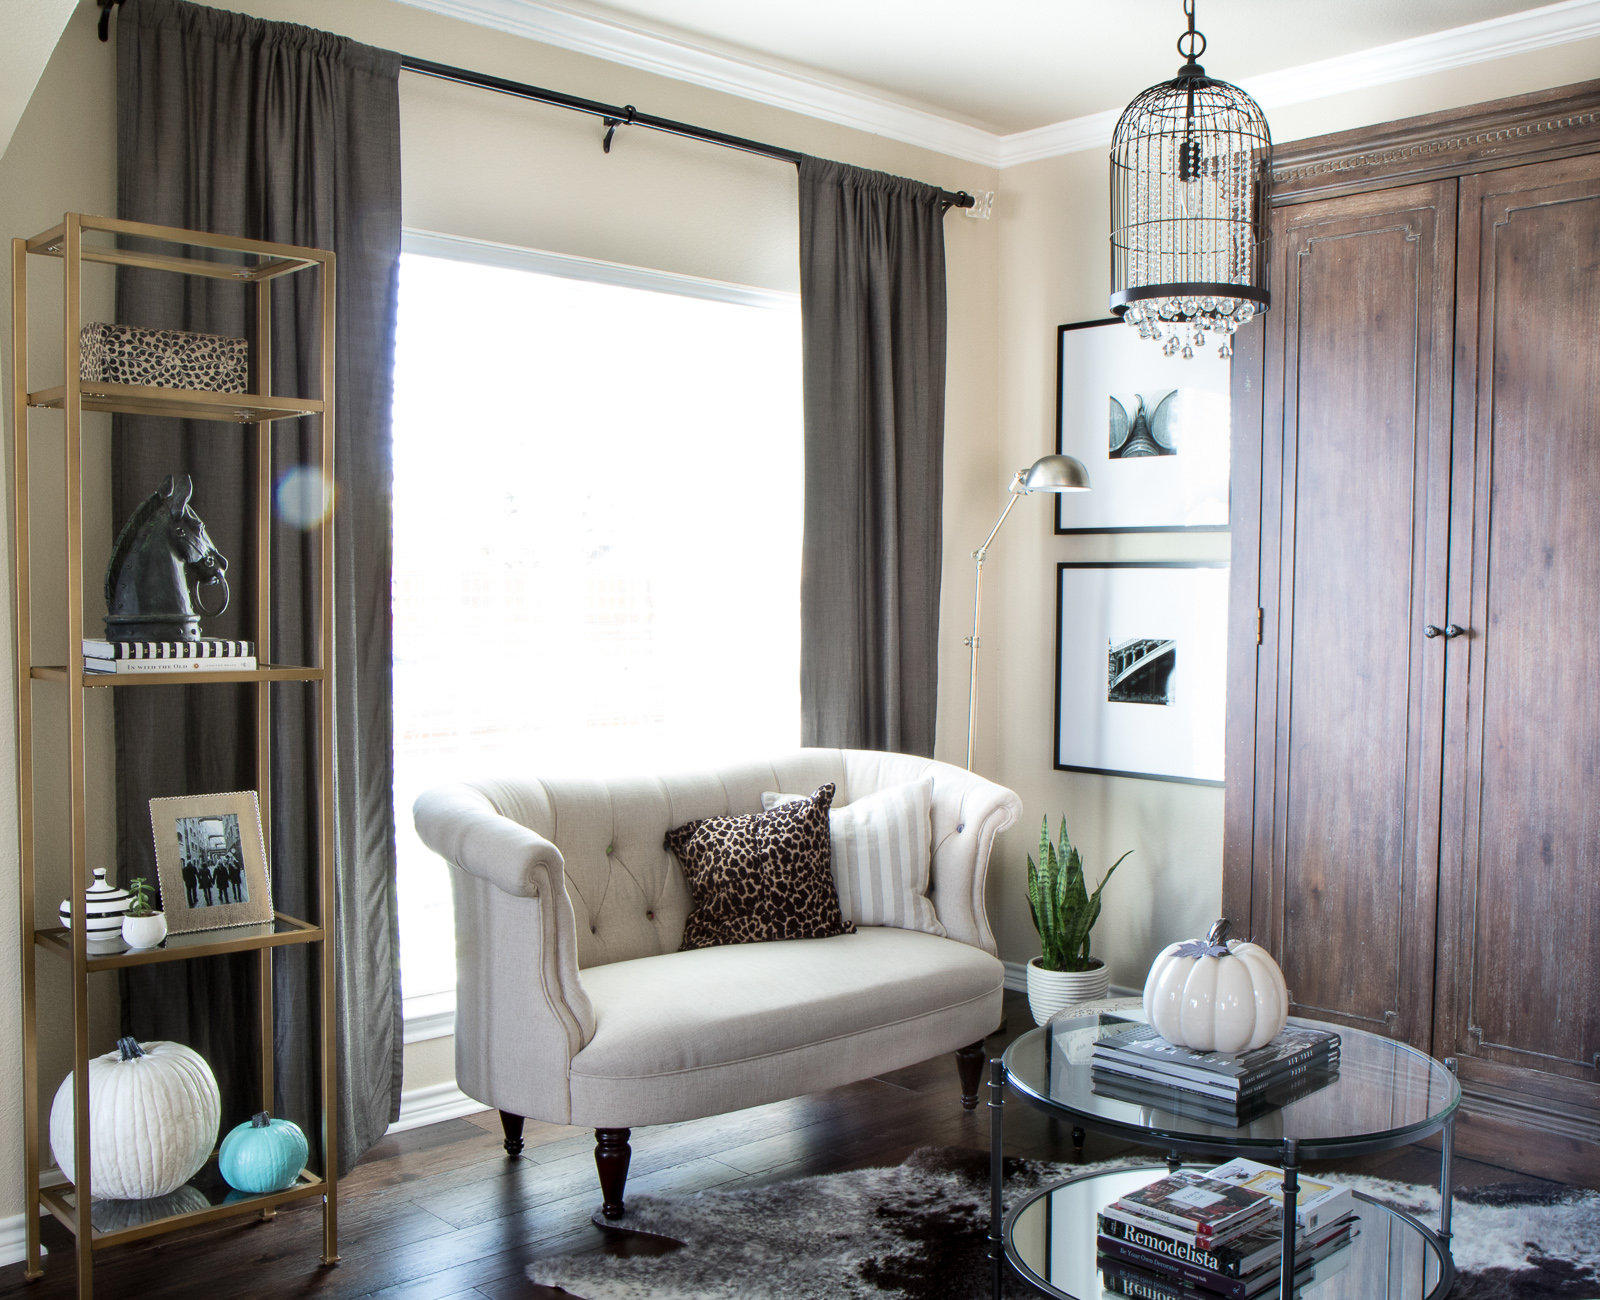

This simple room swap made so much more sense for our lifestyle. You can read more at the the formal living and dining room switch as well as a fresh new look for the dining room.
MY OFFICE DOORS BEFORE
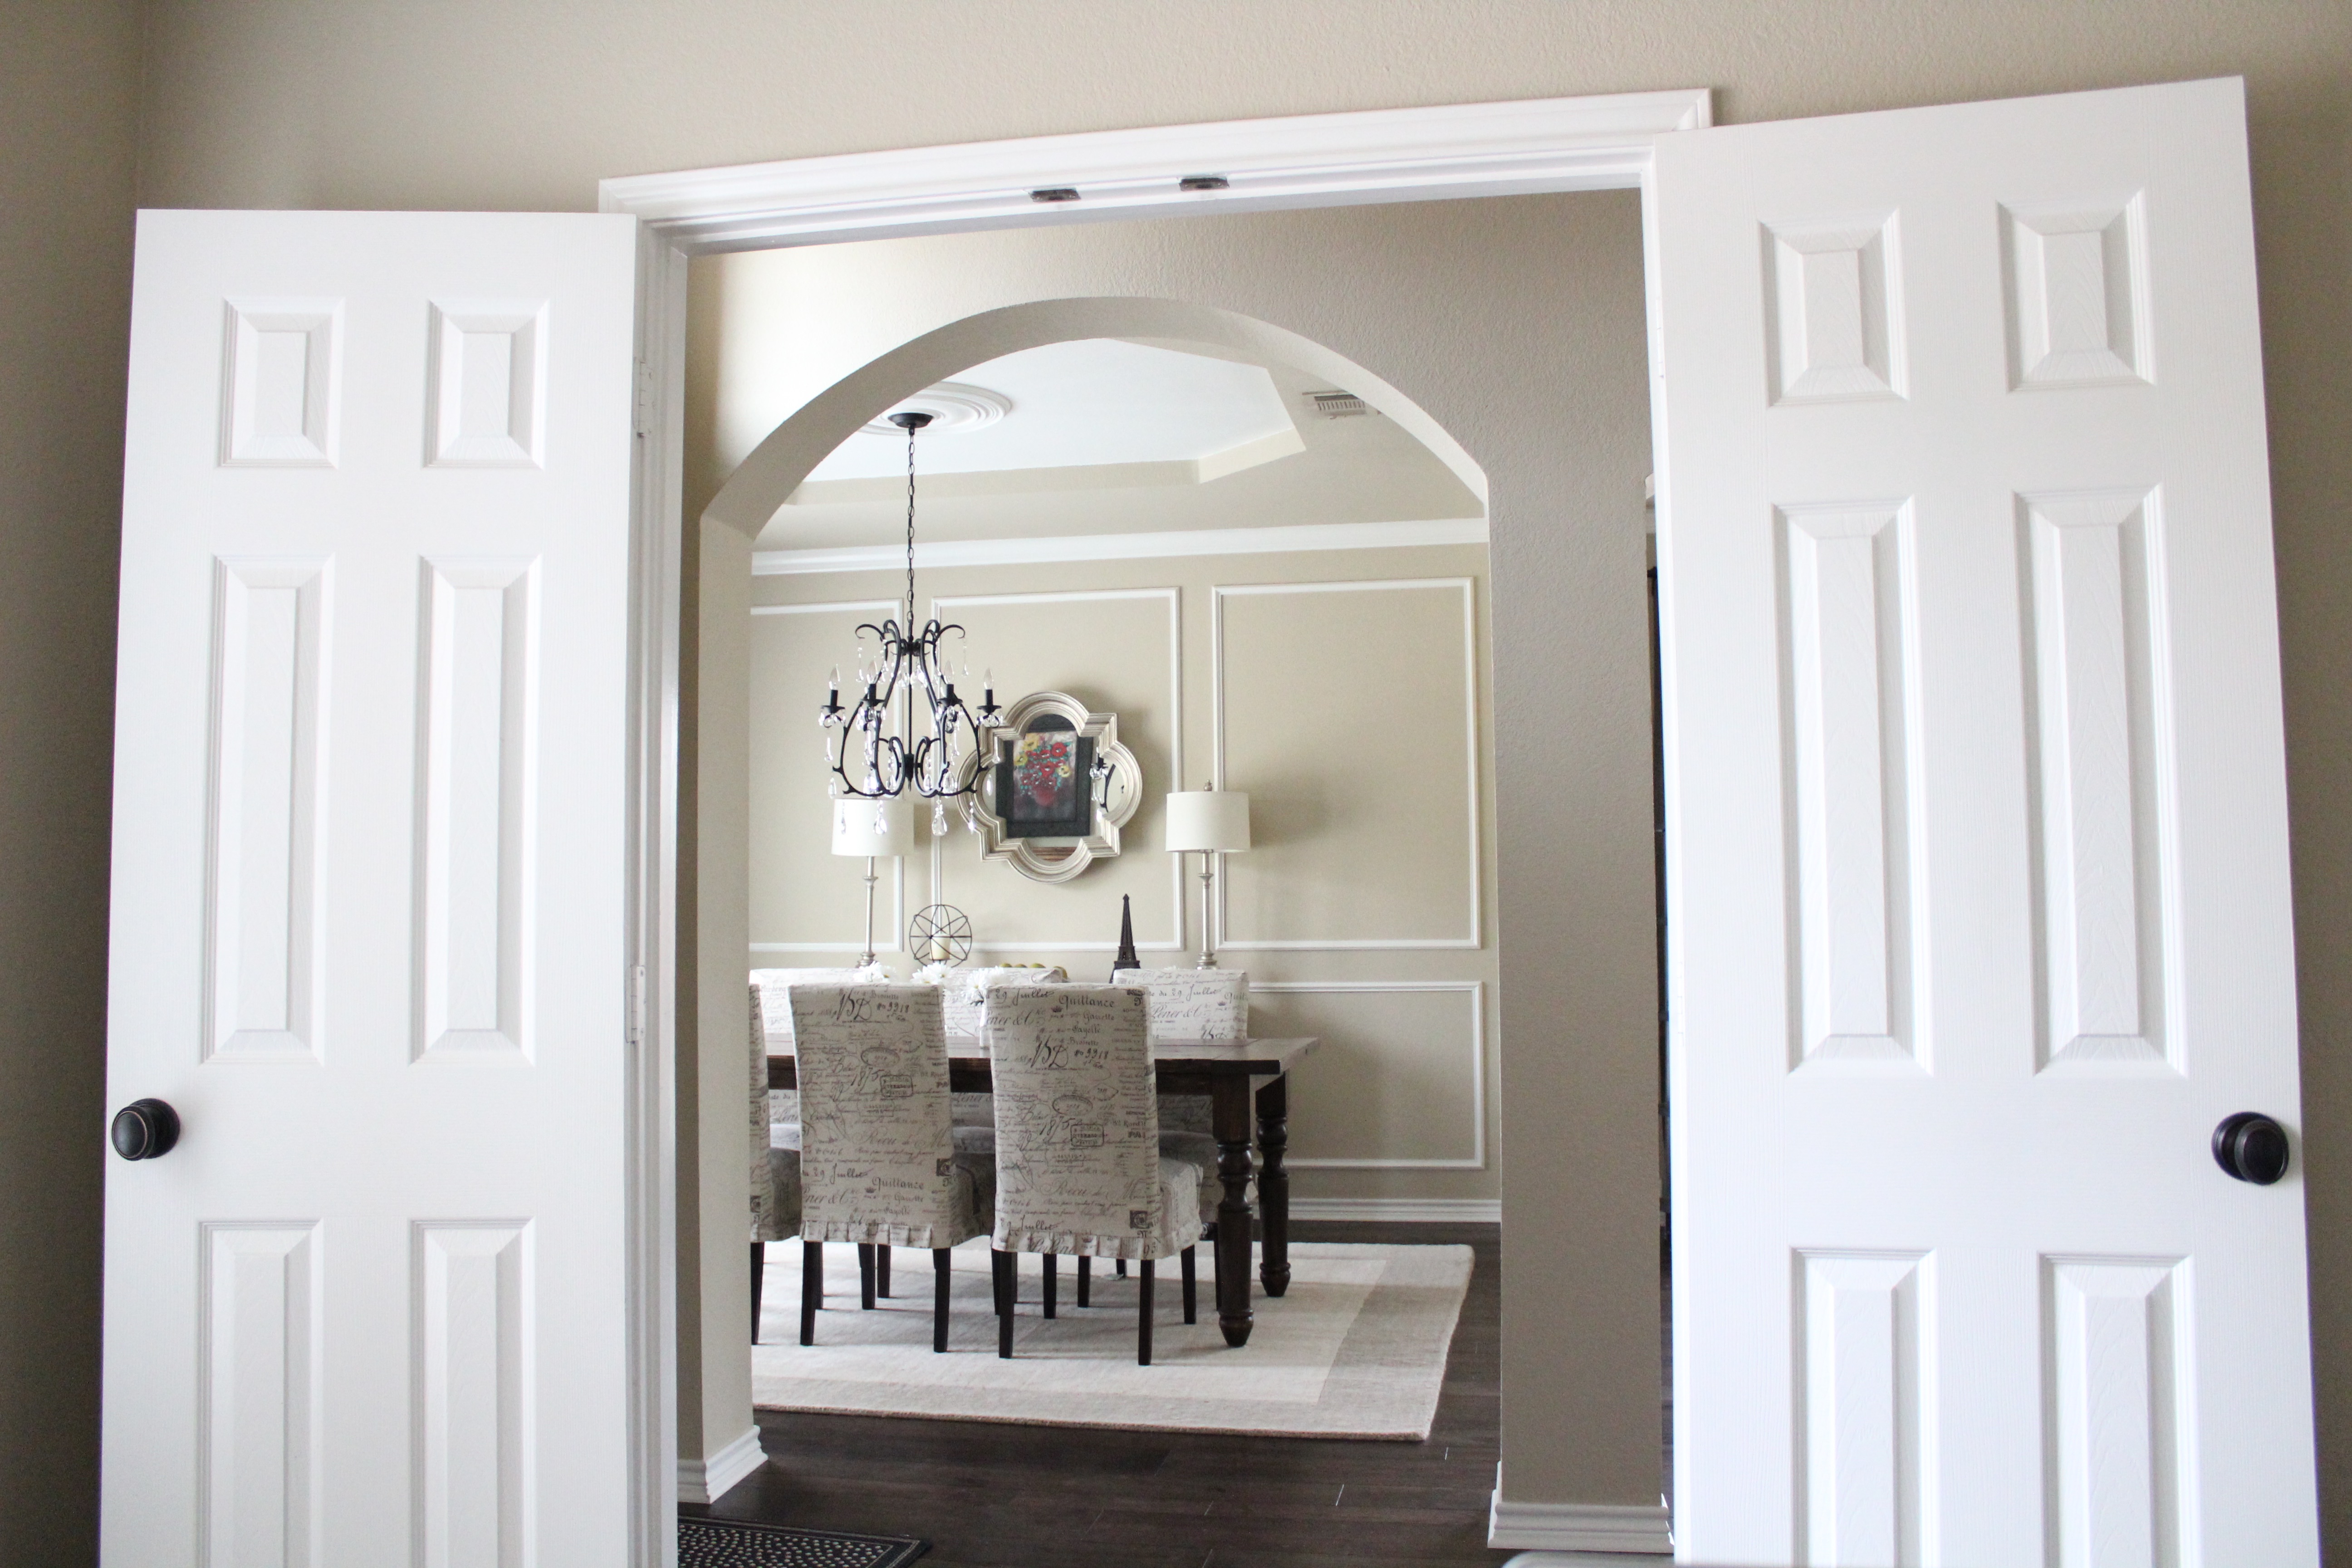
FRENCH DOORS AFTER
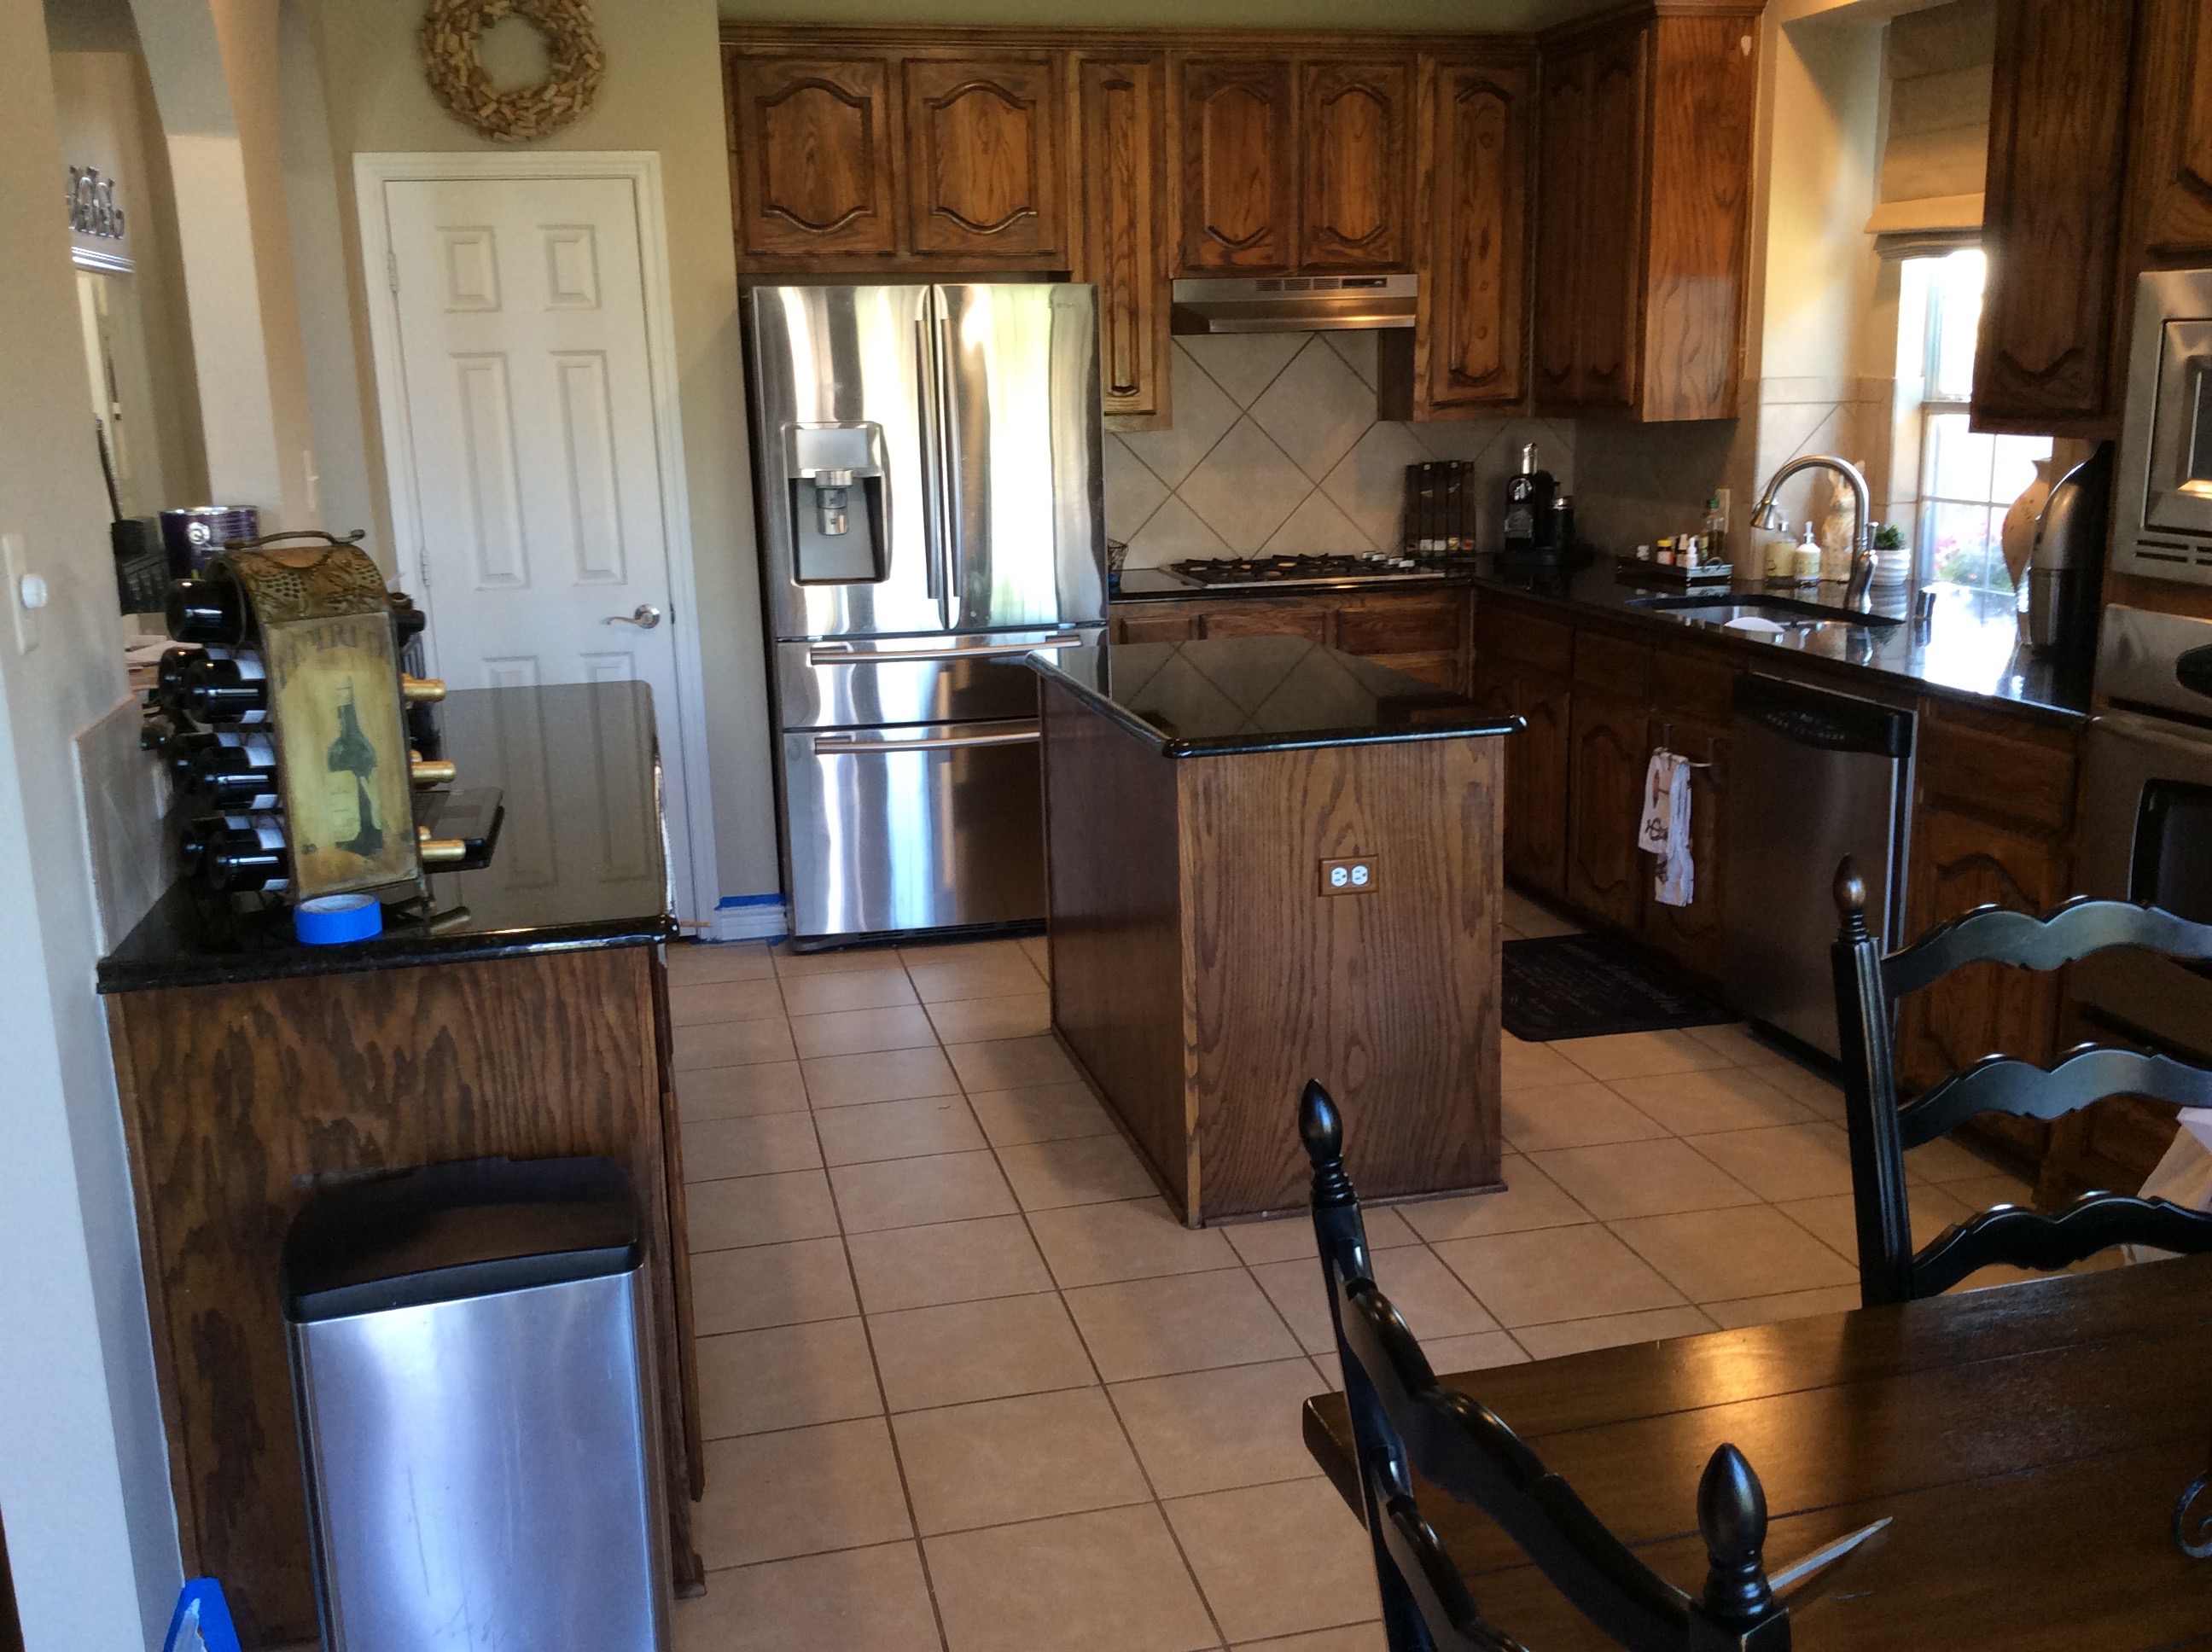
THE KITCHEN BEFORE
THE KITCHEN AFTER
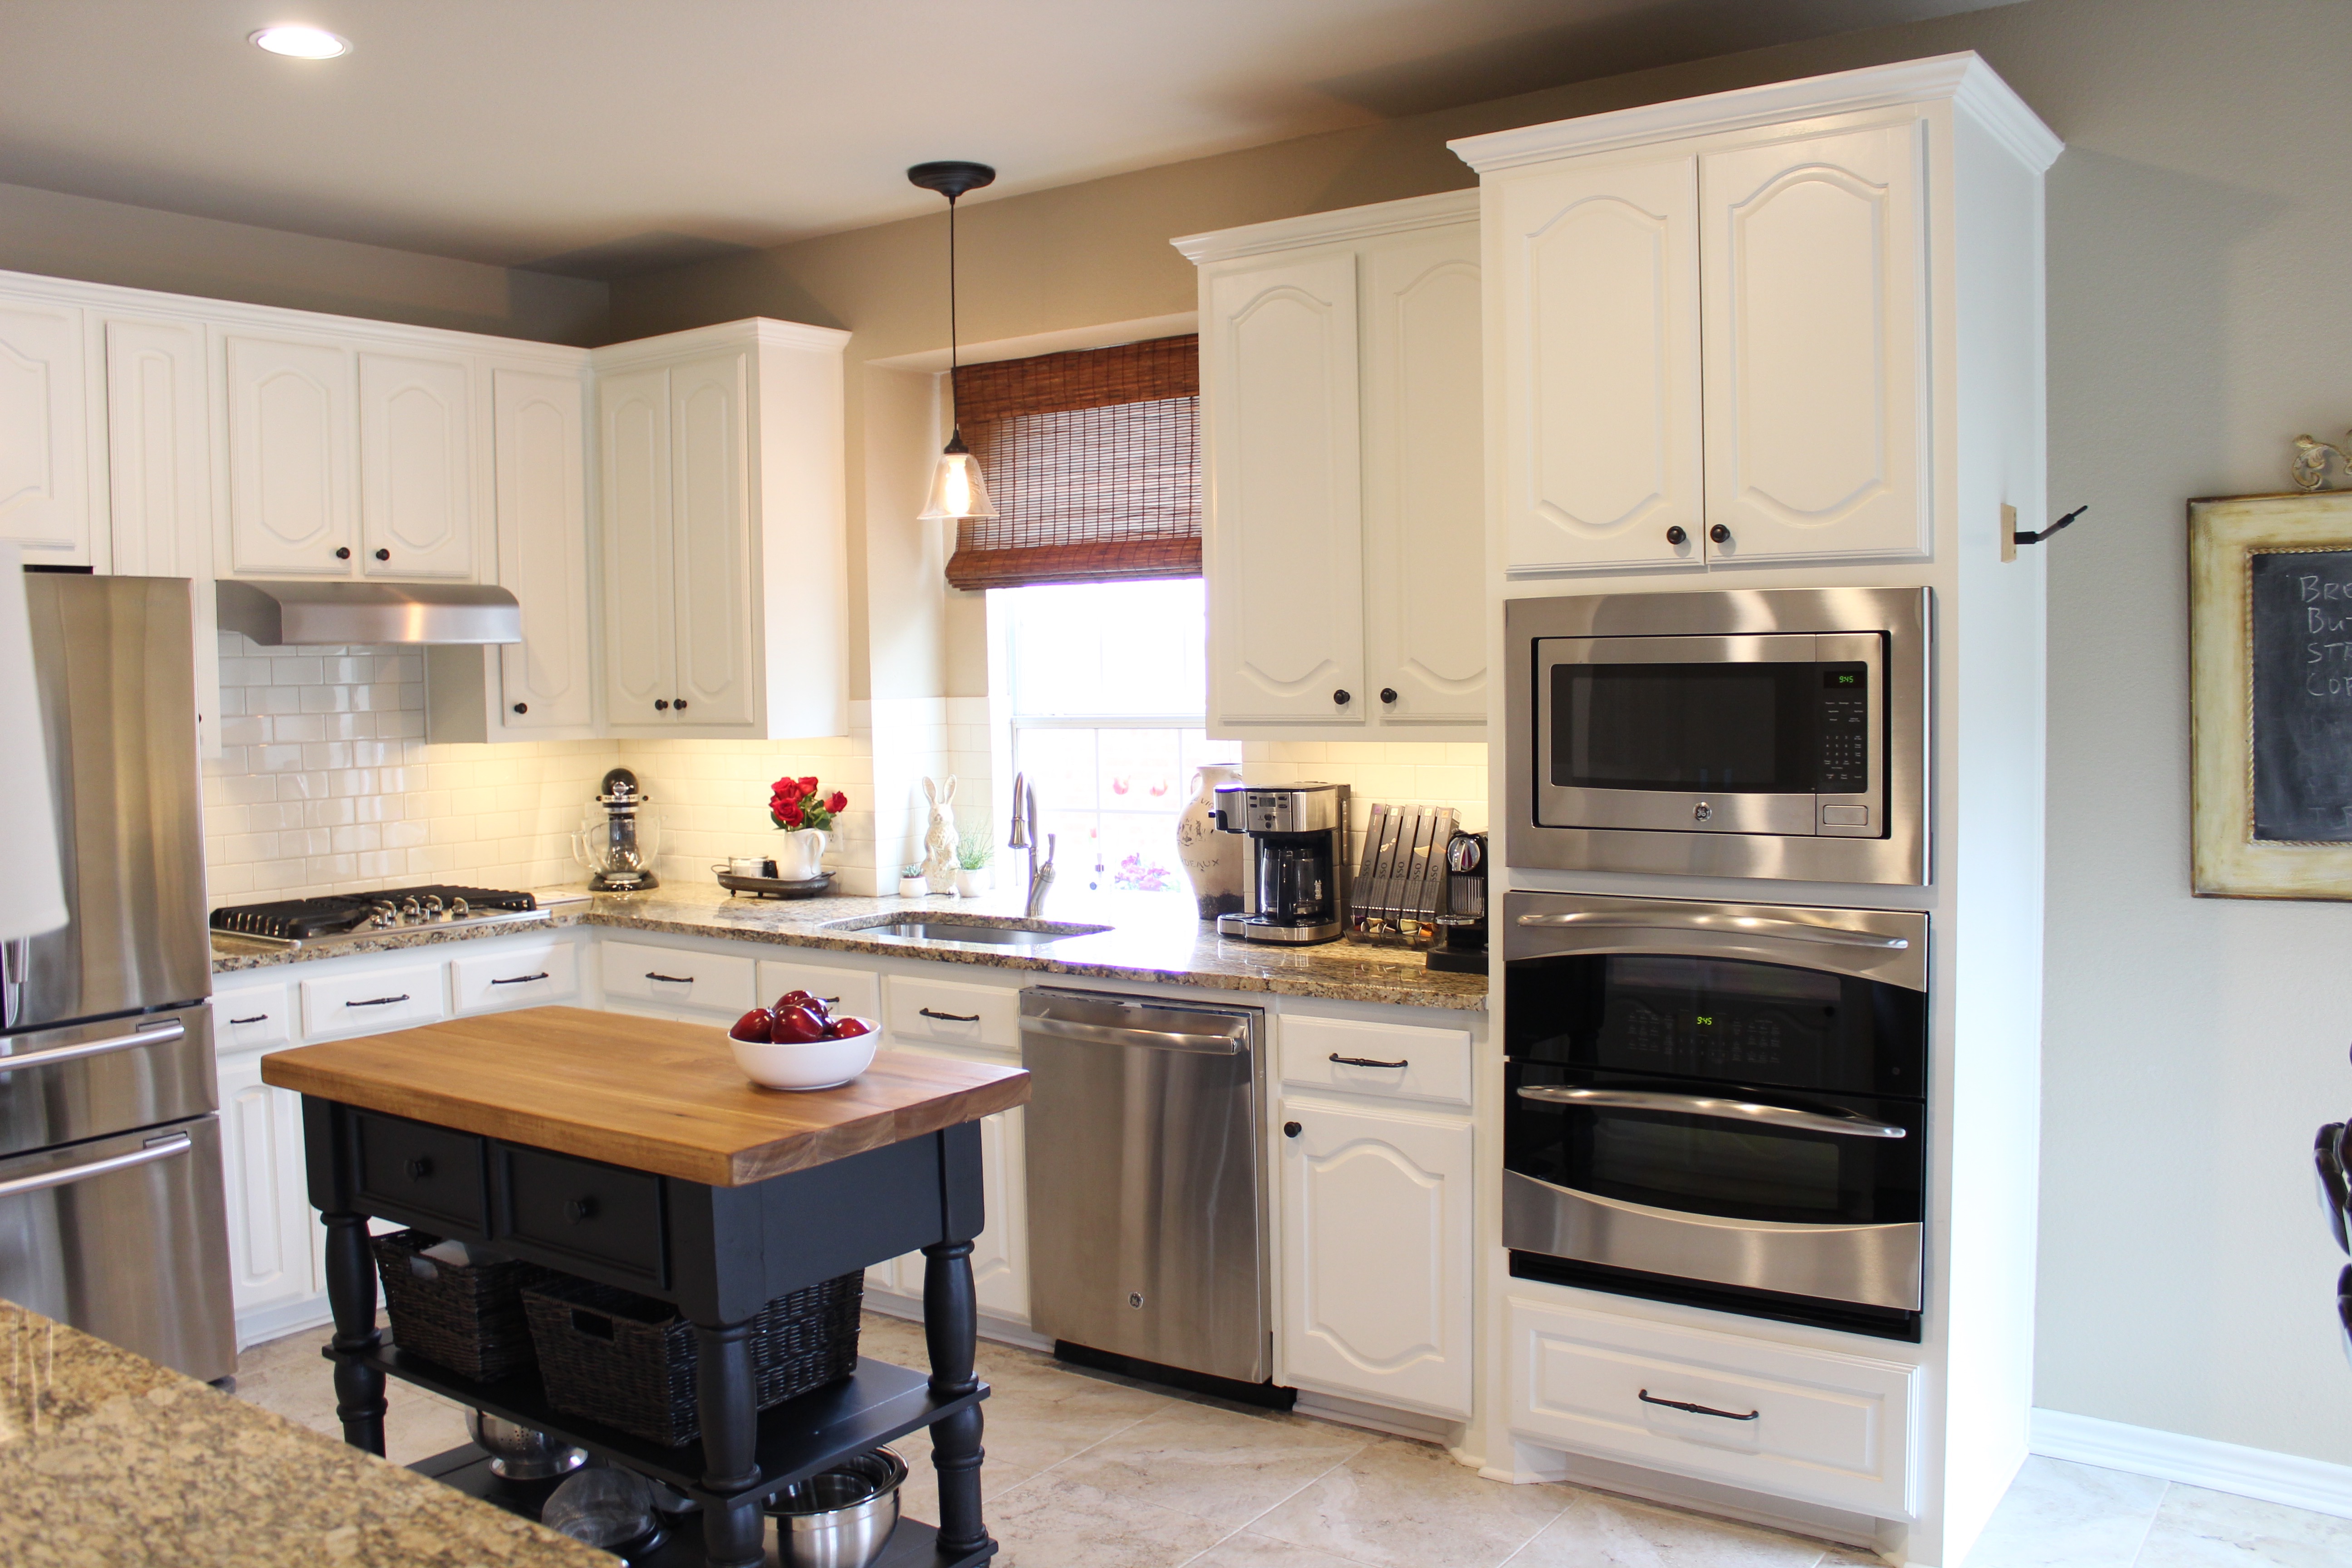
I was craving a light and bright kitchen, the subway tile backsplash is so clean and crisp. Not to mention durable… I’m a messy cook. You can read more about our Kitchen remodel.
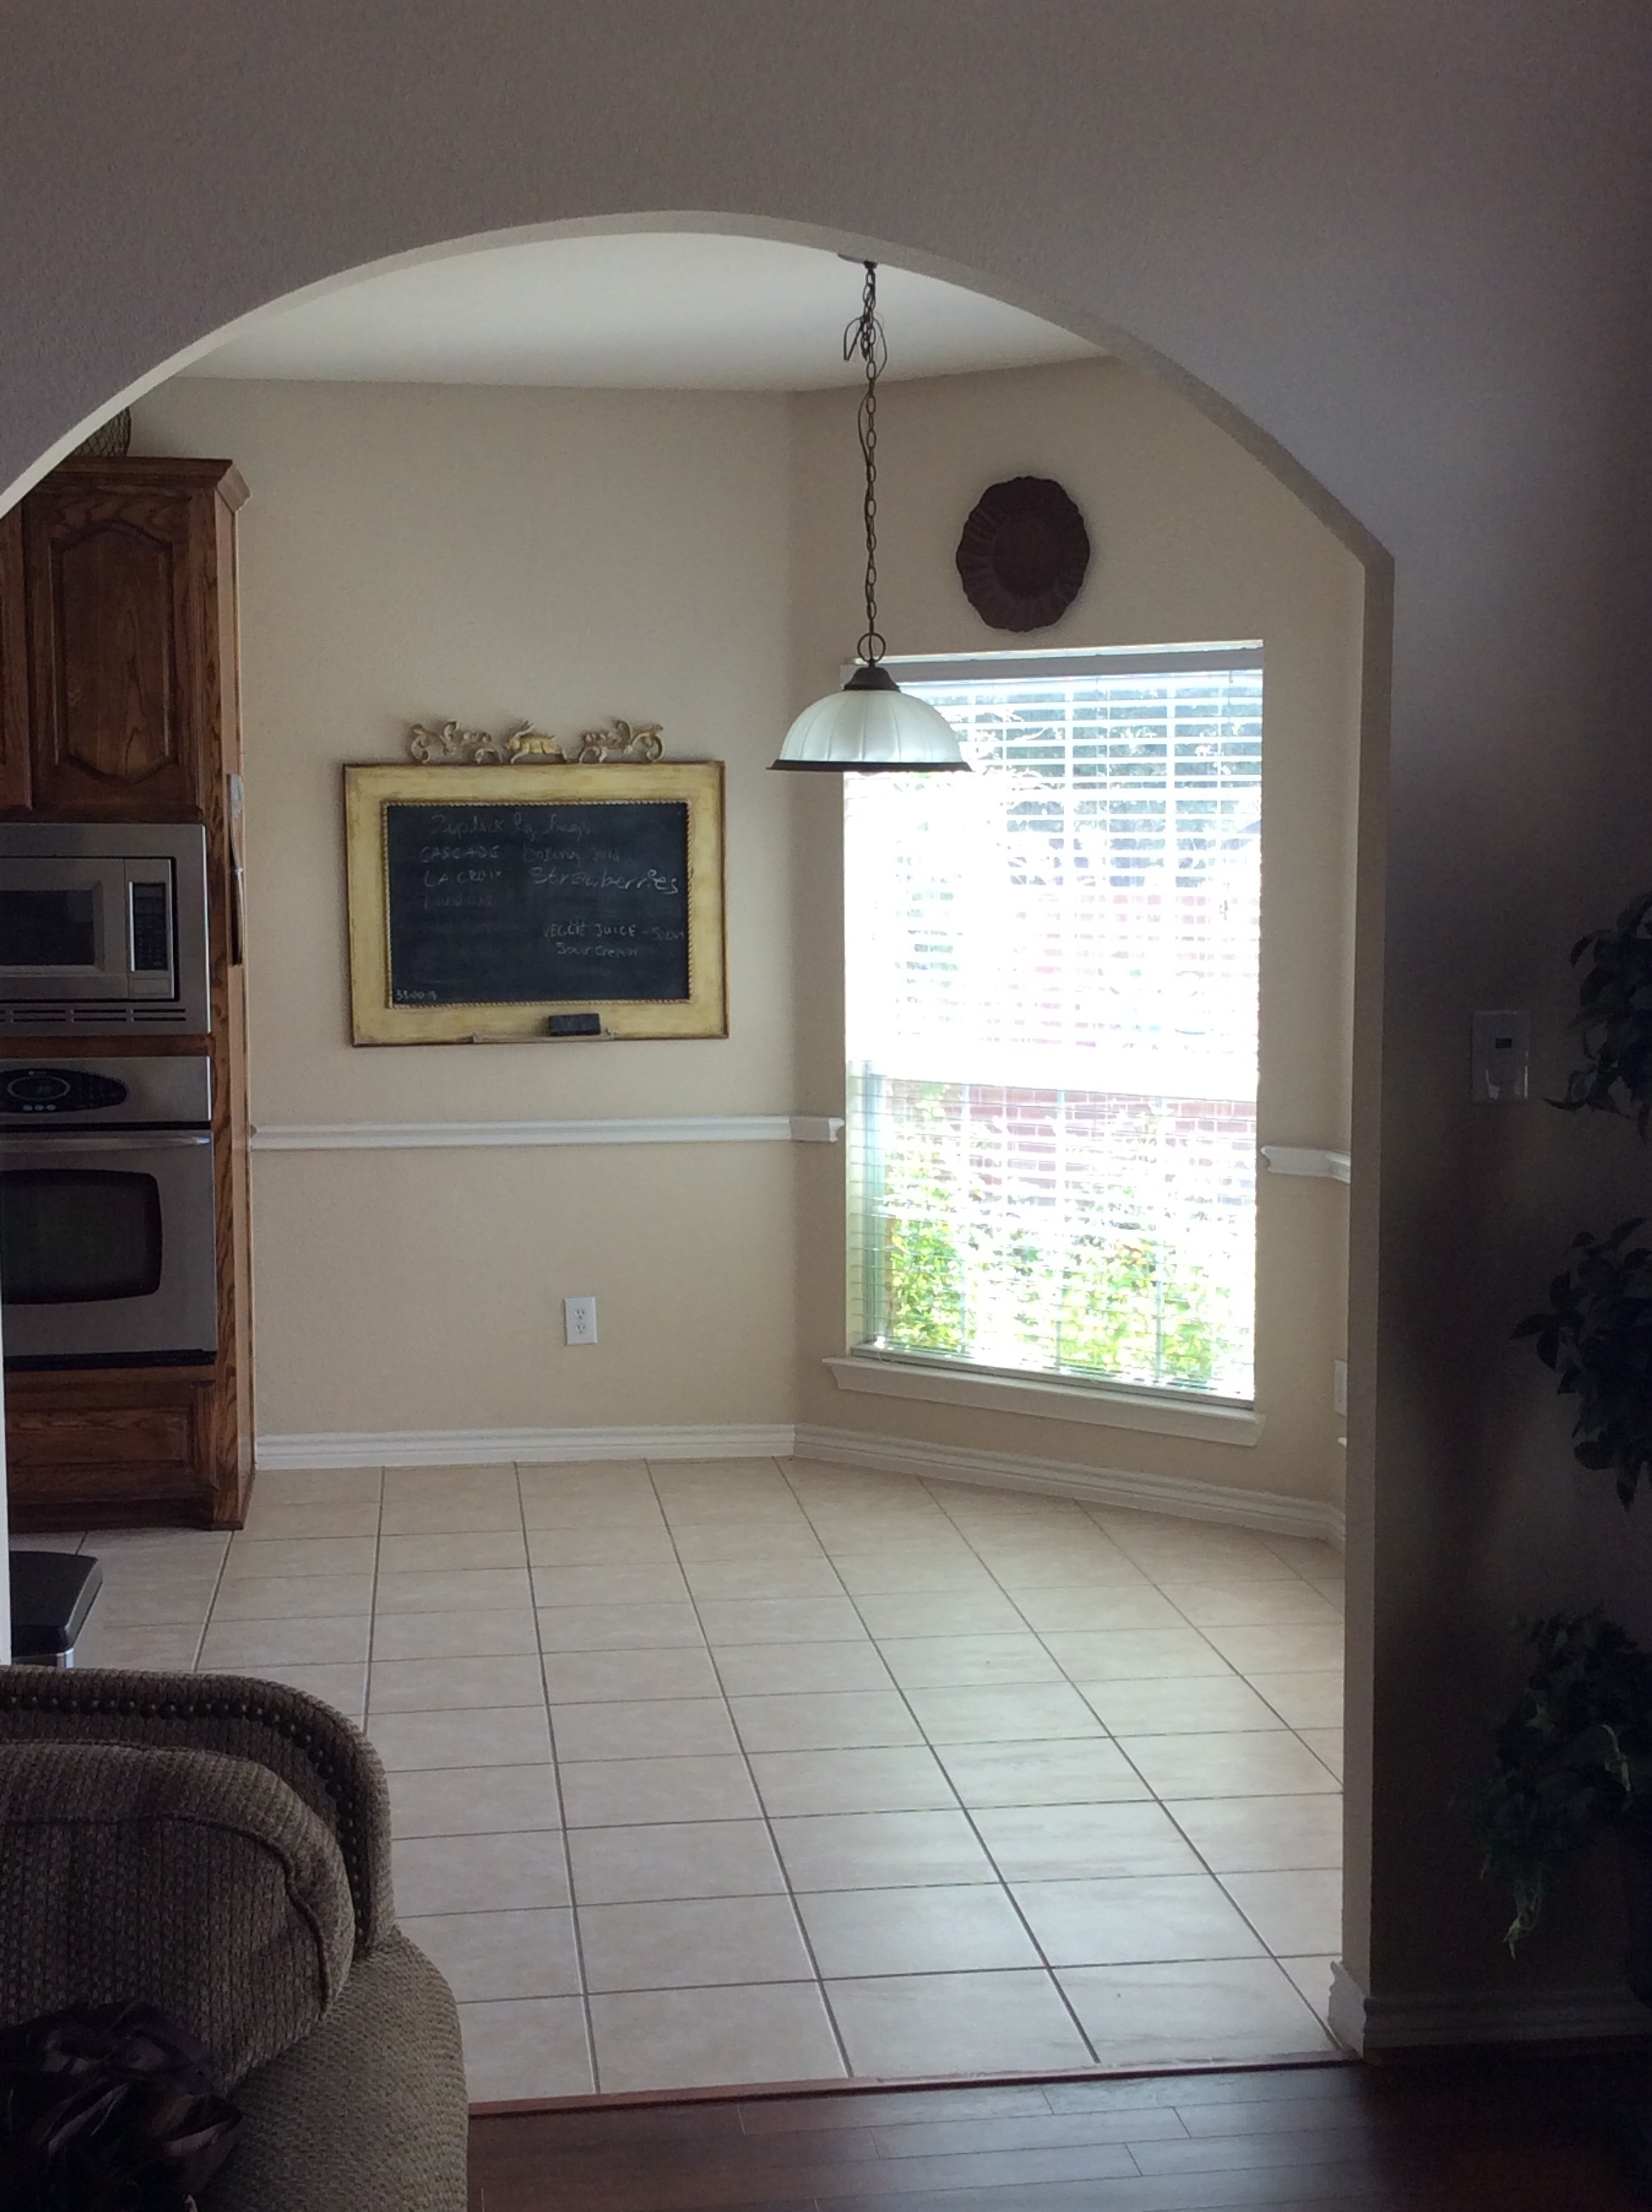
THE BREAKFAST NOOK BEFORE

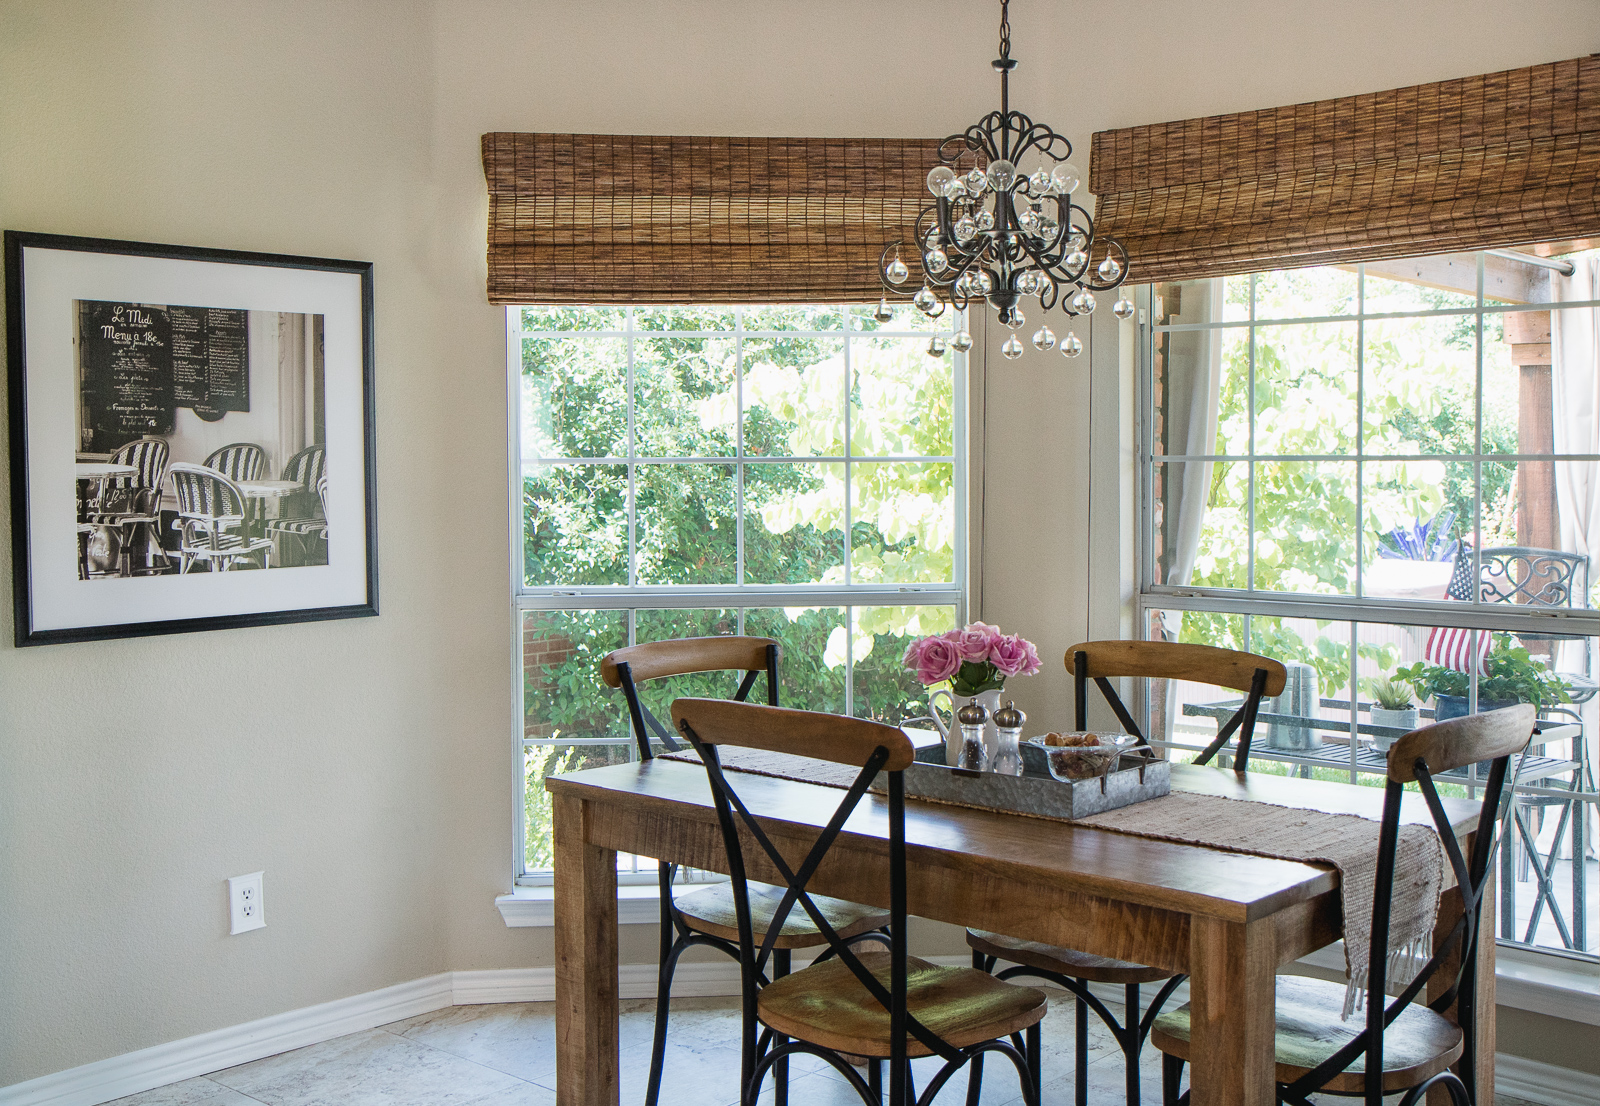
THE BREAKFAST NOOK AFTER

THE HALF BATH BEFORE
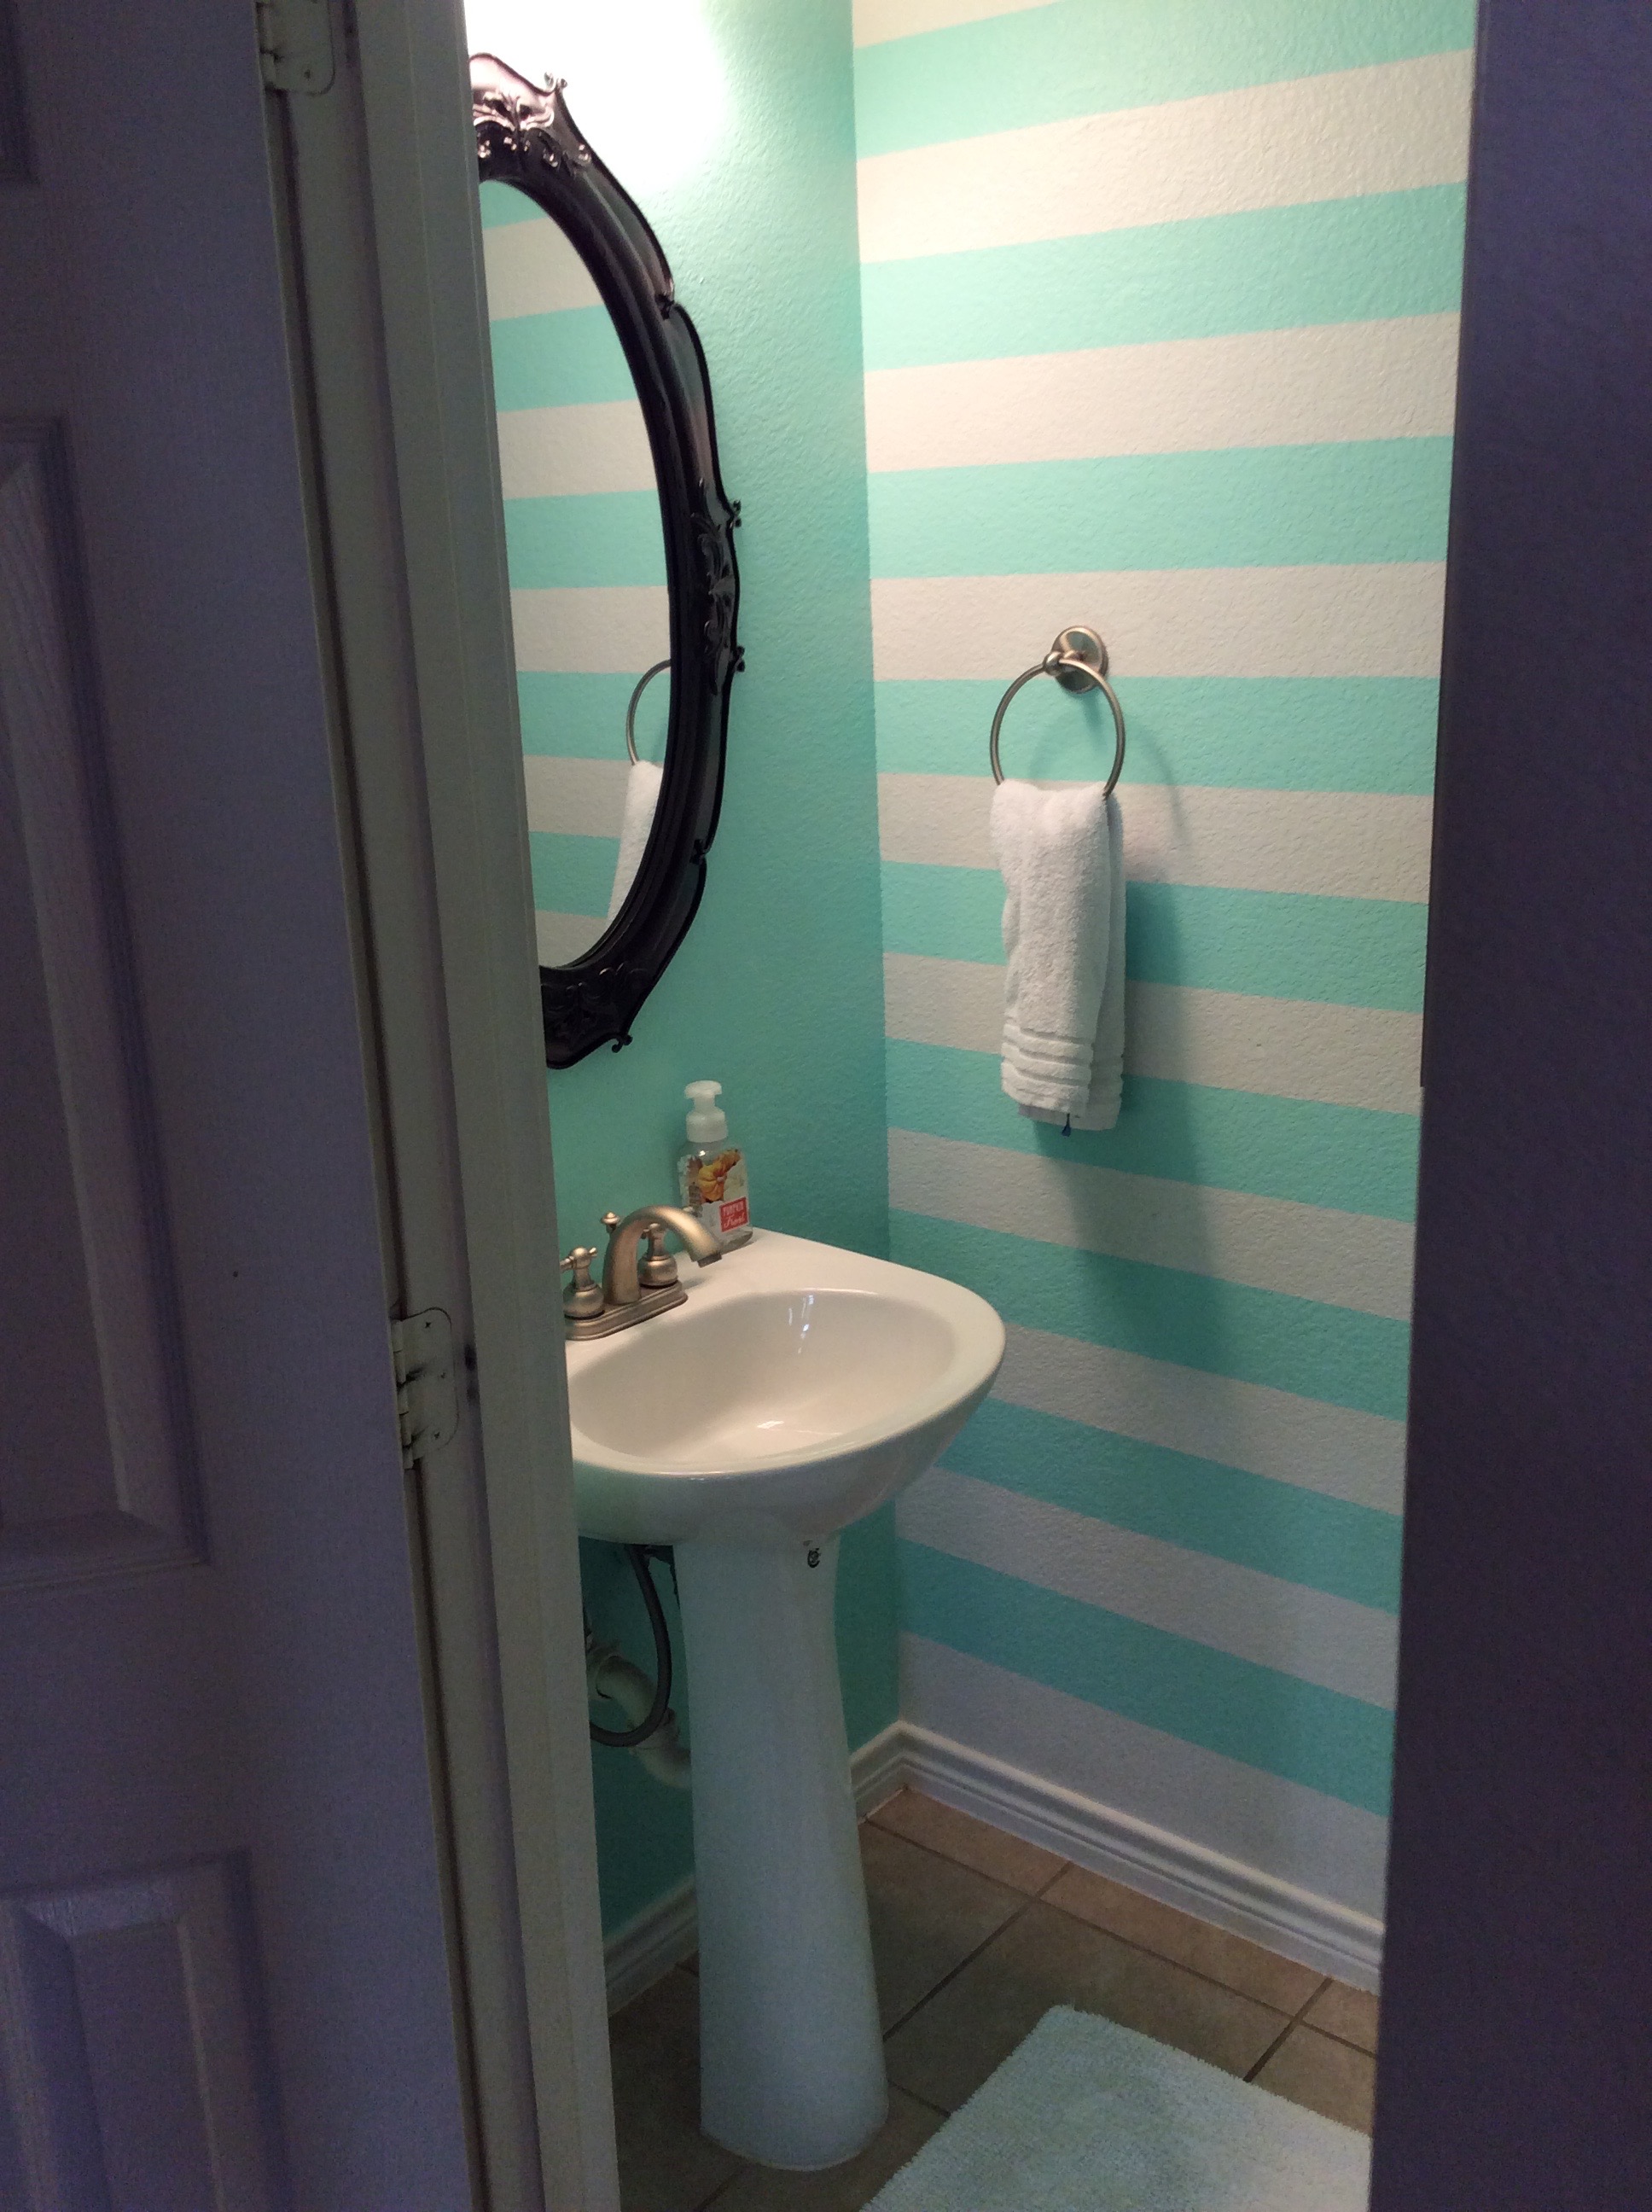
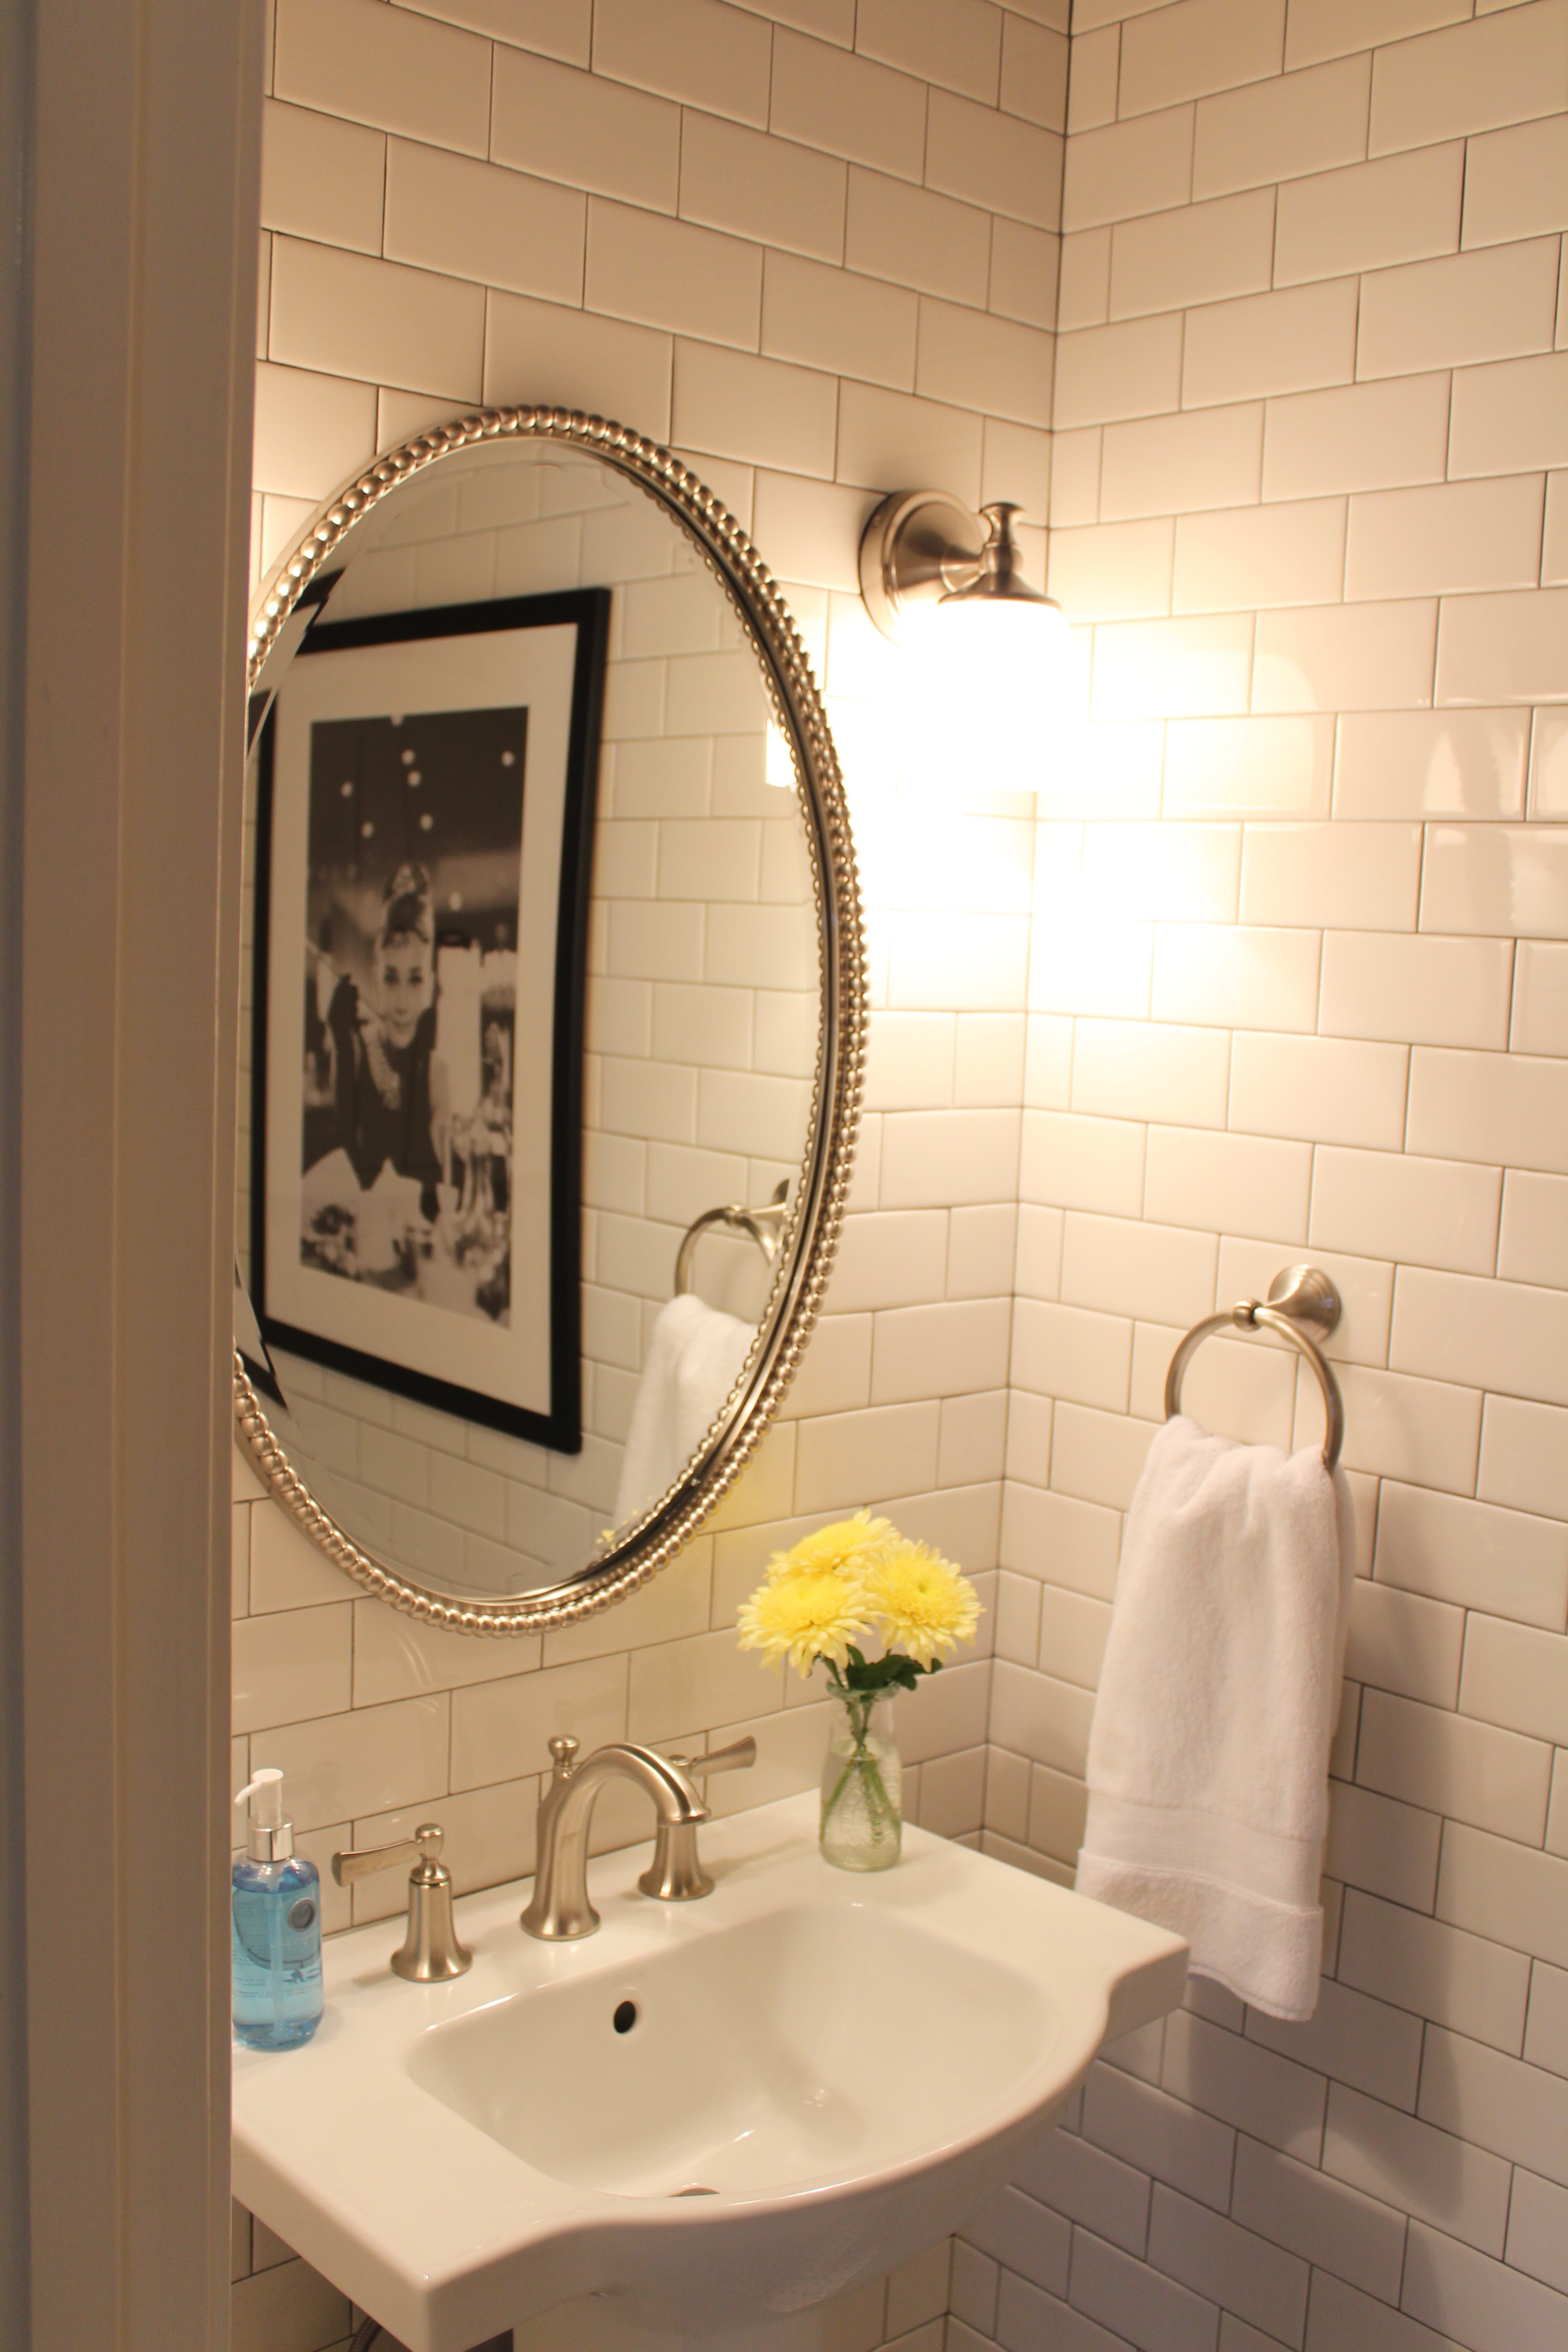
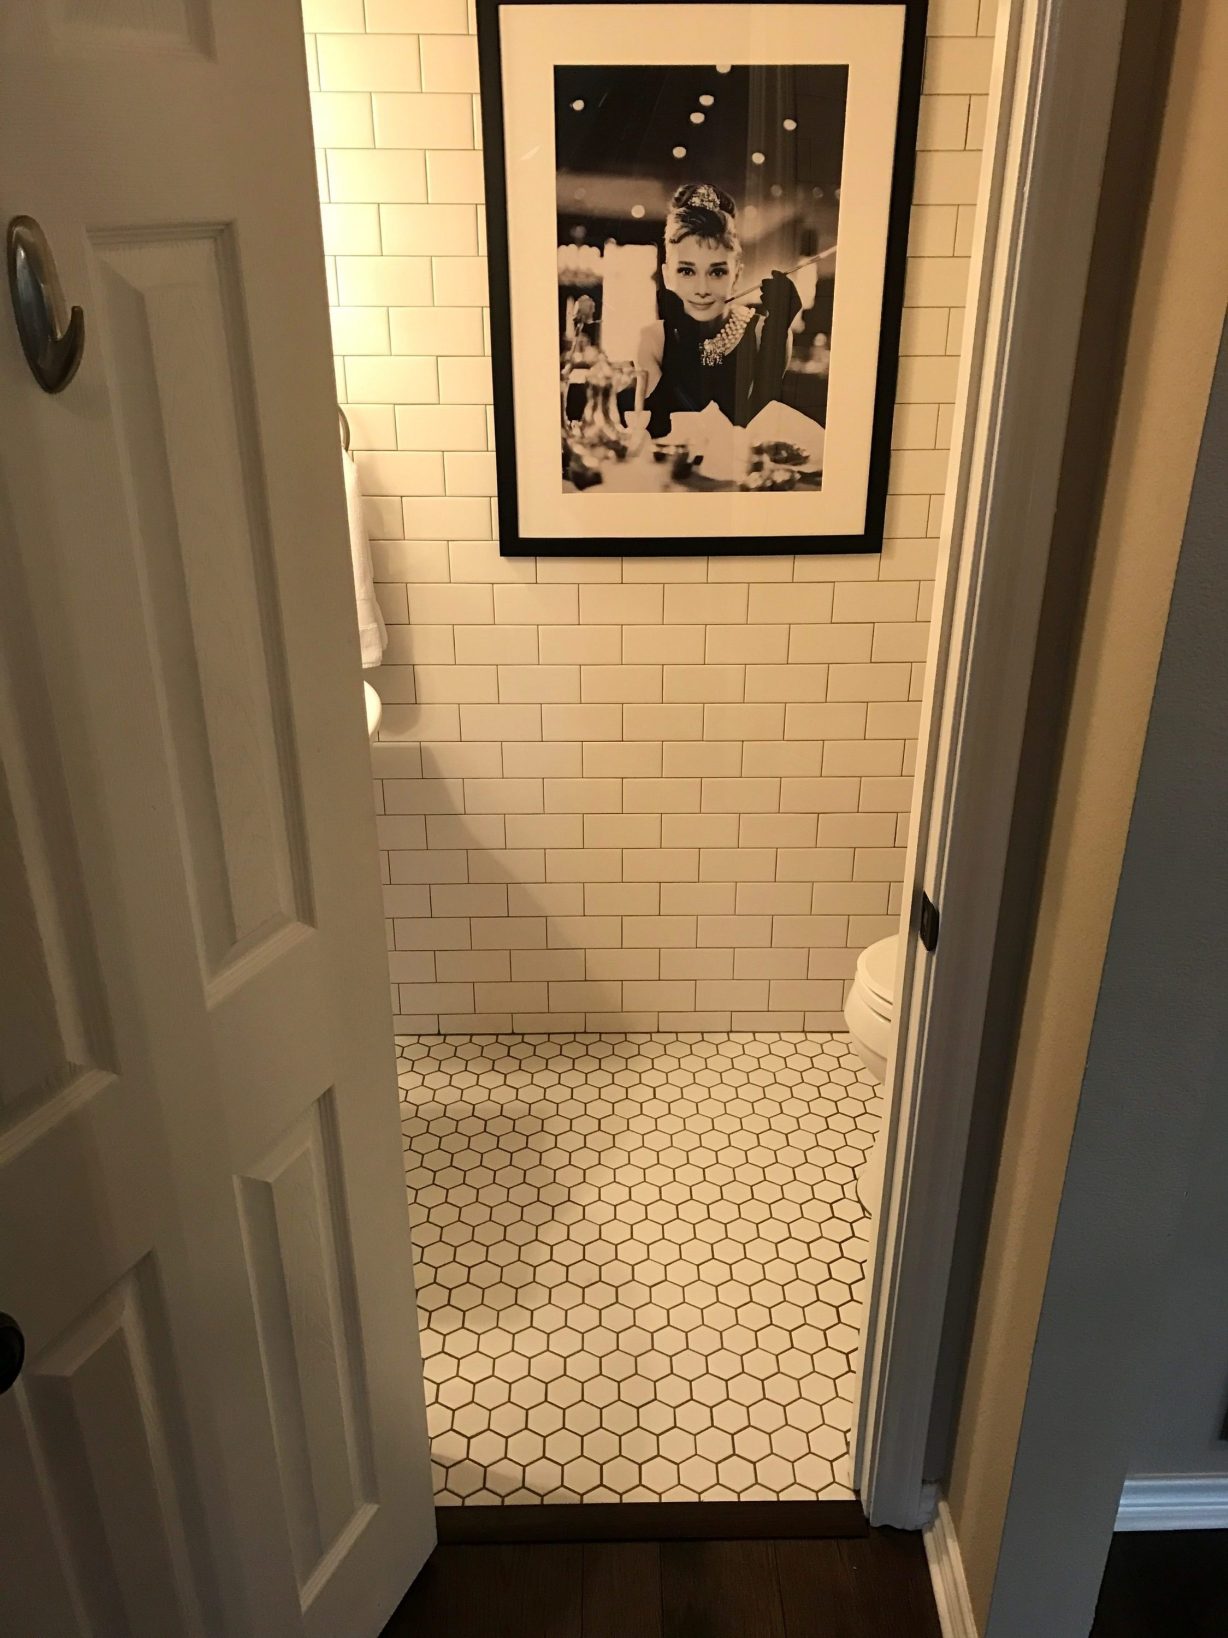
THE HALF BATH AFTER
Can you ever have enough white subway tile? I think not, you can read more about Half Bath remodel, this is a tricky little spot to photograph but it’s a favorite.


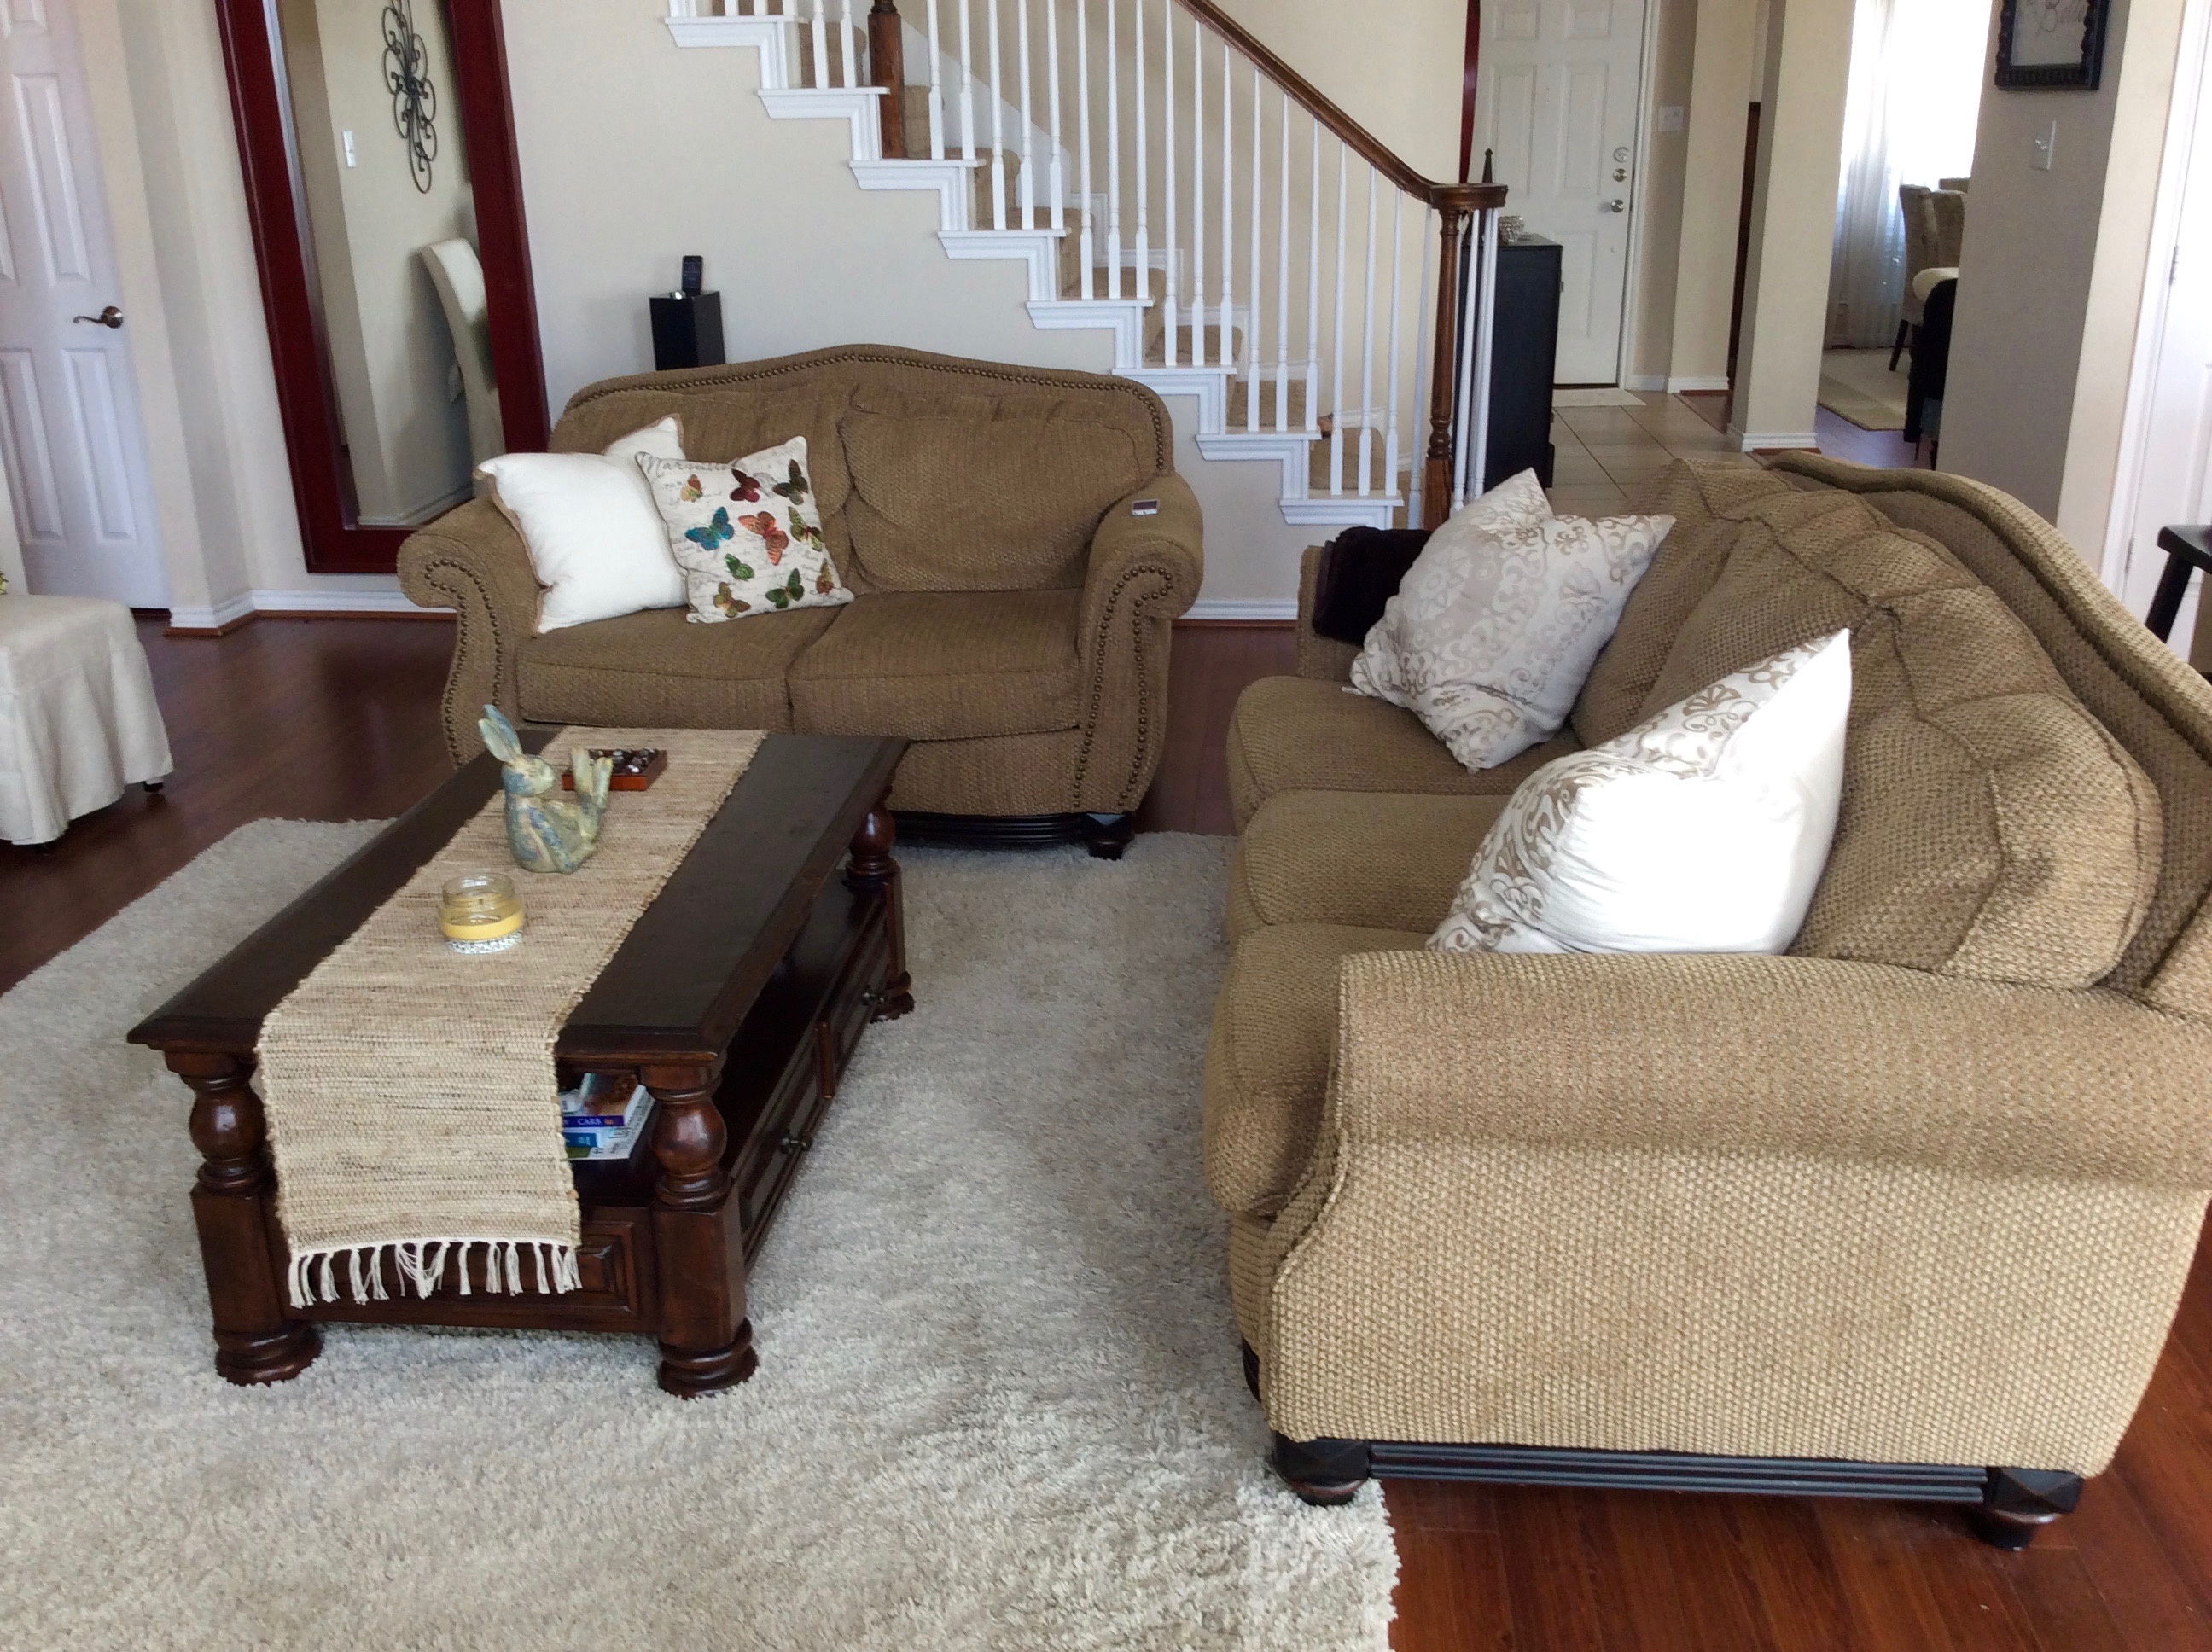
THE FAMILY ROOM BEFORE
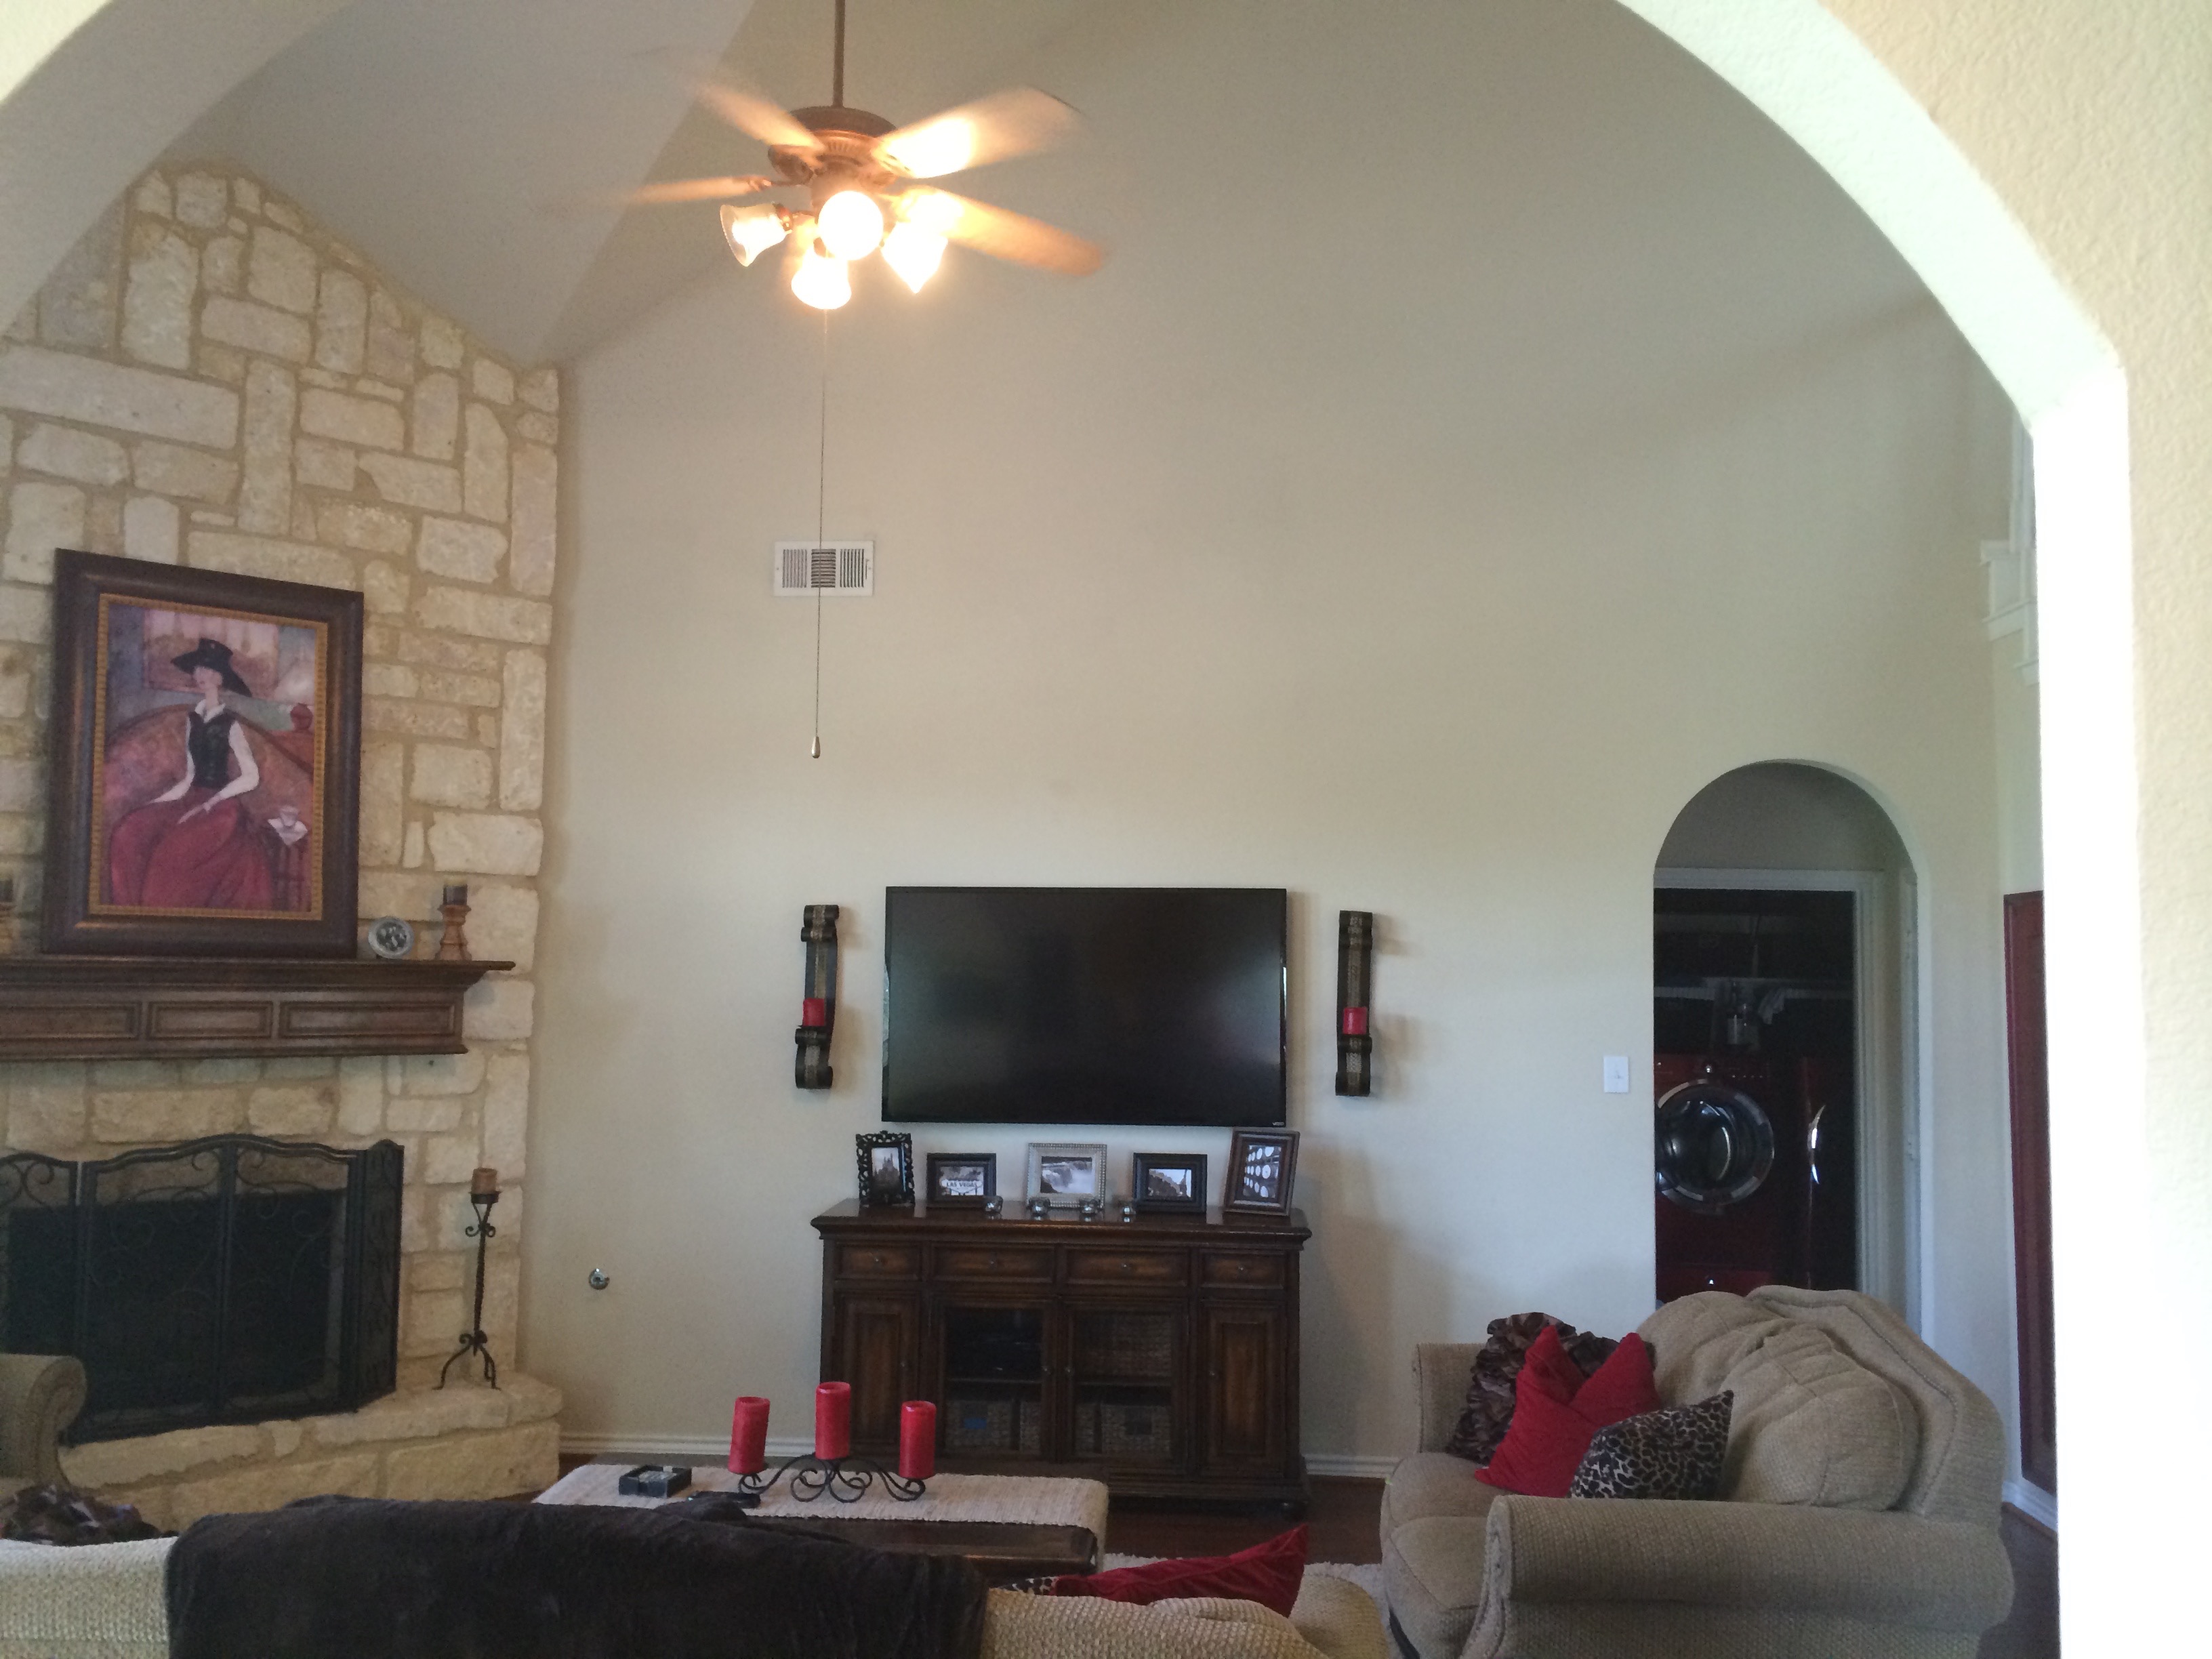
I still cringe at this before photo. I knew the room wasn’t working and needed more visual interest… adding a bunch of red pillows and candles really didn’t help though. The furniture from our previous house just didn’t work size wise either.
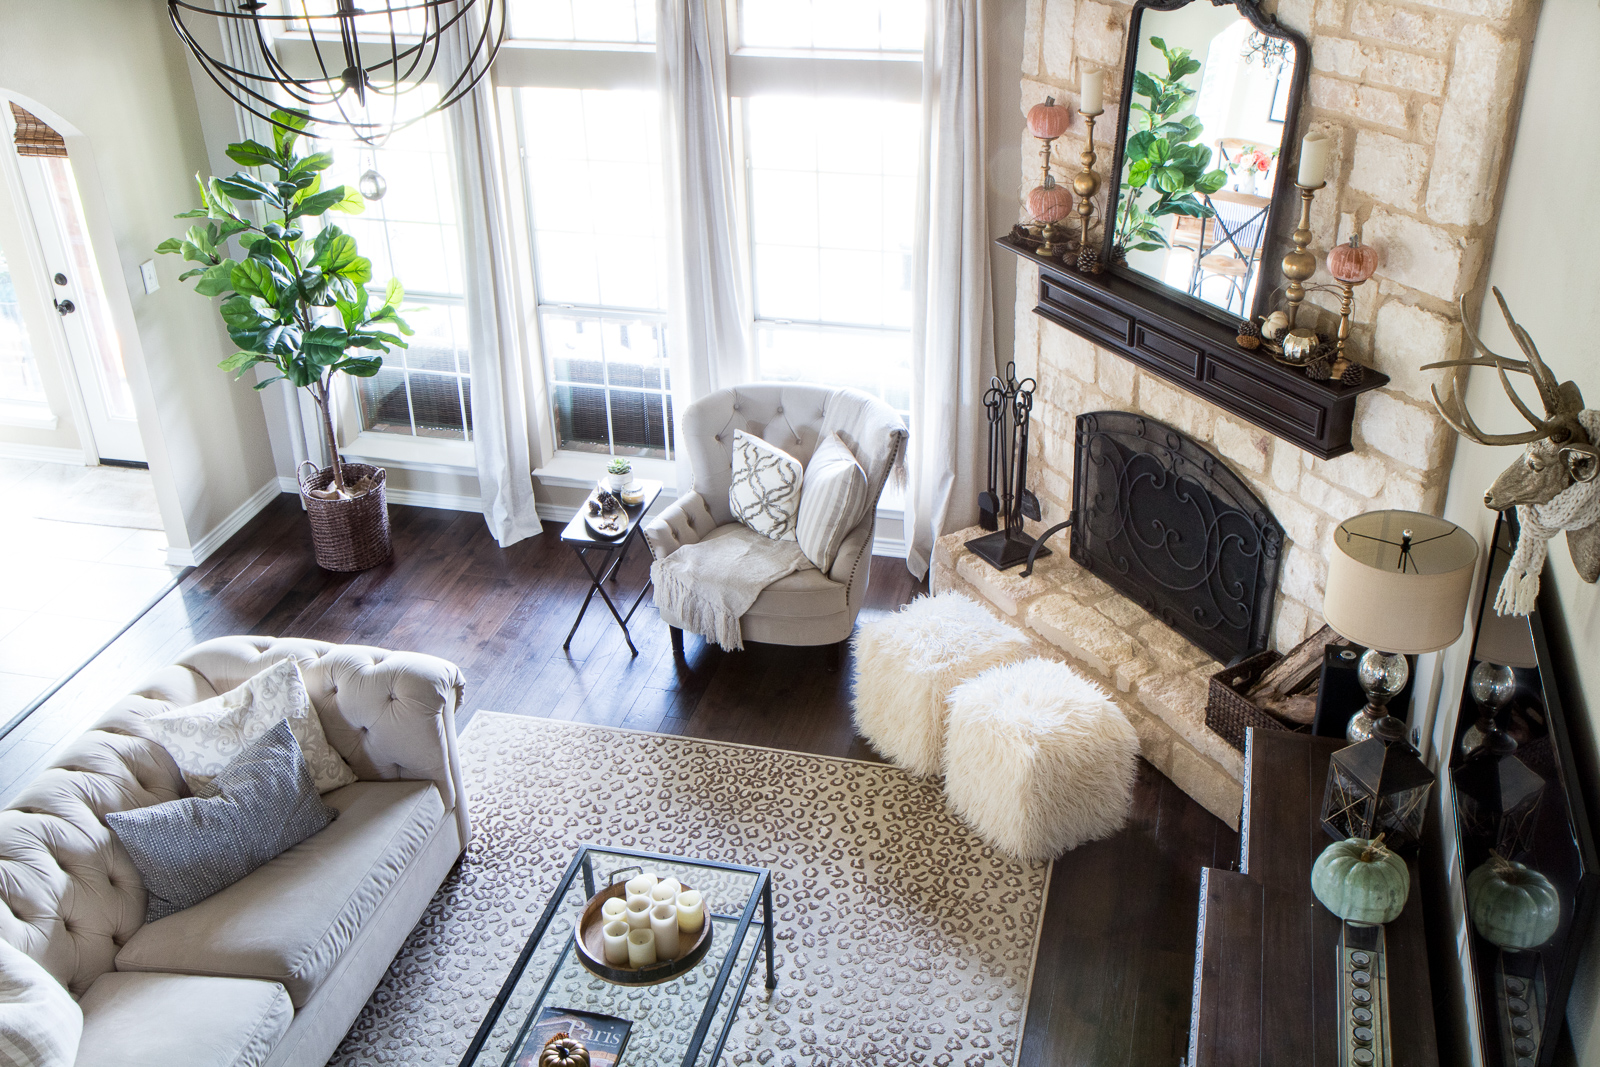
THE FAMILY ROOM AFTER
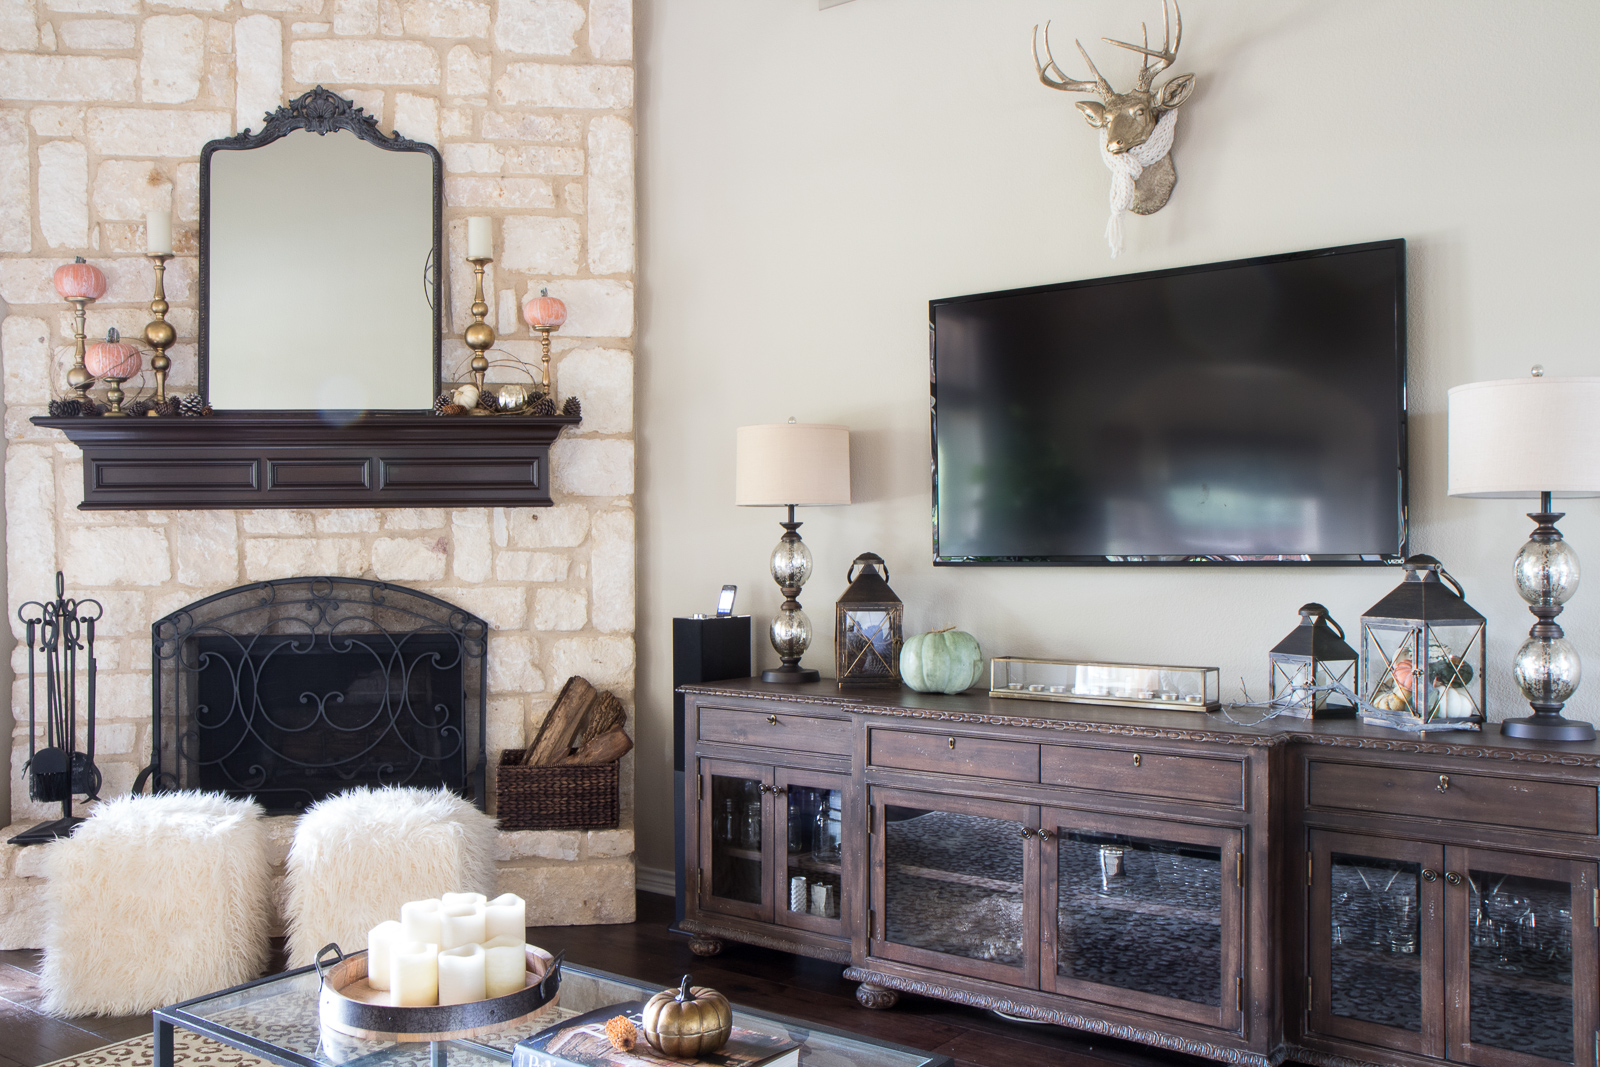

You can read more in my post on the family room.
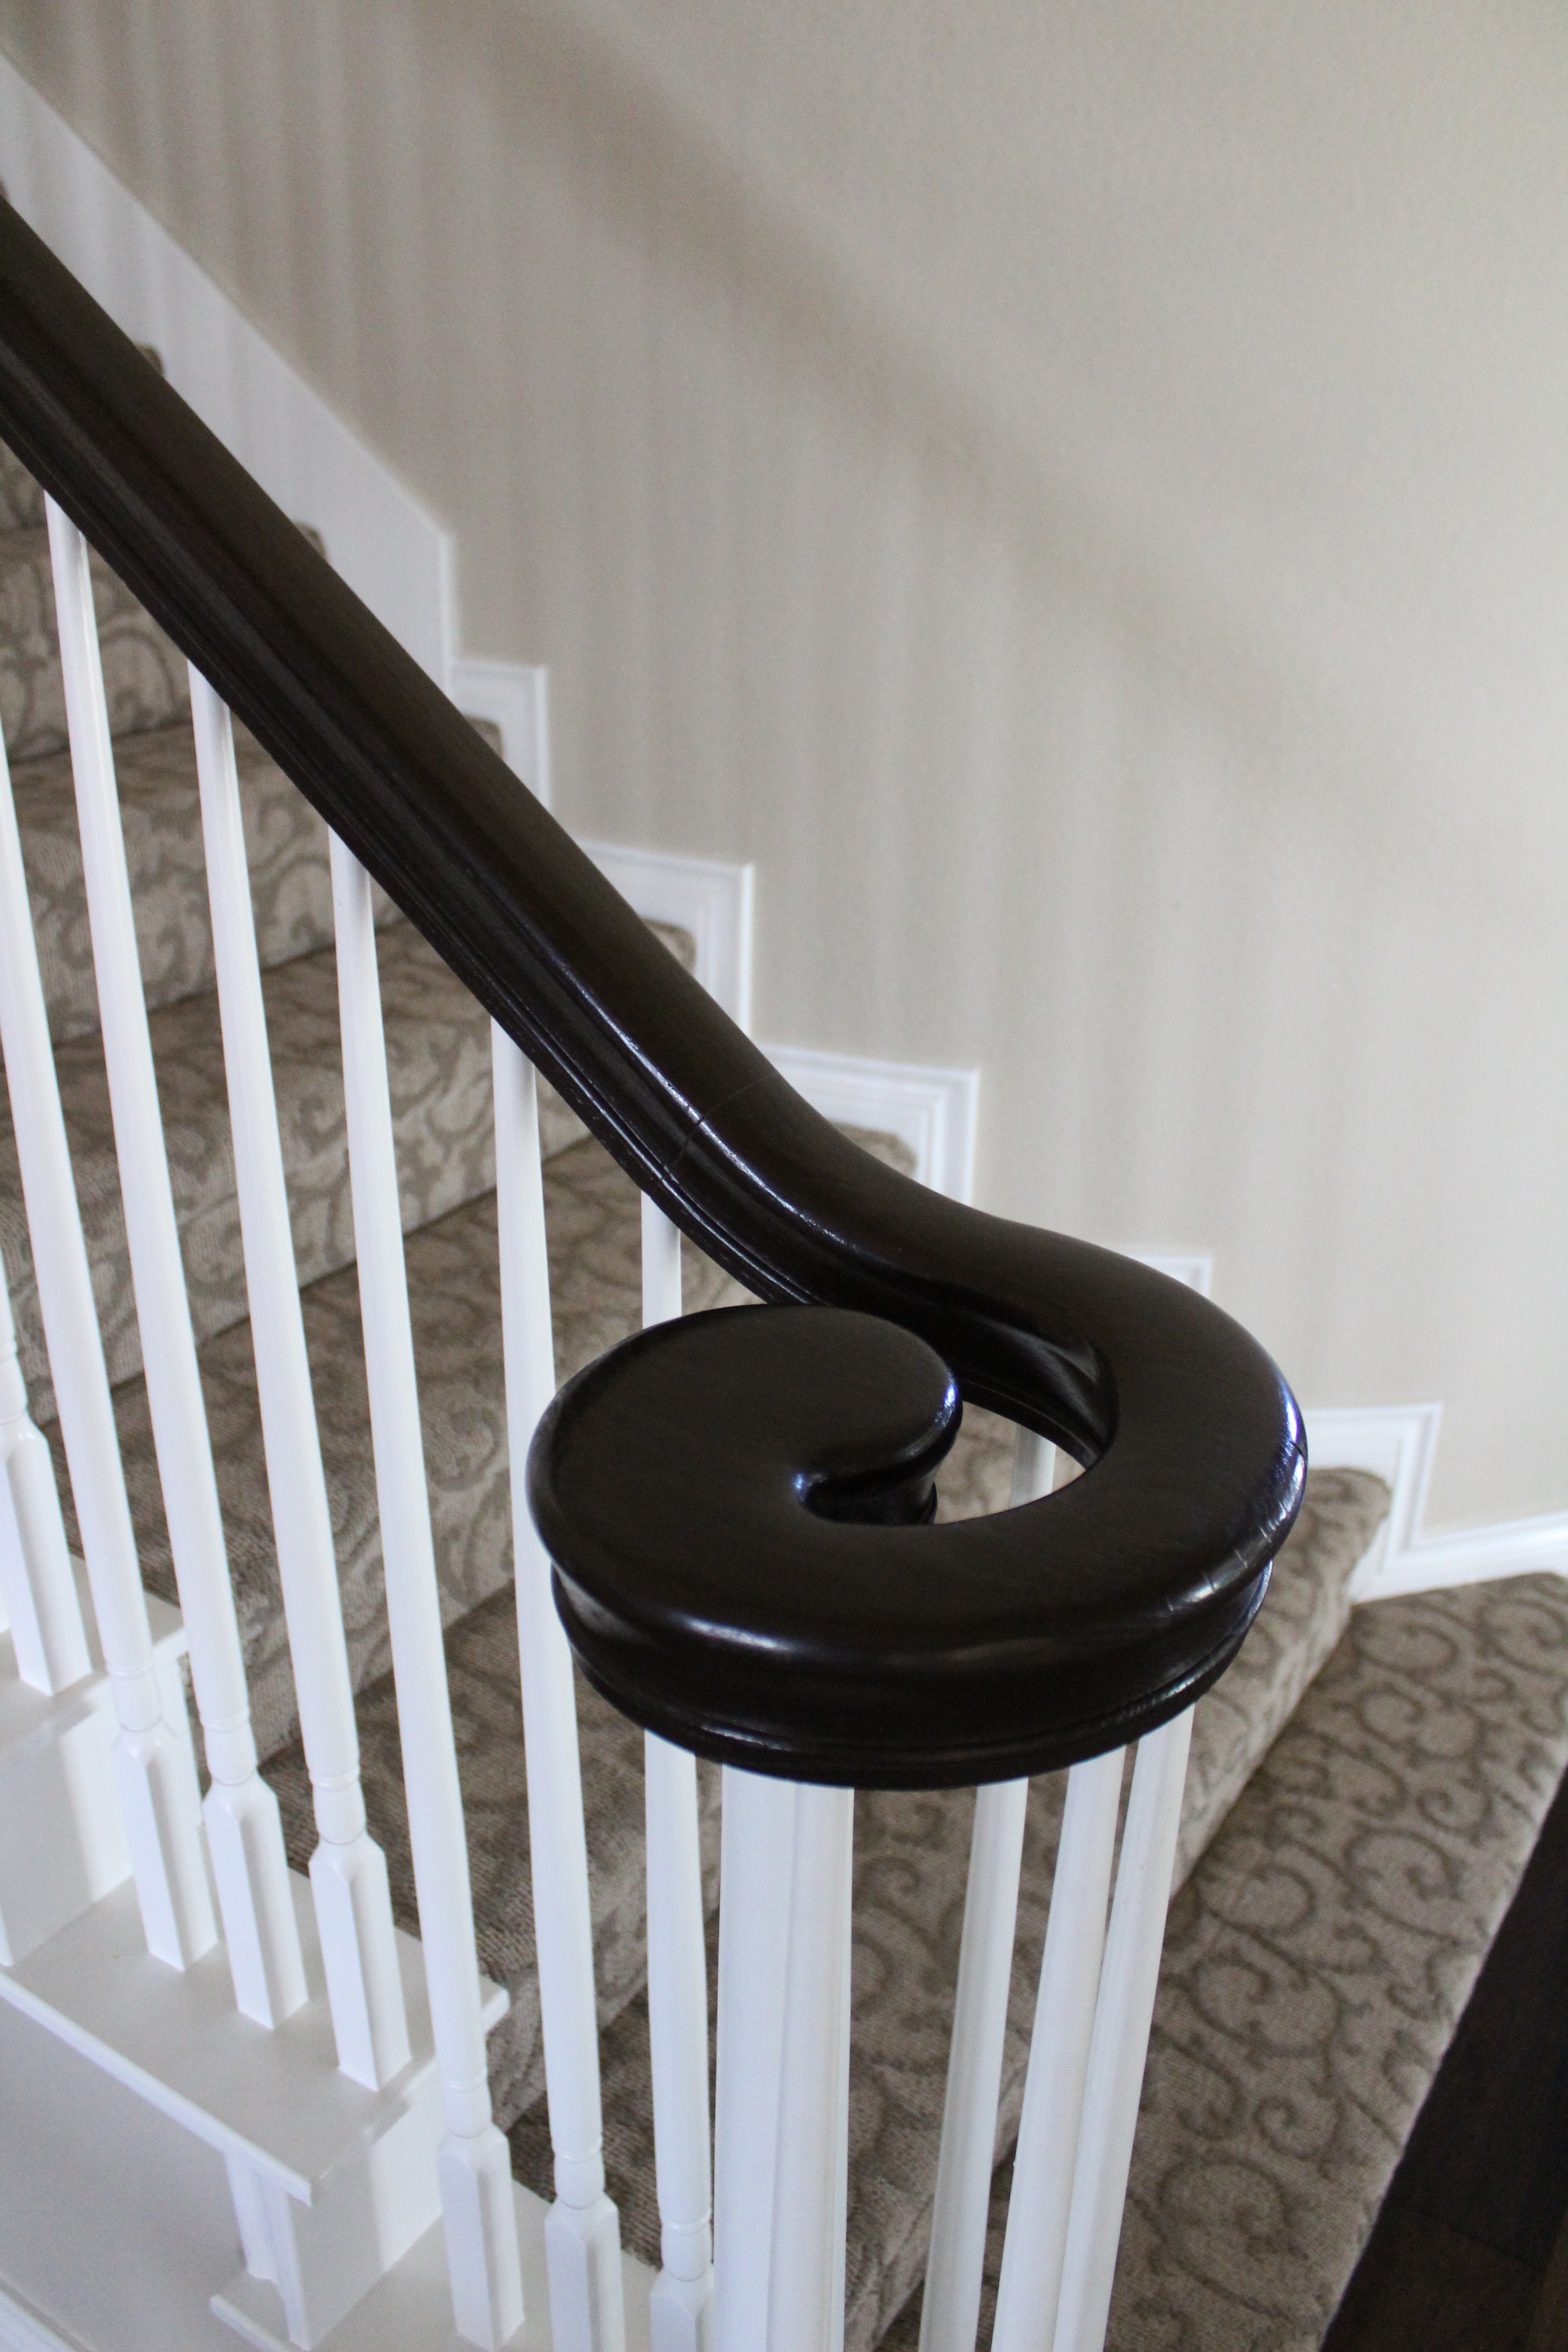
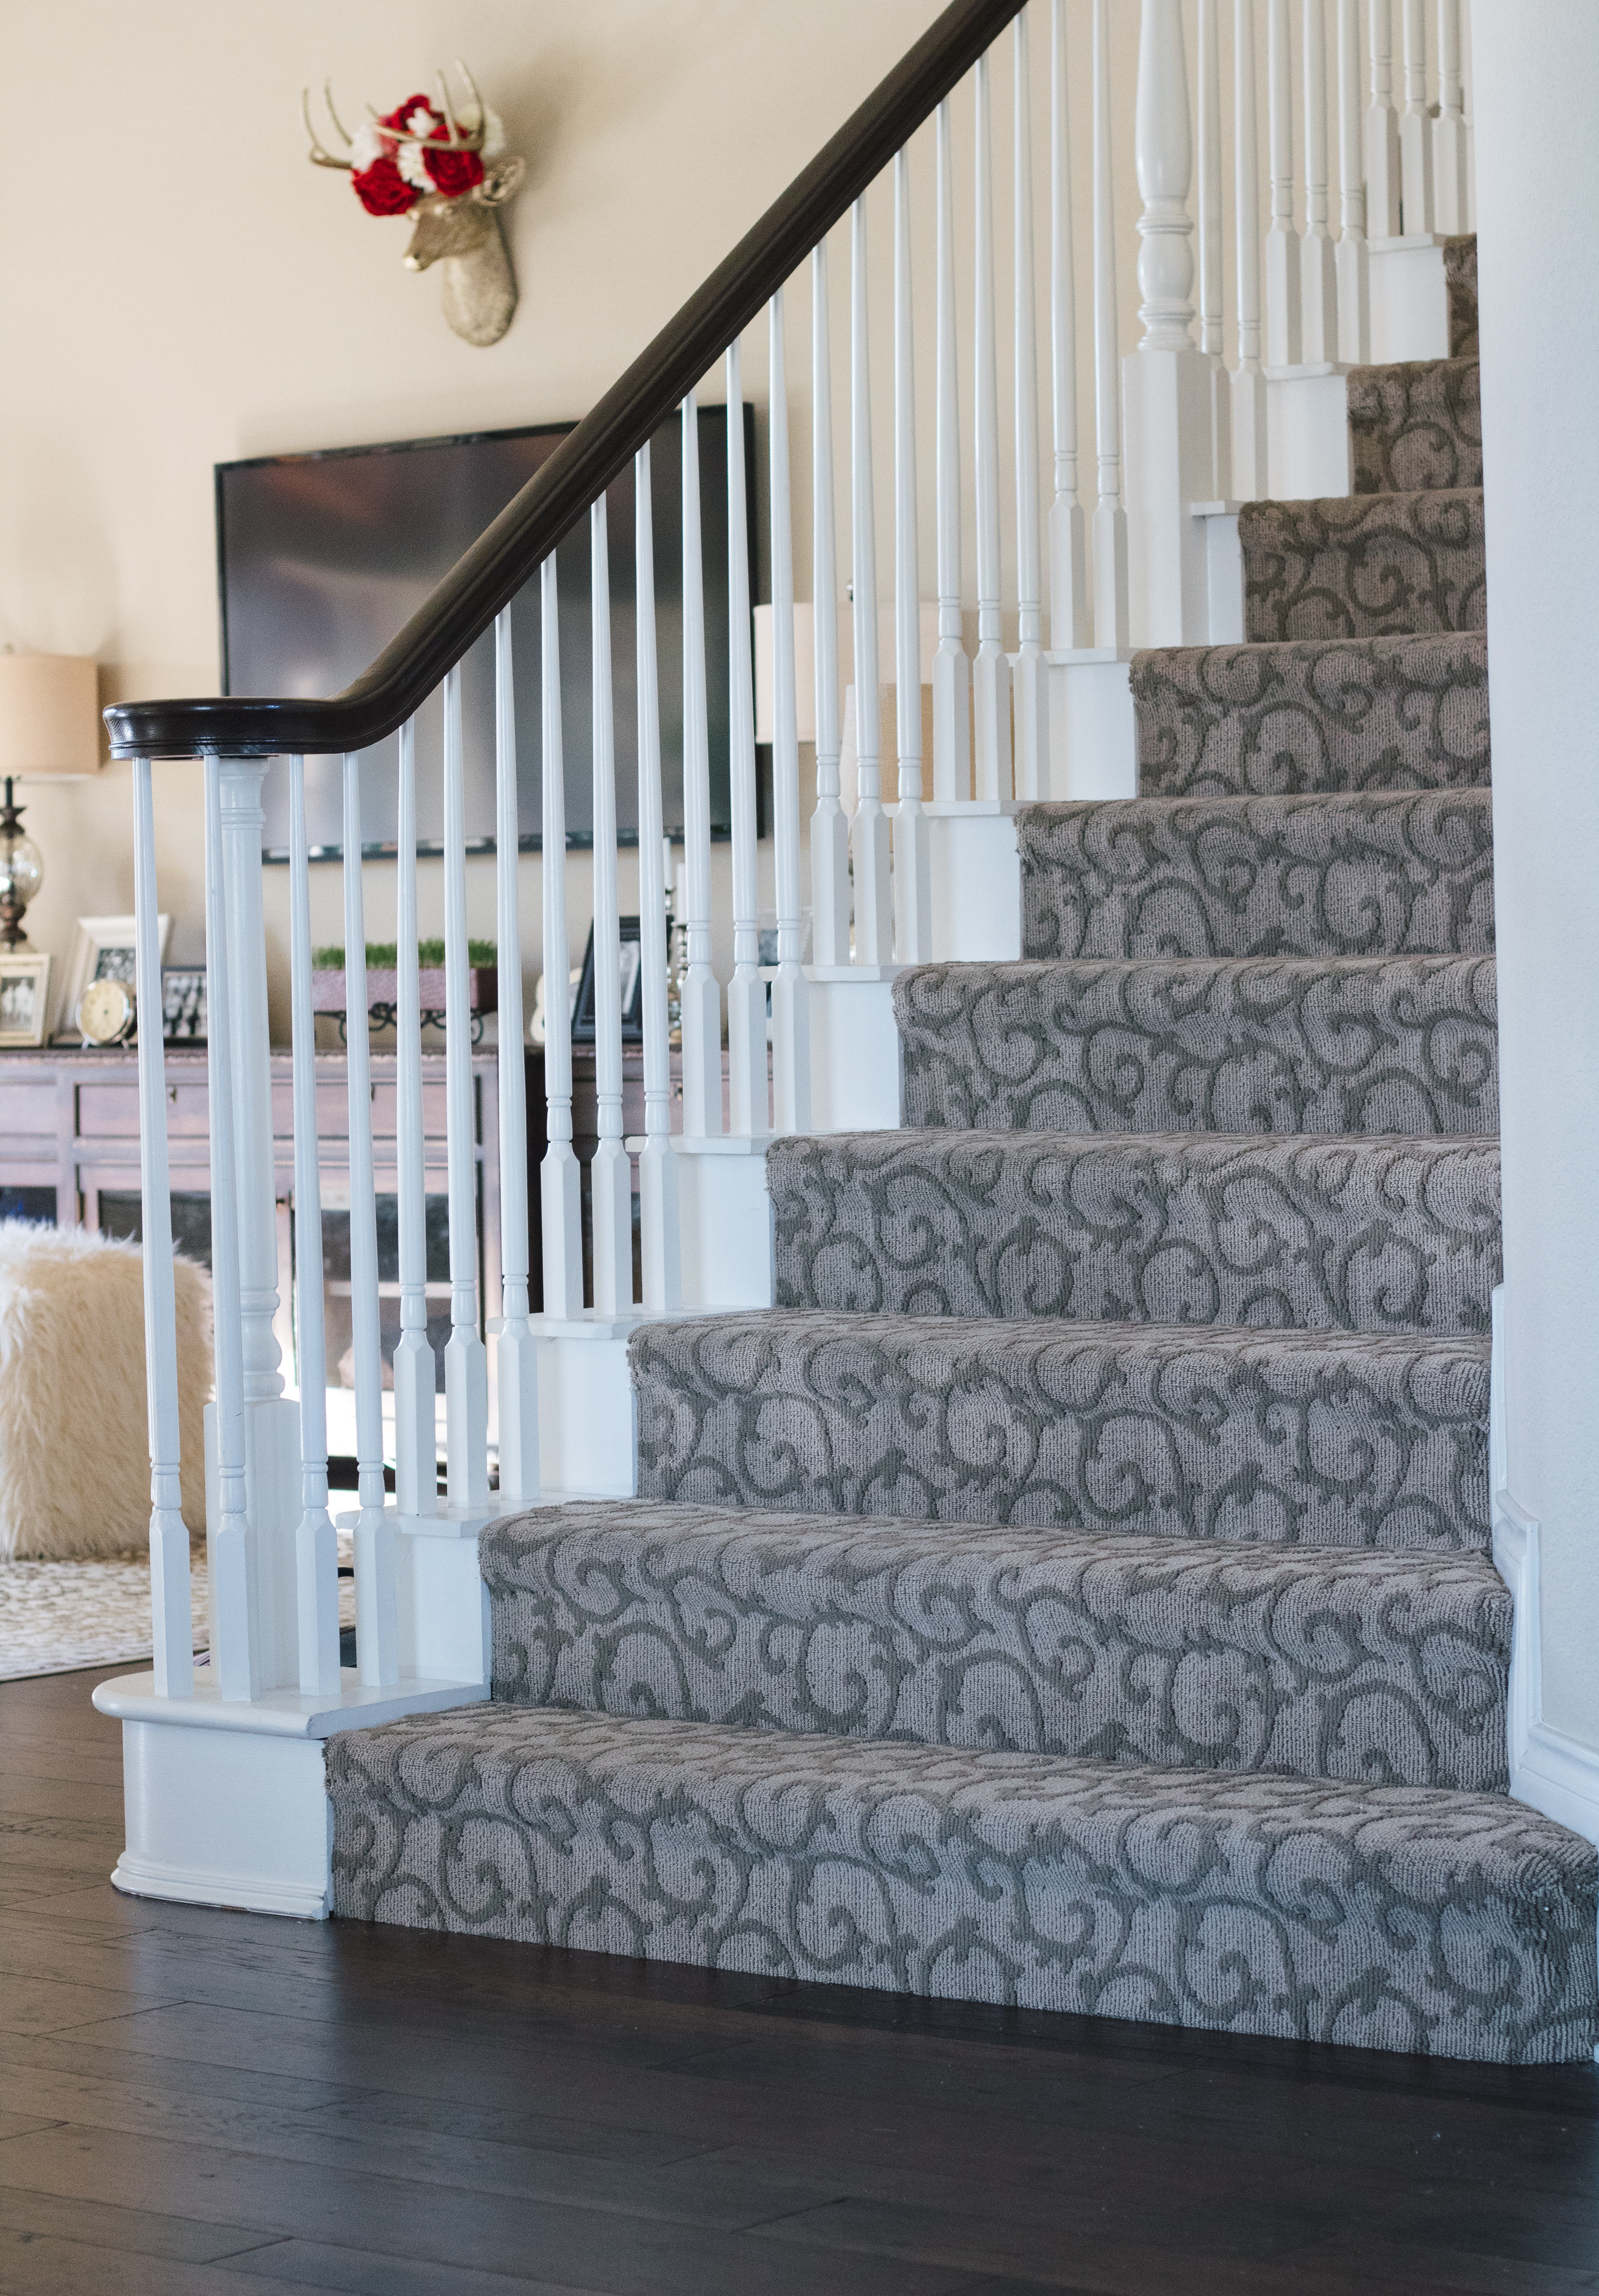
THE STAIRS BEFORE
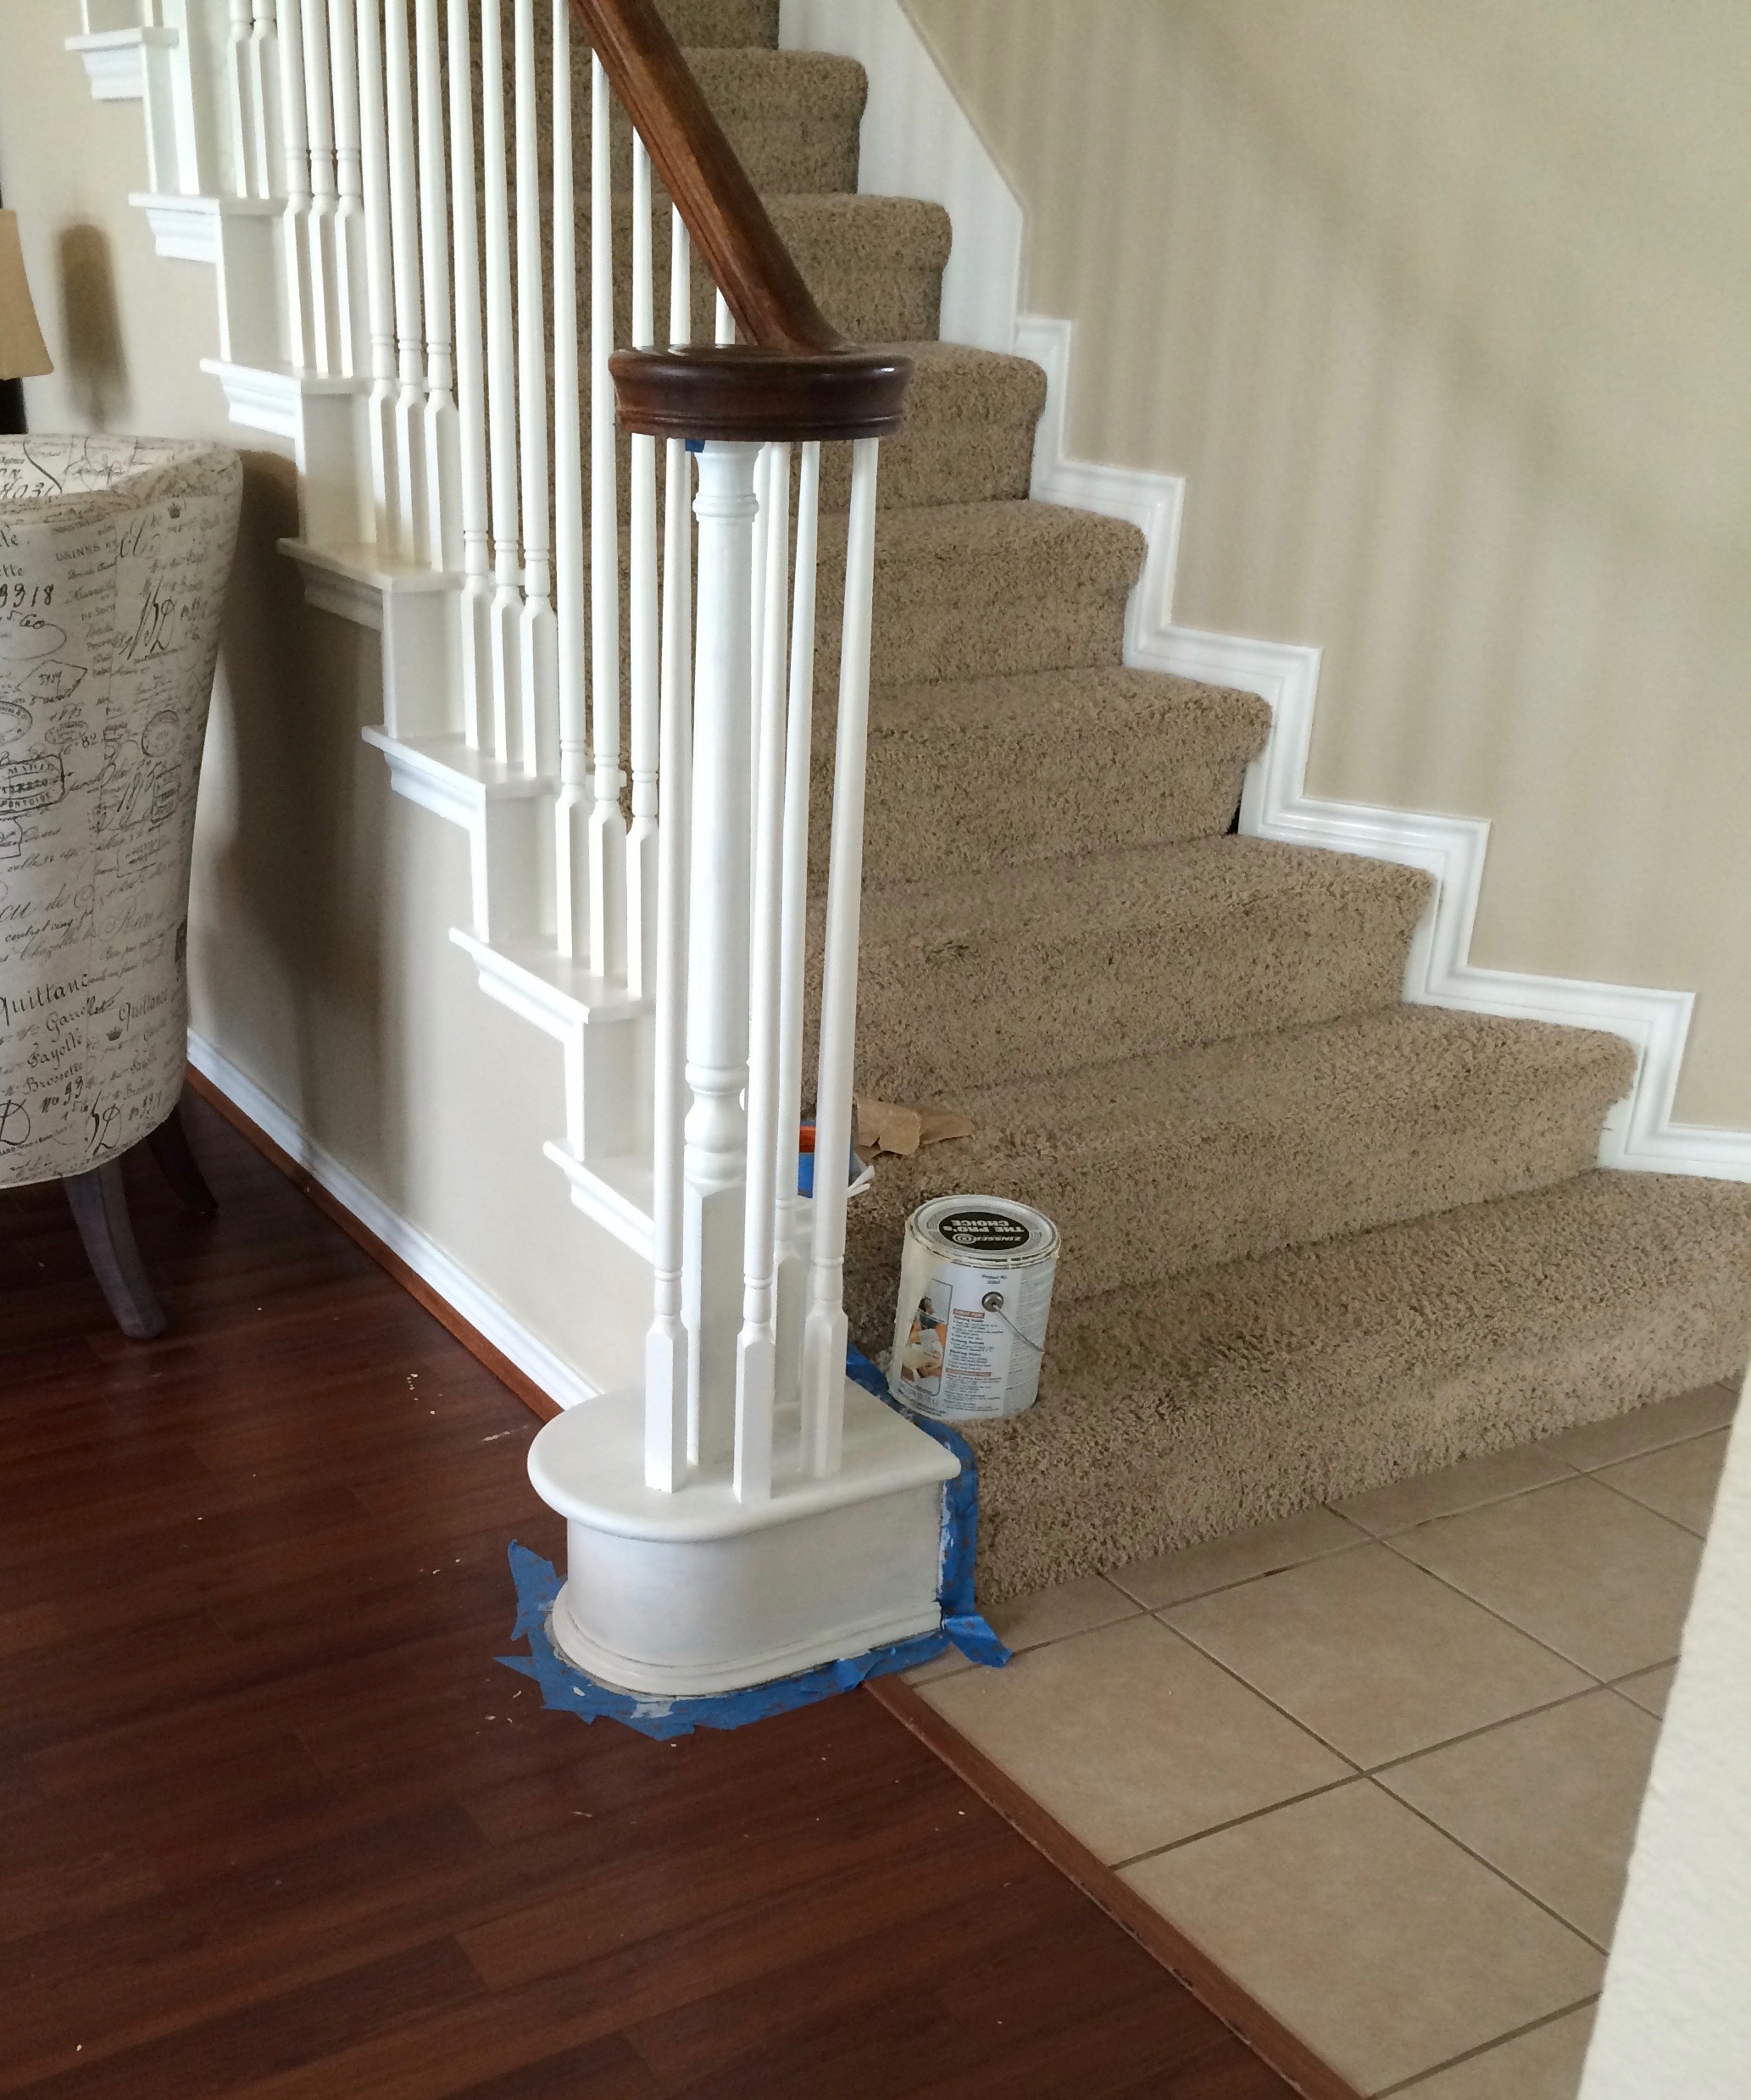

I took the gel stain plunge, I mixed two different colors. It an easy project, just a little time consuming, but oh so worth it. I knew the floors would be replaced so I had a great time dripping paint all over. I also did the fireplace mantel.

DOWNSTAIRS HALLWAY BEFORE
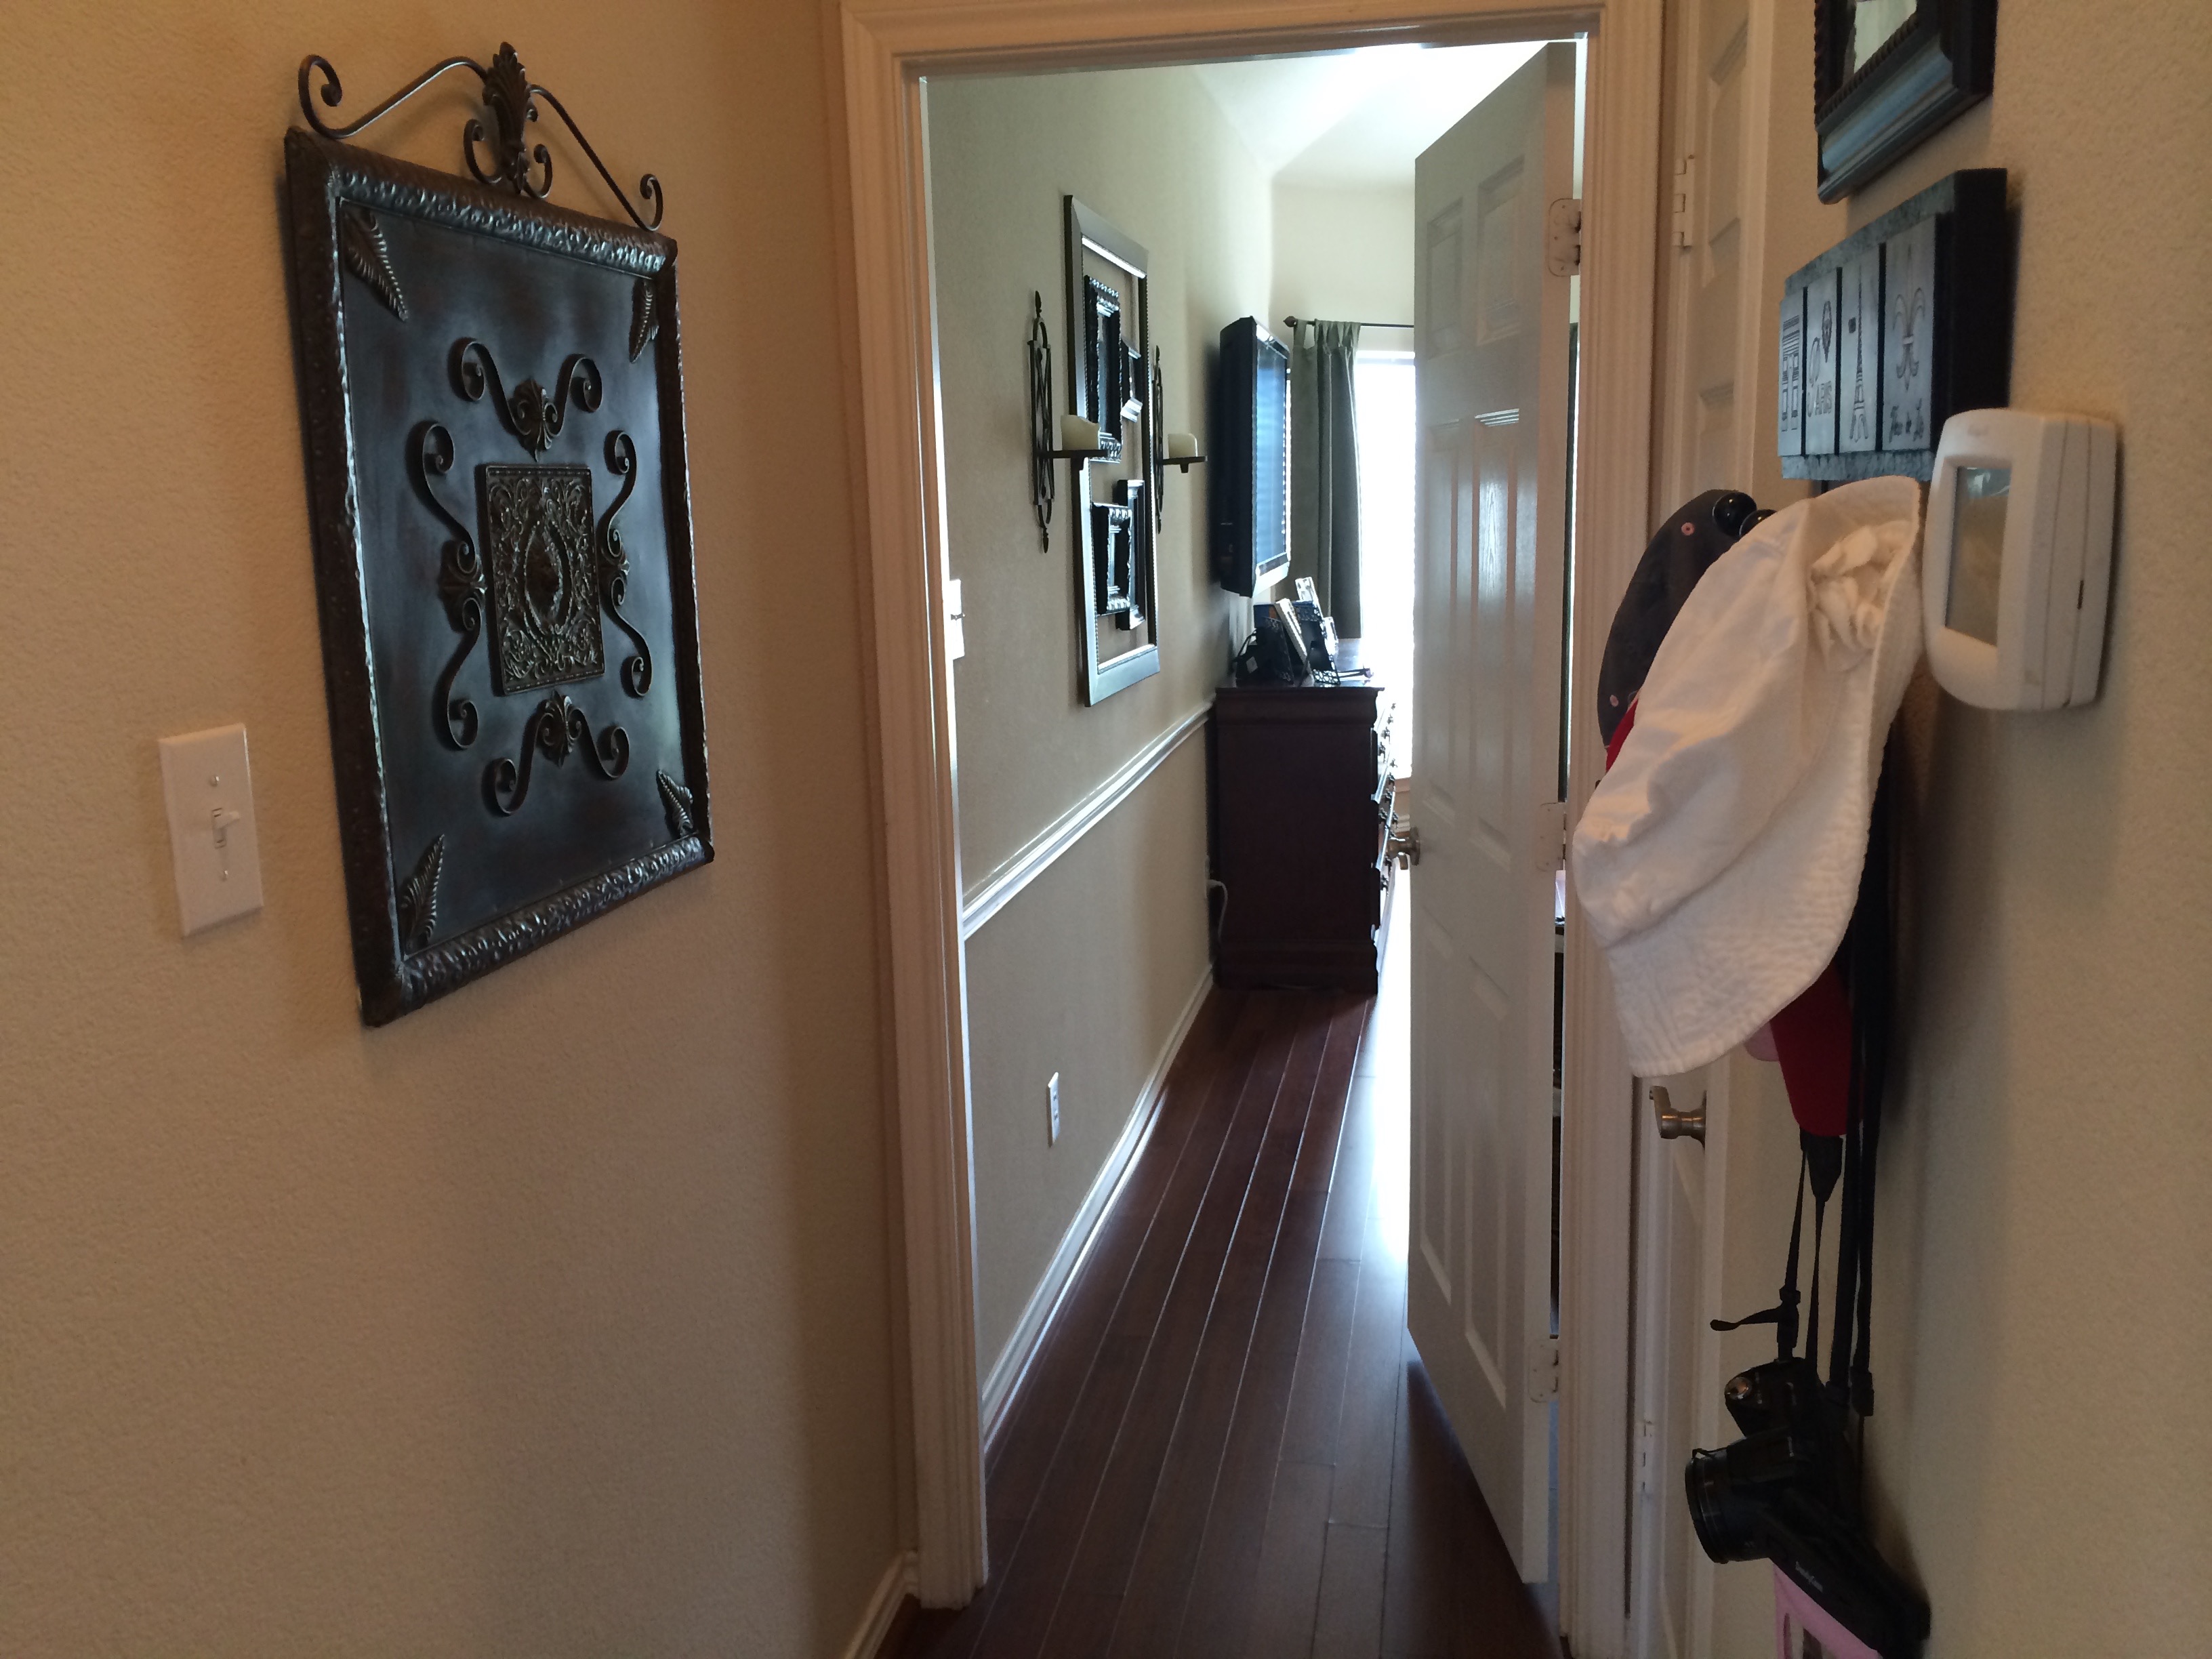
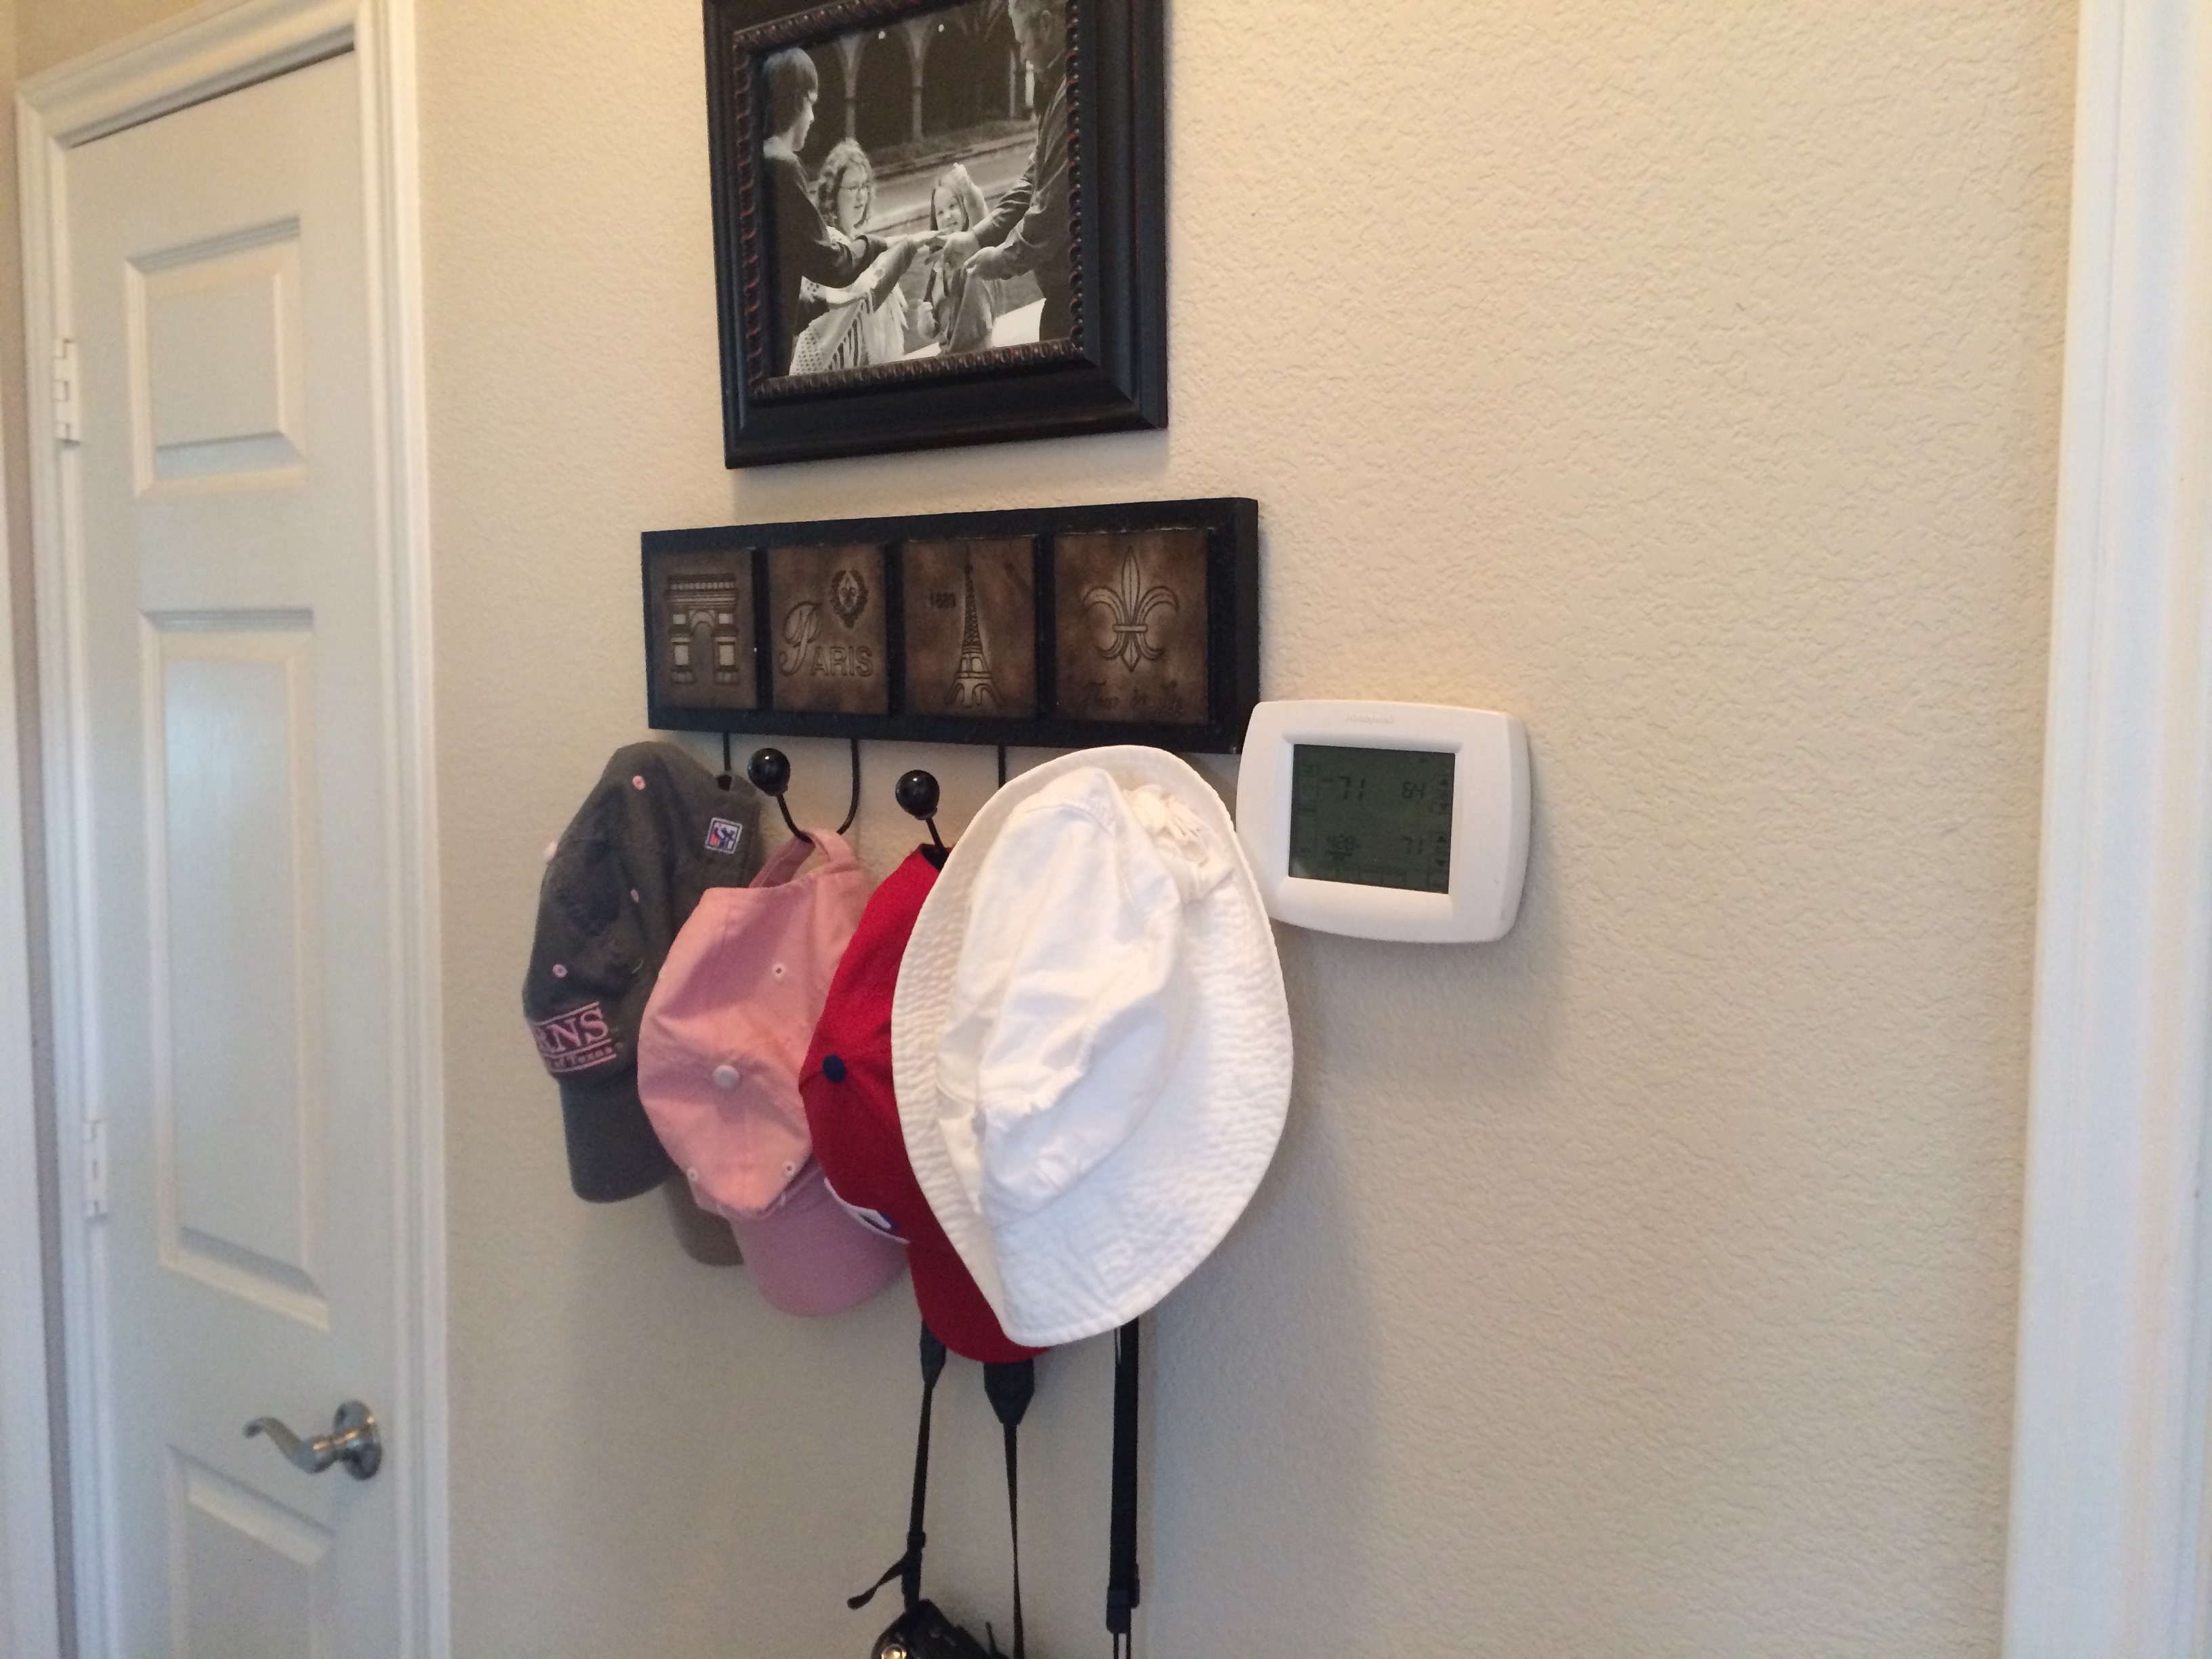
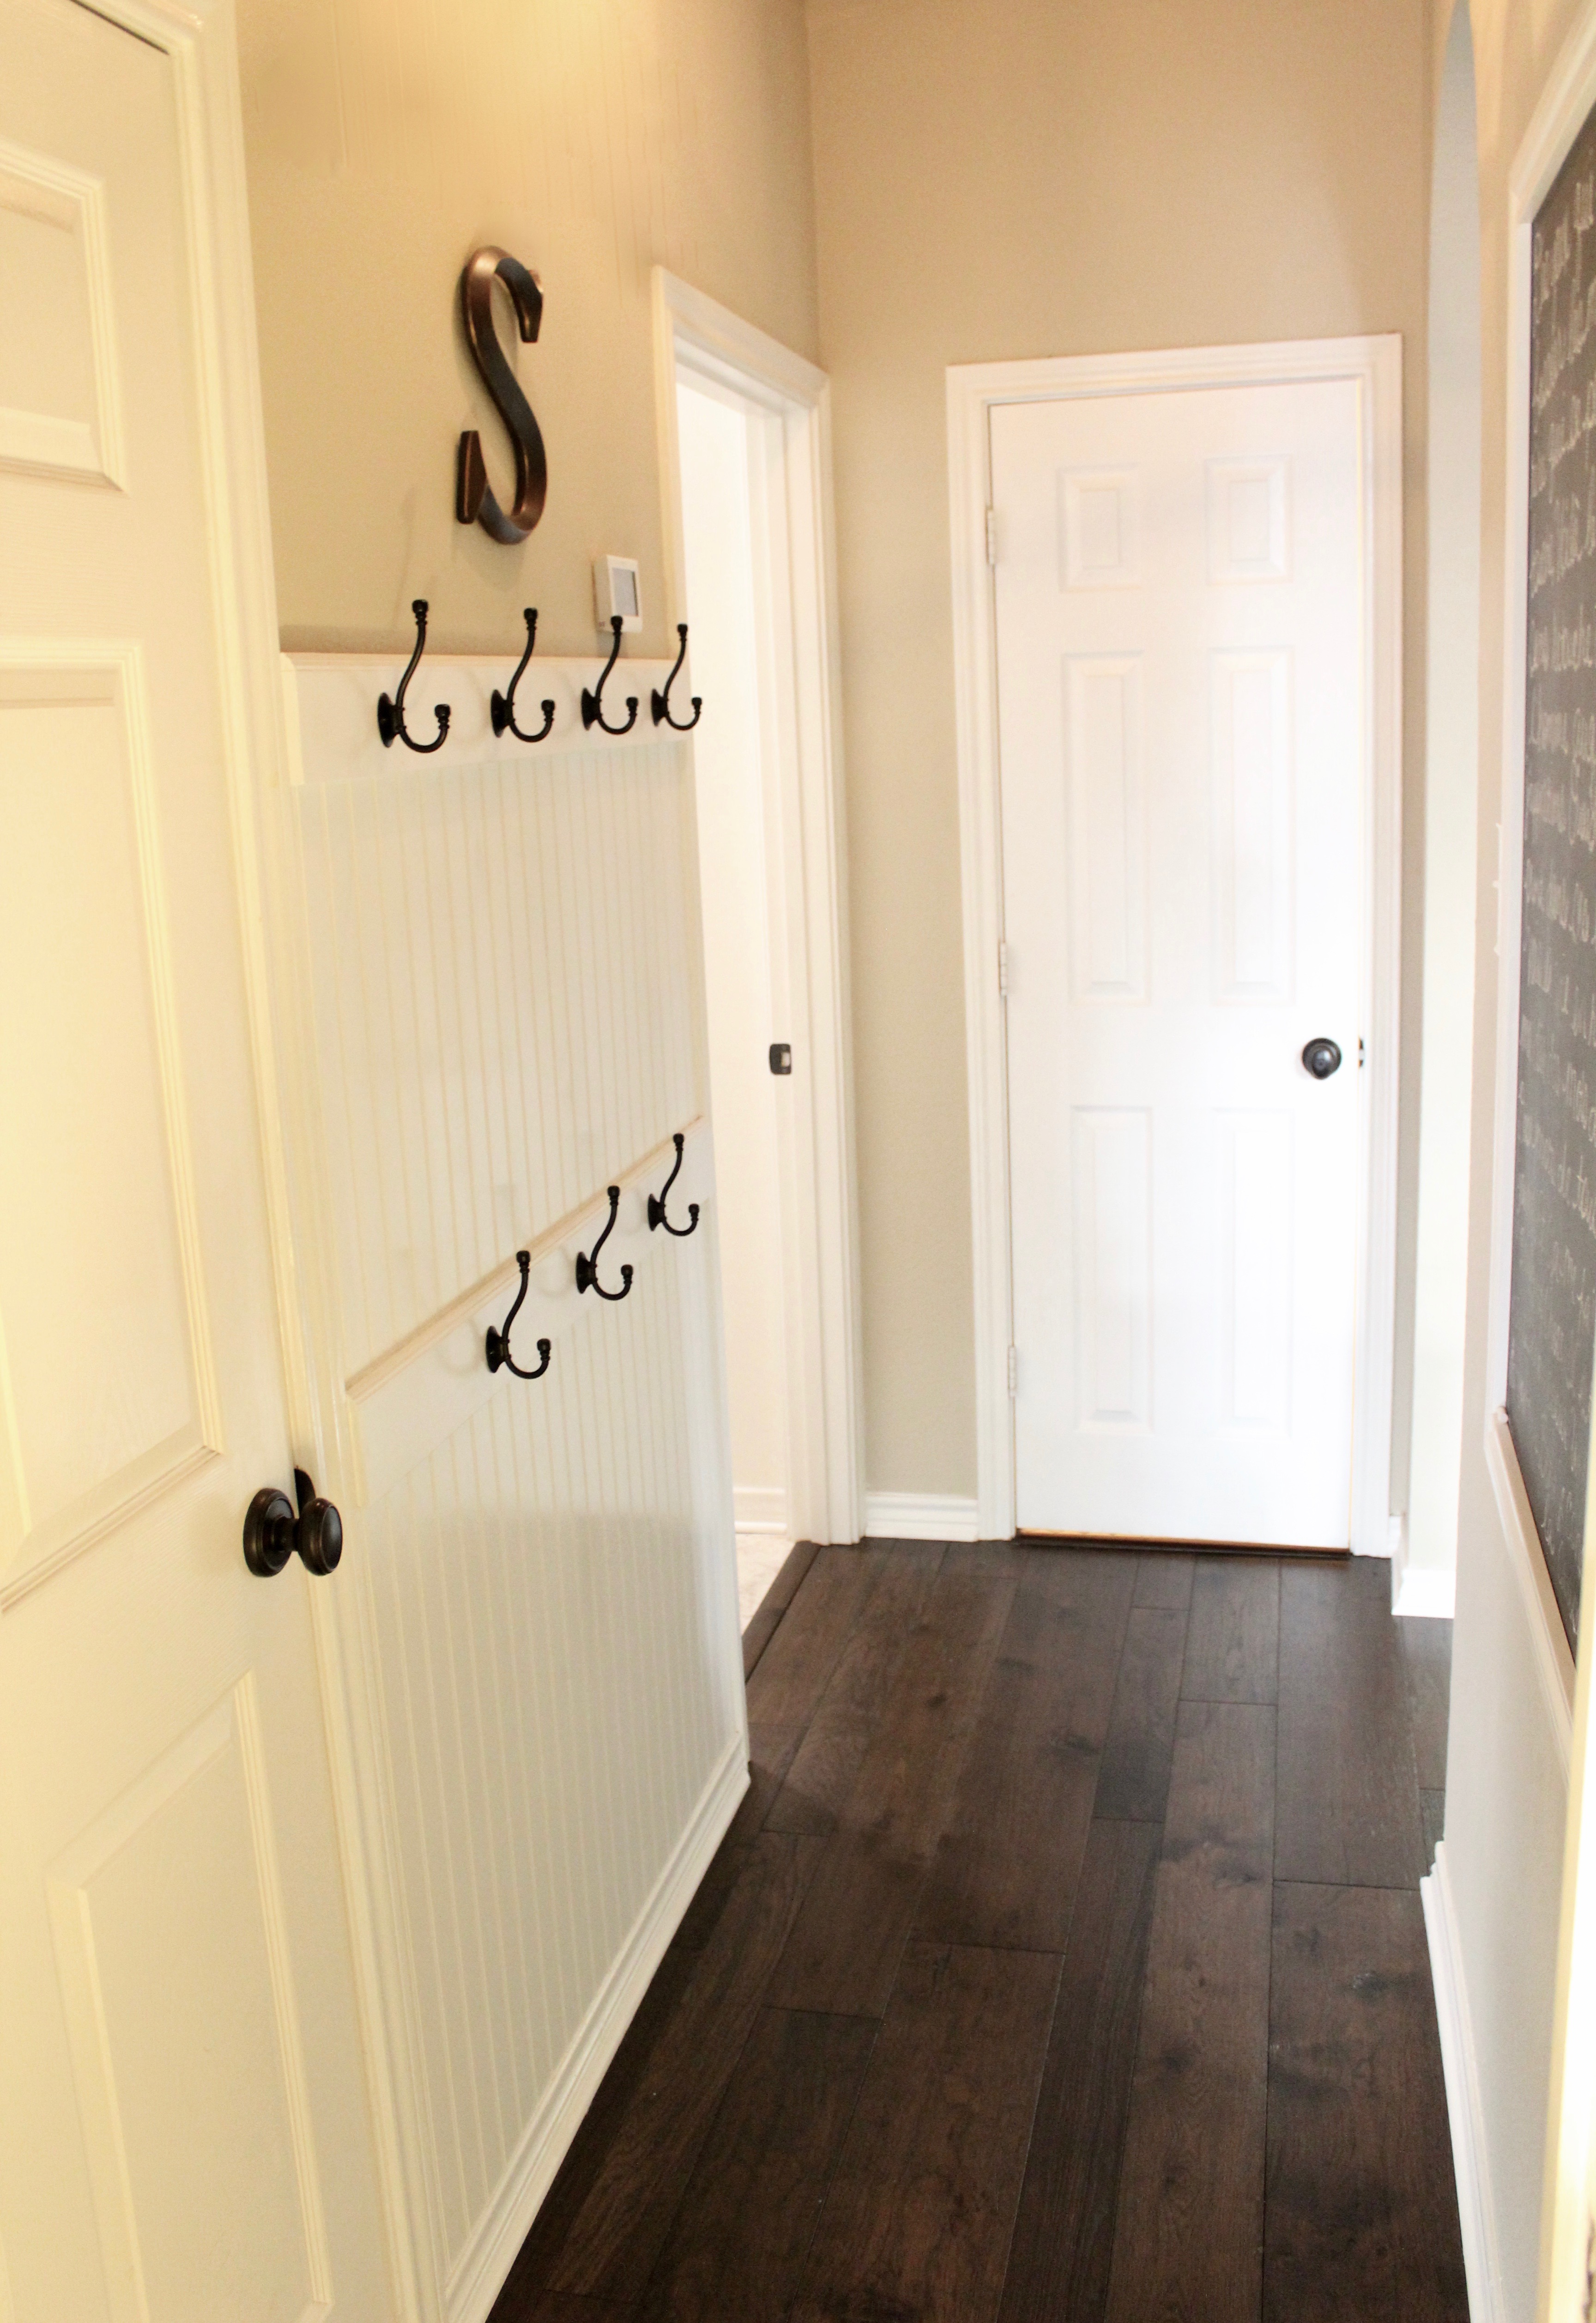
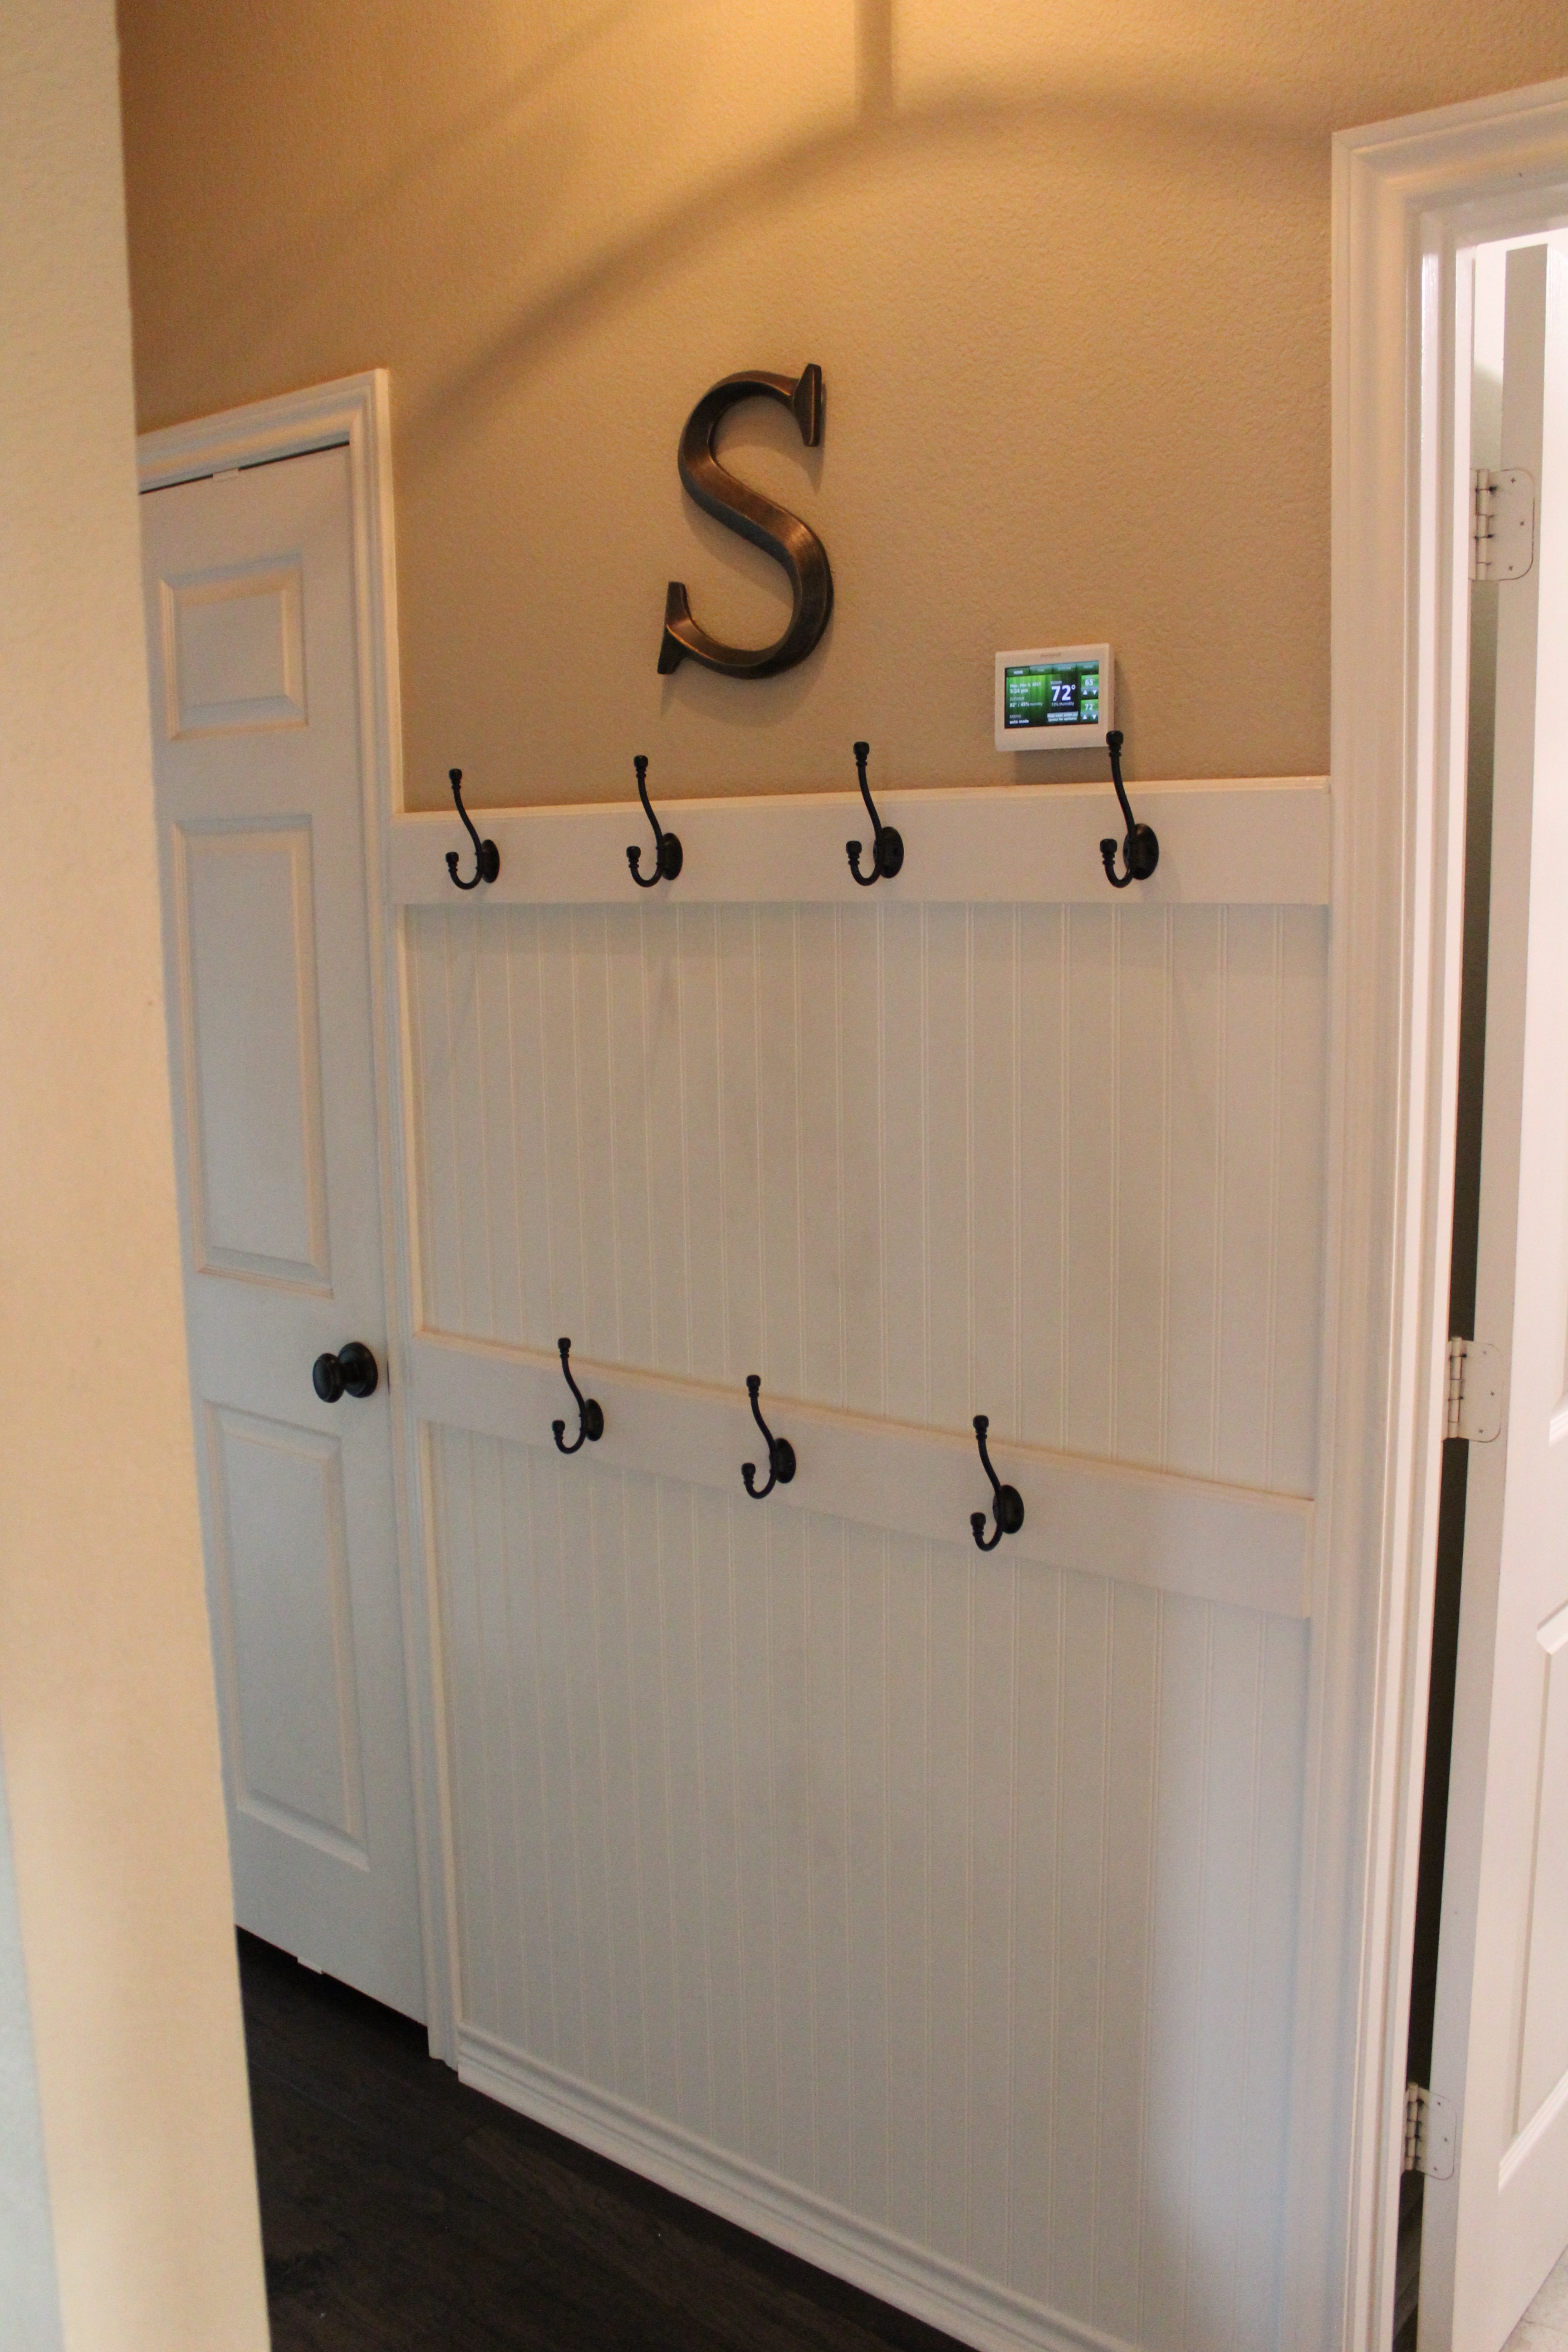
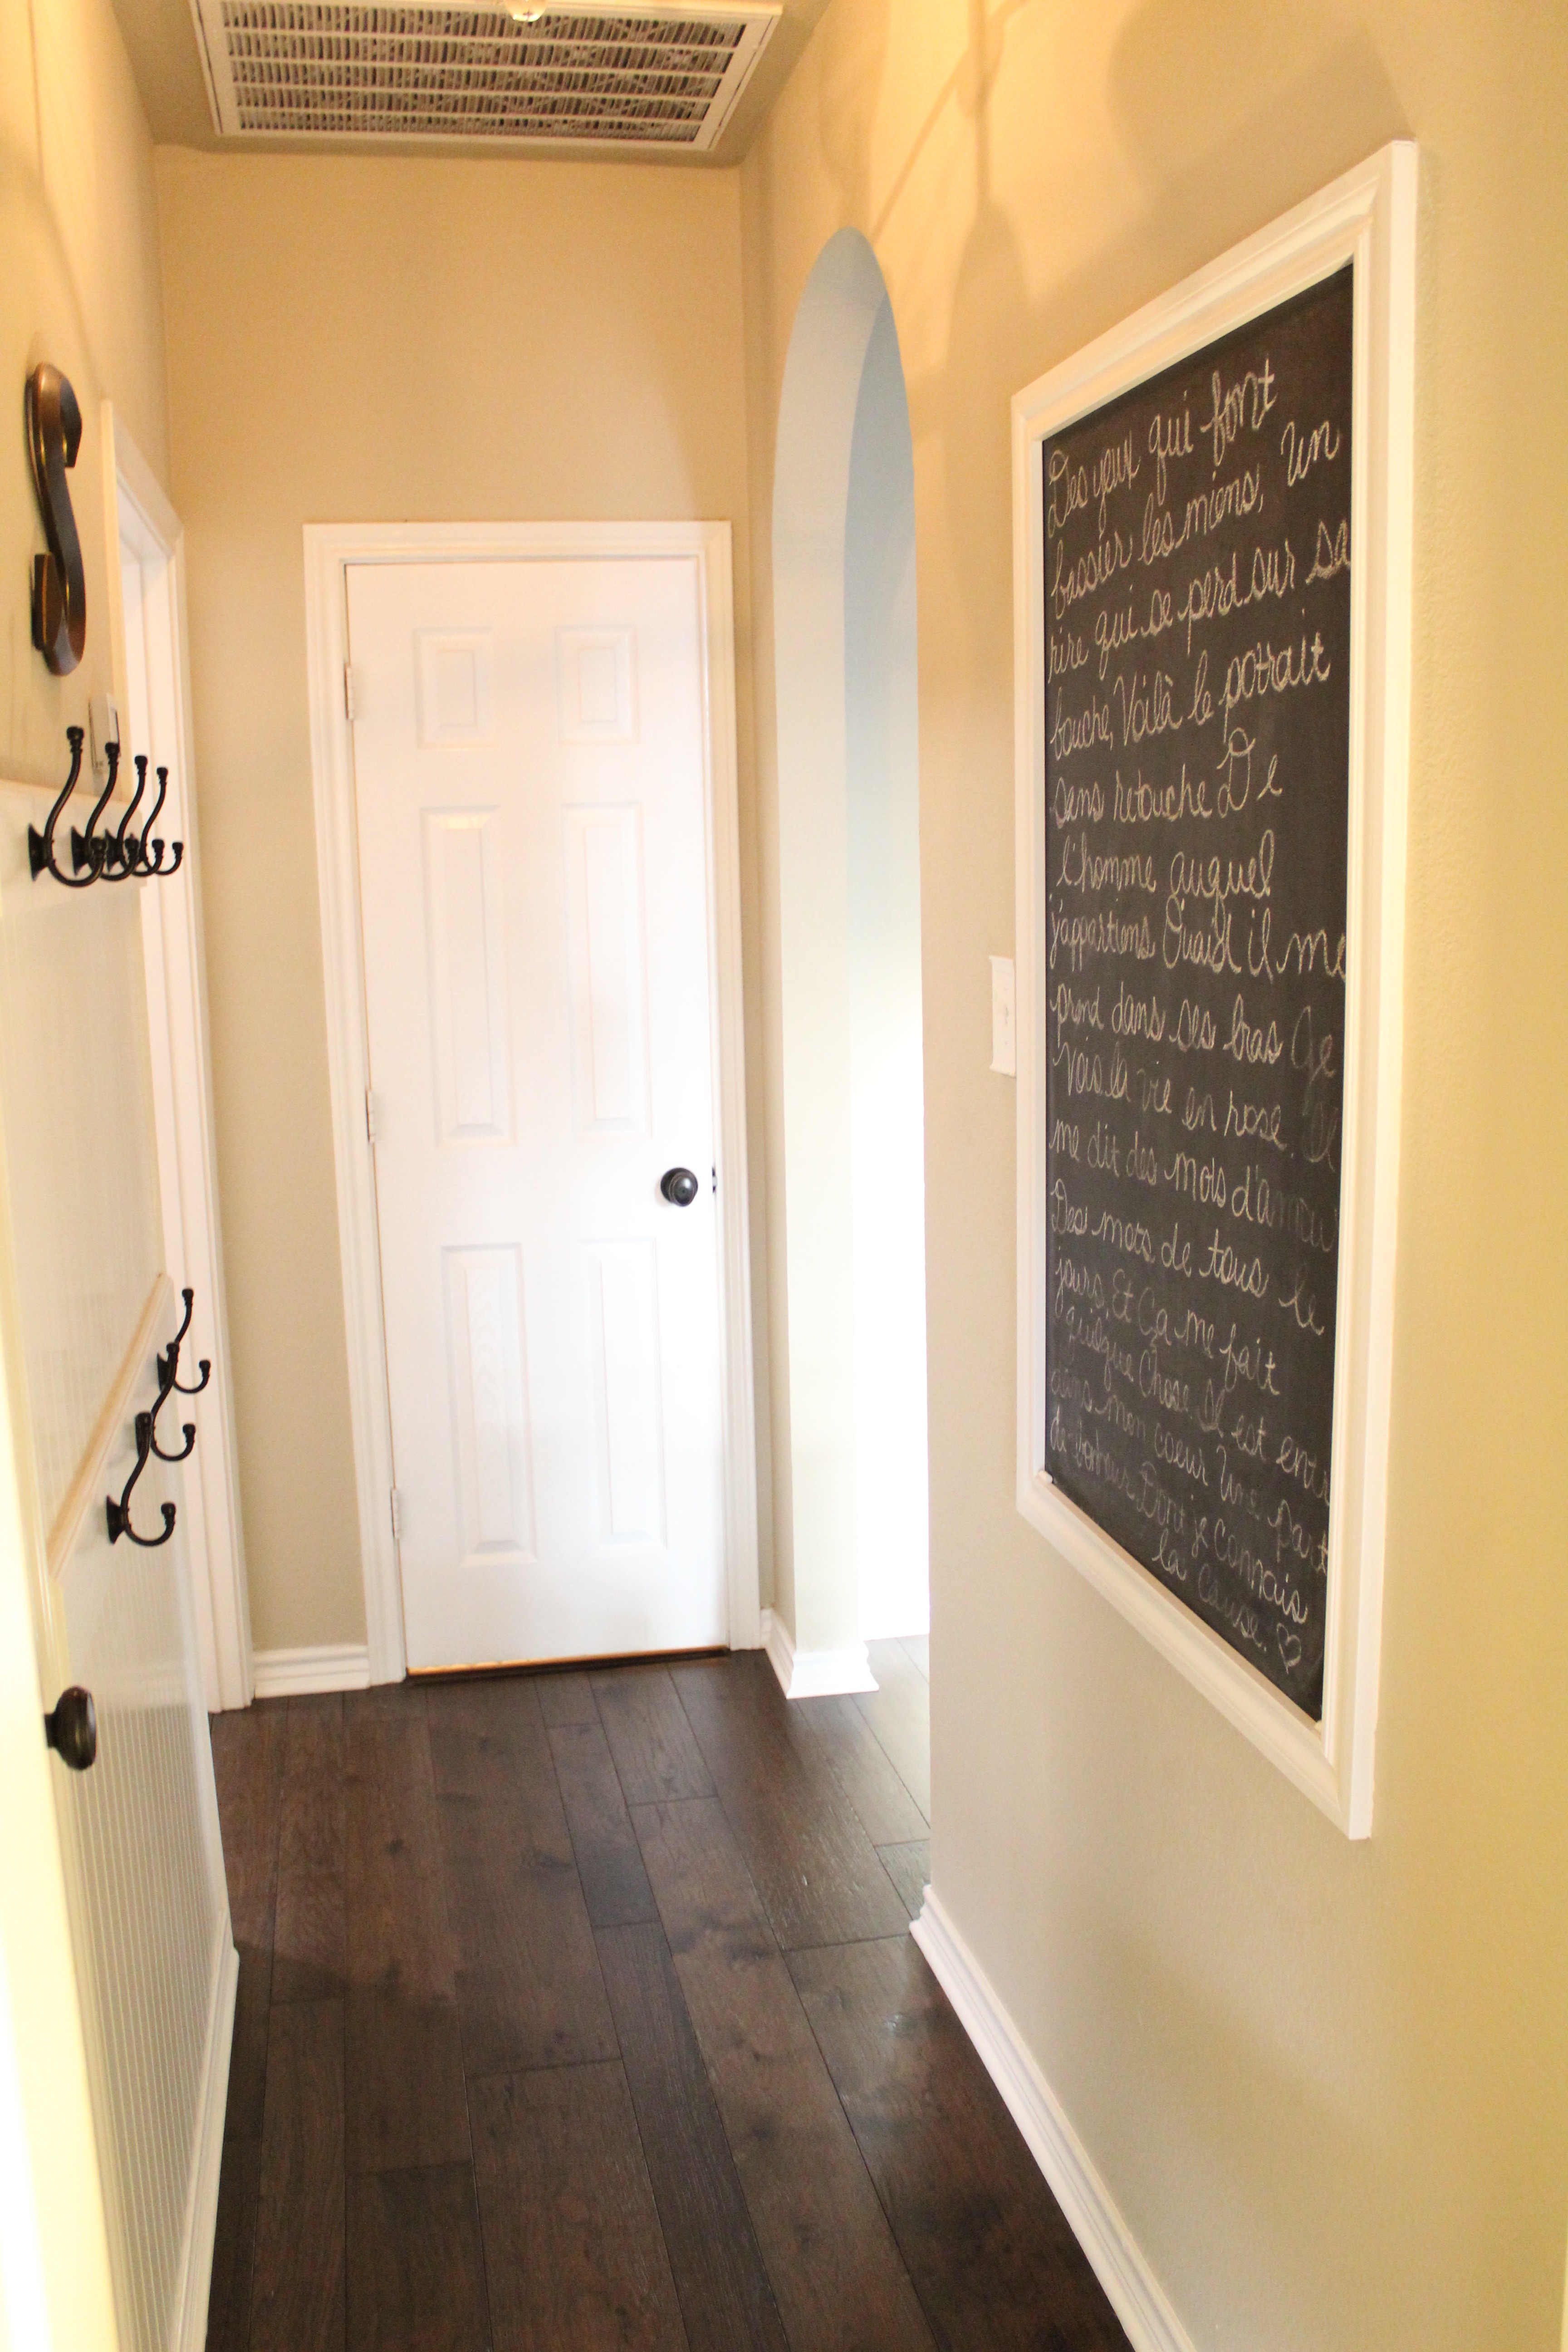
NEW FAUX MUDROOM AFTER
I was envious of my friend’s large mudroom so I decided to fake one in our hallway. You can read more about this blog post in faking a mudroom.

MASTER BEDROOM BEFORE
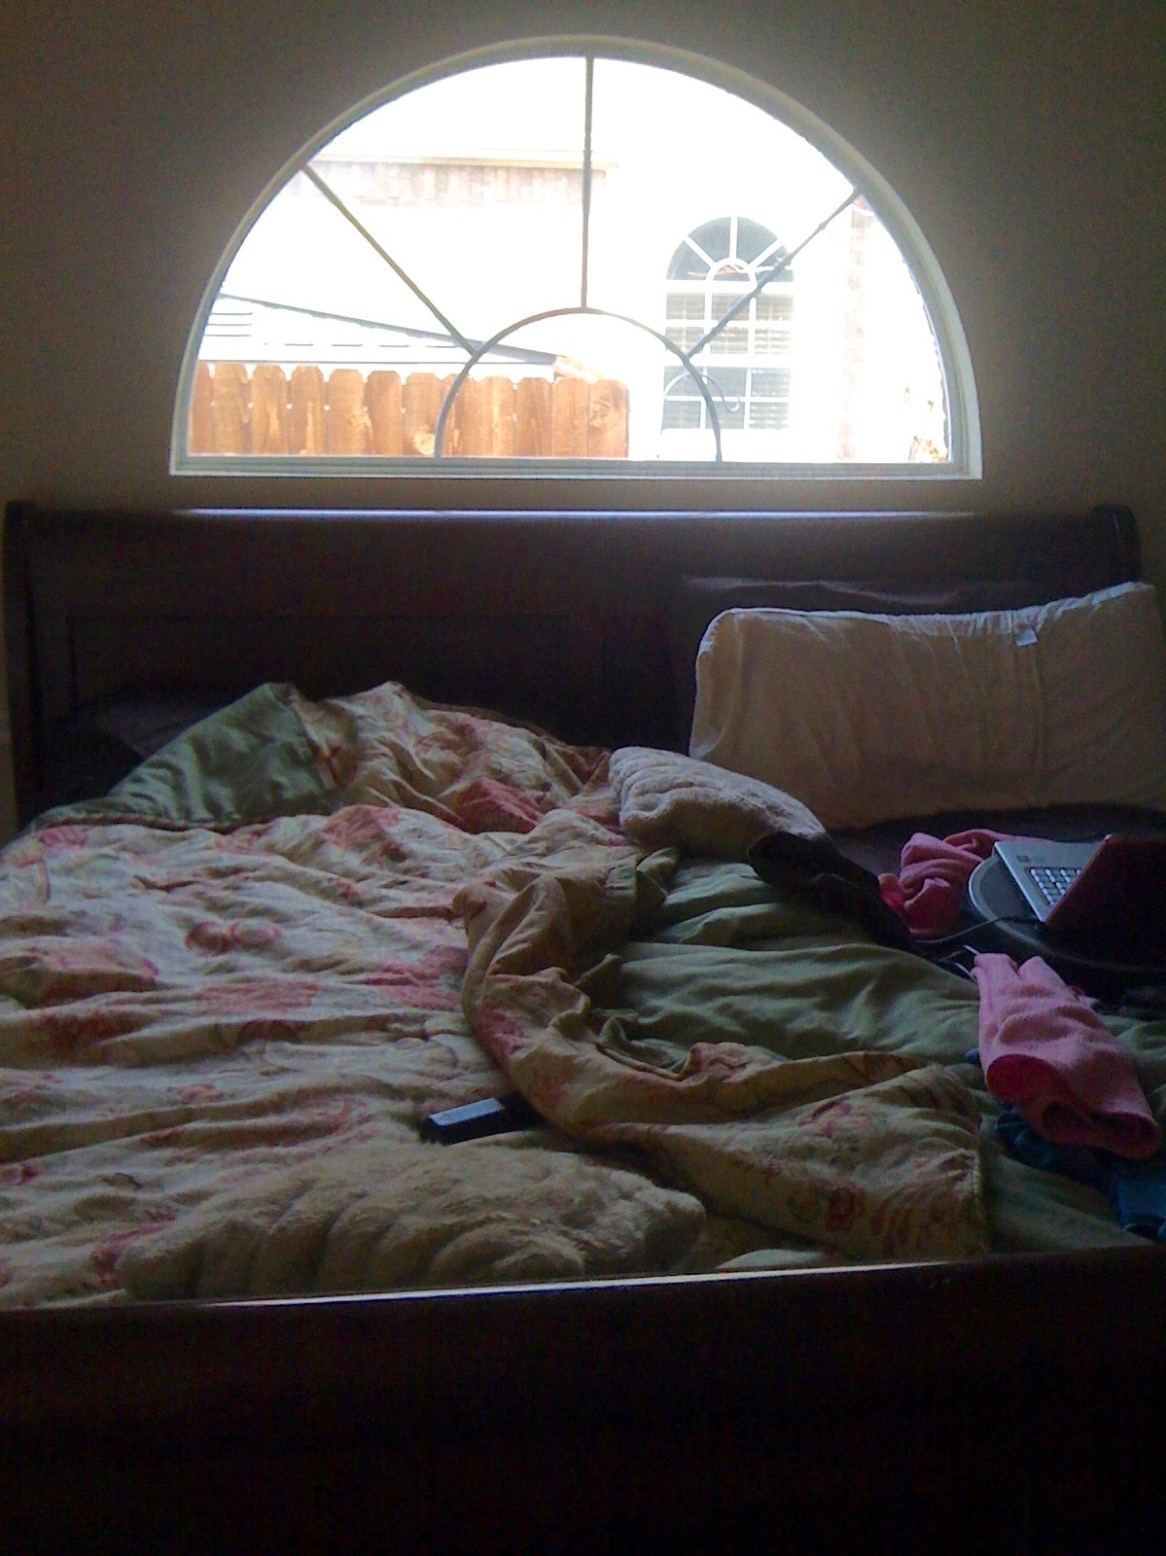

I am laughing so hard at how bad this photo is, it’s the only one I can find that shows the window. I remember this was days after we moved in and I texted Brian this photo. I hated the window over the bed with a passion.
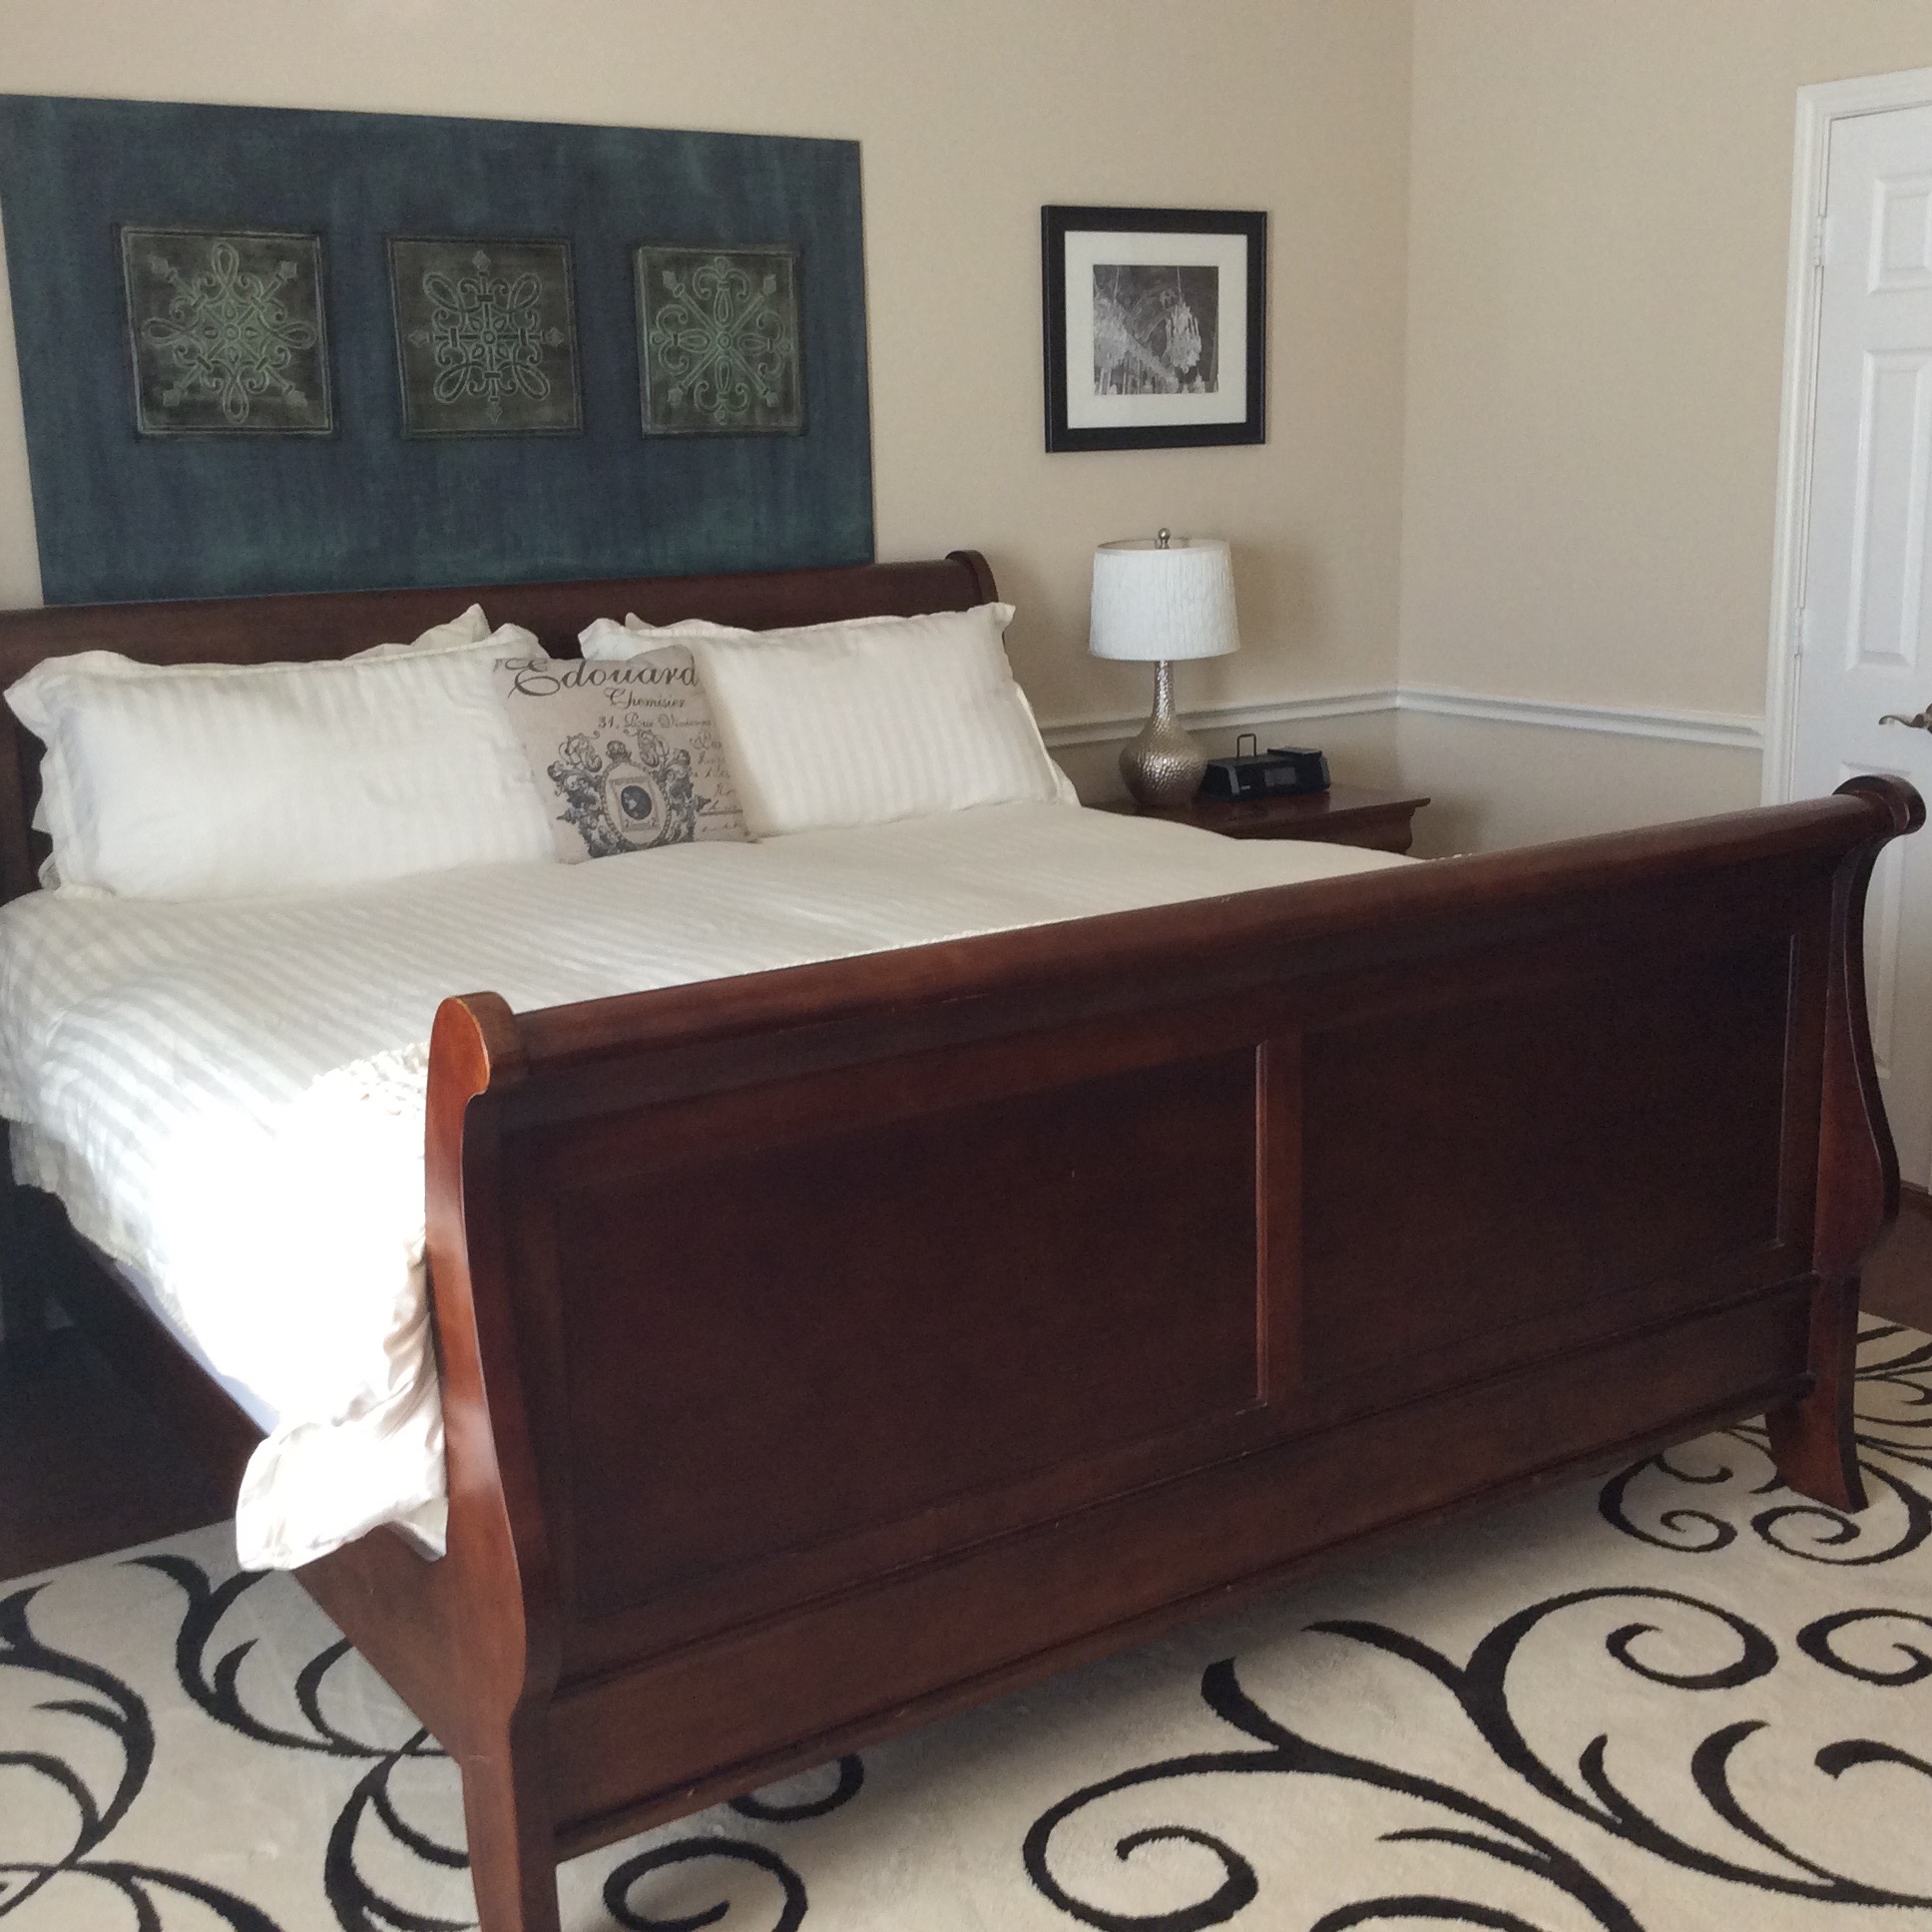
I spent years in denial and placed a piece of painted wood over it, but soon I realized I’d never get over it so we installed sheet rock and texture.
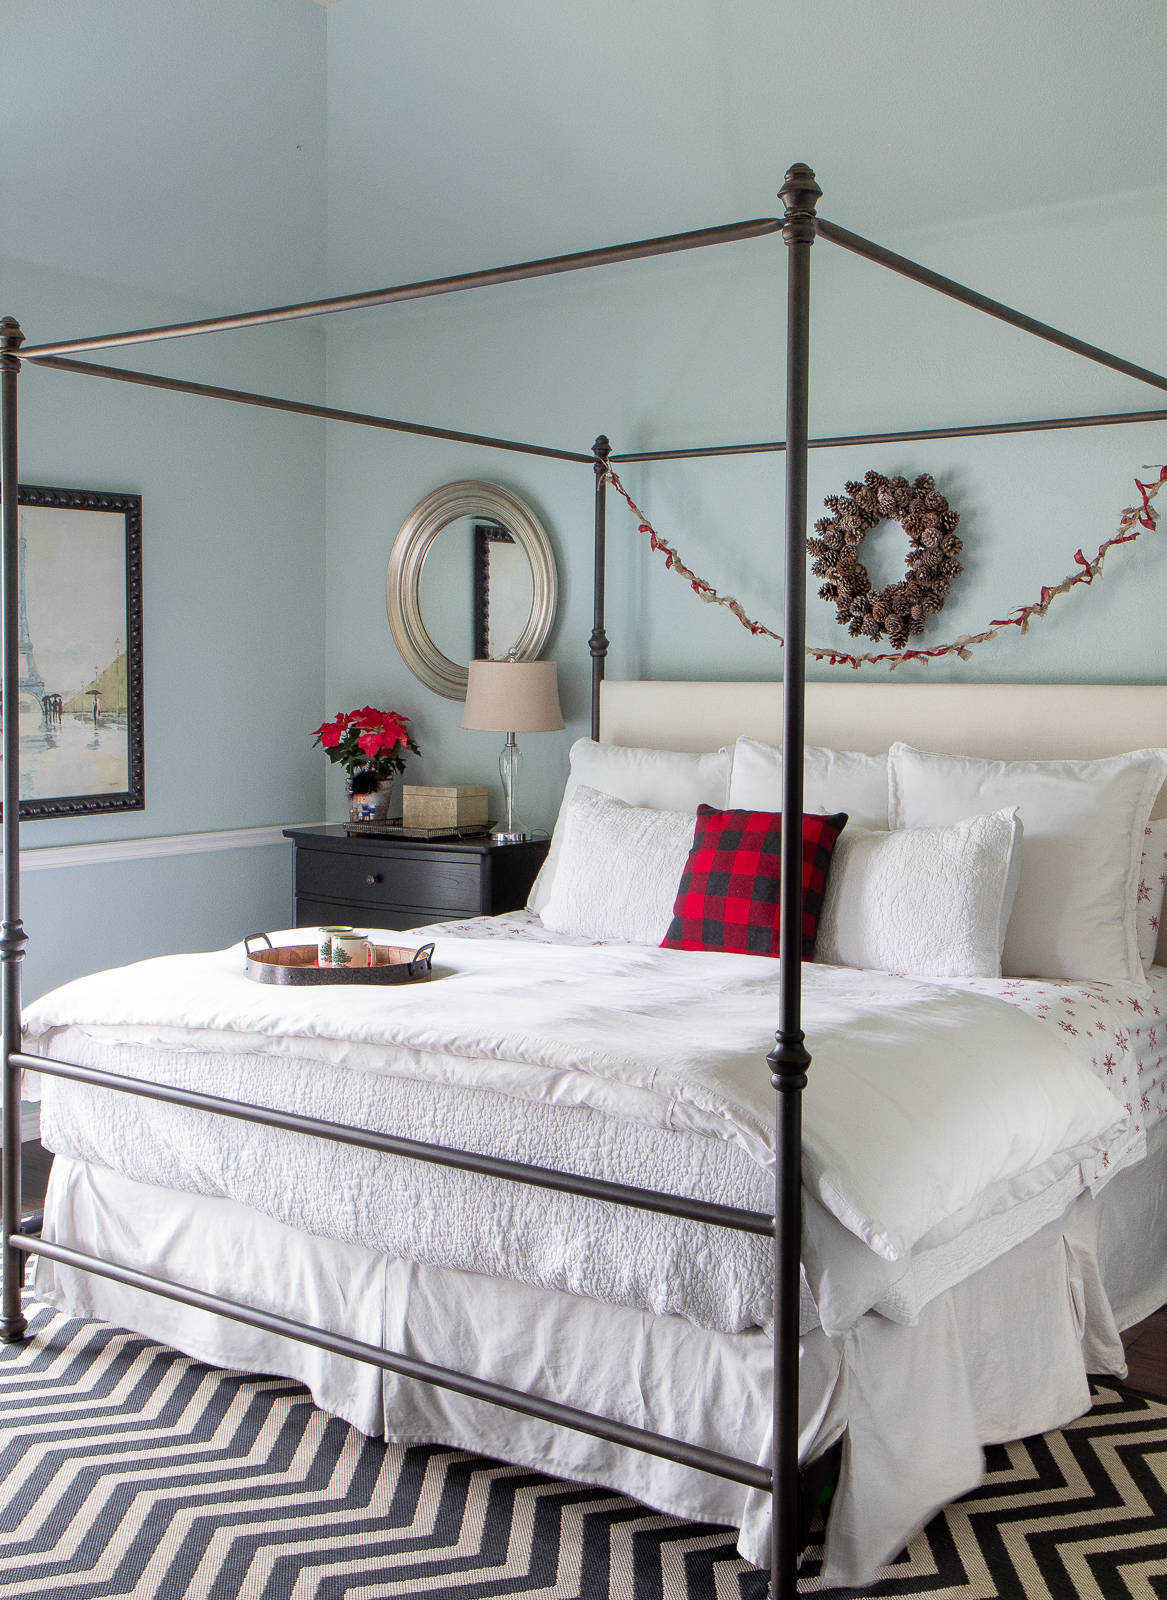
MASTER BEDROOM AFTER
LOVE! In this blog post I show you how easy it is to make this Pottery Barn inspired wall art on a budget.
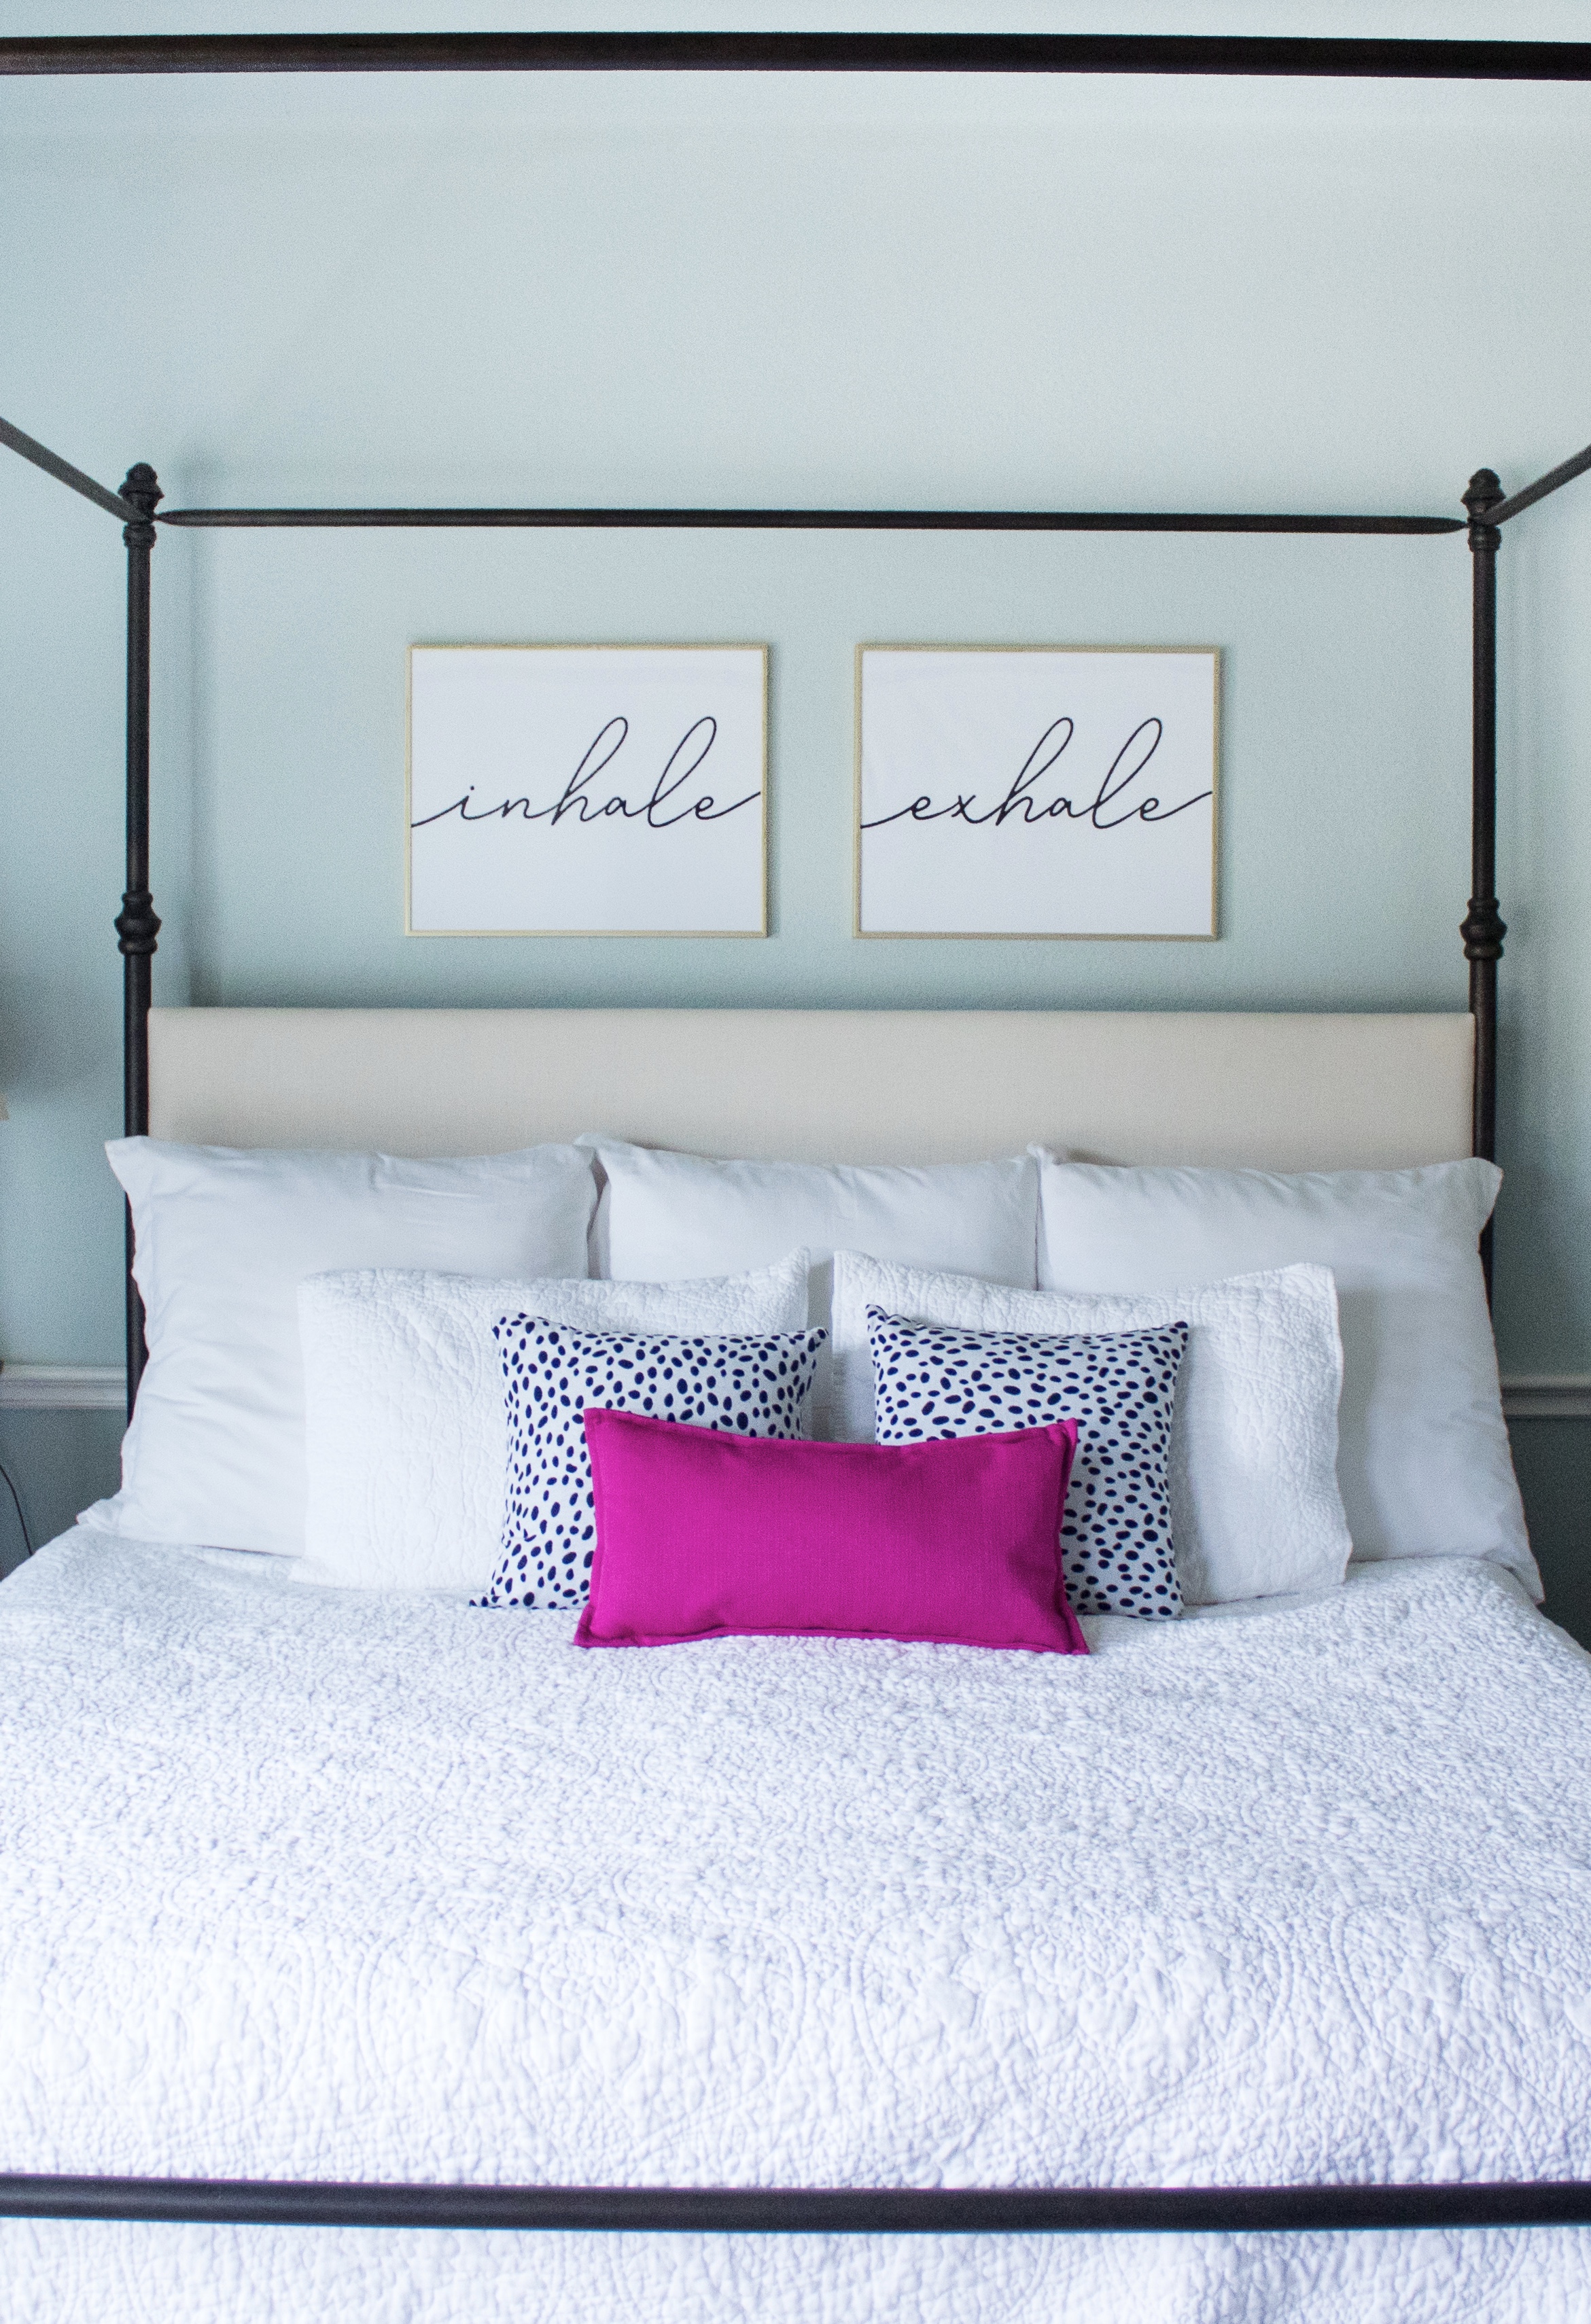

Aw, much better! I’m not anti window or anything but we have 3 other large ones in the room. You can read more about our master bedroom decor here.

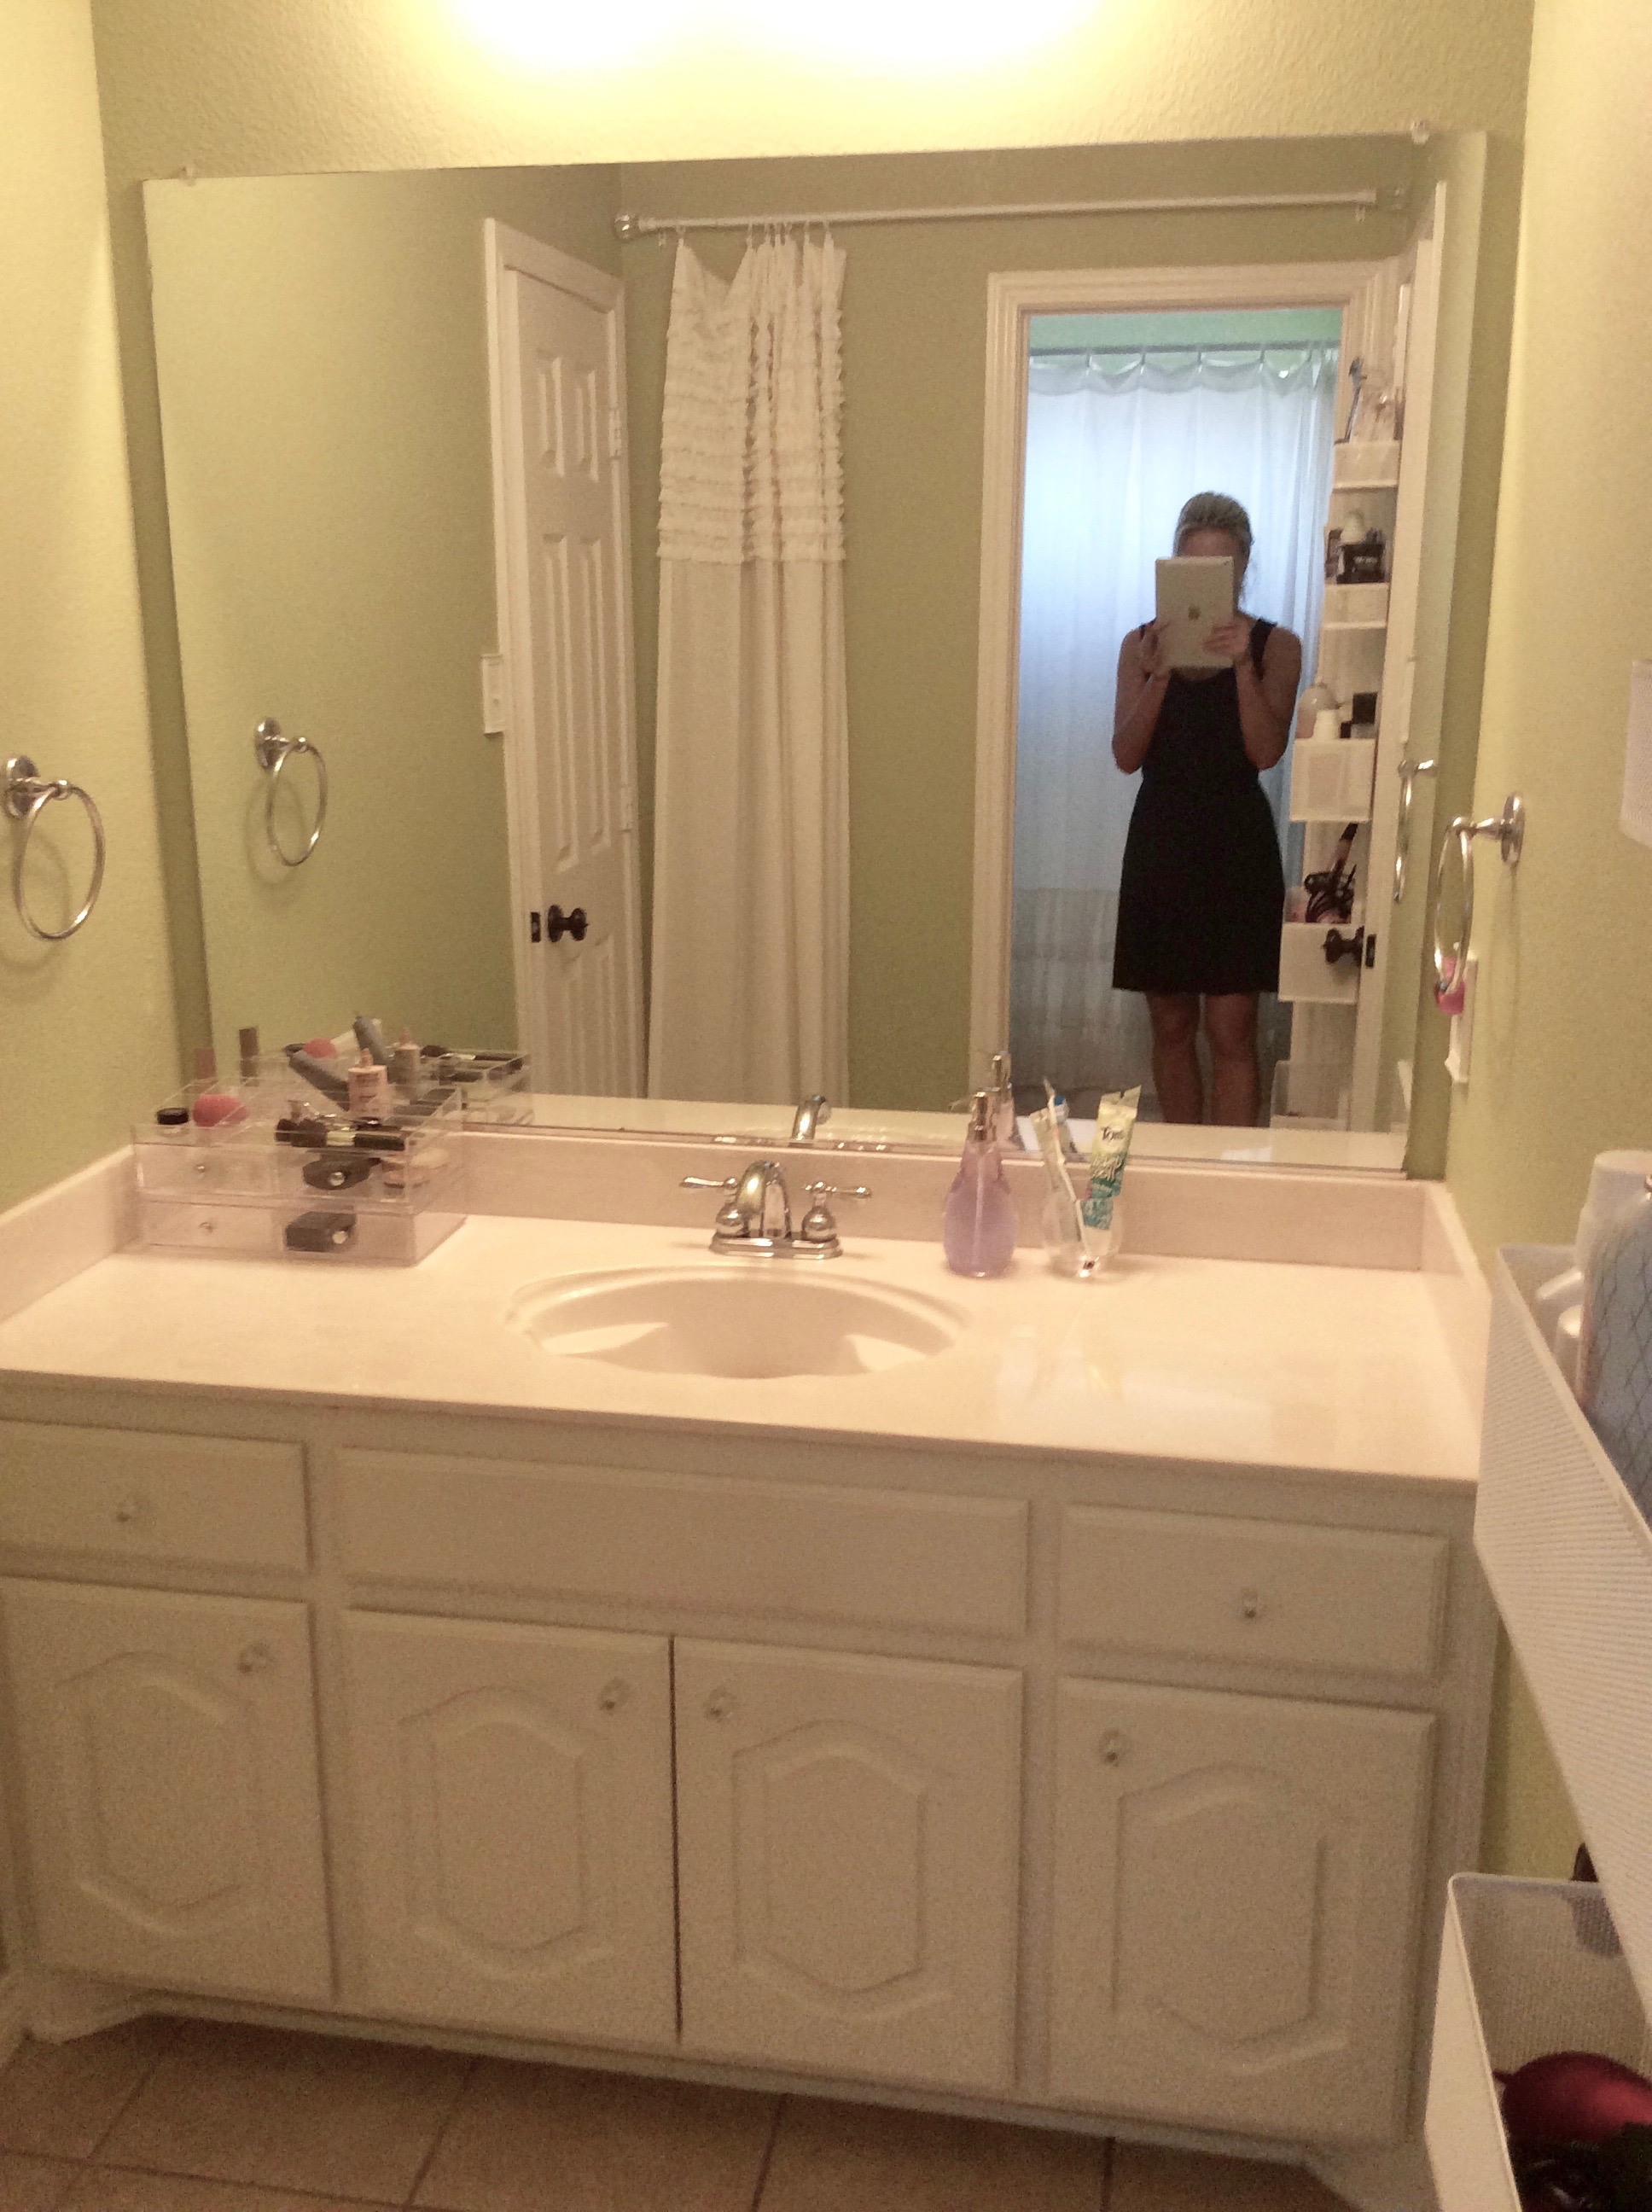
THE GIRLS’ BATHROOM BEFORE
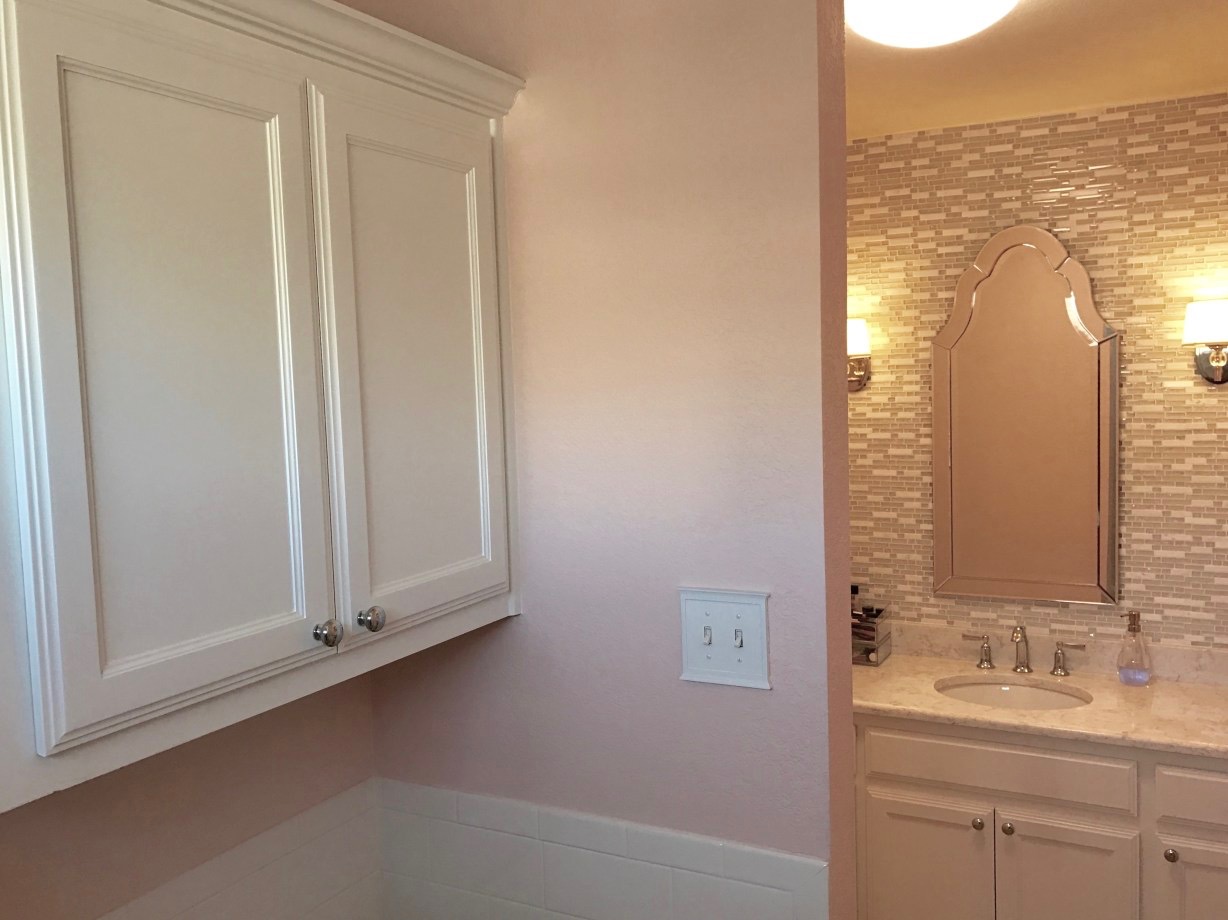
THE GIRLS BATHROOM AFTER
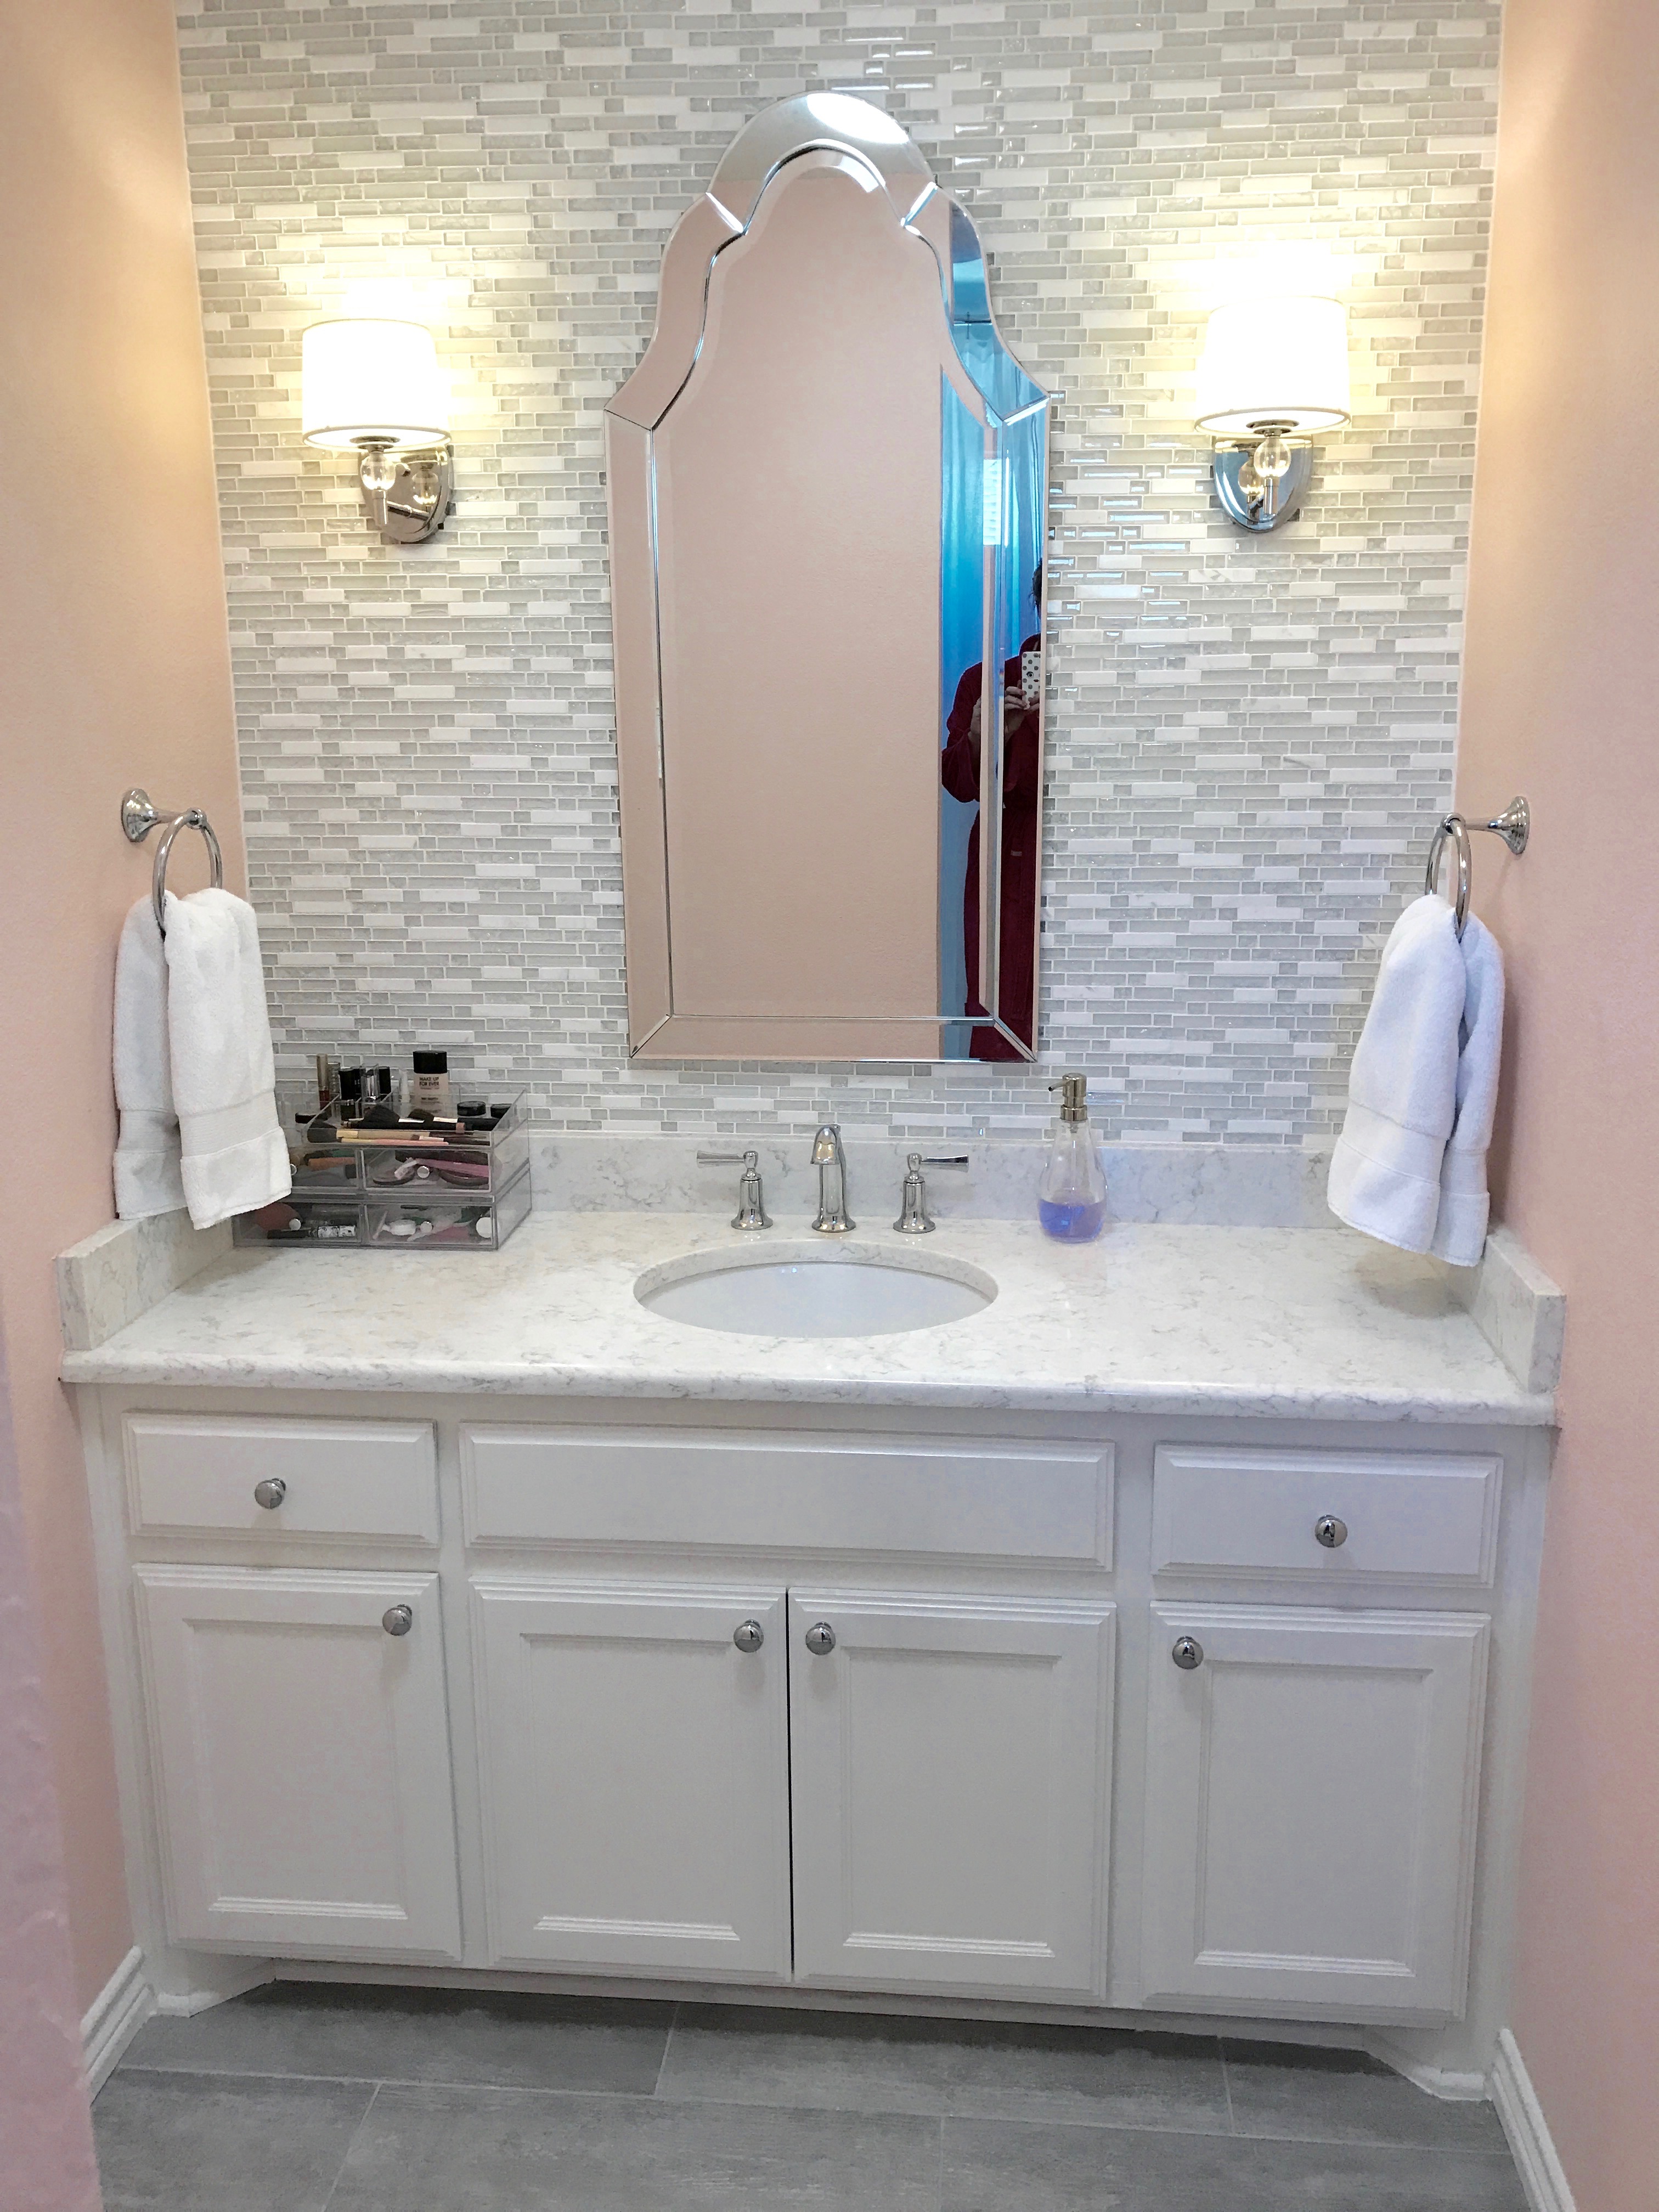

One day while browsing the Tile Shop I saw this mosaic tile and I knew it needed to be in the girls’ bathroom. I go a bit crazy in that store, there is just so much gorgeous stuff. You can read more in my Jack and Jill bathroom post.

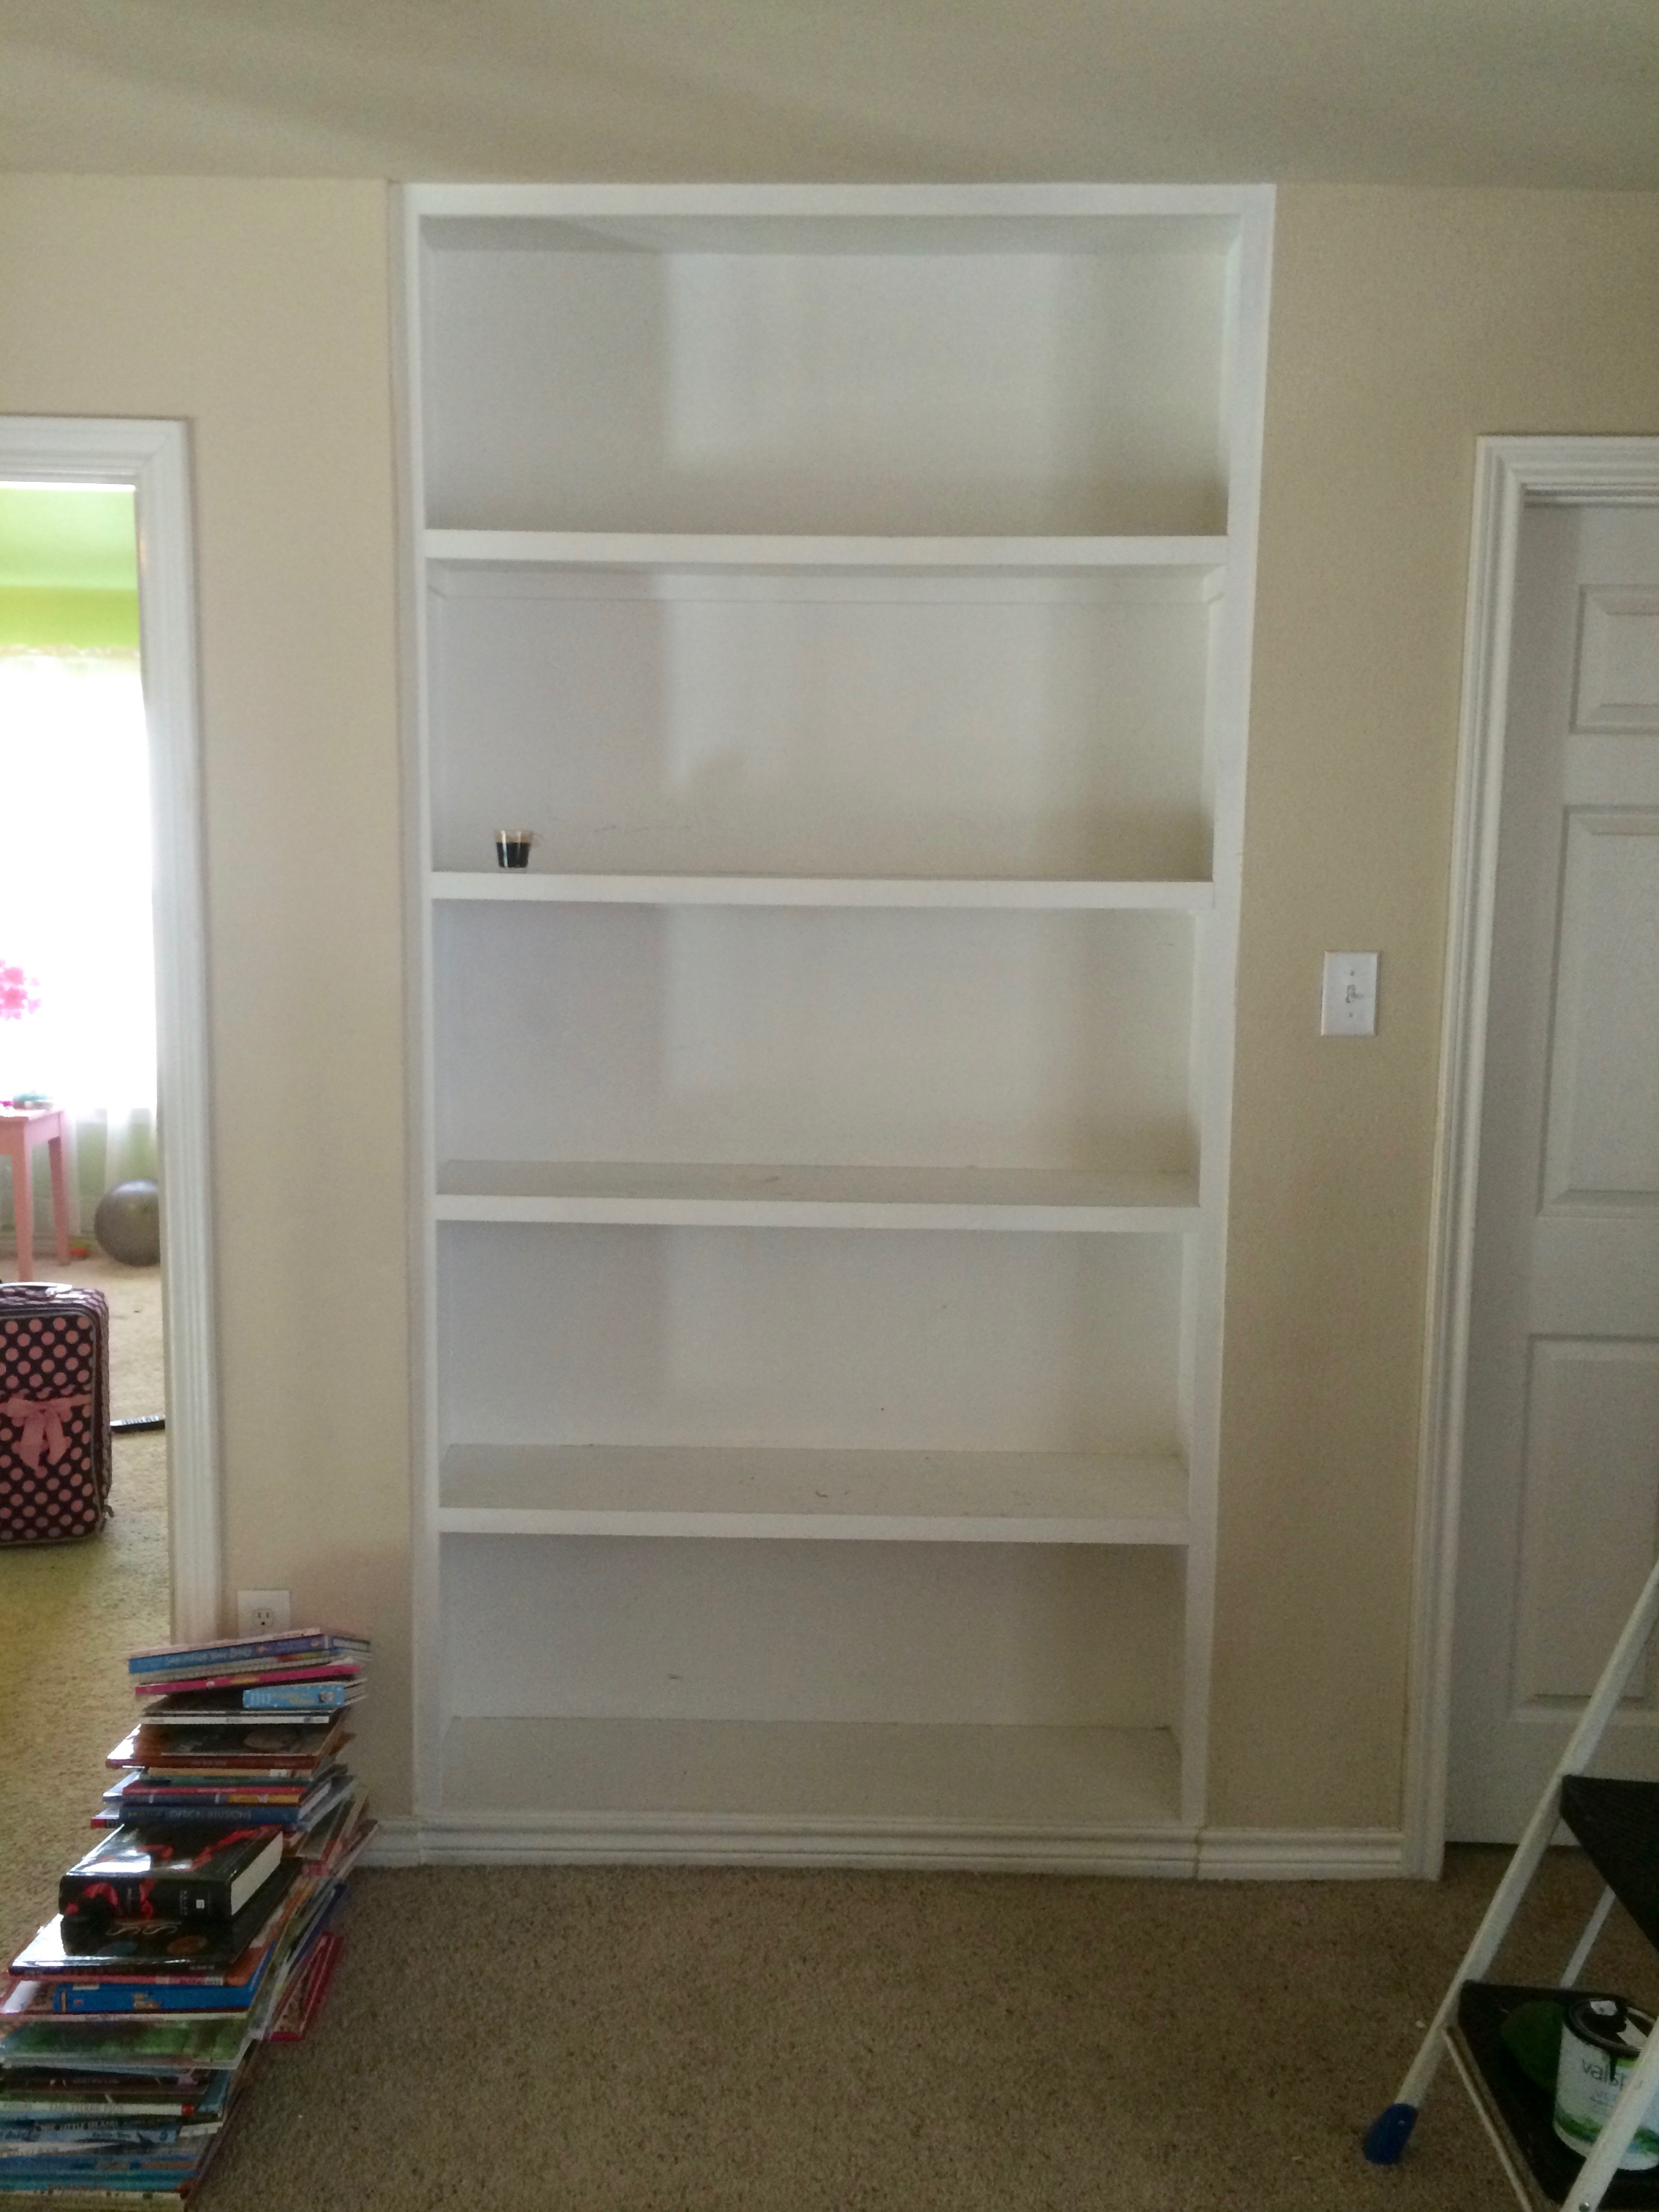
THE LOFT BOOKSHELVES BEFORE
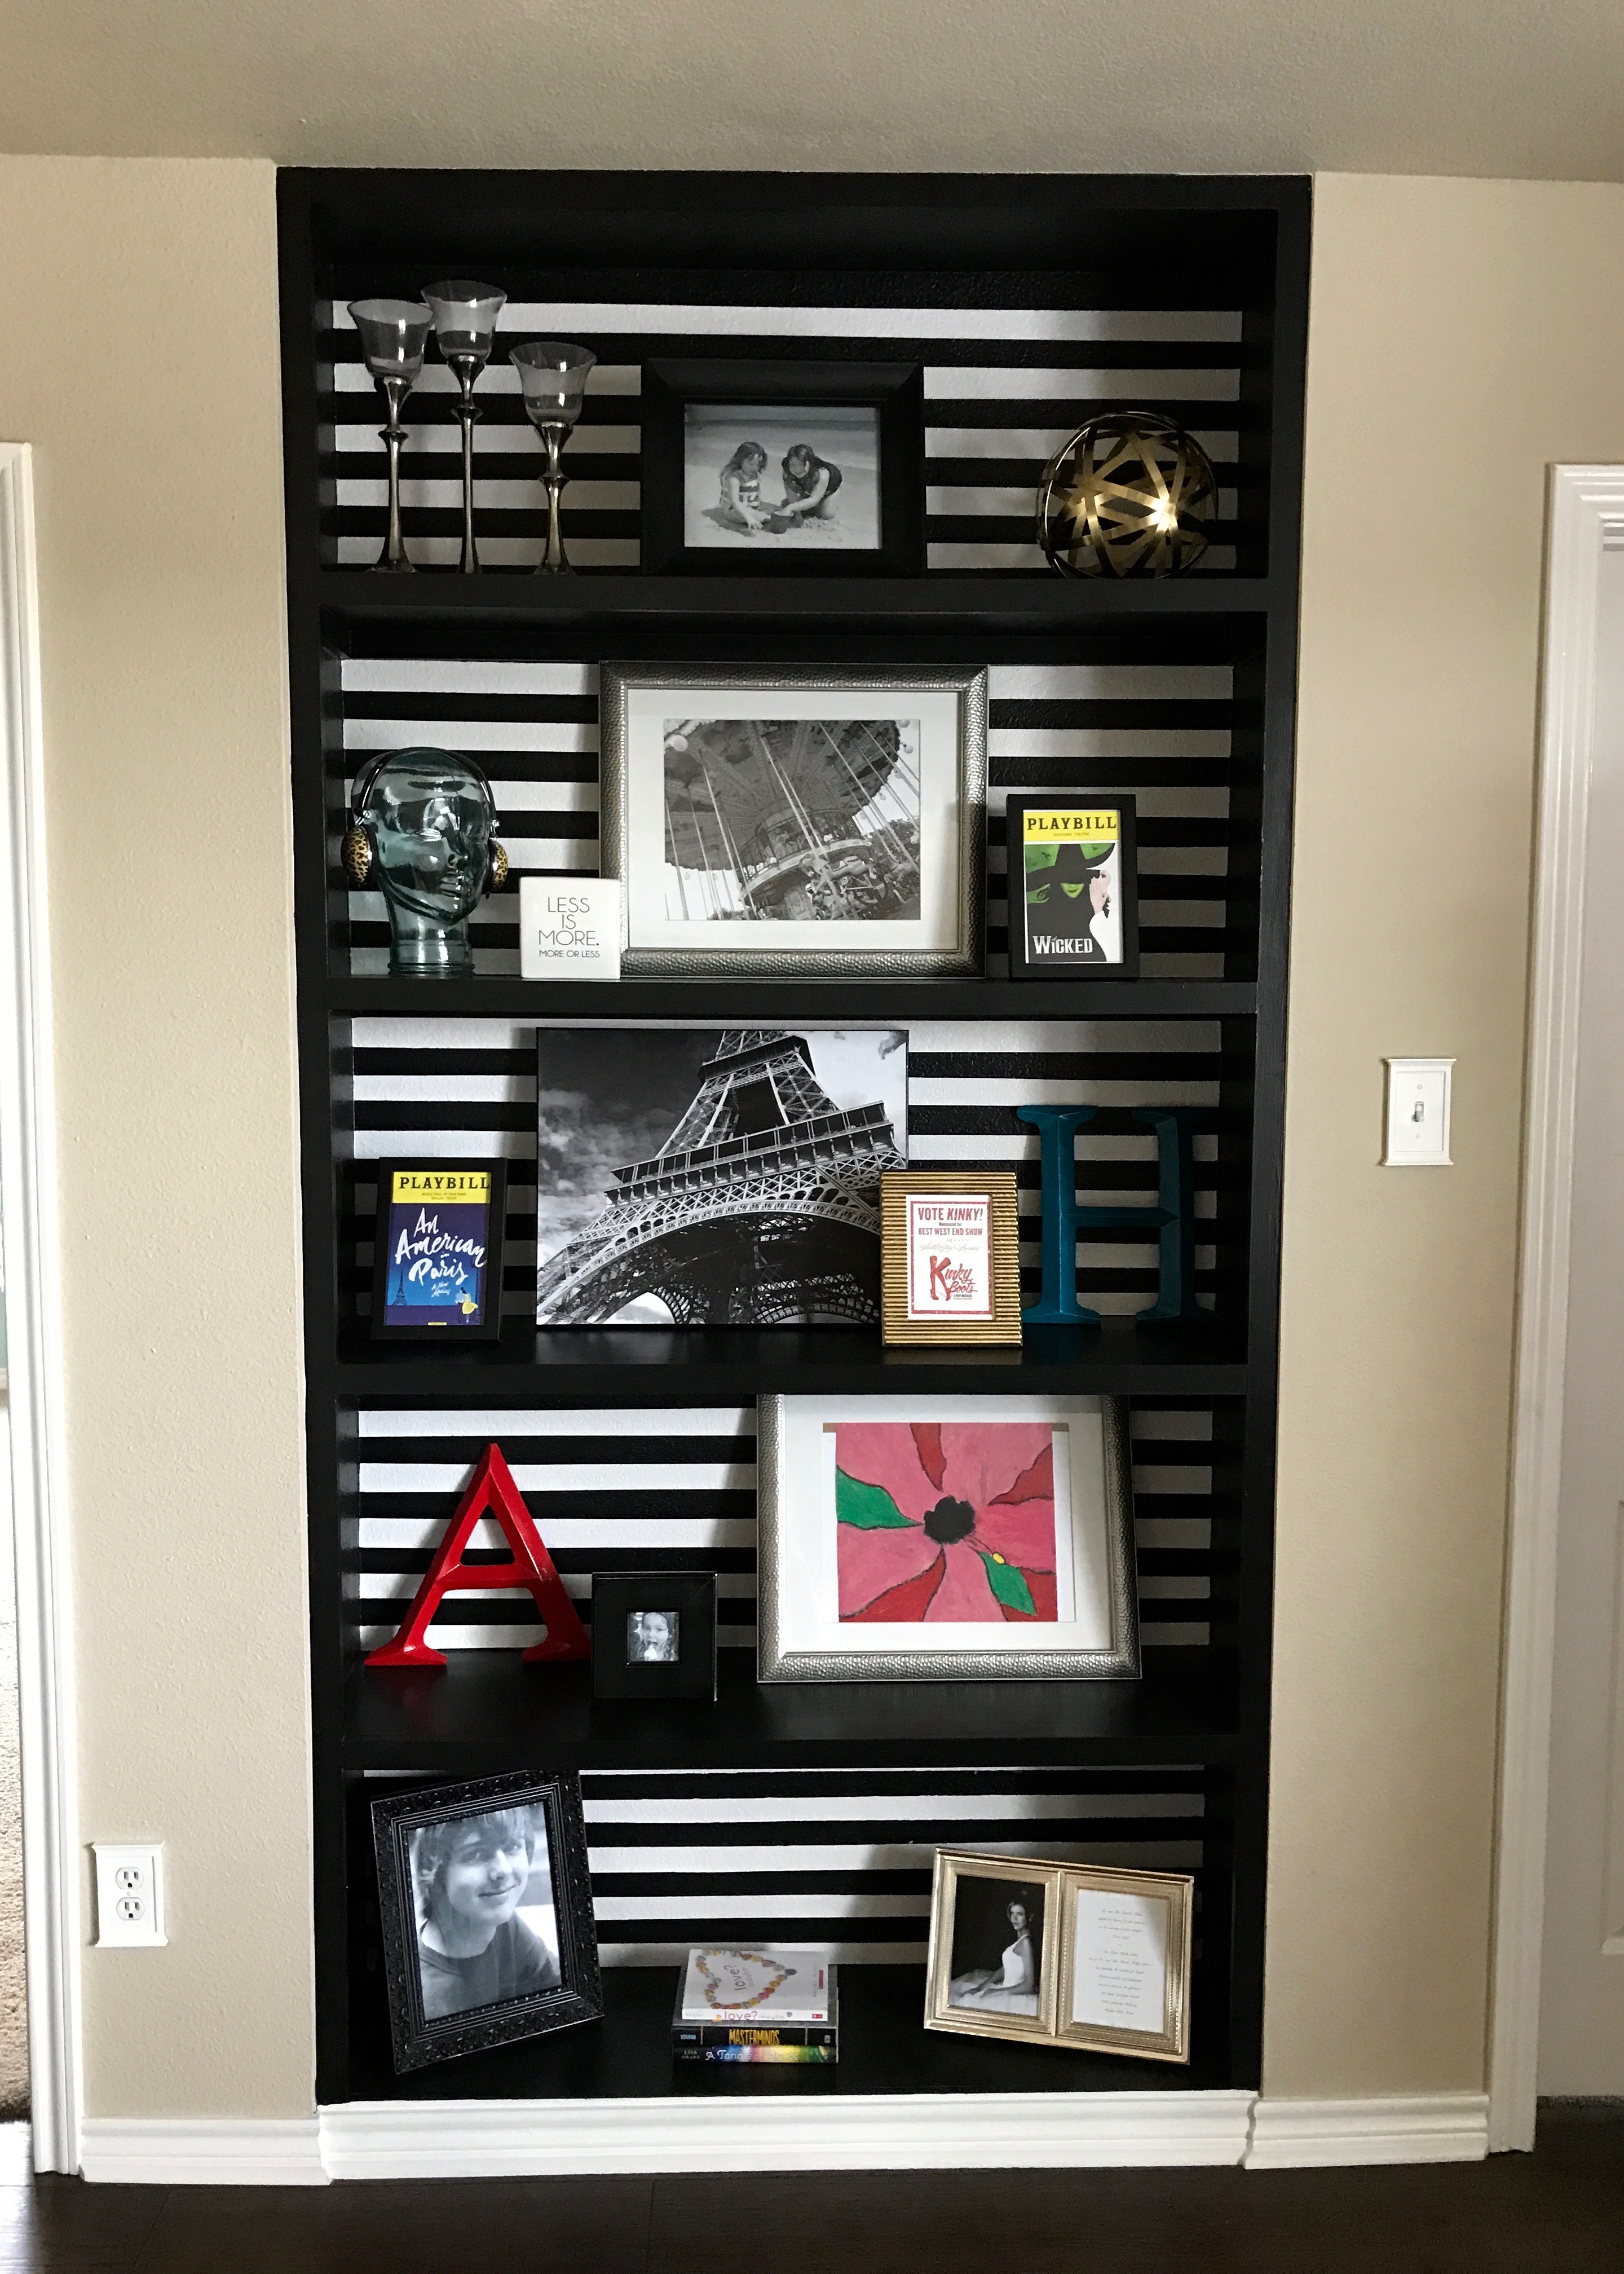
THE LOFT BOOKSHELVES AFTER
I love how painting stripes added a nice pop to the area. You can read more about redecorating more in my decorating the loft post.

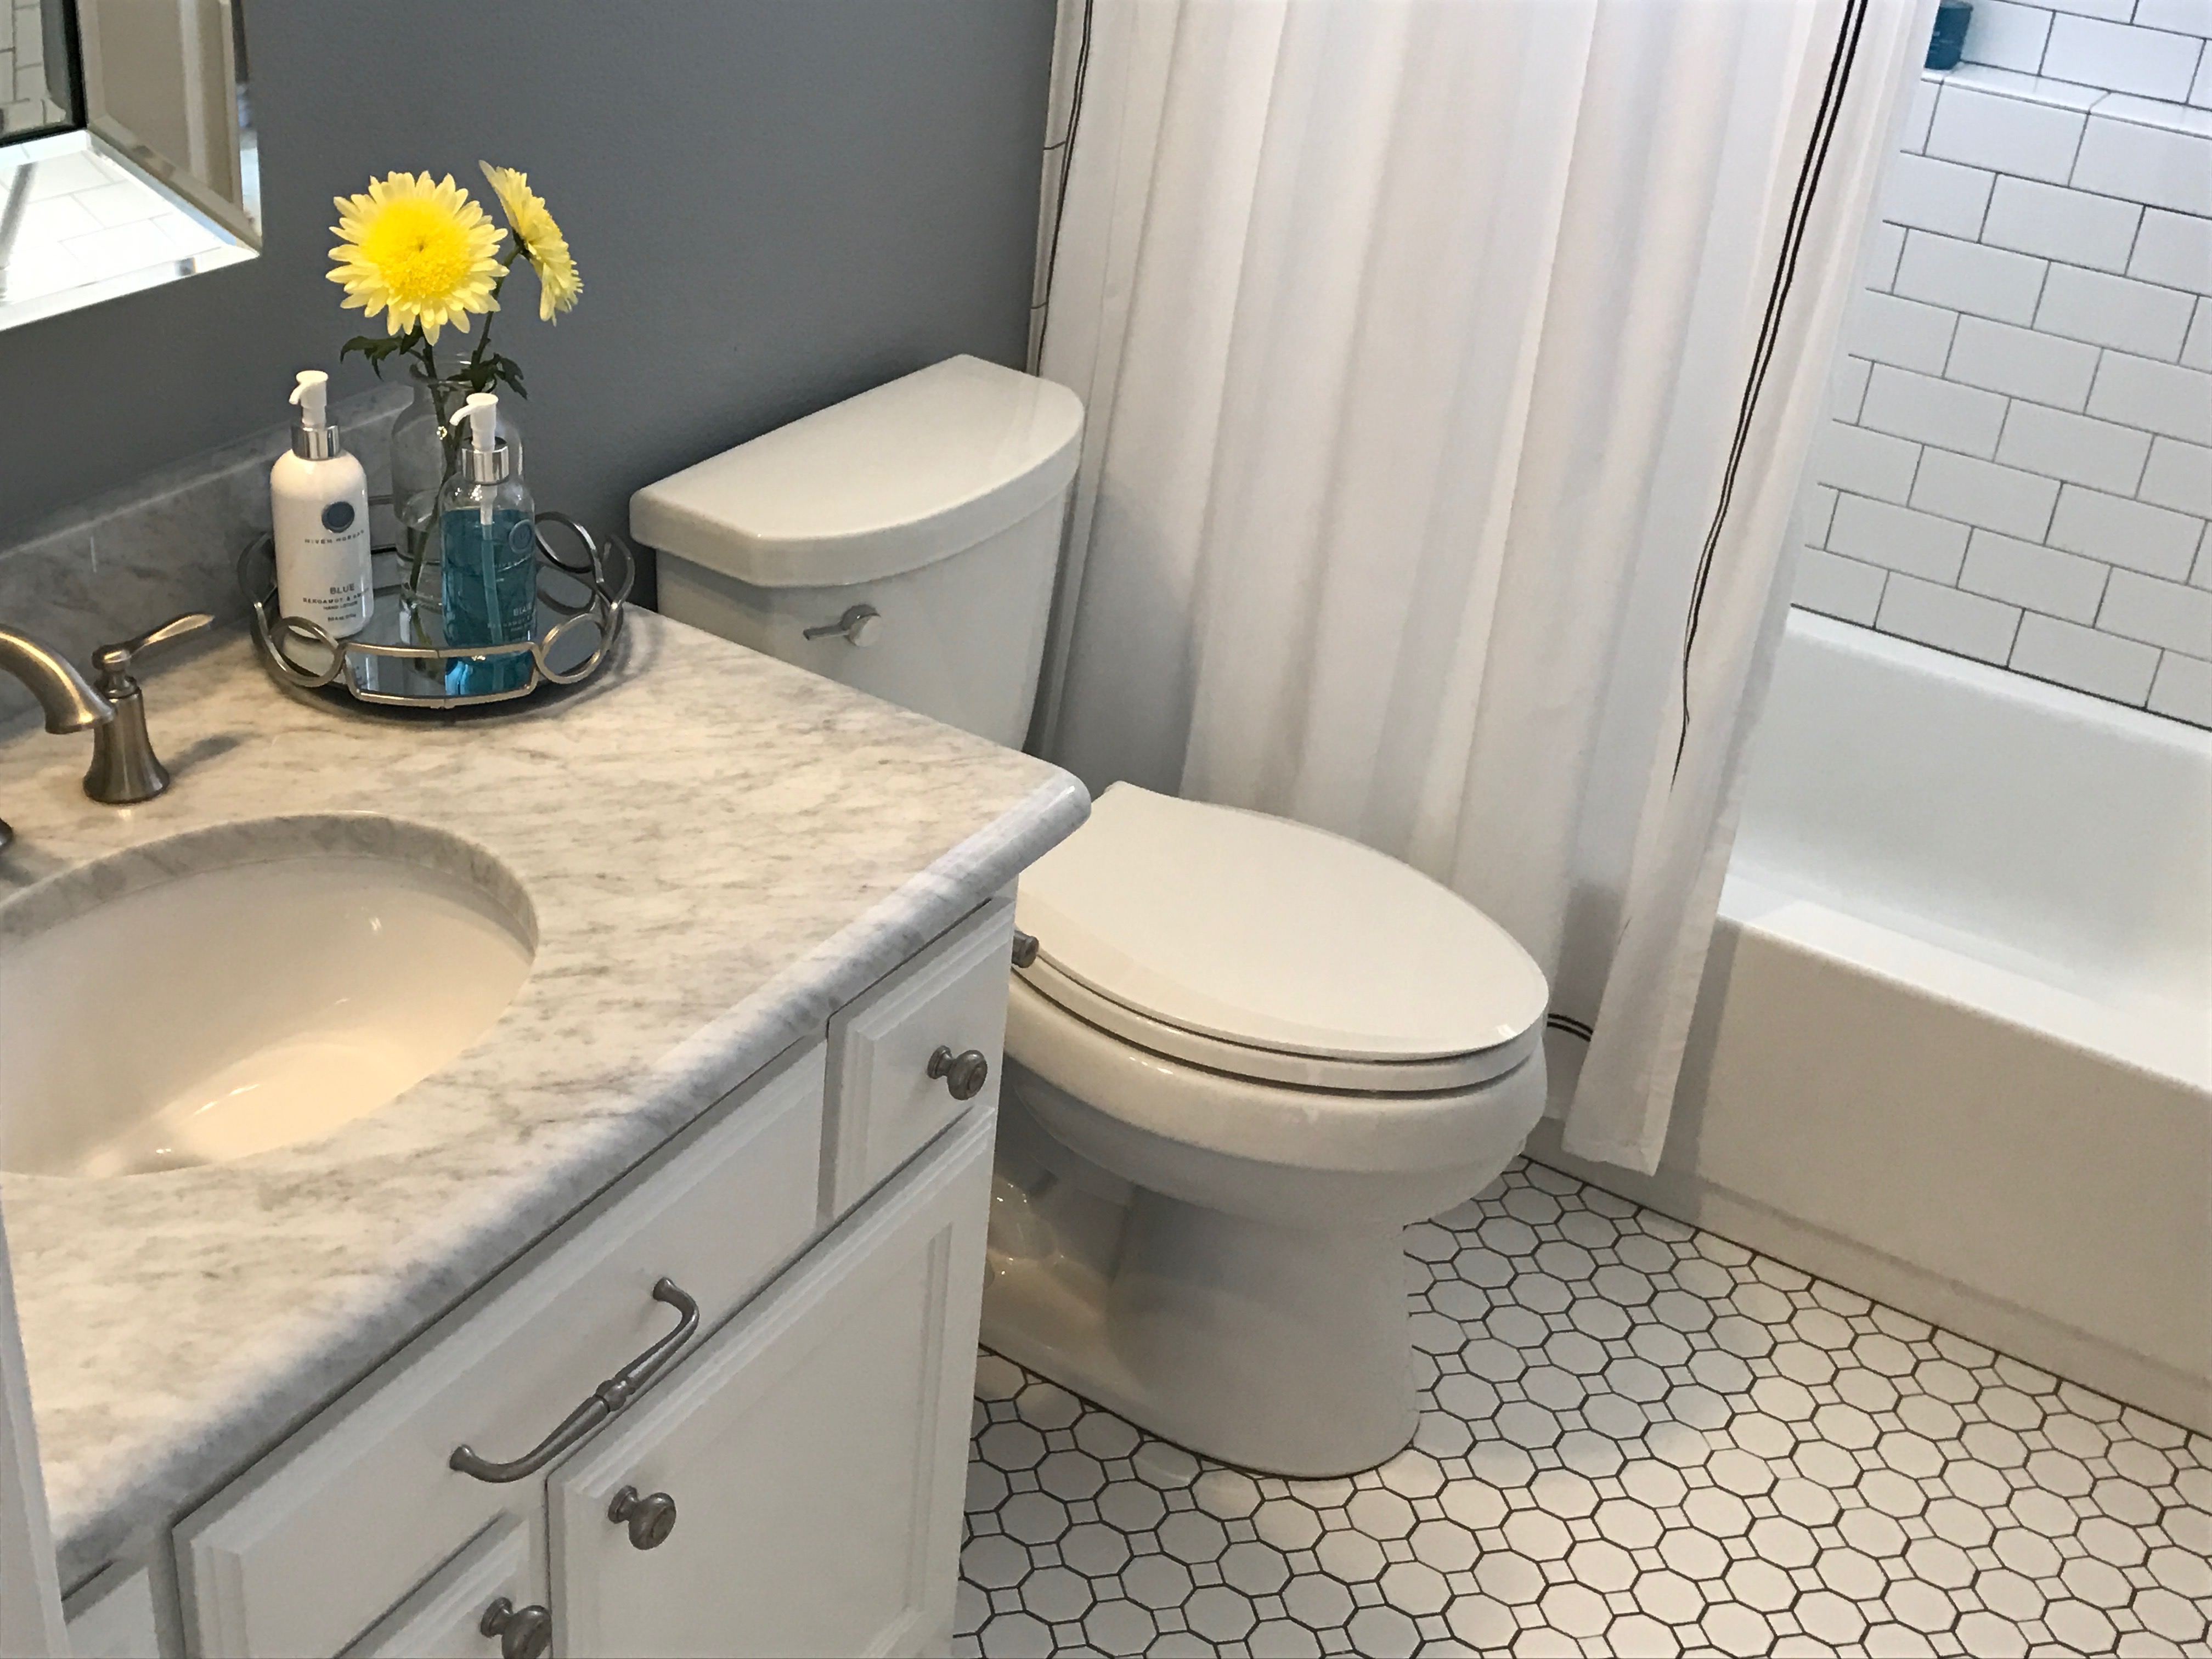
THE GUEST BATH BEFORE
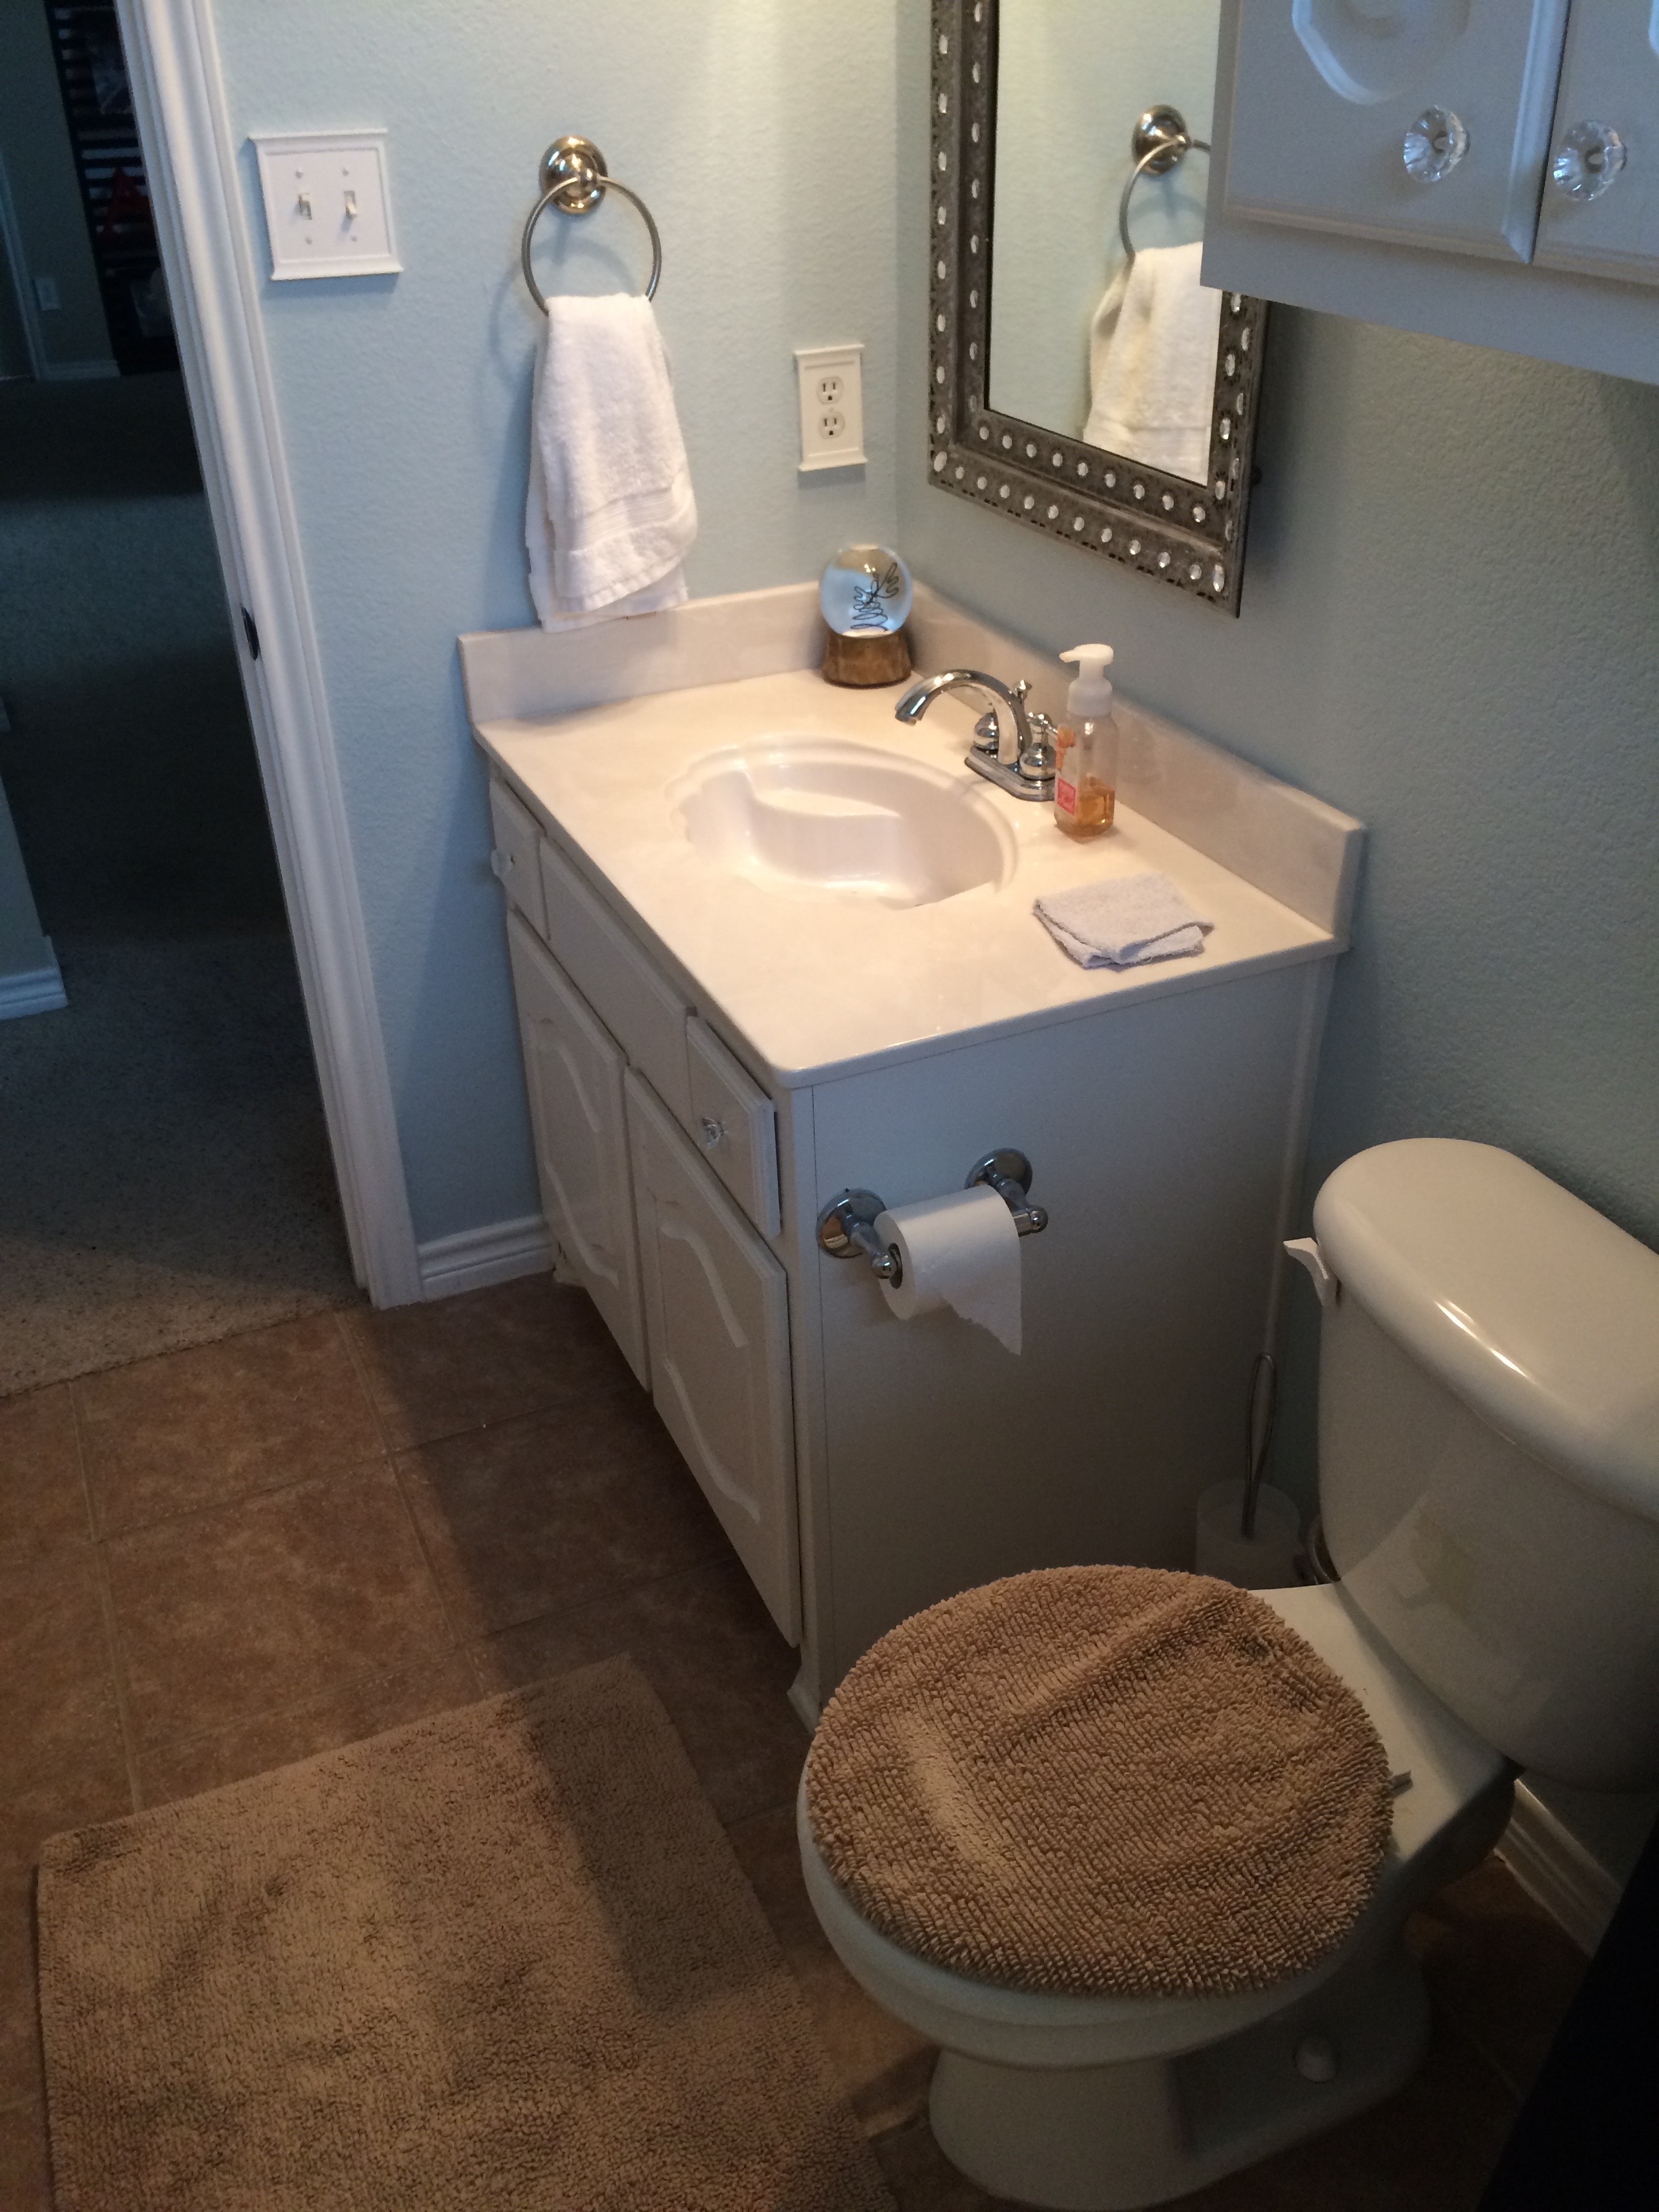
THE GUEST BATH AFTER
You can read more about our guest bath remodel here.

THE GUEST ROOM BEFORE
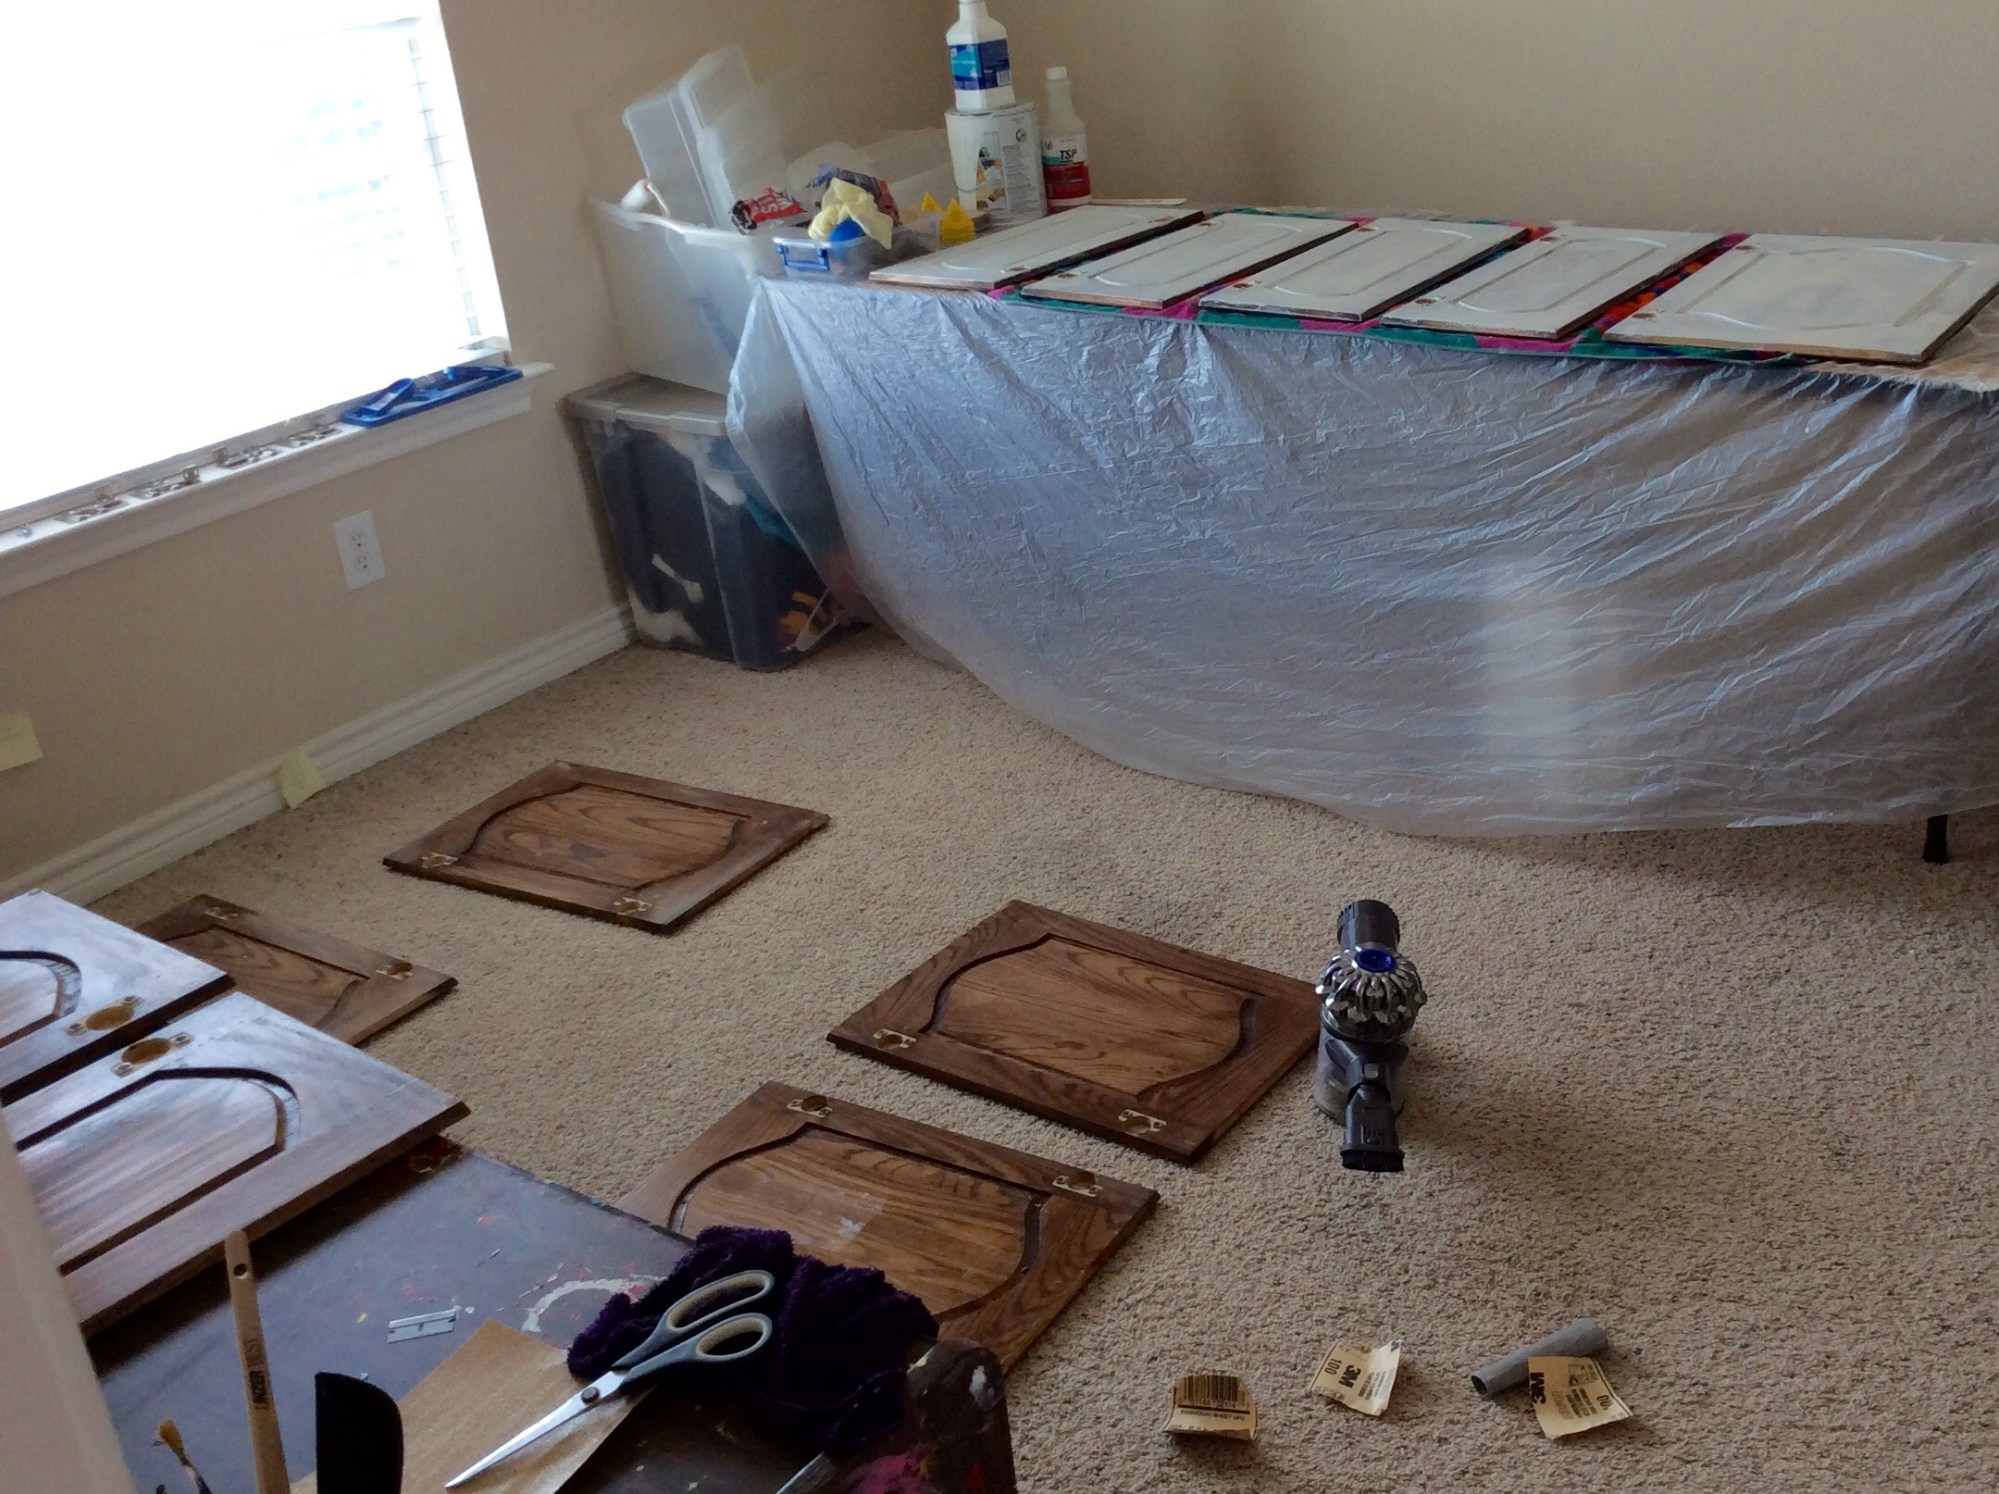

This is the only before photo of the guest room I can find. Once my son moved out it became my kitchen cabinet painting room.
THE GUEST ROOM AFTER
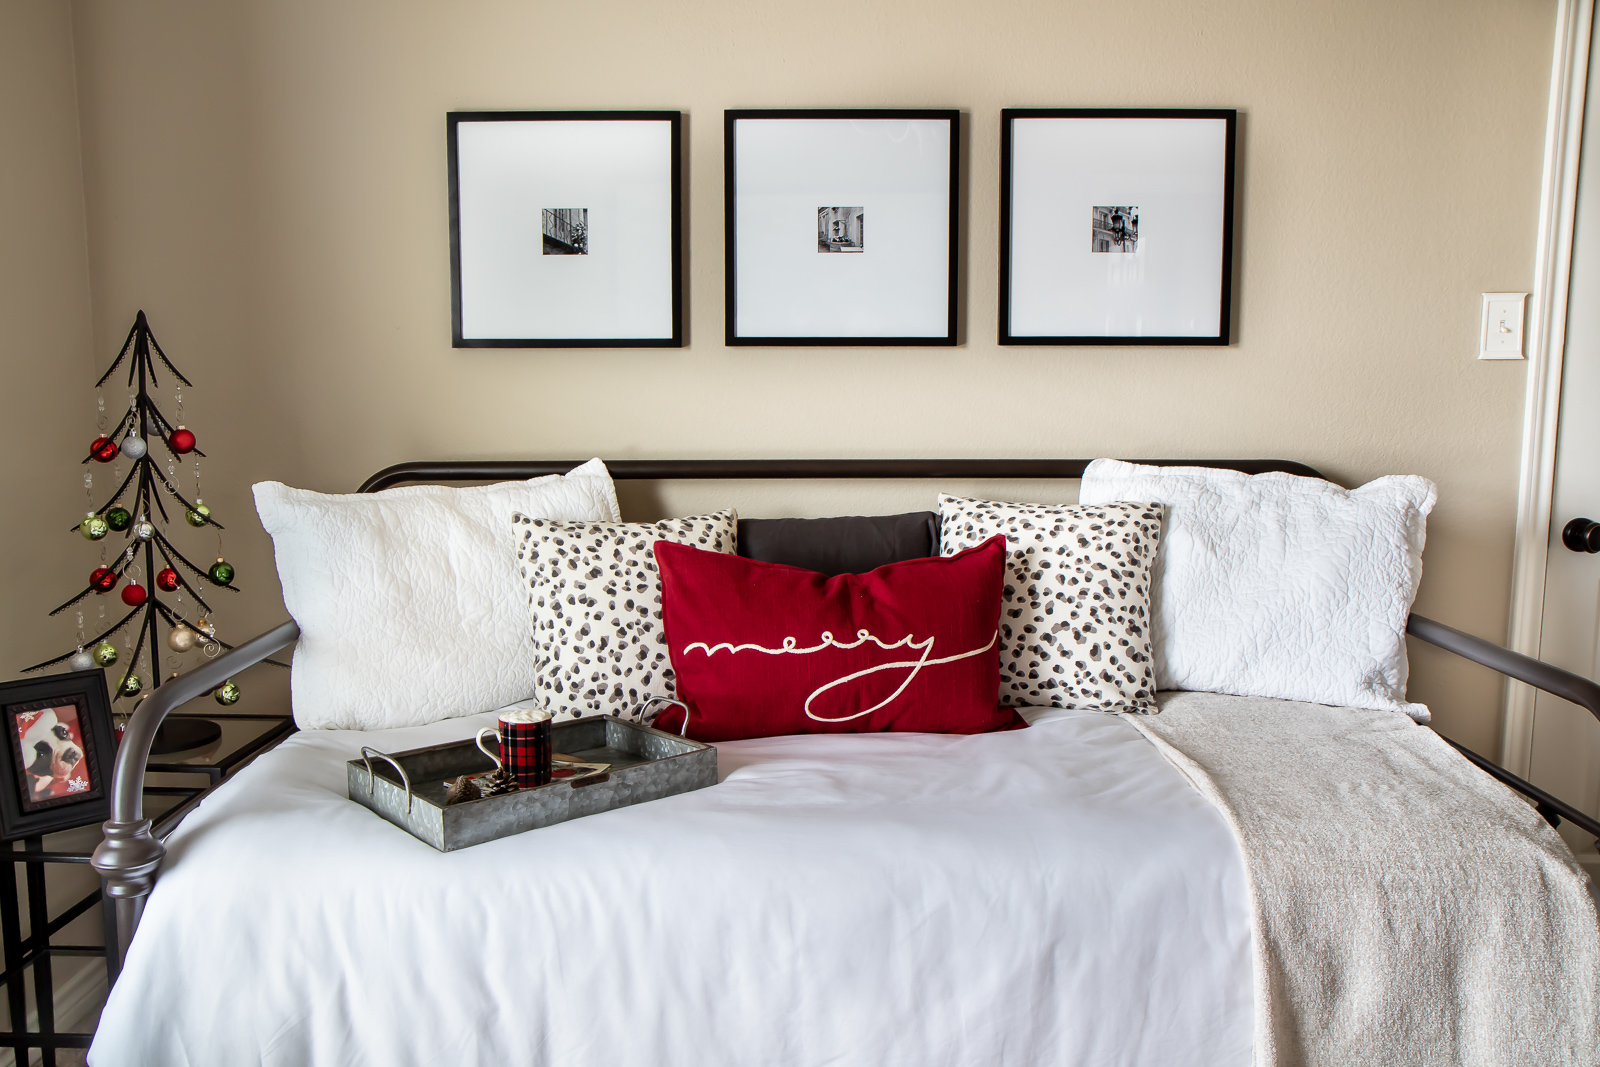
You can read about the fun updates to our guest room here.
THE BACK YARD BEFORE
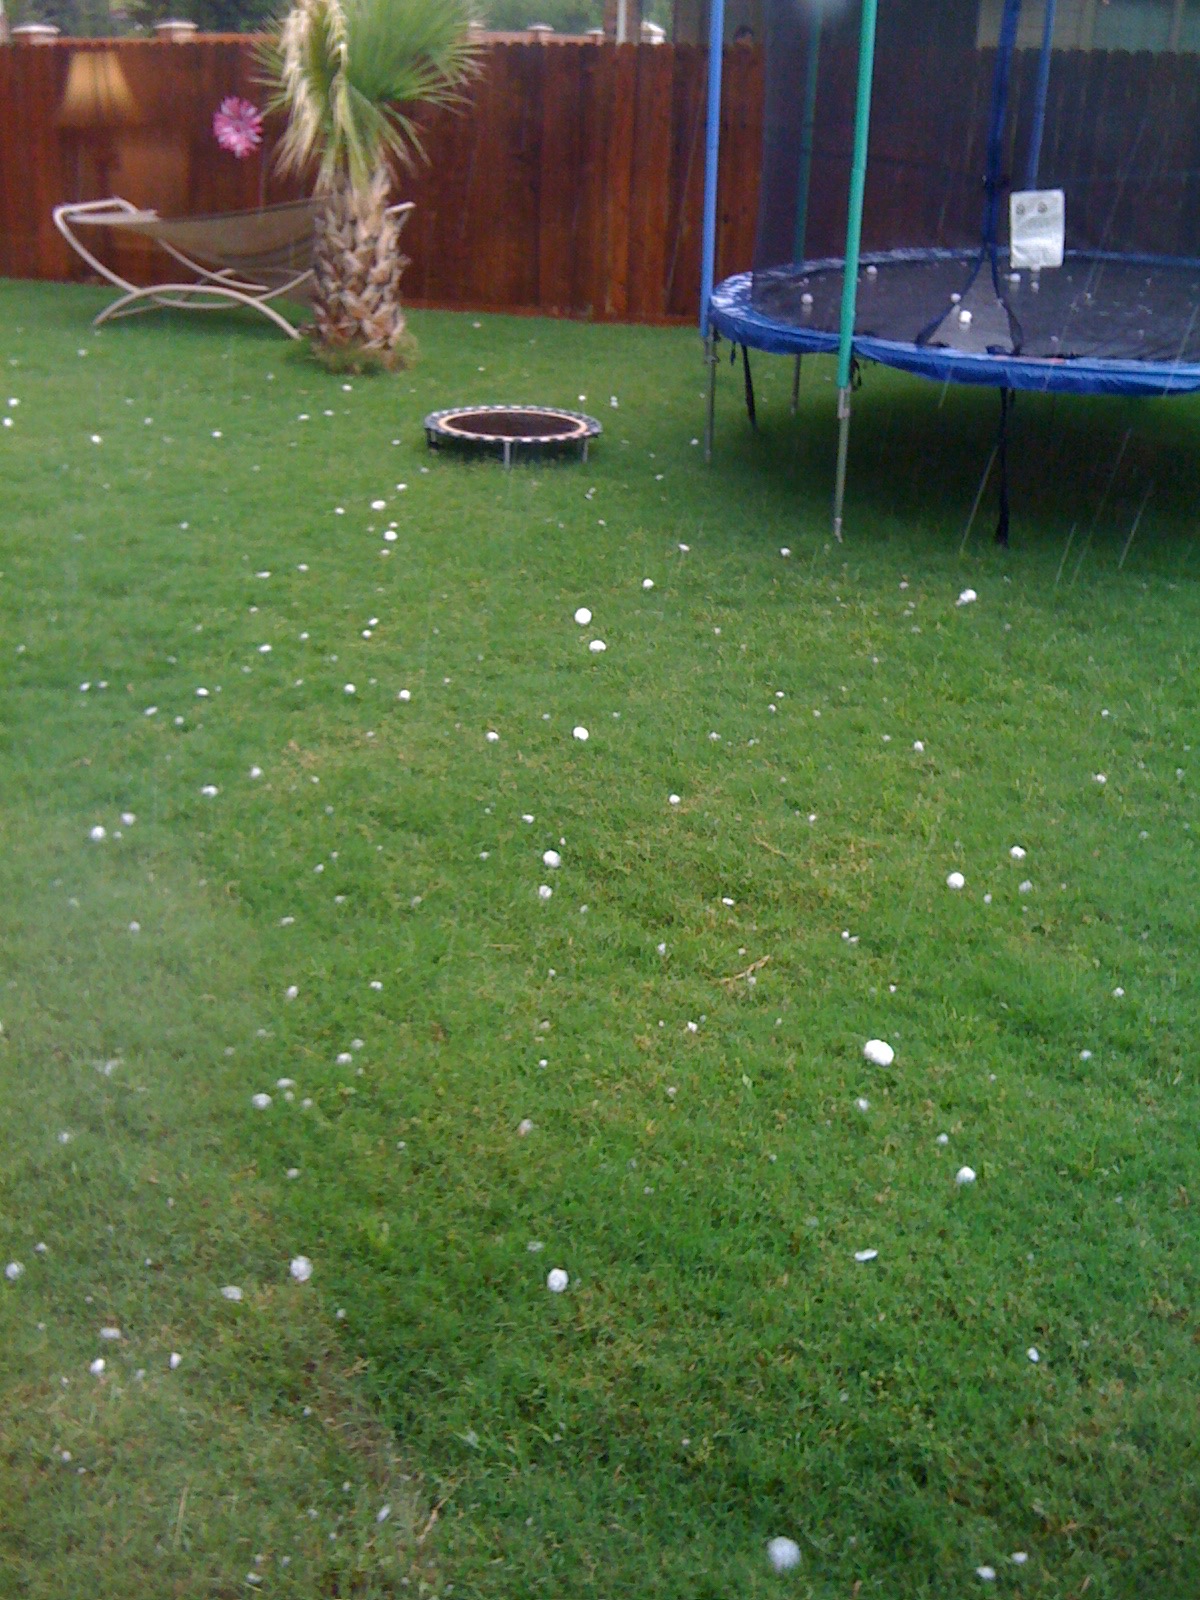
Funny I only have this gross cell phone photo because I was taking photos of the hail. Hey, you guys I snapped the pic with our friendly neighbor Jimmy out. The Jimmy’s always out back, funny I got his head in the photo. Don’t even get me started on that palm tree.
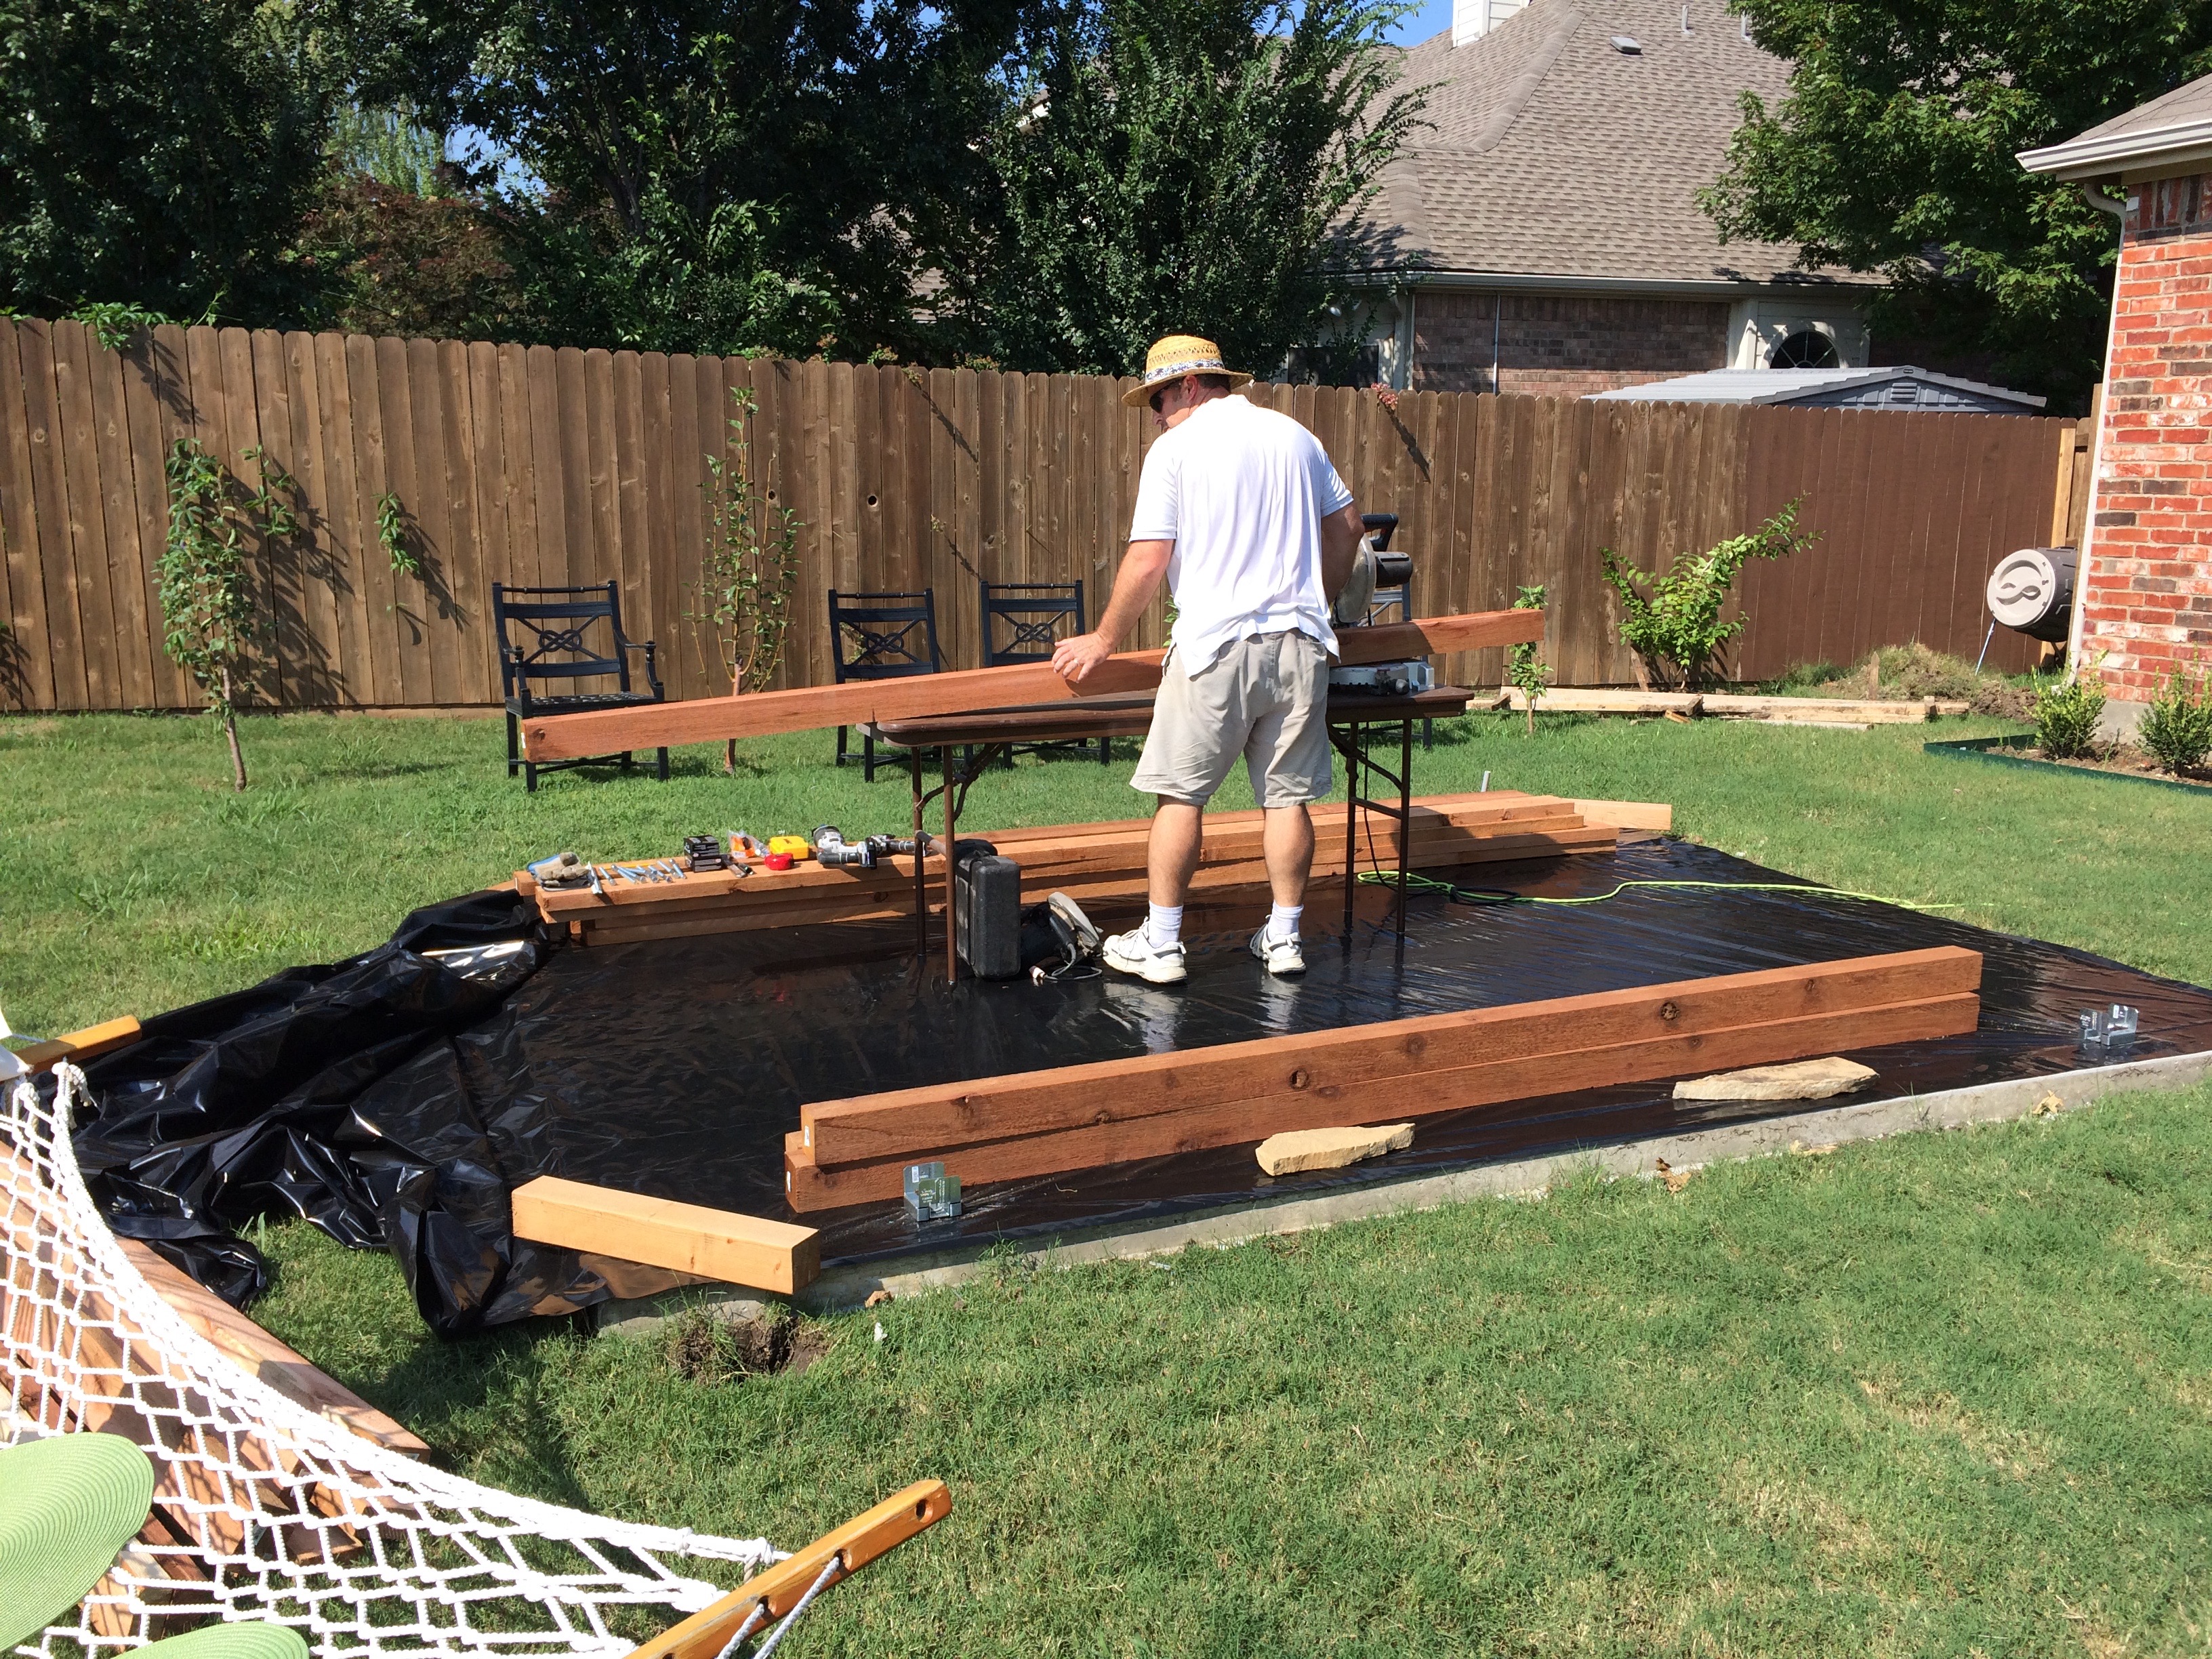
The back yard was a long process, we started by pouring extra concrete and put up a temporary metal pergola while focusing on indoor projects. We also changed our mind on the pathway and went to just stones.
THE PATIO BEFORE
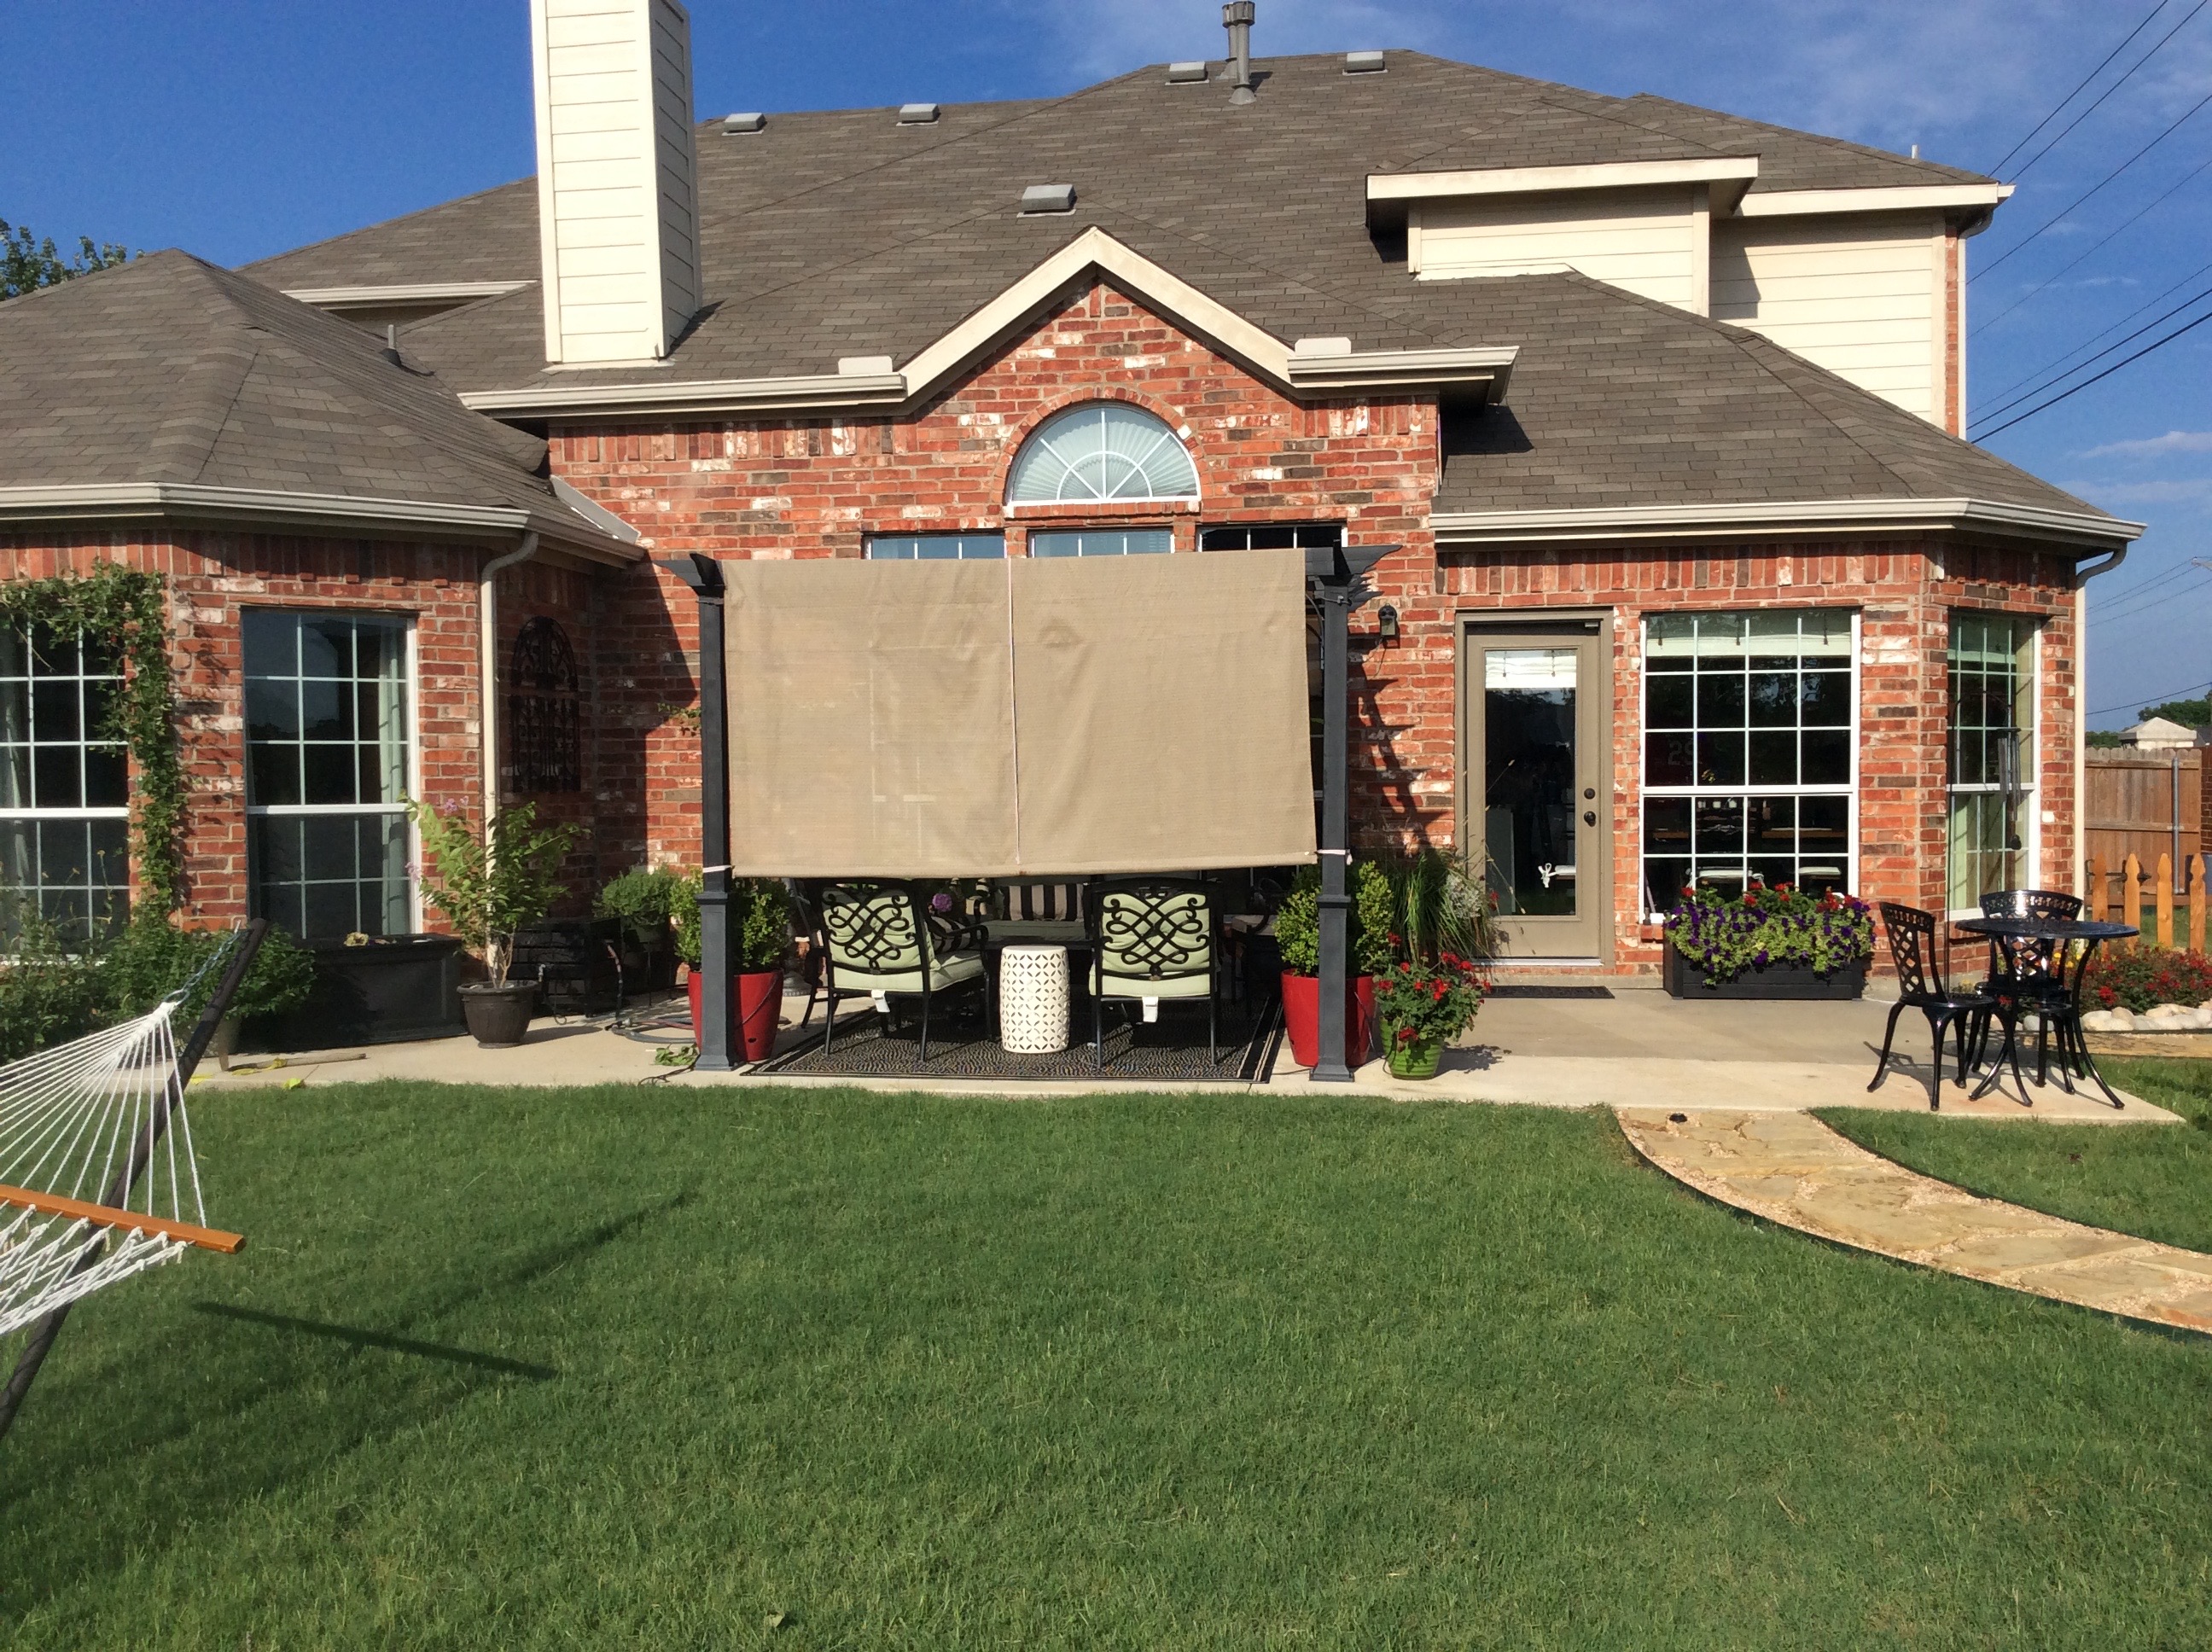
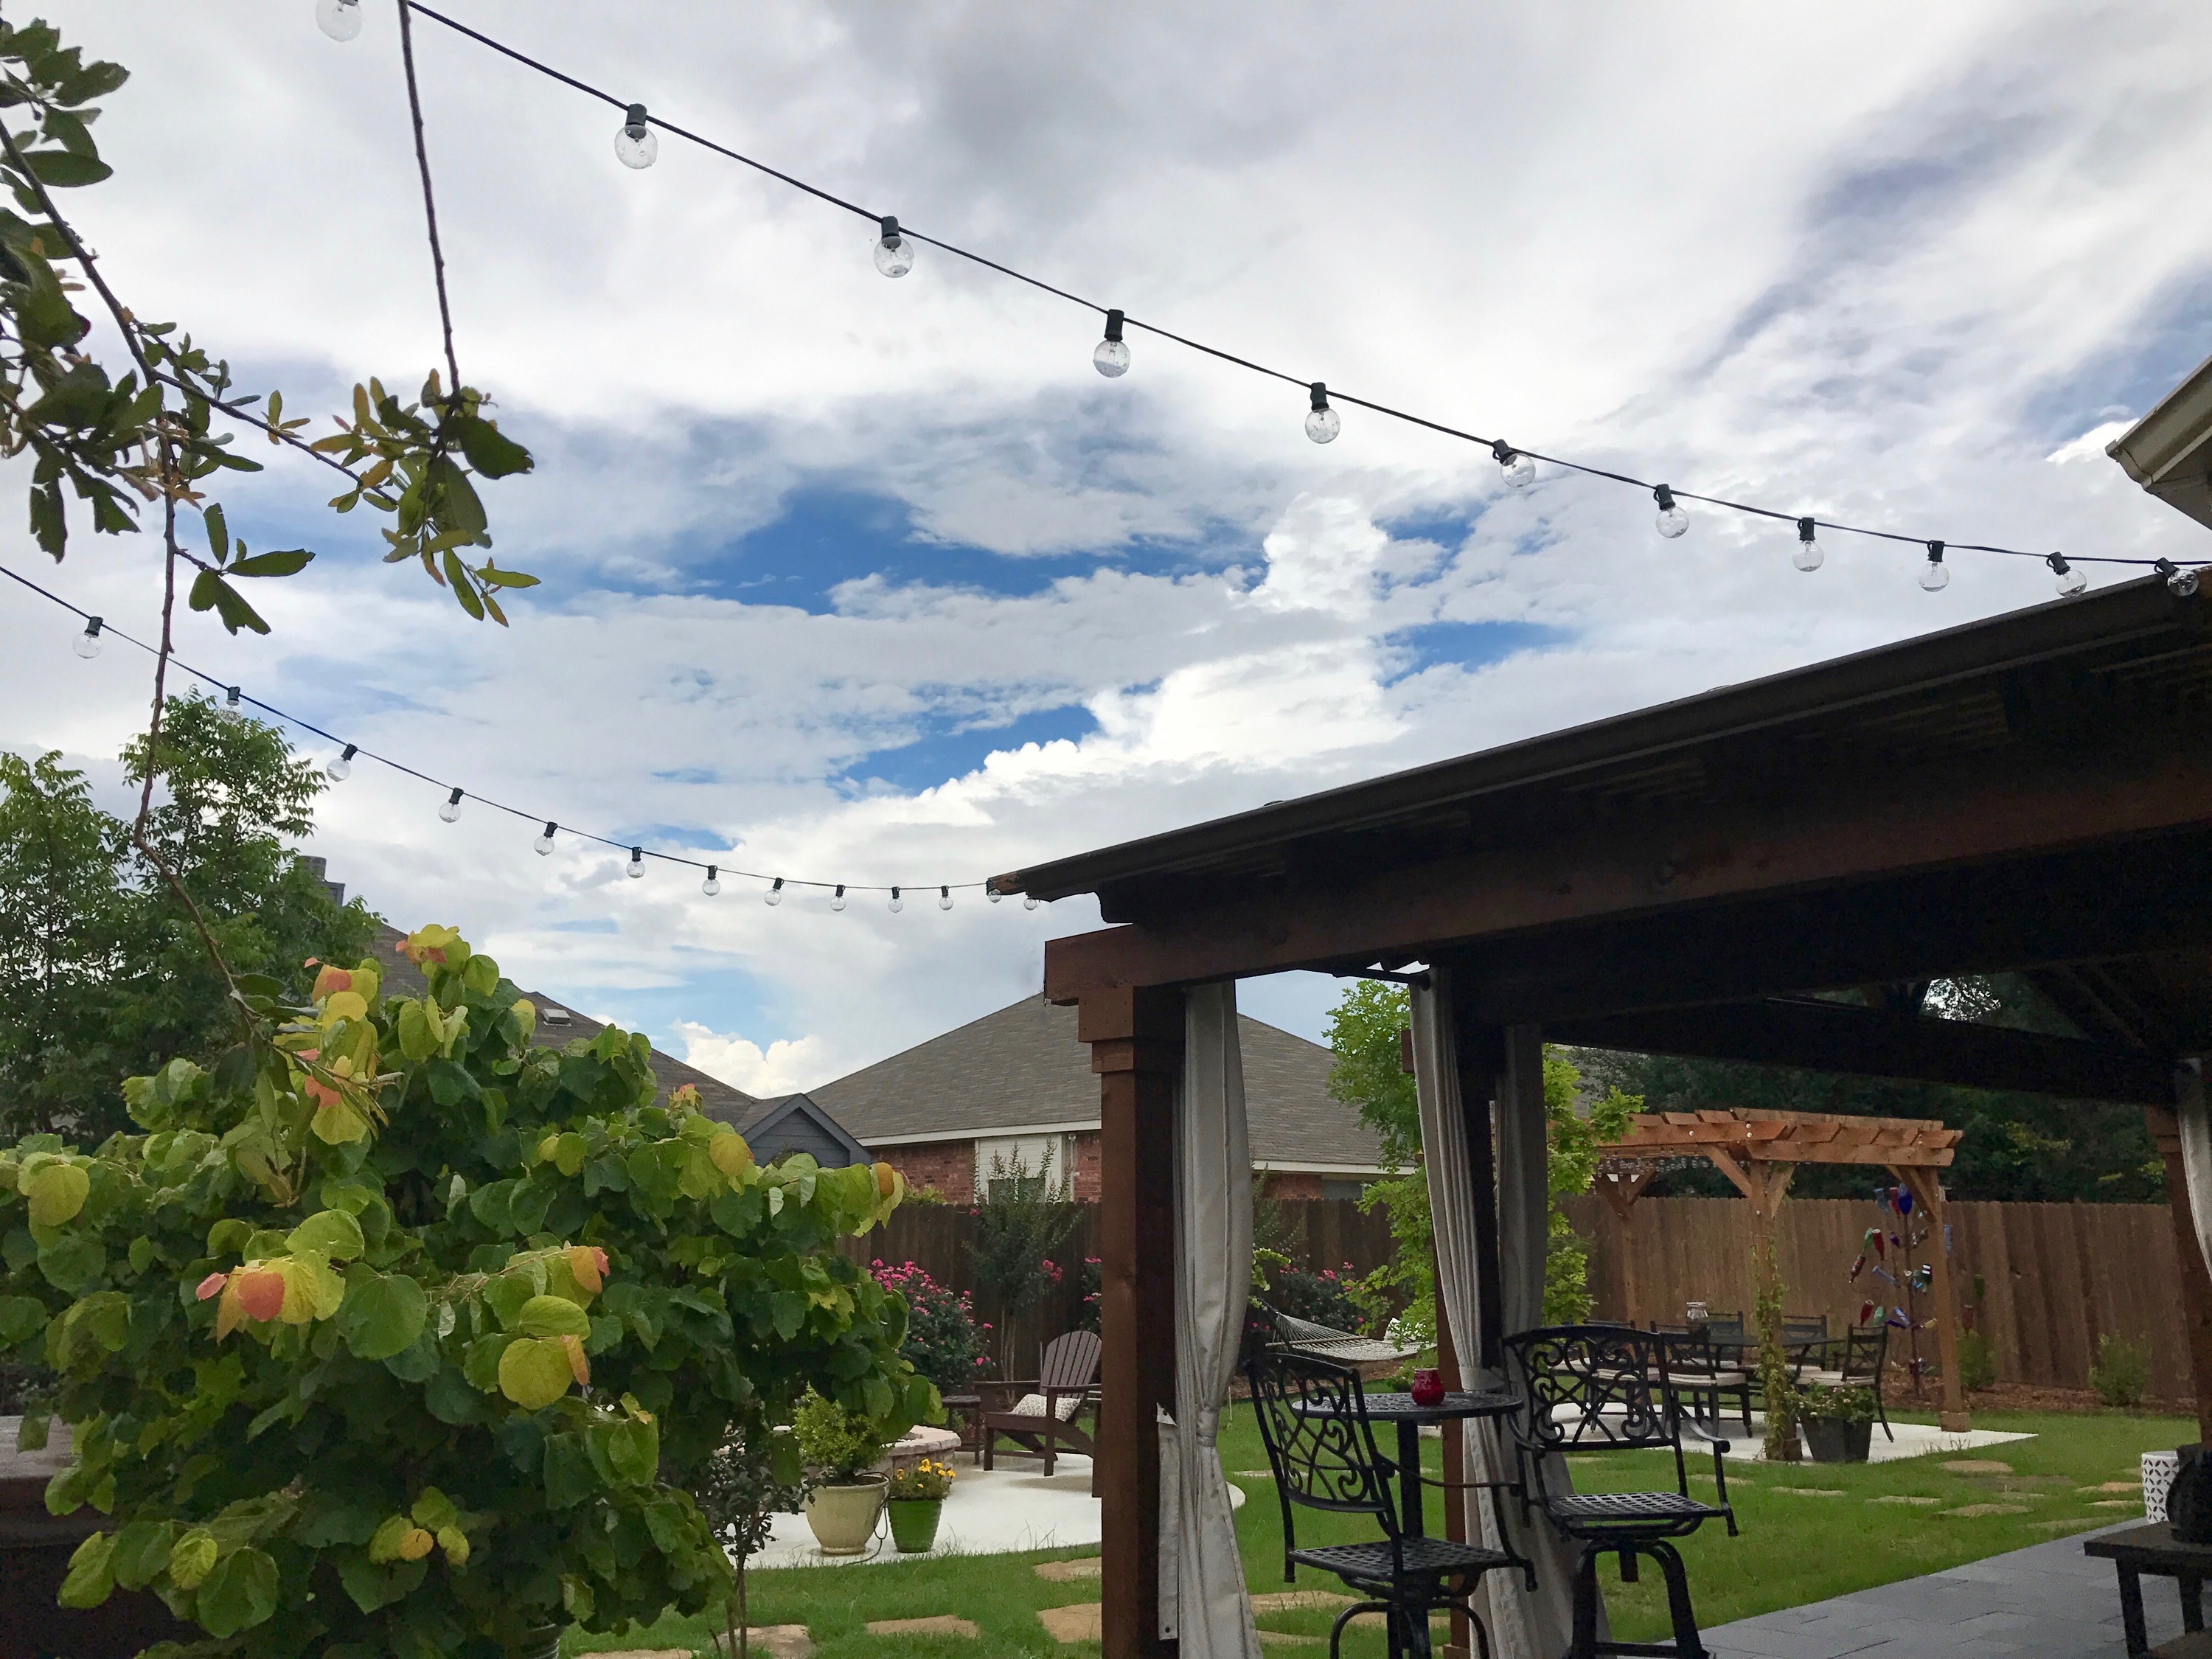
THE PATIO AFTER
The covered patio was a terrific addition to our backyard, I love to curl up on our sectional during a rain storm.
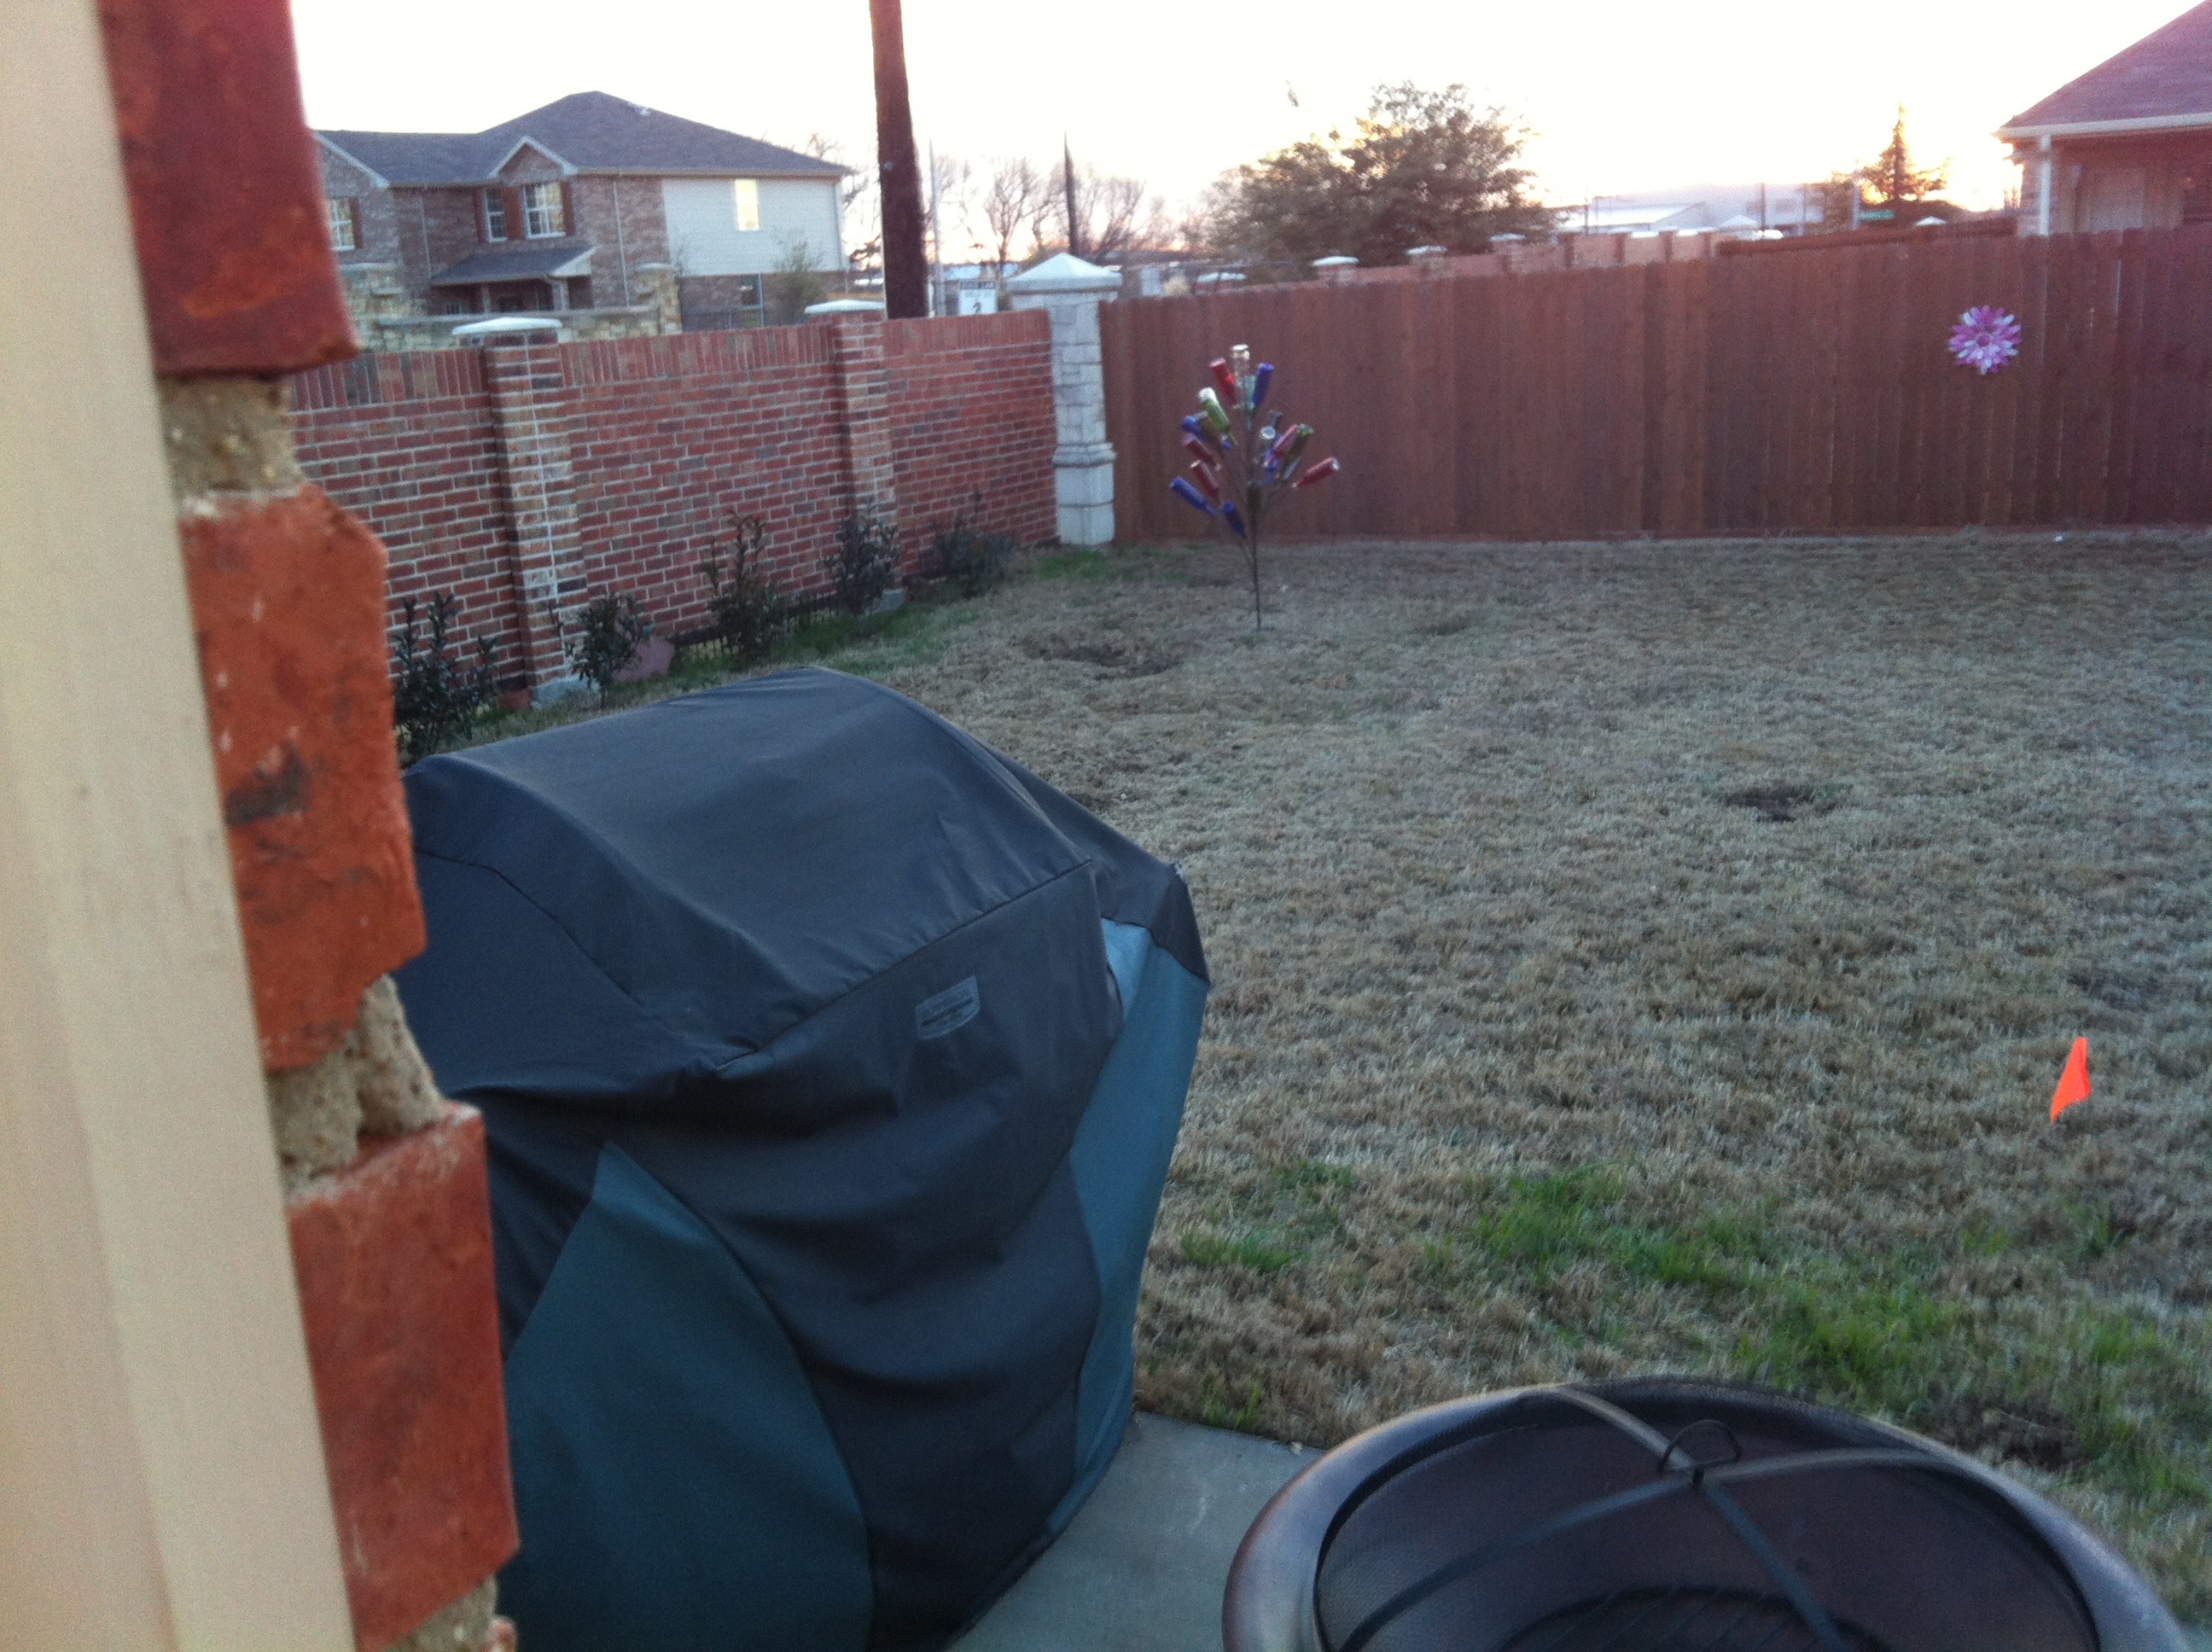
THE FIRE PIT BEFORE
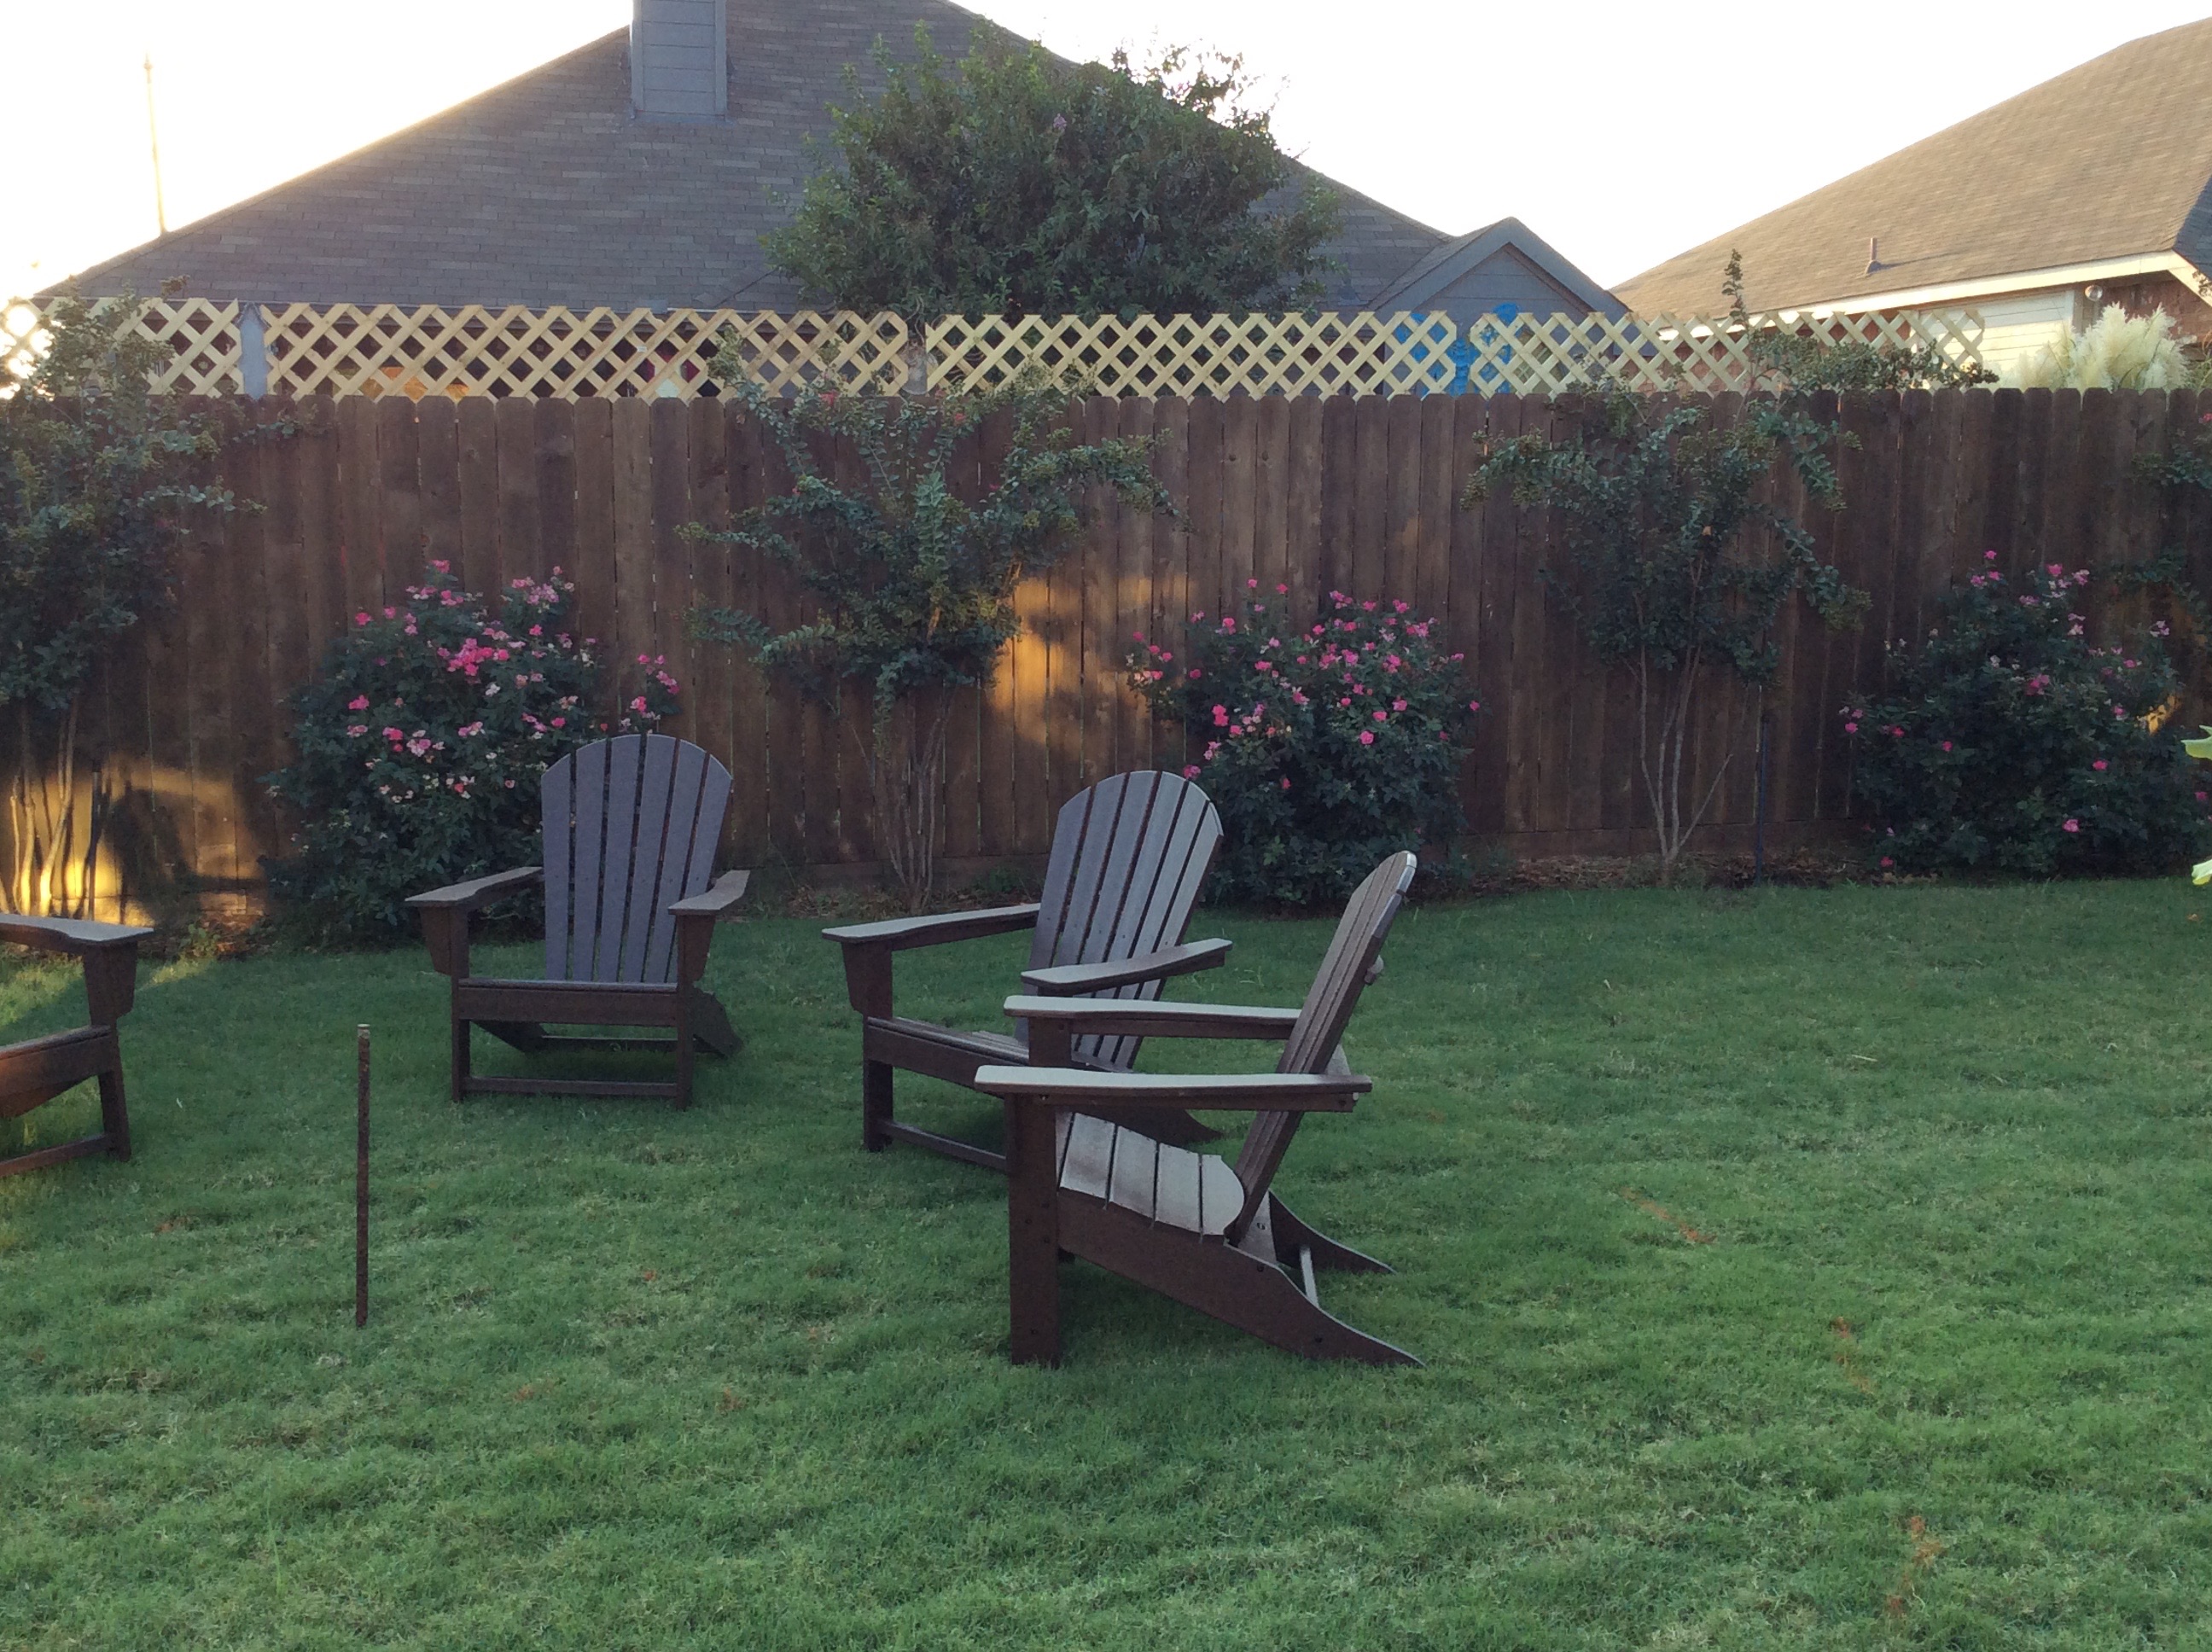
Jimmy put up lattice on the fence and then one sudden day the nightmare ended and he took it down… I must have spent 100 hours praying to the baby Jesus.. and it worked.
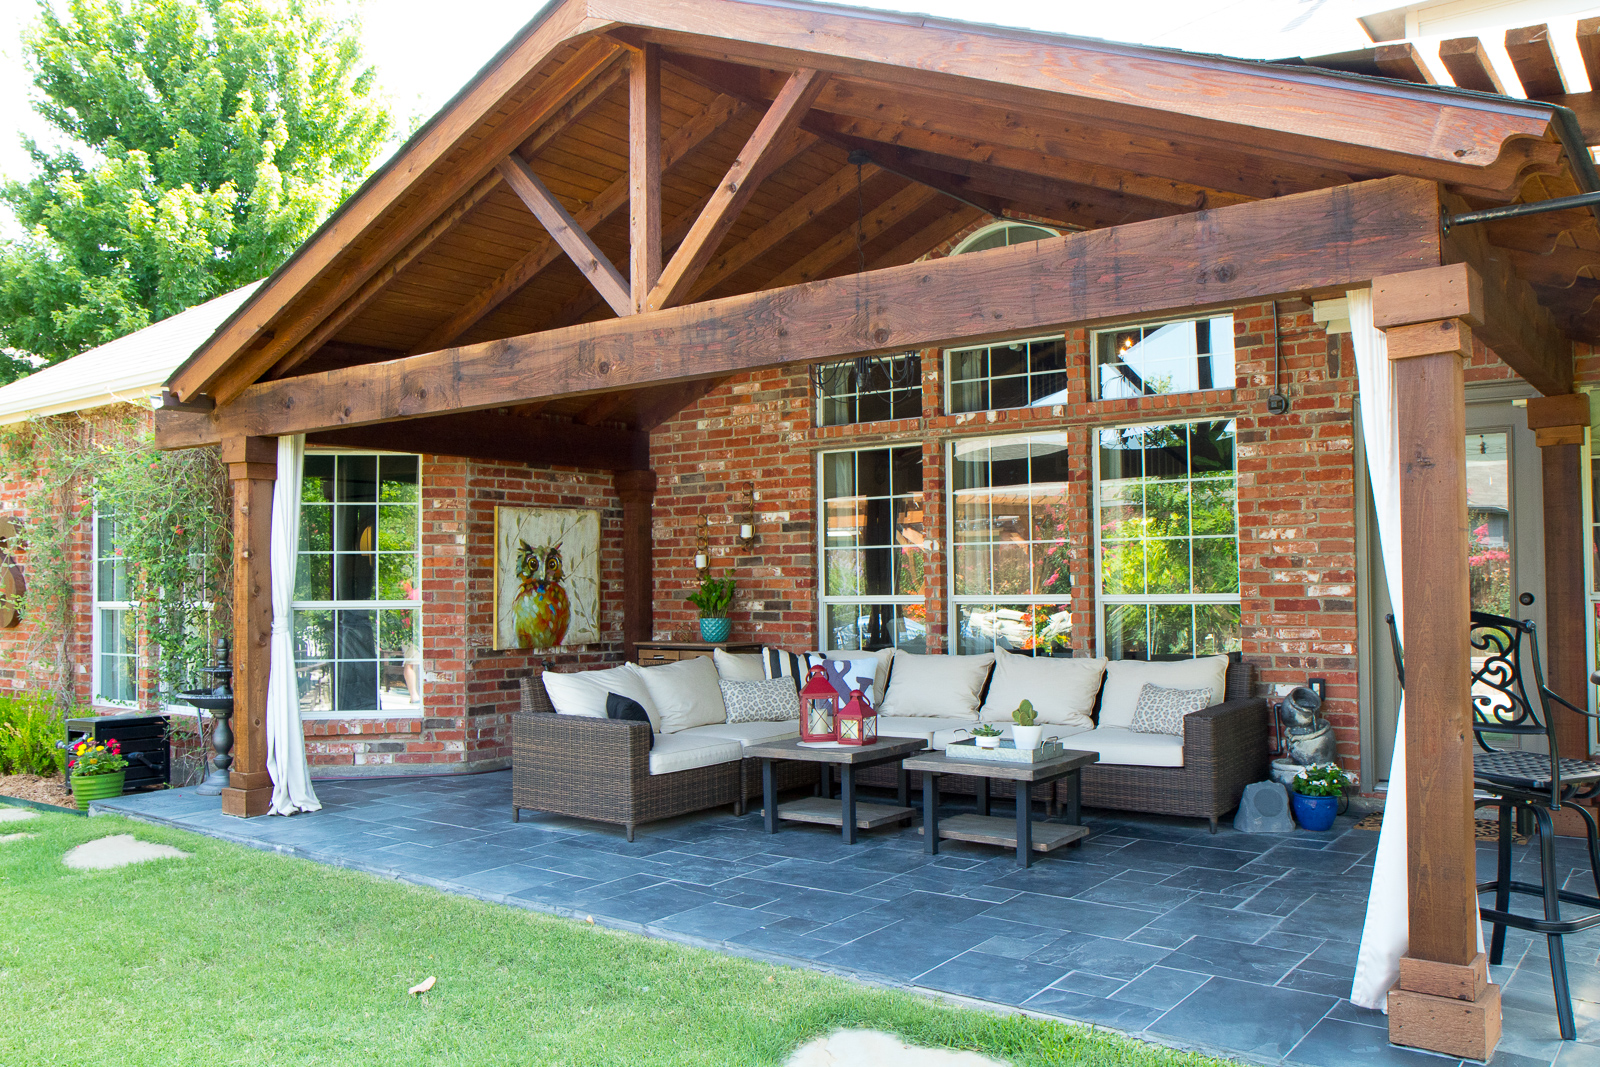
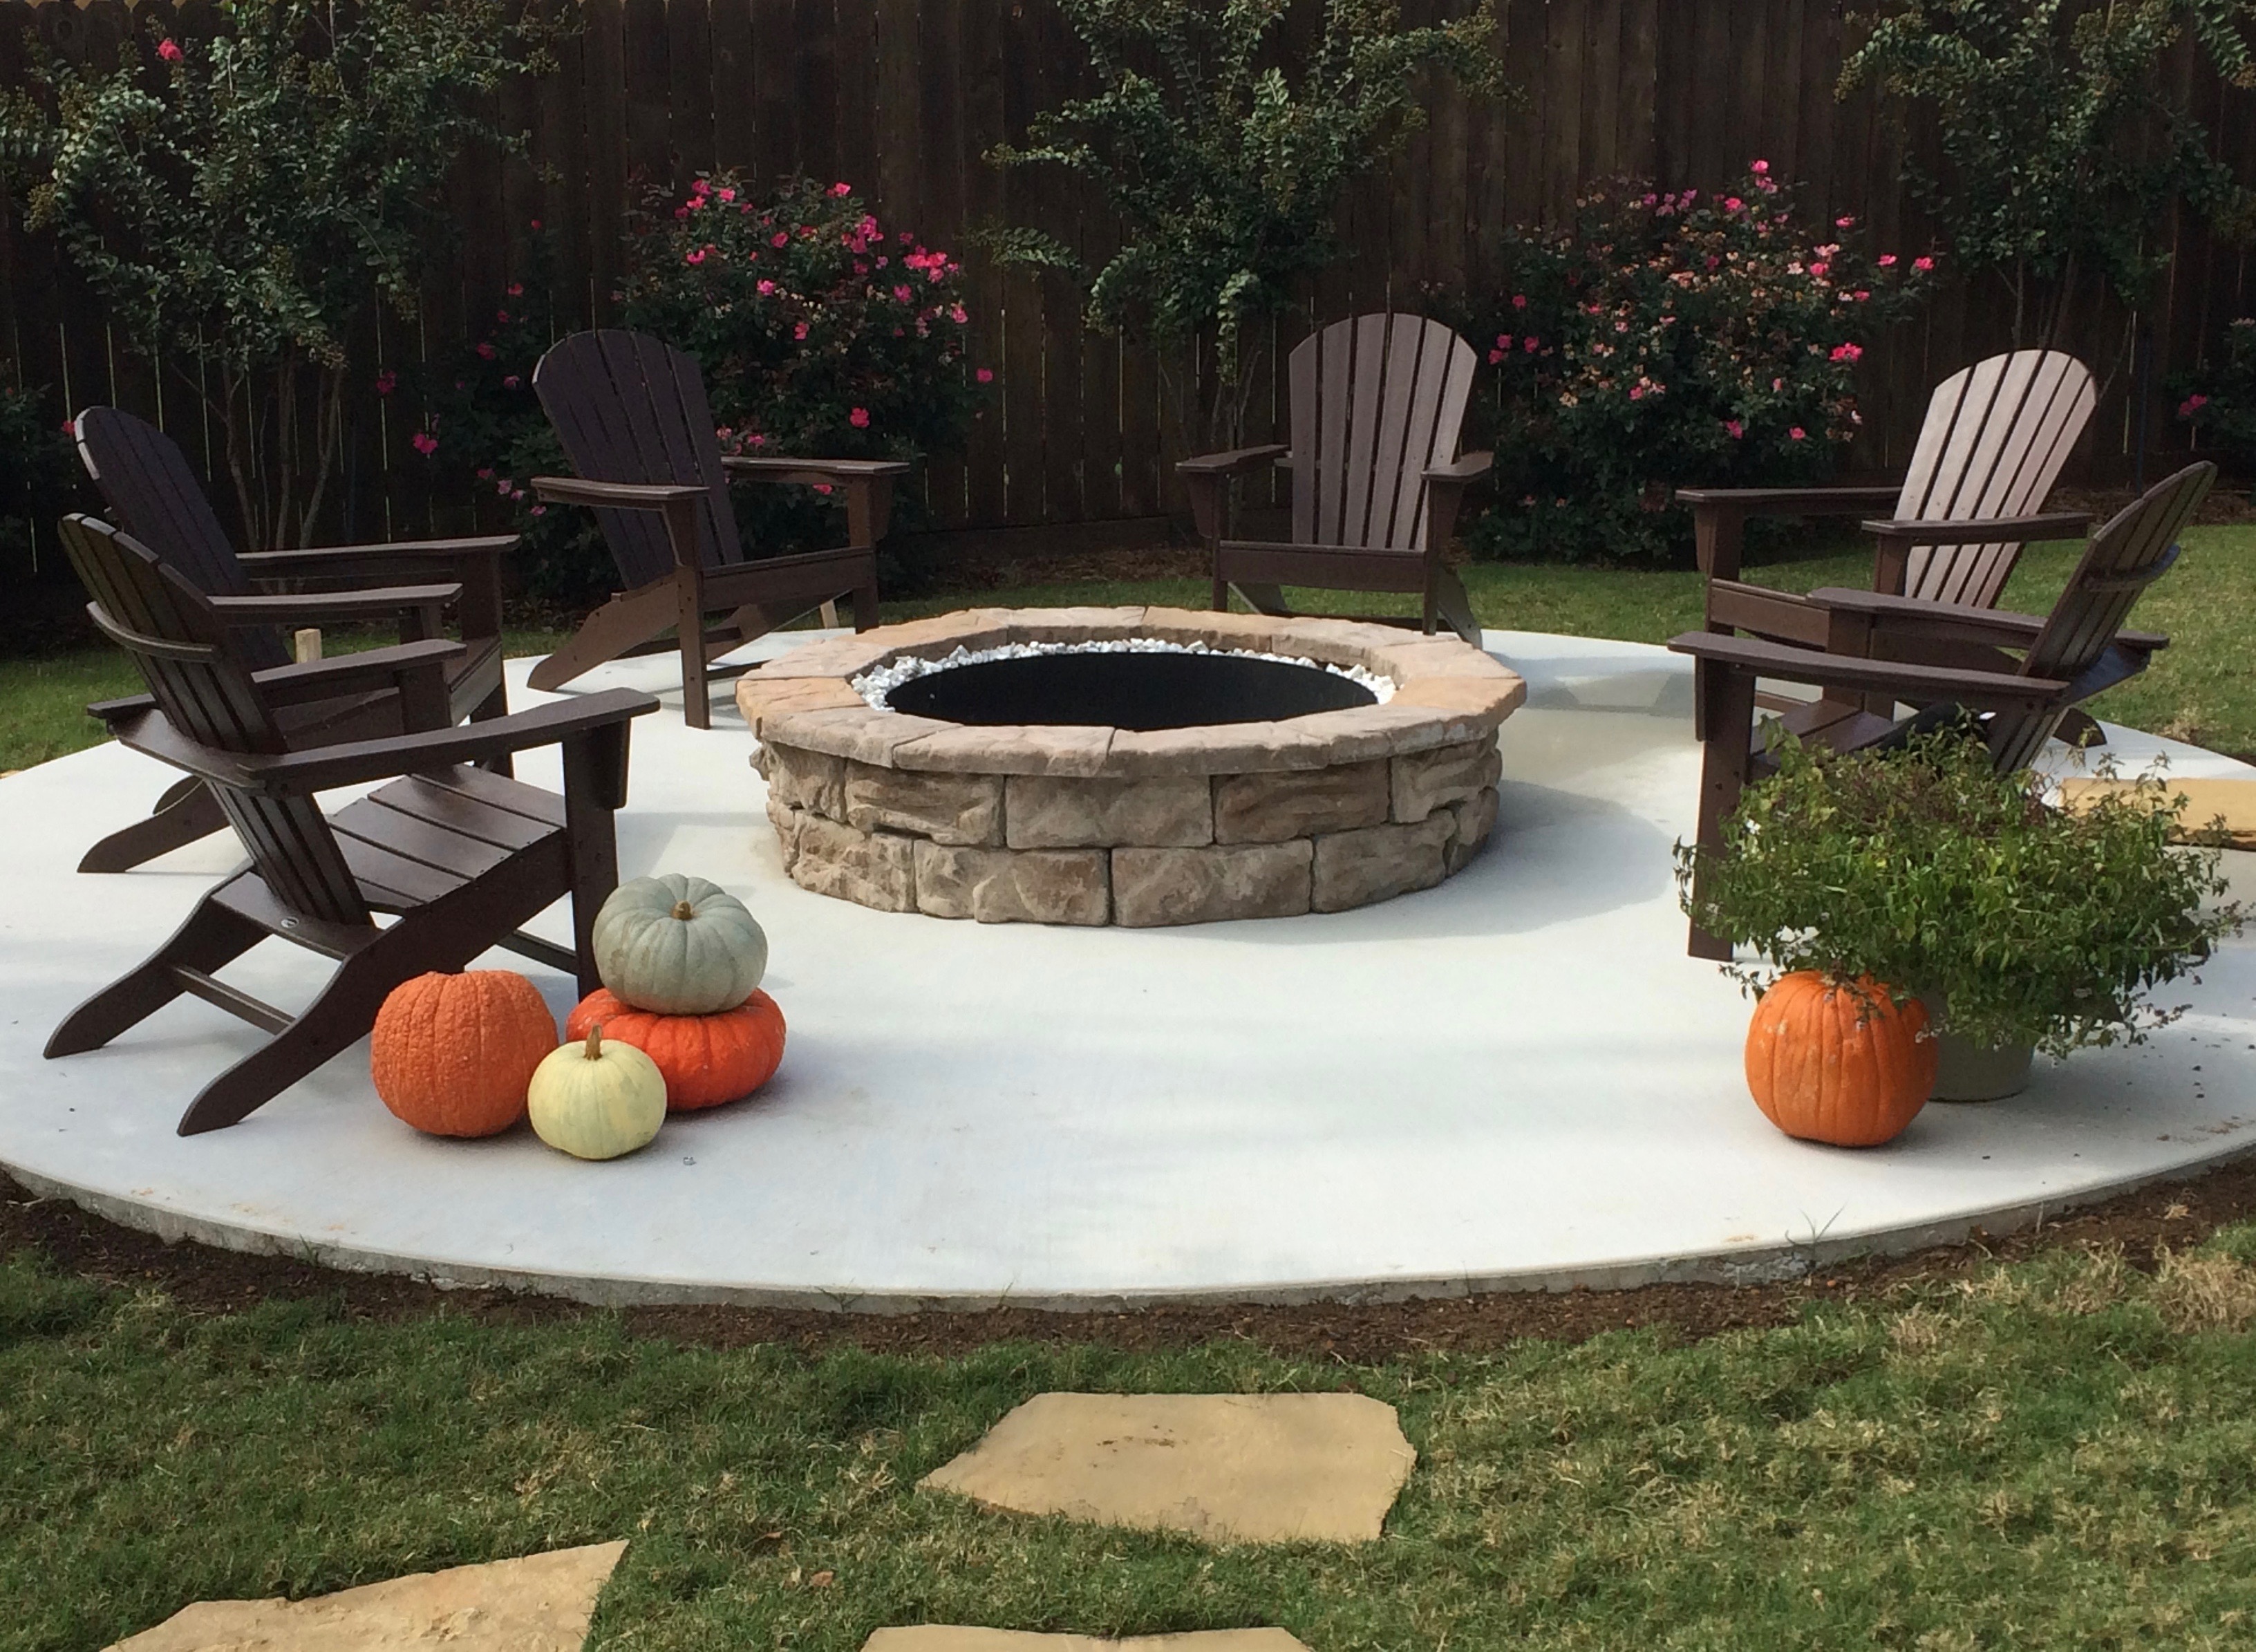
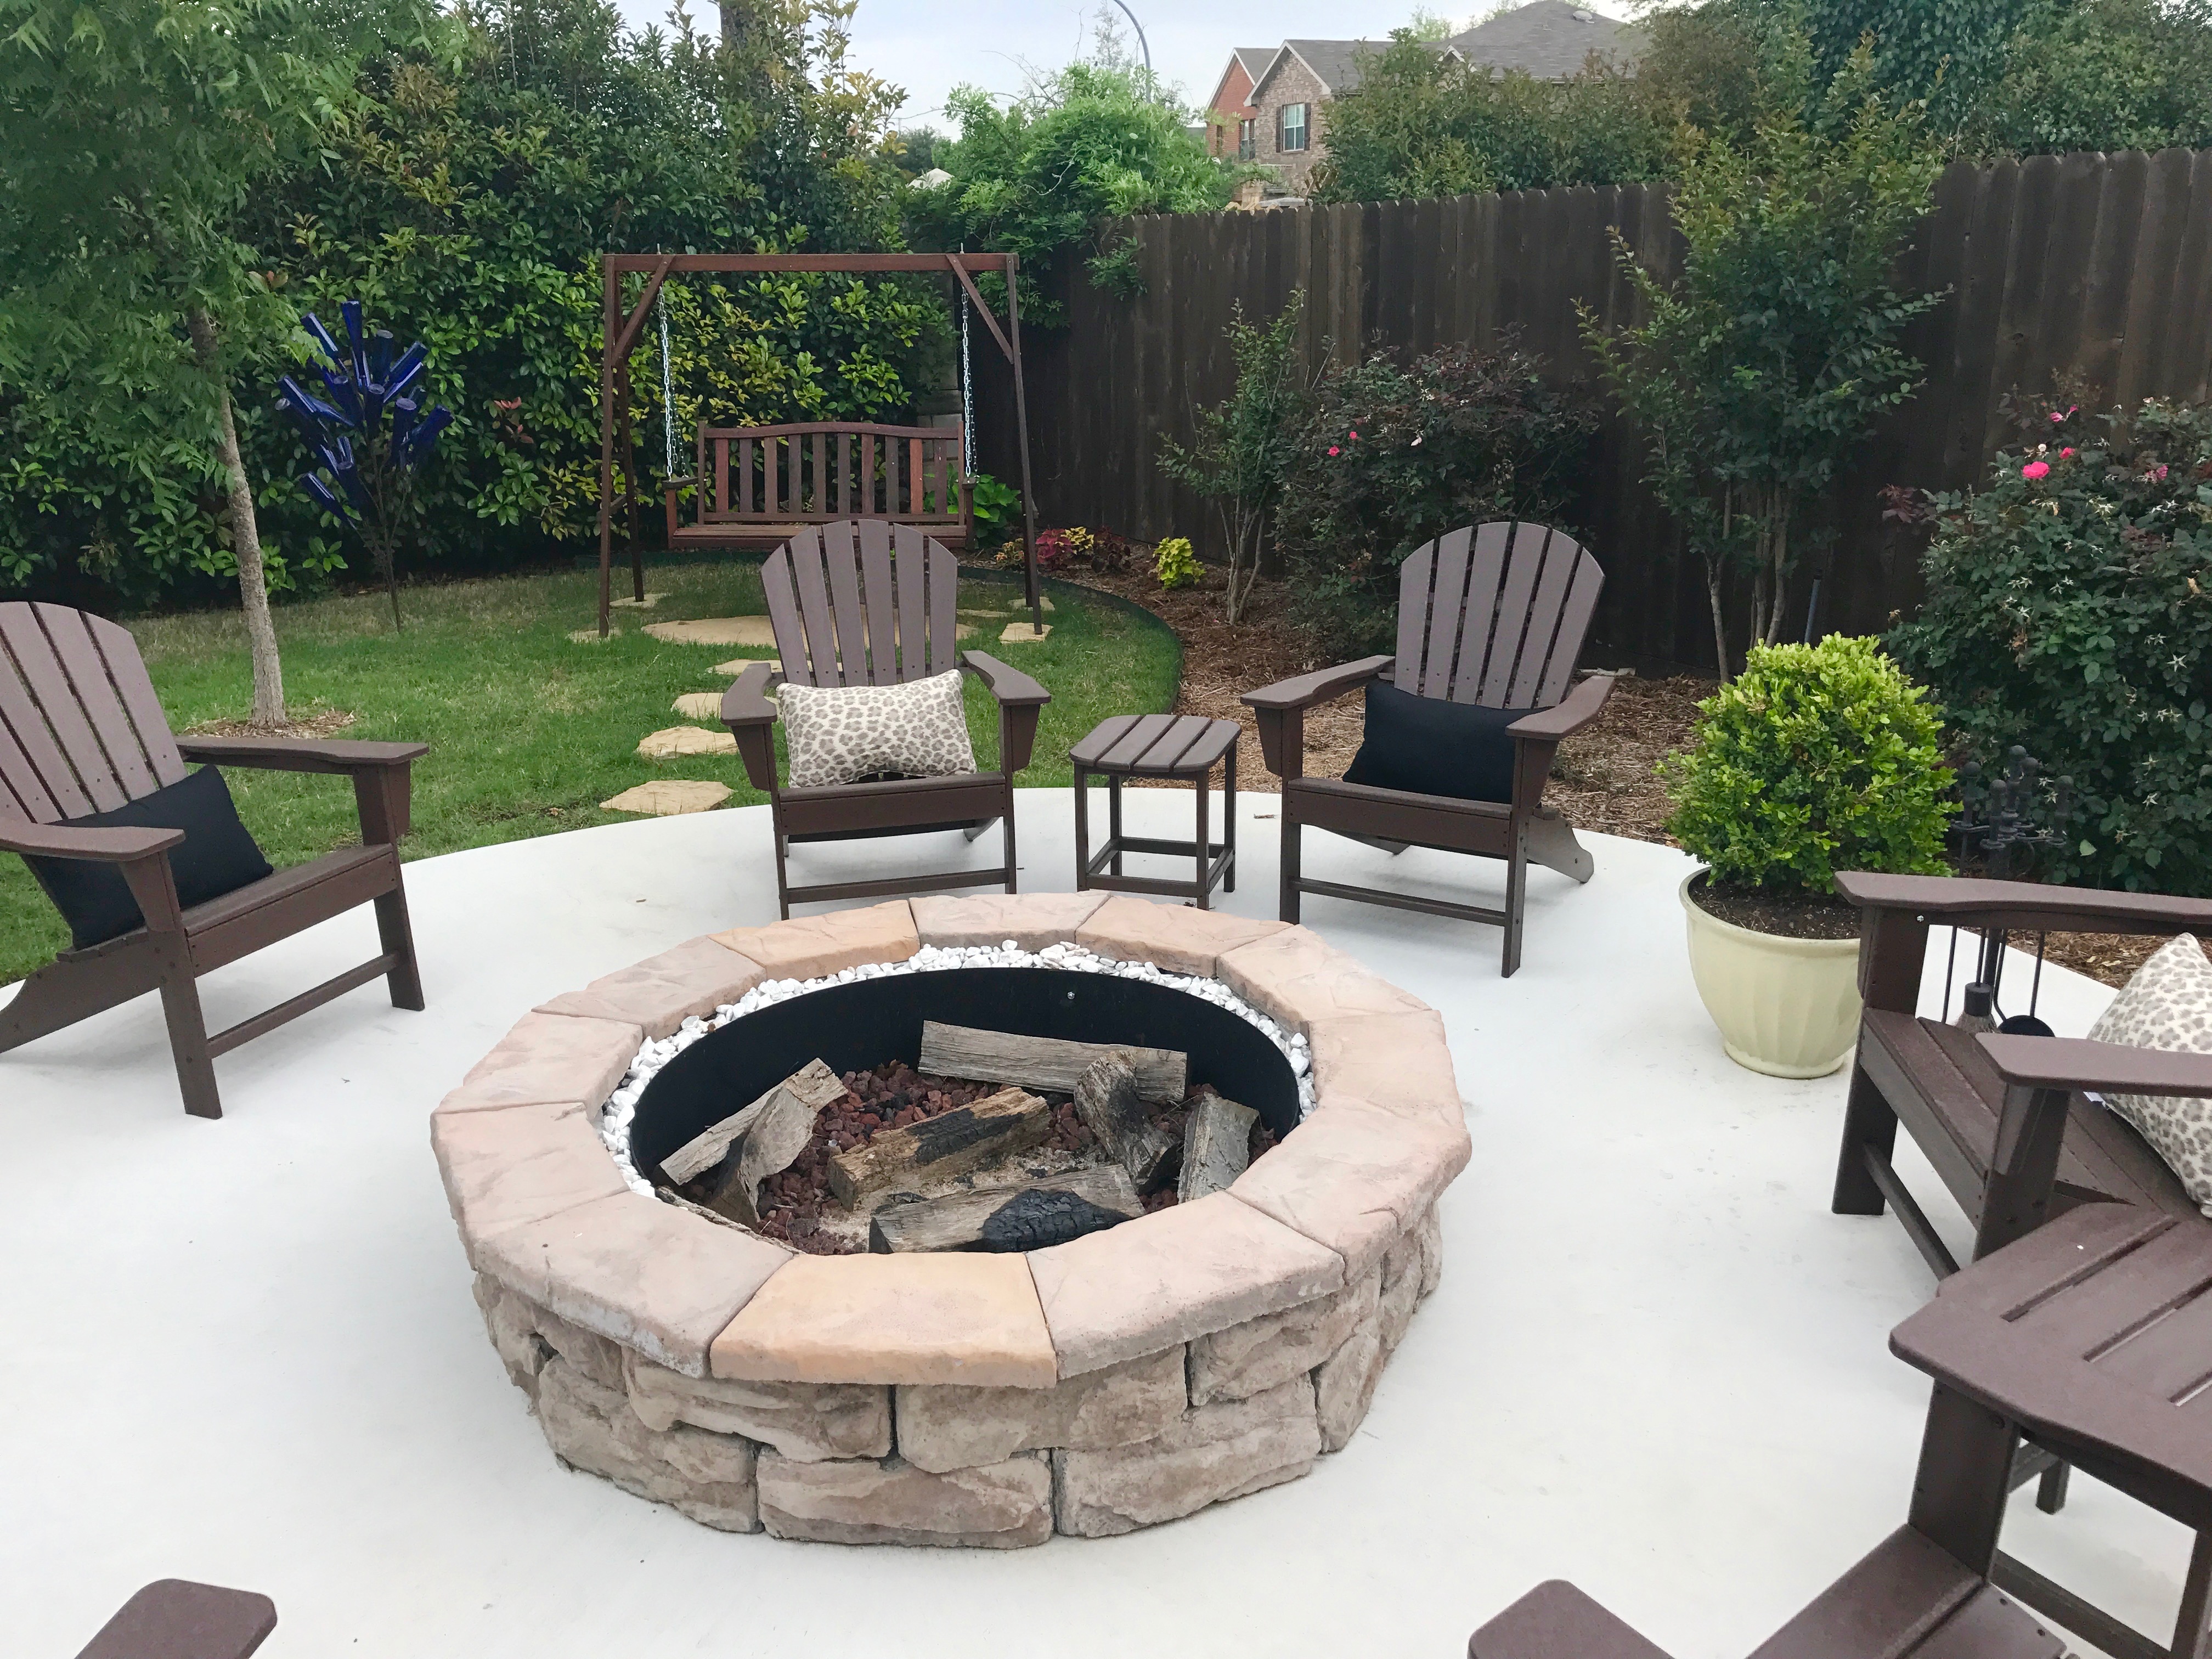
THE FIRE PIT AFTER
If you’re curious about details be sure to read how we designed our fire pit.

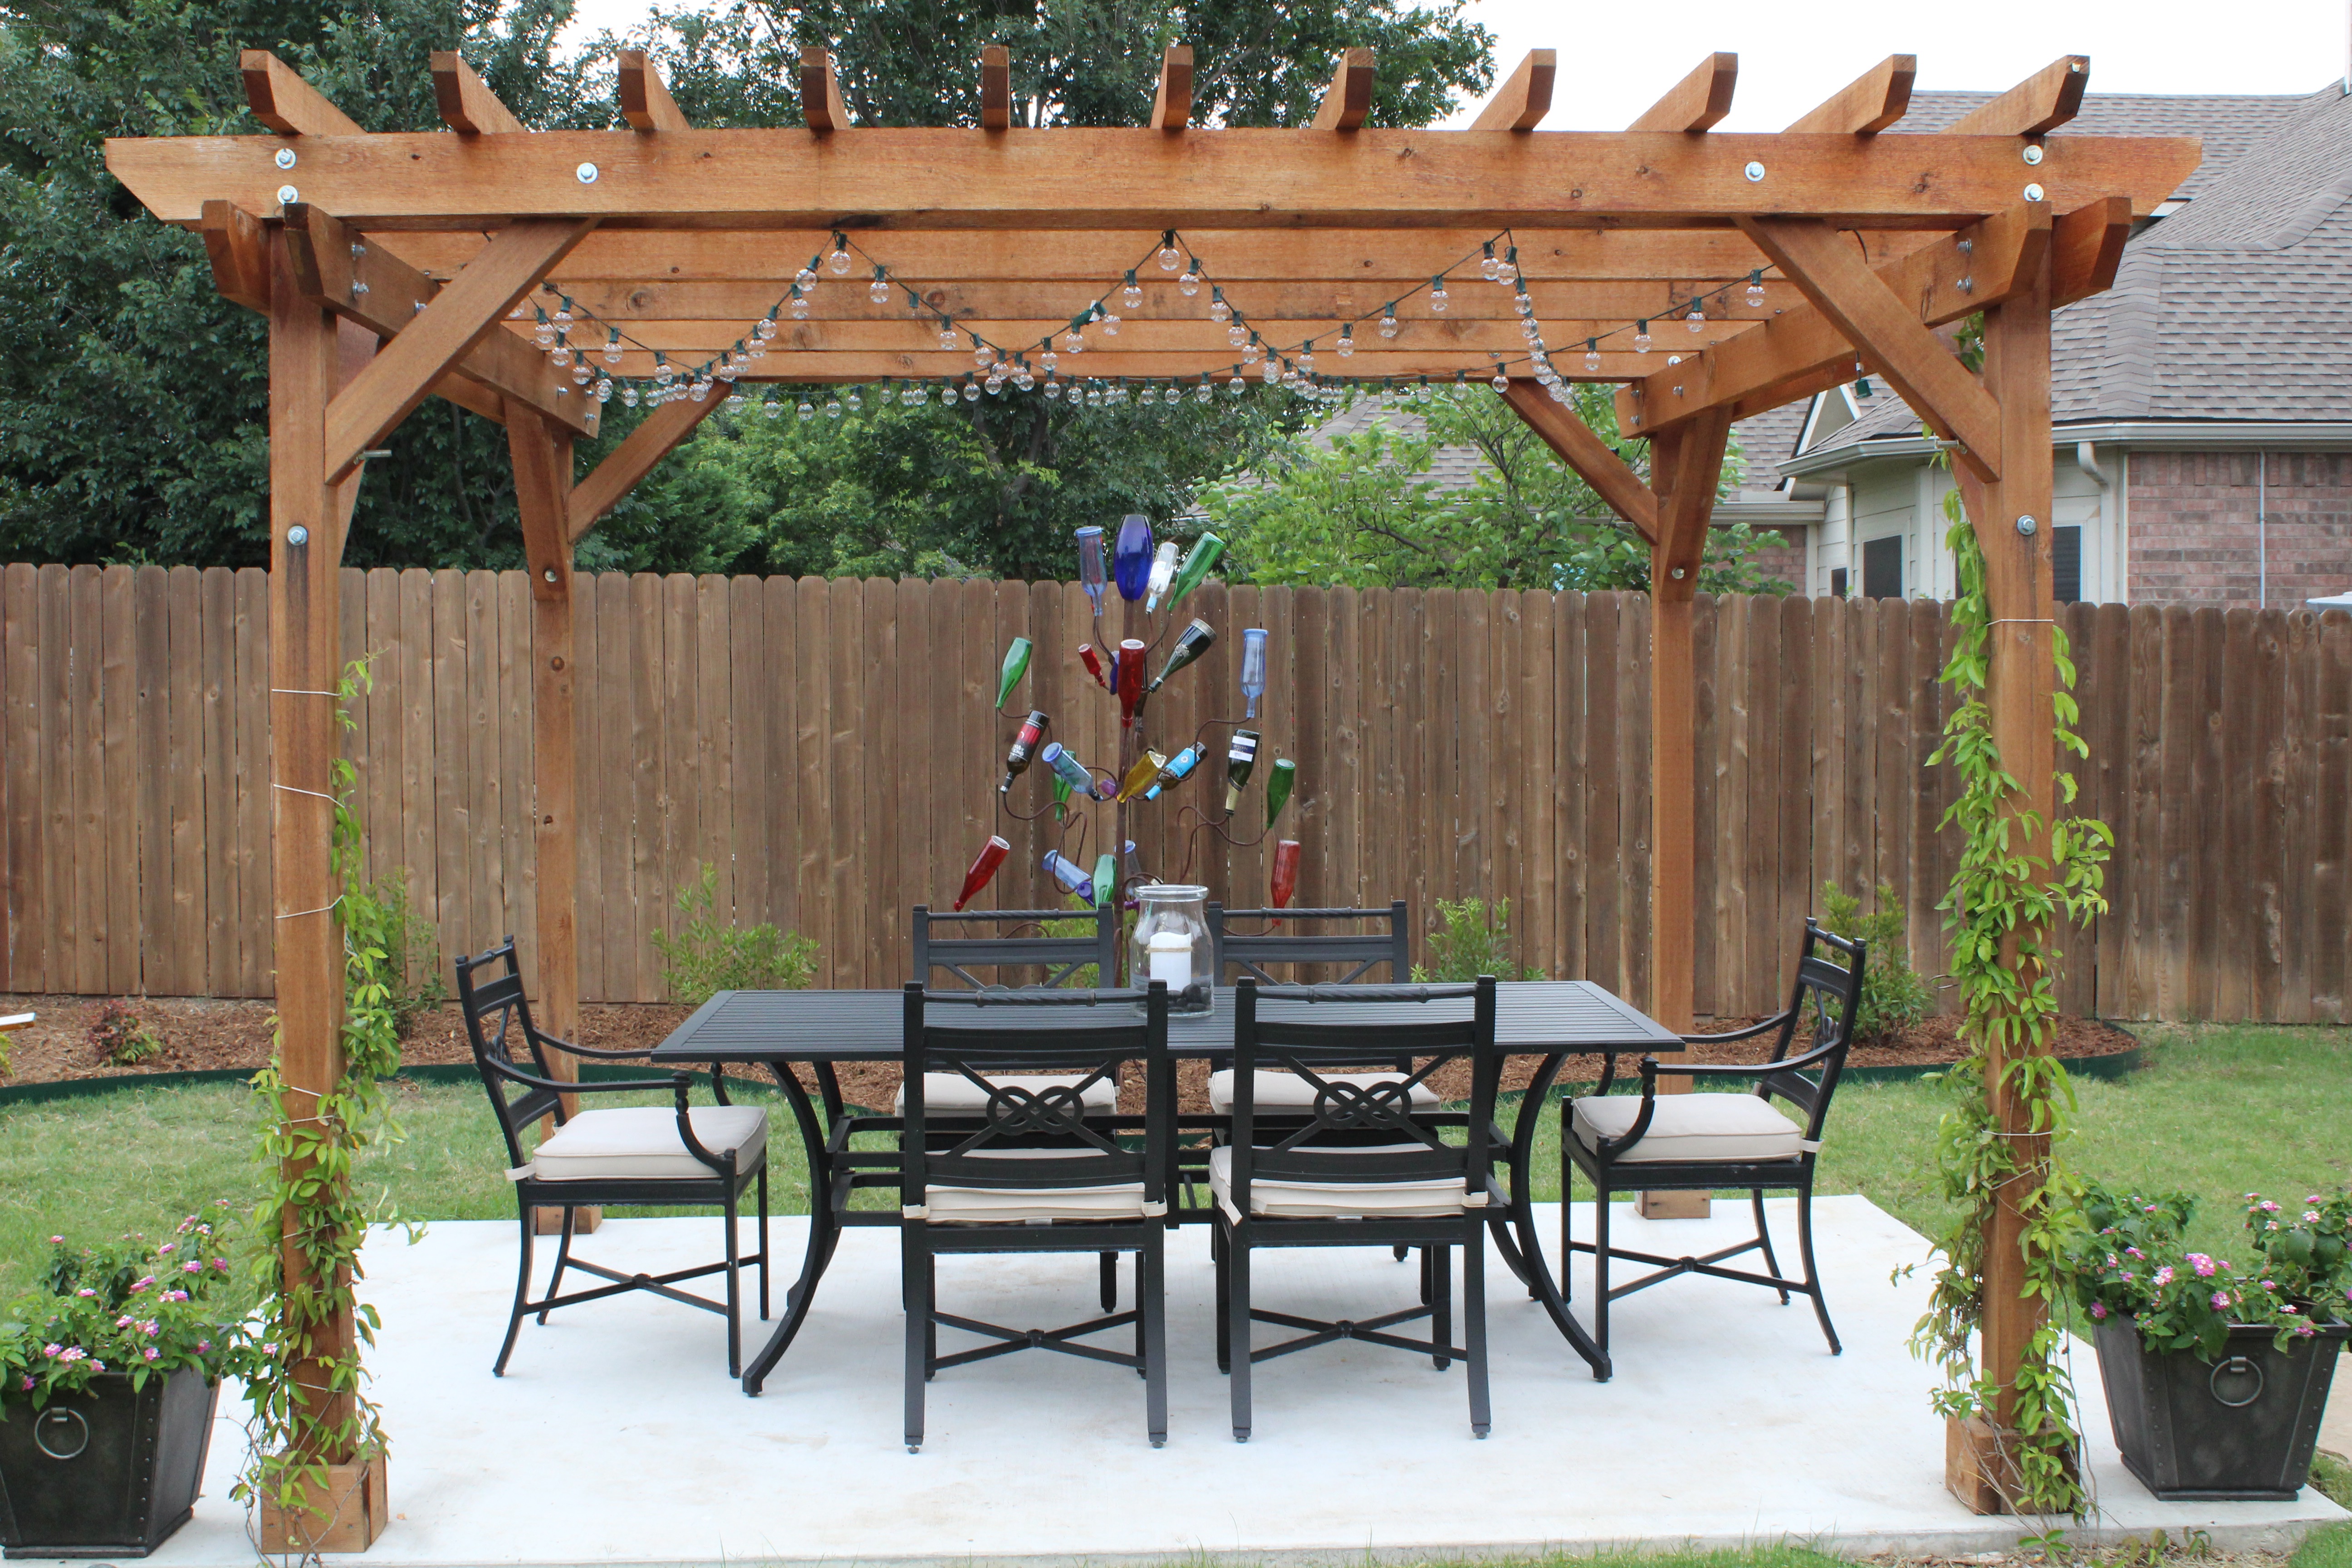
THE PERGOLA BEFORE
THE PERGOLA AFTER
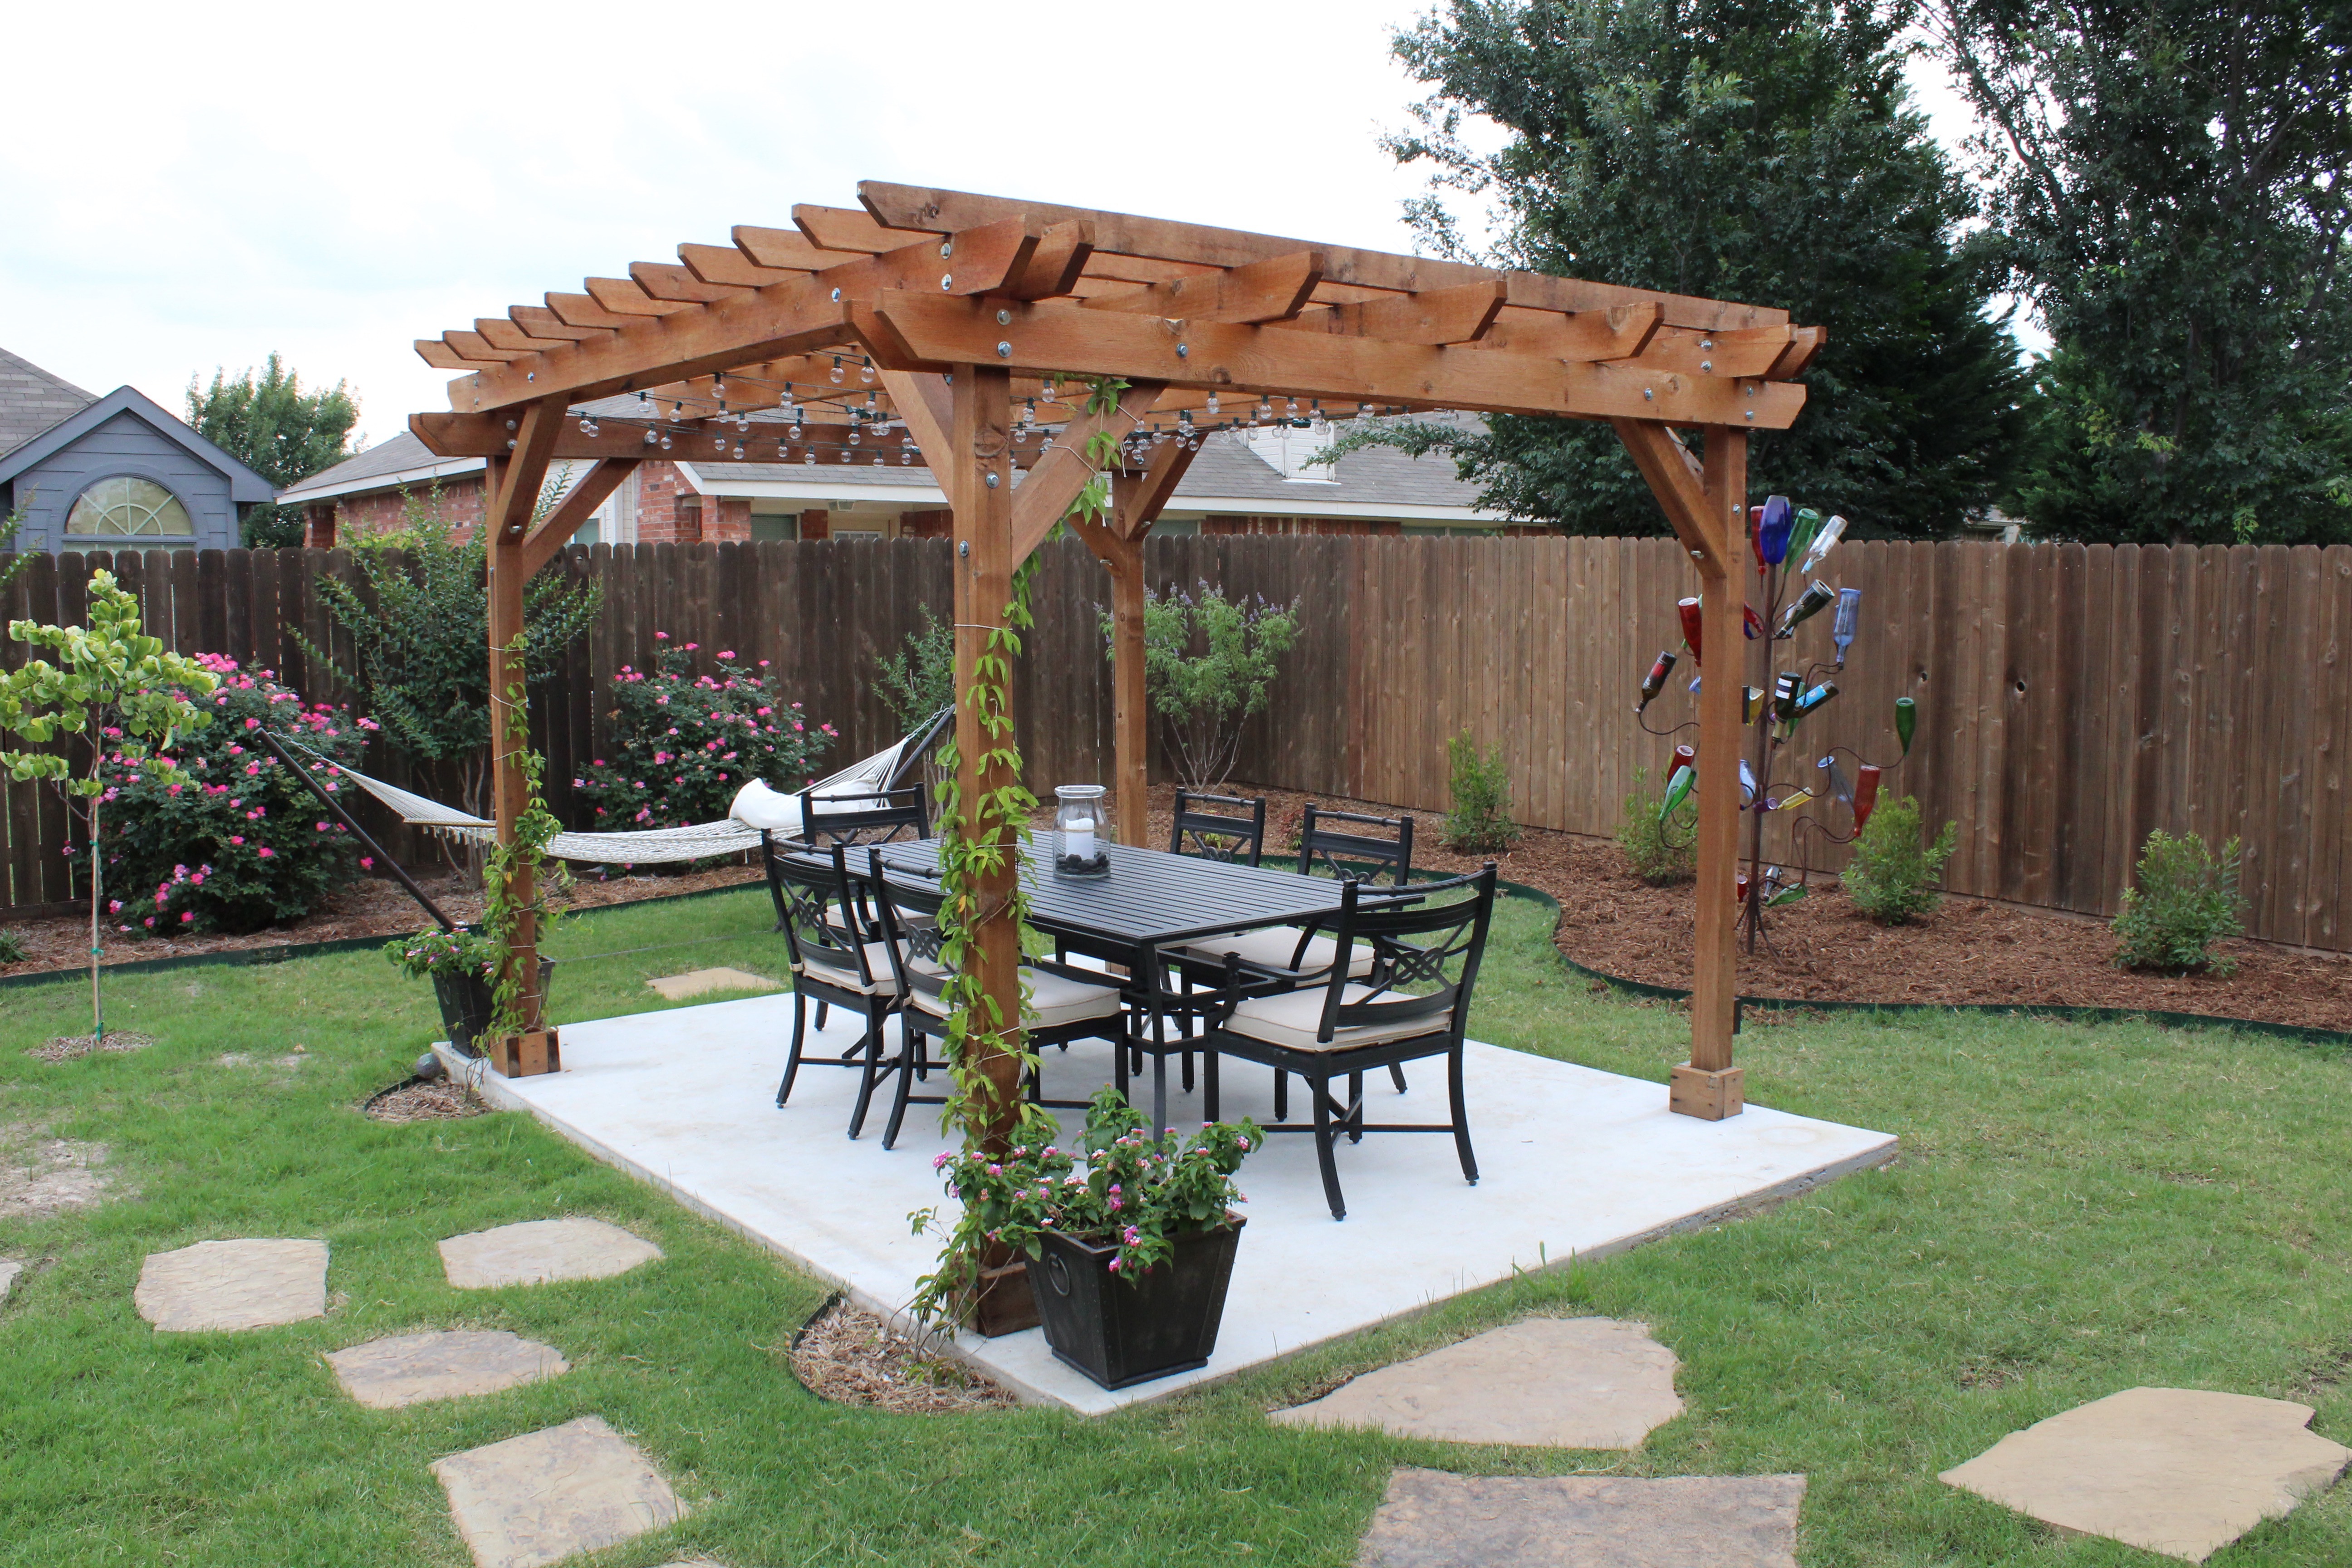
We’ve had so many amazing family dinners under our pergola, it’s like an outdoor dining room. Finally the vine is really taking off… now that we’re moving. That’s life for ya.

Well, that about wraps it up! I did do an early blog post on Ashley’s room once, but I decided to leave the girls’ rooms and Brian’s office out. Haley’s never wanted her room on the blog and Brian’s office has always been his messy man space that was better left alone.

As soon as we get settled in next week I’ll be showing you lots of UGLY before photos of our new place. I’m actually a little nervous to share photos because I think it’s horrifically ugly… it has a TON of potential though. Enjoy the rest of the week, I’ll be back soon!